Happy Holidays! This week, our miniblog is about creating simple, beautiful wreaths, using Christmas ornaments and collectibles. Every year, most of the tables in our home are filled with holiday-themed vignettes – Santas, nutcrackers, snowmen, etc. Creating wreaths is a great way to free up some table space!
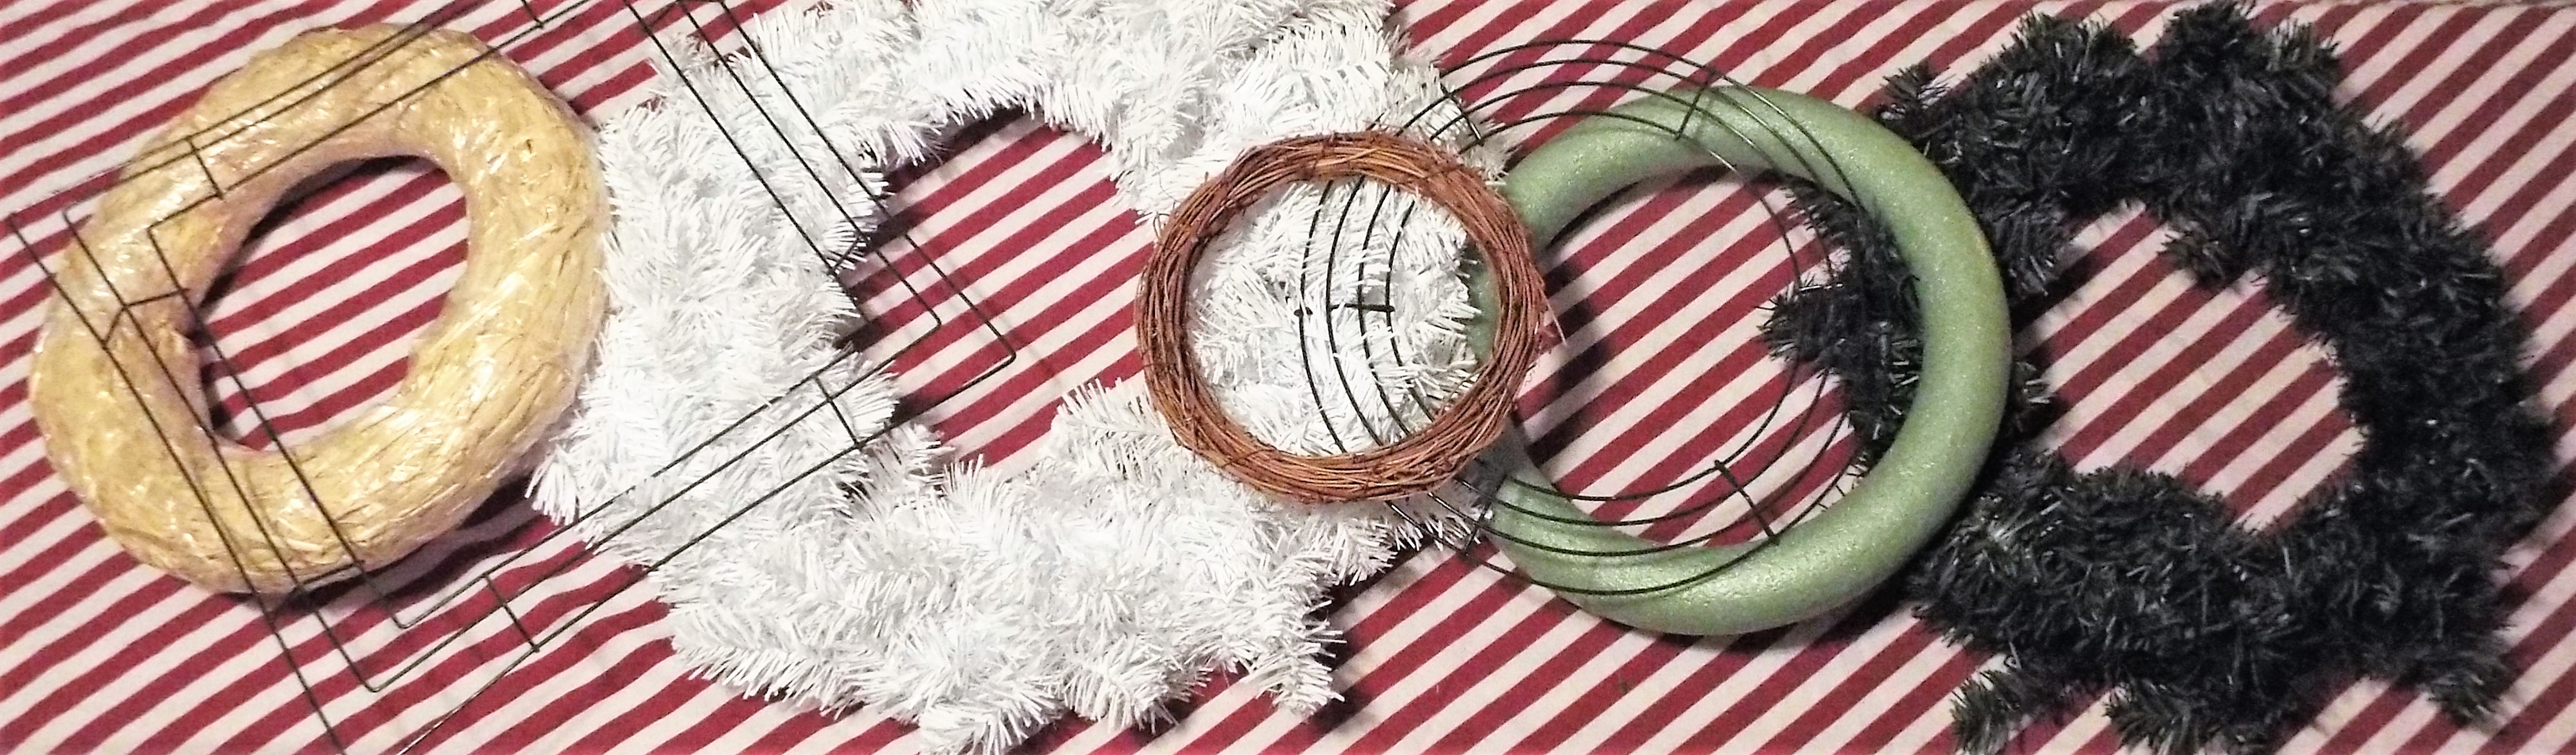
Using coupons (of course), we bought a variety of plain wreaths and wreath forms at Michael’s and Joann’s.
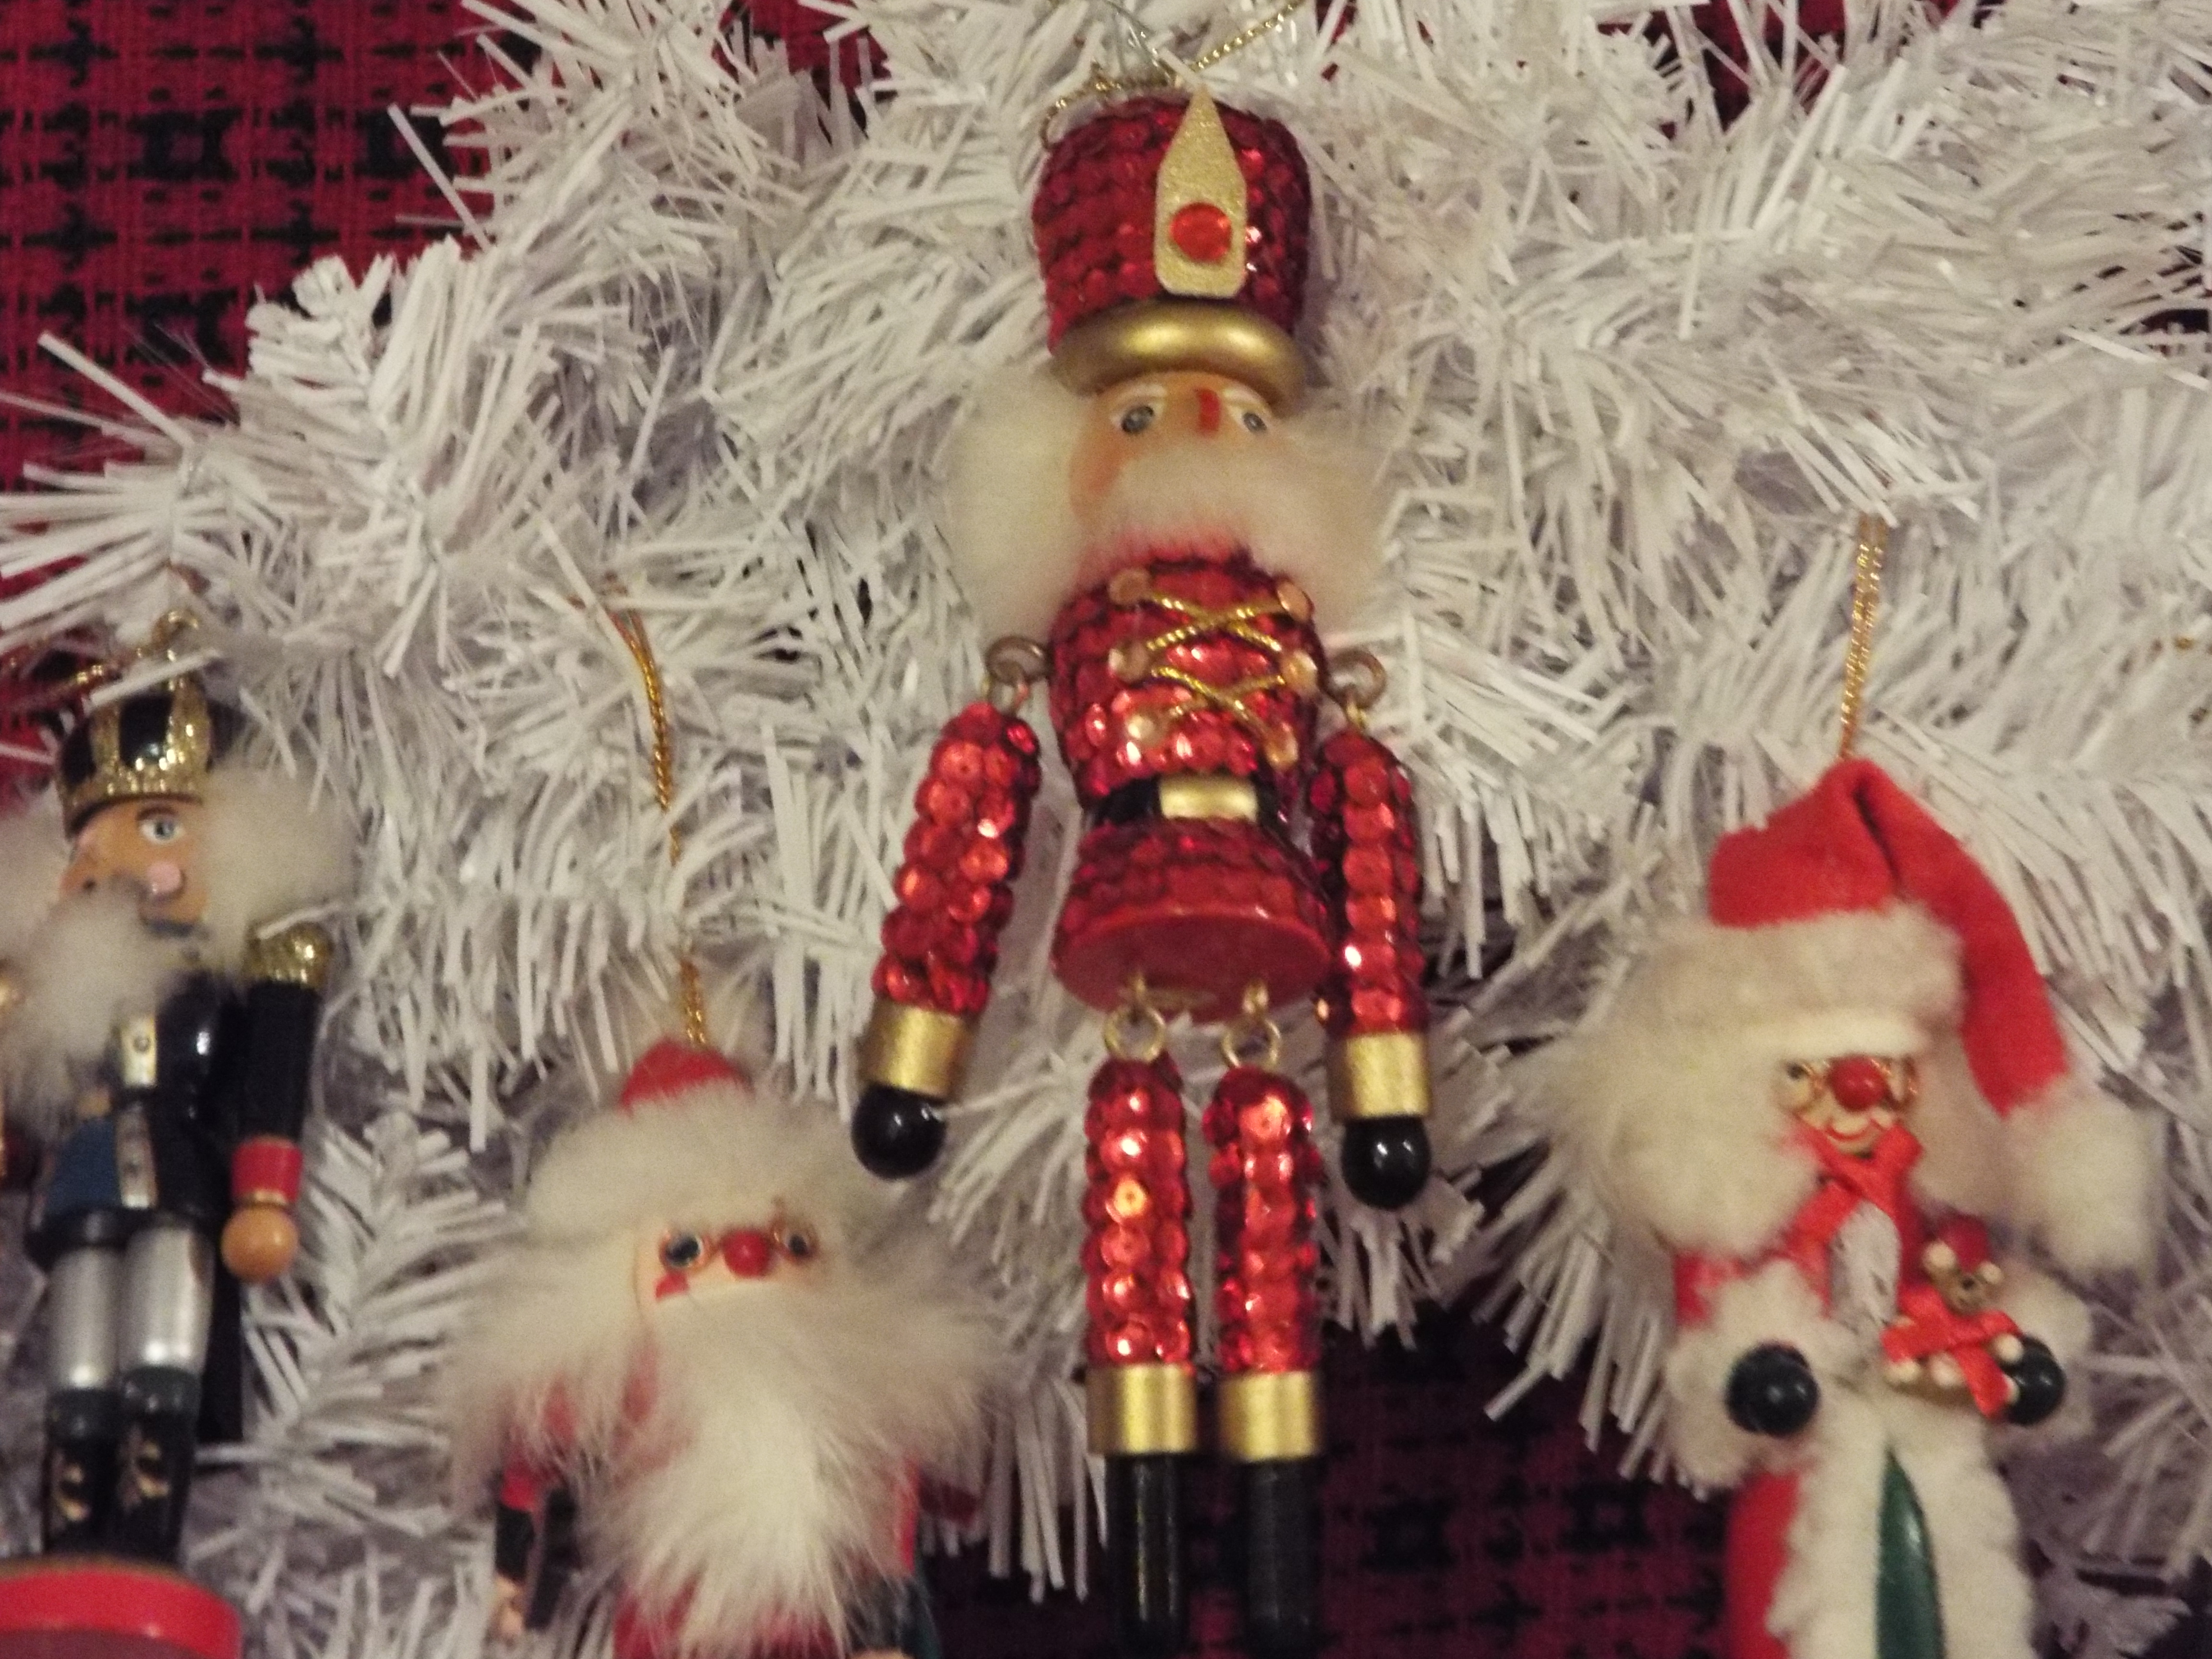
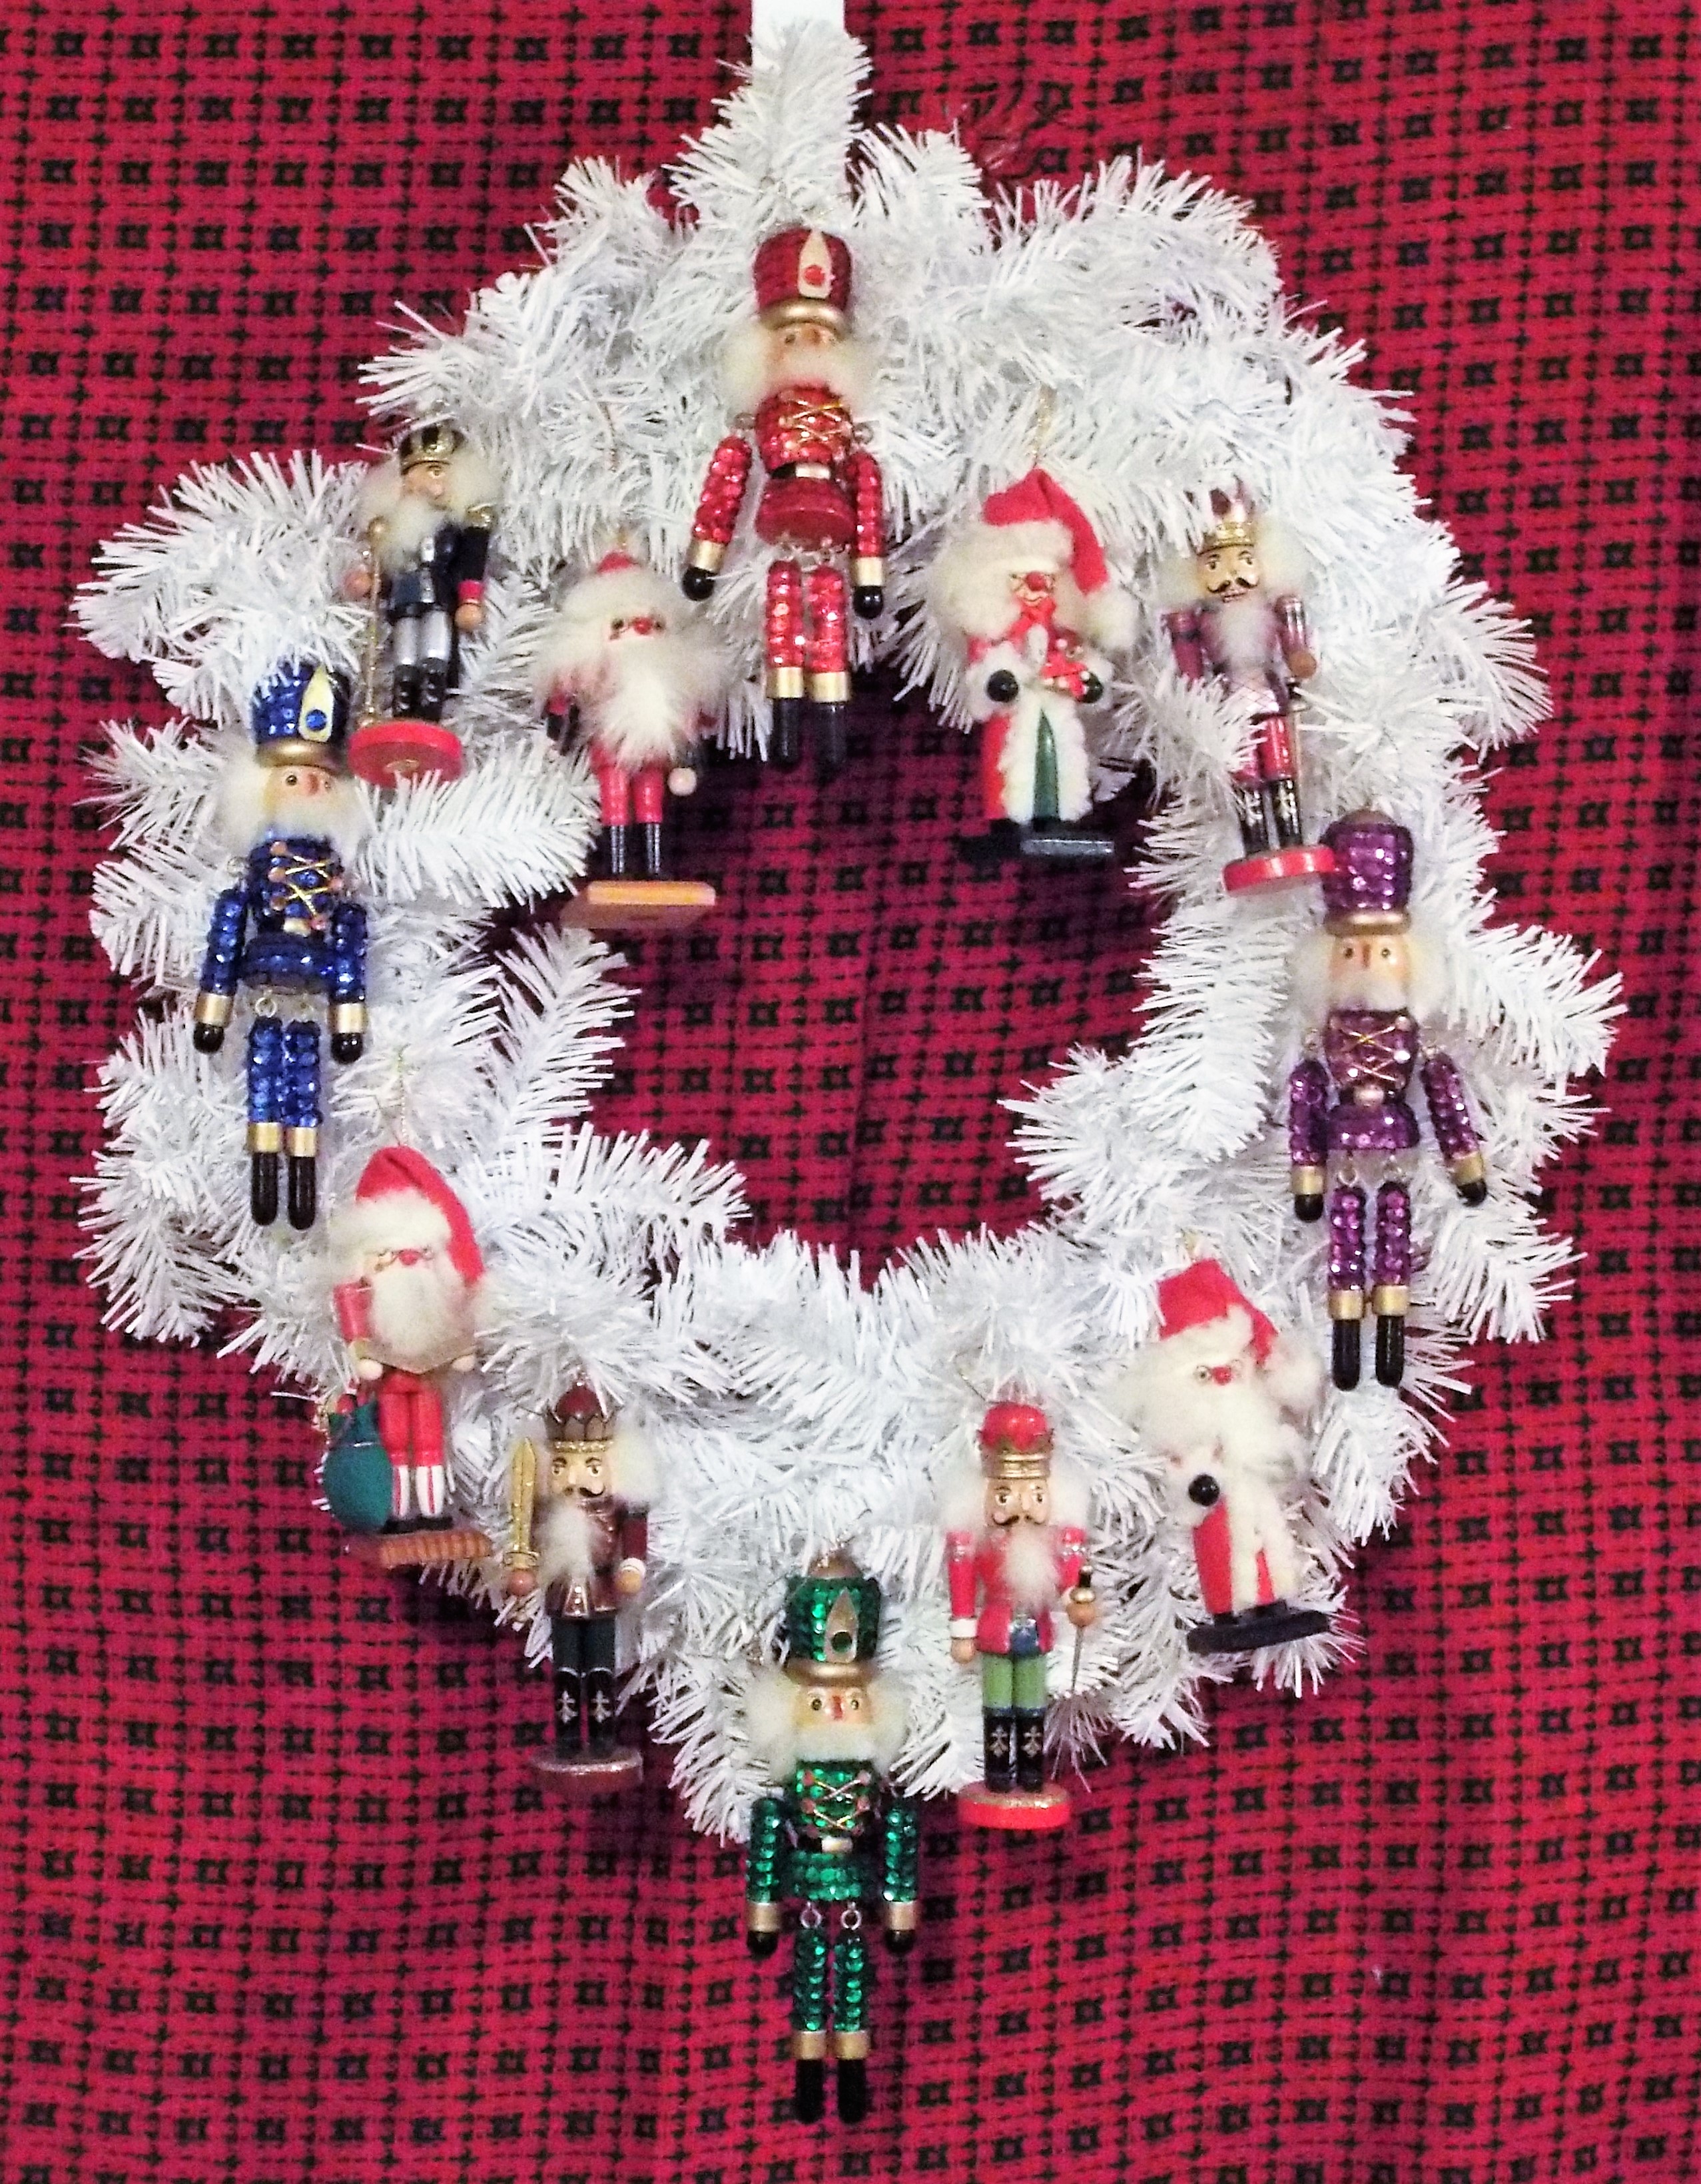
NUTCRACKER WREATH
These nutcrackers make a festive wreath. They were gifts from Kevin’s mother, Irene, who presented her children with a special ornament or decoration, the “family gift”, every Christmas. Kevin attached them to the white wreath with Christmas tree hooks or wire depending on the weight of the ornament. It’s a great way to showcase this collection.

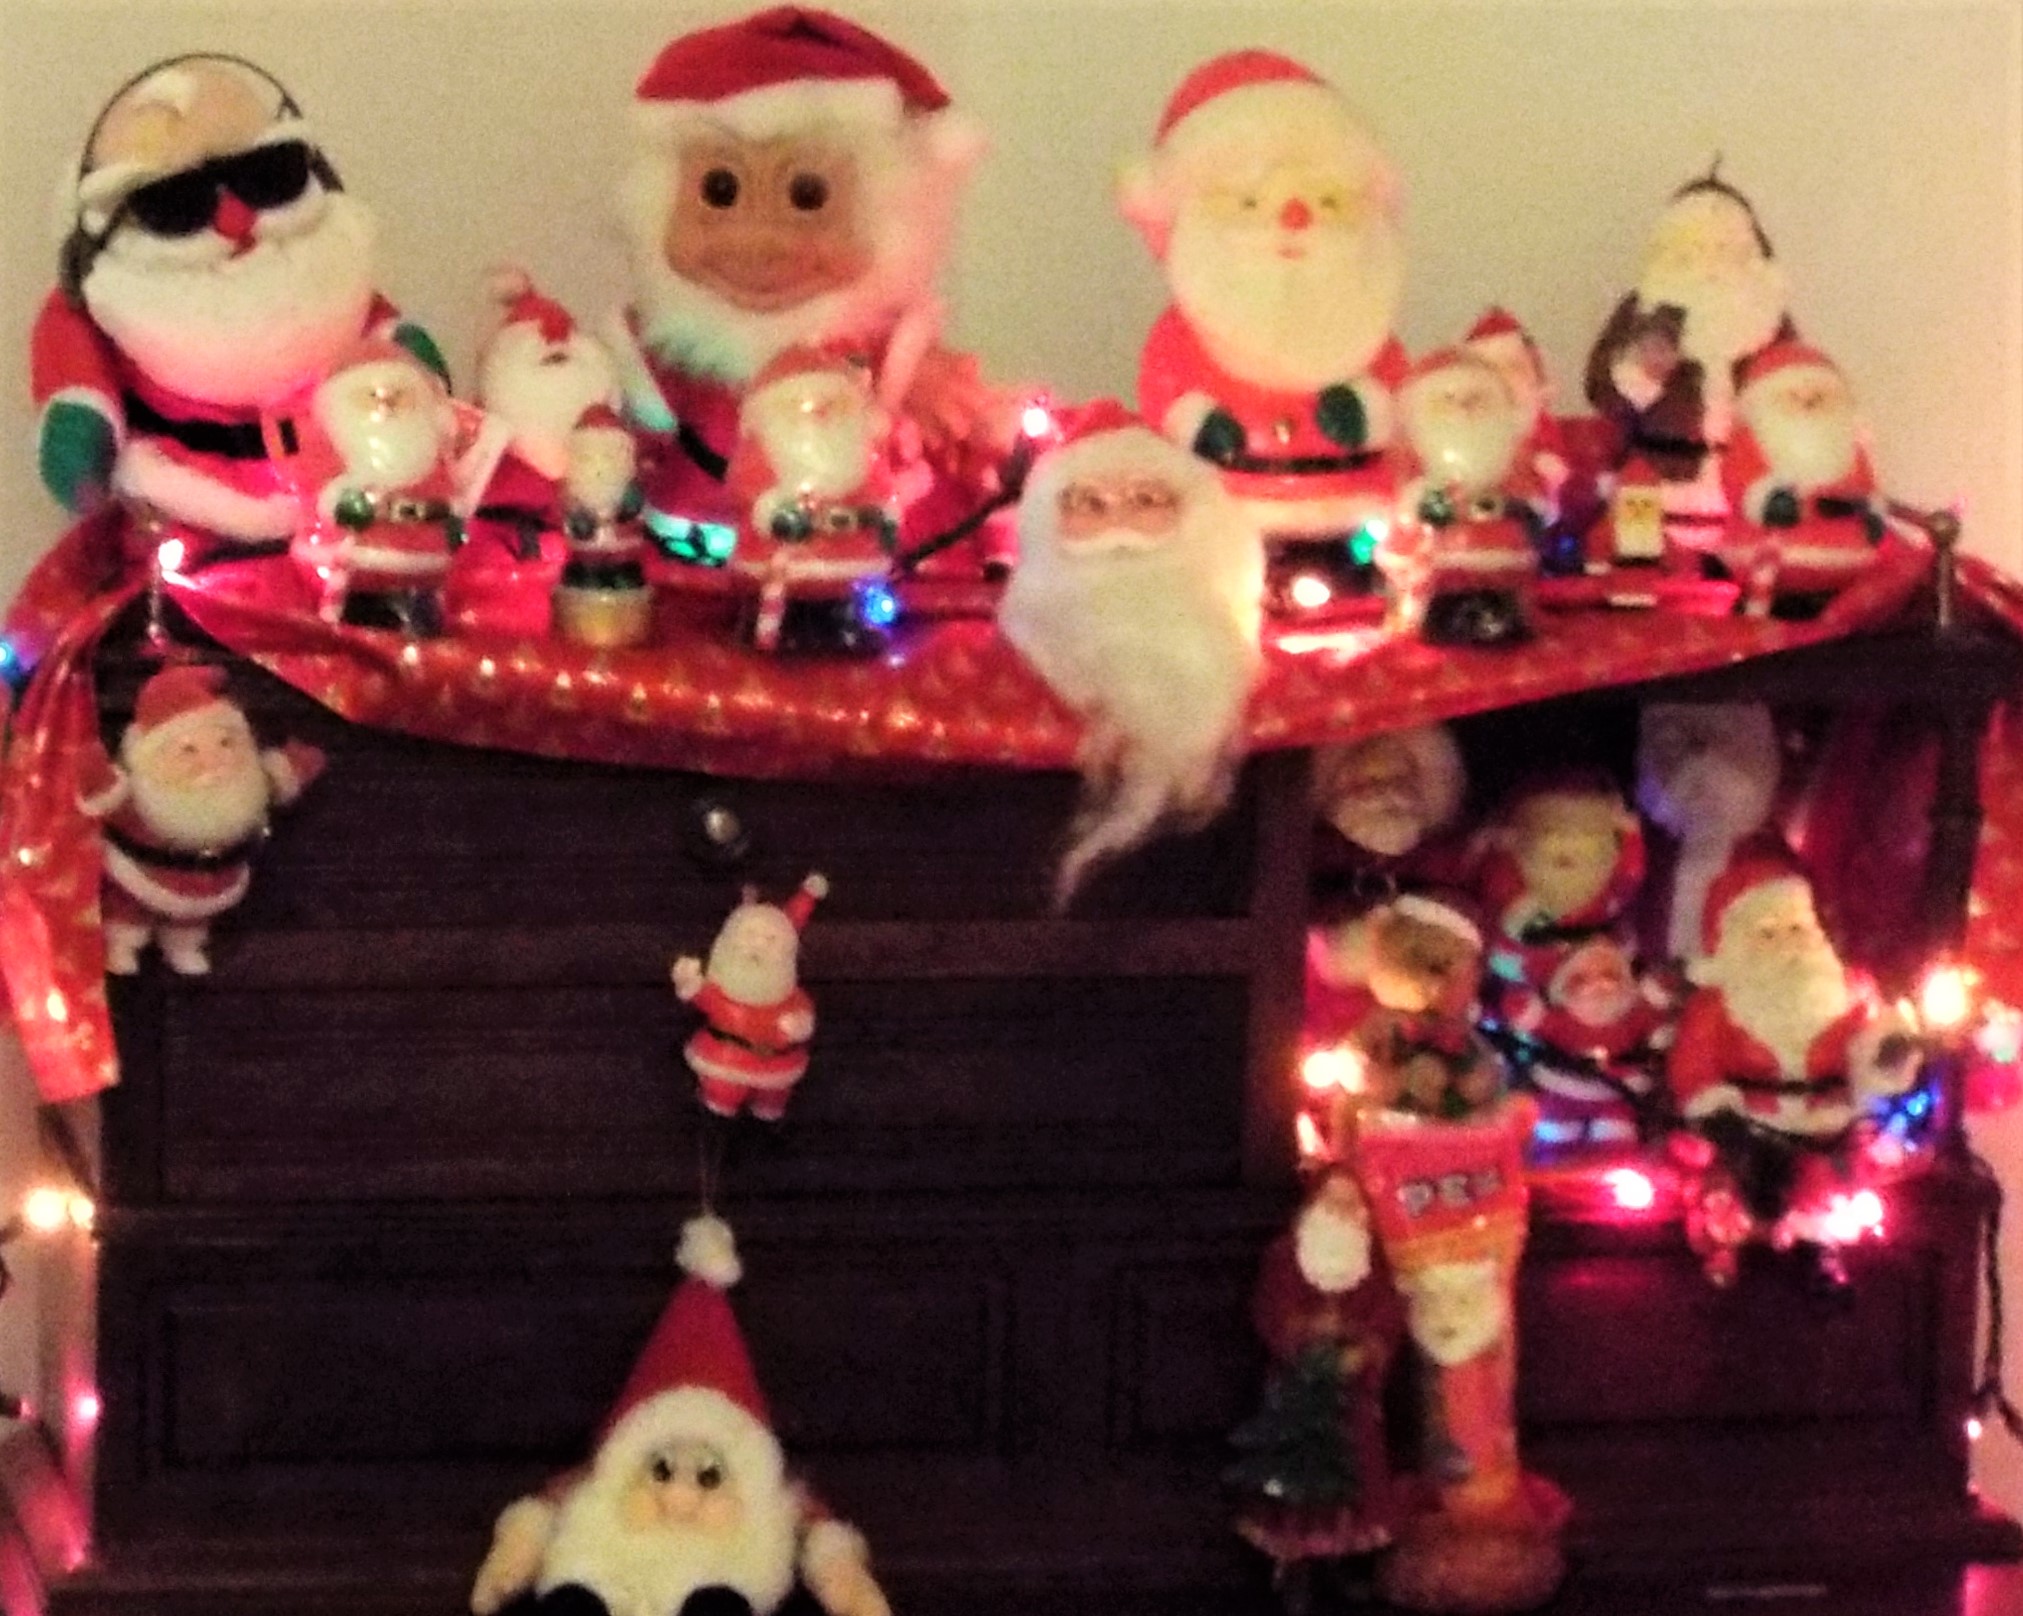
SANTA WREATH
Our Santa figurine collection has grown over the years. Ho Ho Ho!!!
Here’s a Santa vignette decorating one of our desks last Christmas.
This year, we created a Santa wreath and saved some valuable counter space.
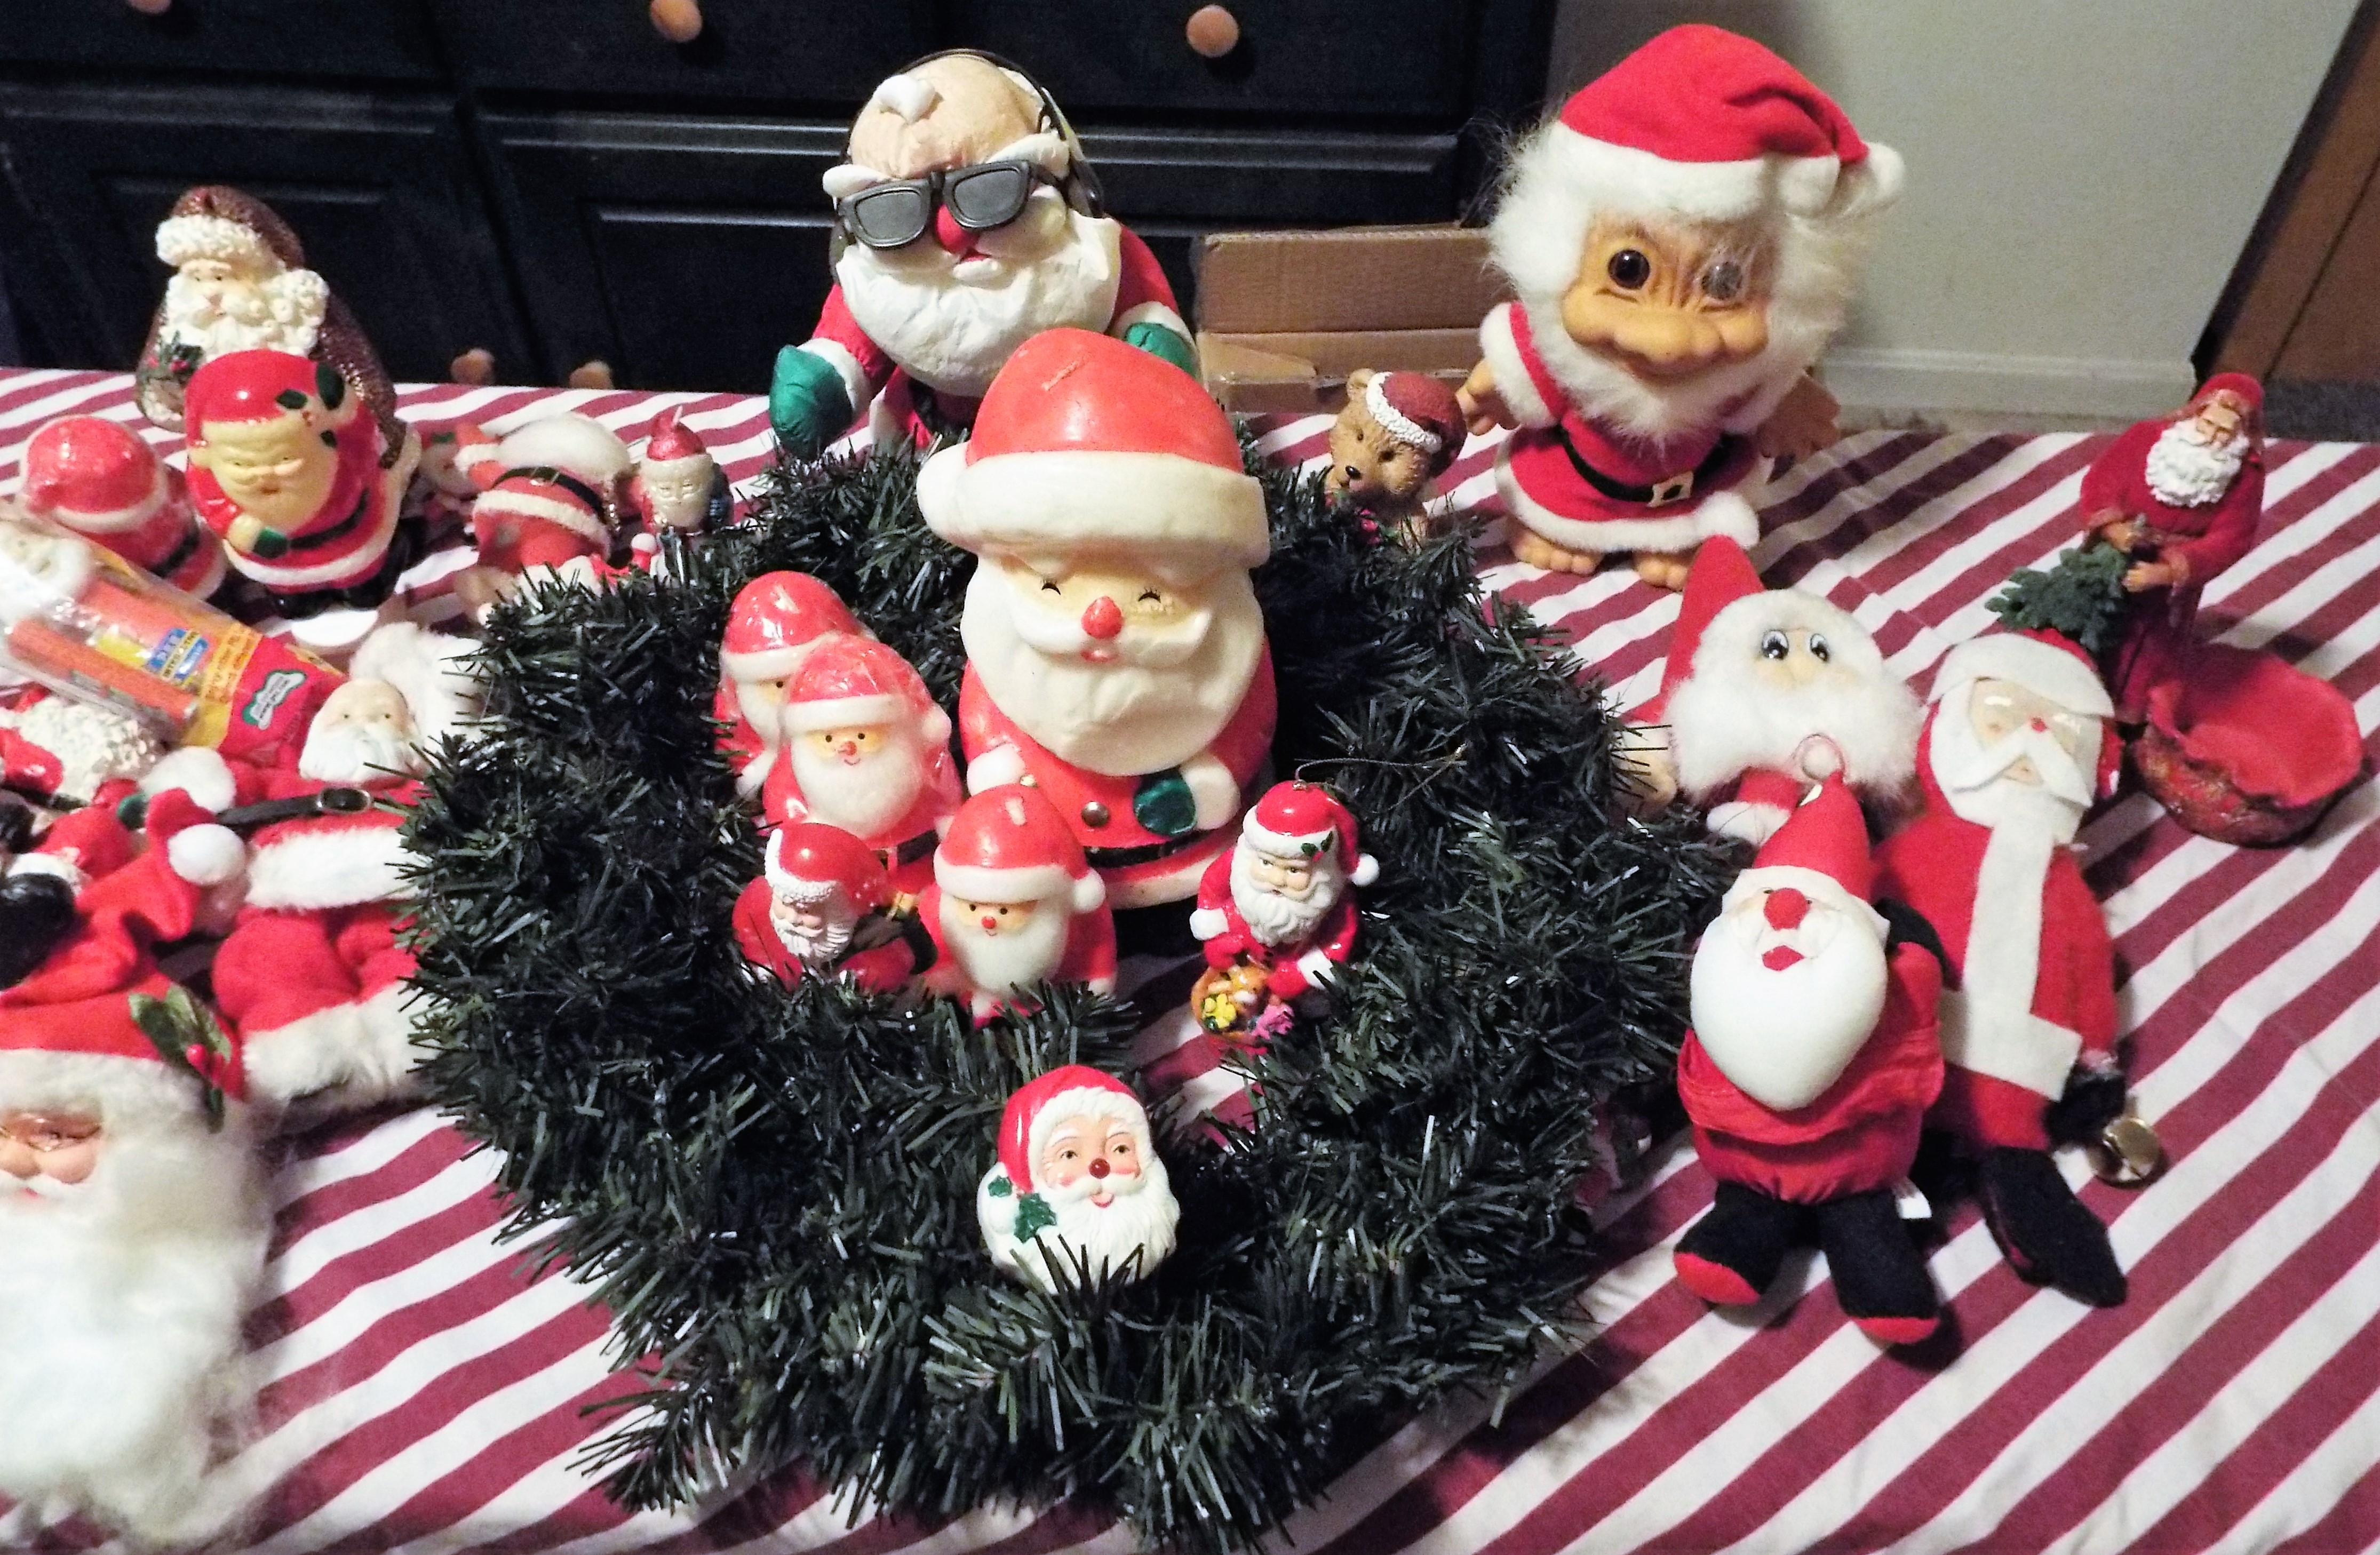
The Santas were attached with green twist ties and final product is the featured image above.
MORE ABOUT THE FAMILY GIFT
For many years, Kevin’s mom, Irene, gave what she called, “The Family Gift”. Each year, usually with the a special assist from daughter Christine, Irene selected a special Christmas decoration and gave that to her seven children. An angel, Santa, snowman, nutcracker or set of nutcrackers, or some other treasure was given each year. All of the nutcrackers on the wreath featured above were family gifts.
Irene chose each family gift with a lot of love (and an eye to finding seven of the same item!), and we have borrowed the idea, continuing the family gift tradition for Kevin’s family each Christmas. We lost Irene in 2014, but these wonderful ornaments are a reminder of her love for her family and the holidays.
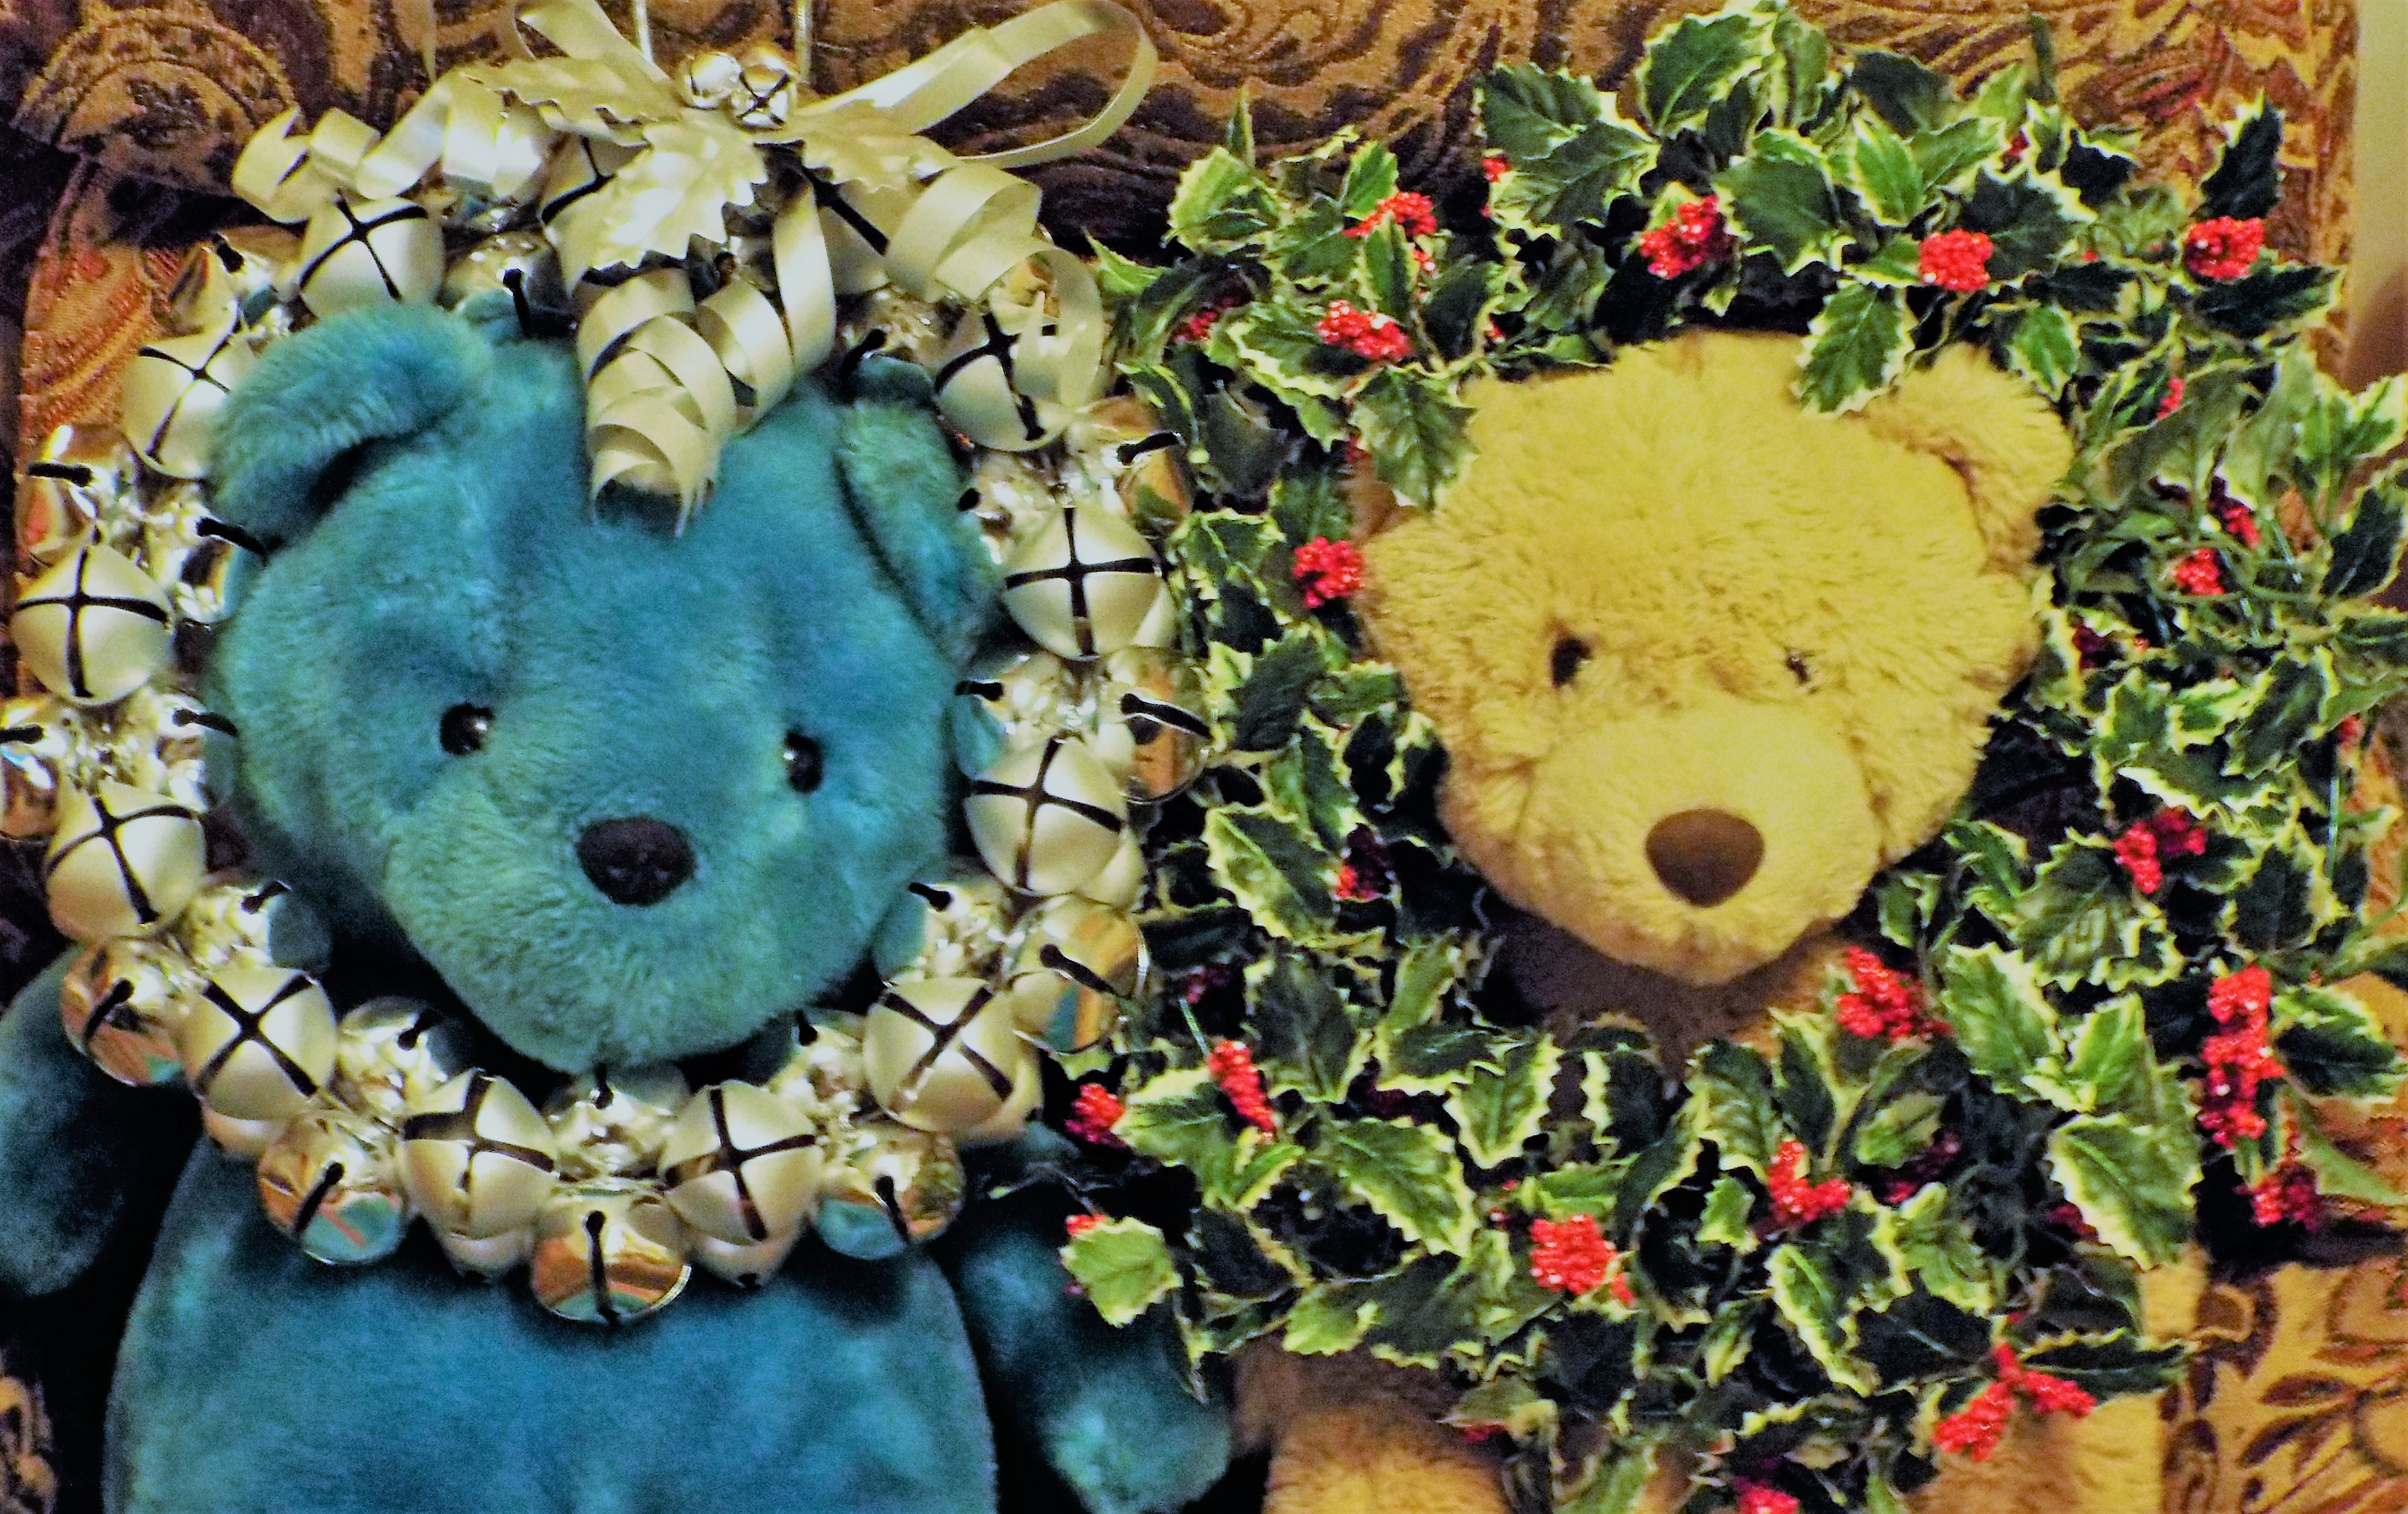
The bears are back to get in on the wreath fun!!!
Peace.
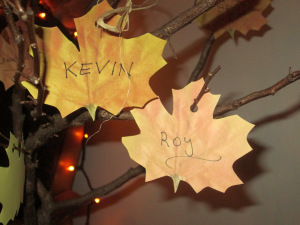
Roy and Kevin
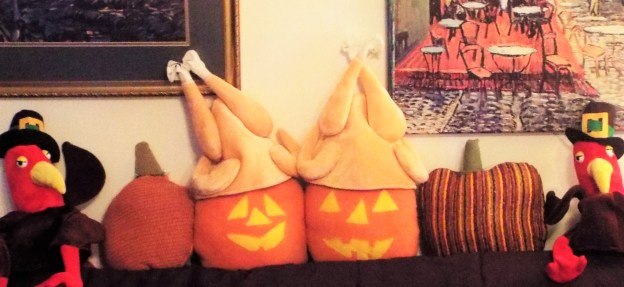


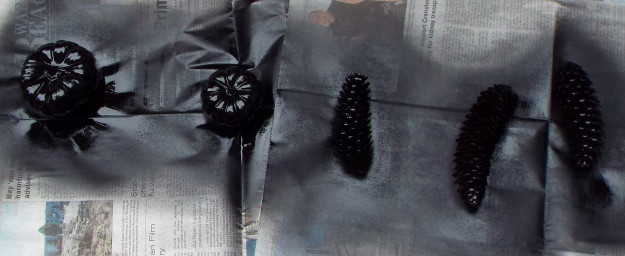
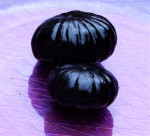
 Decorating tip: The Lighted Stacked Jack-O-Lanterns shown here is a…