This is our 3rd Halloween post for the year. We are still learning and having fun, creating new things and sharing a few ideas. This week we are focusing on the Happy Halloween Banner and some other random yet (hopefully) interesting Halloween and fall related things.

HAPPY HALLOWEEN BANNER: We saw a banner in a store not too long ago, and we decided to design our own and put our own twist on it. The banner we came up with is simple to make. We made ours out of things we had around the house, but if you were to buy the items, you could probably do it for under $10.00 Let’s make this a banner year!
You will need: 15 5X7 inch rectangles of burlap, 5-6 feet of Jute or ribbon, acrylic paint; black and orange, 15 wooden clothespins. tacks to attach banner to wall.
To make the banner:
- Cut fifteen 5 X 7 inch rectangles out of burlap. Iron them with a t-shirt or towel over them.
- Using black acrylic paint, paint one letter vertically on each rectangle spelling out H A P P Y H A L L O W E E N ! in approximately 4 inch capital letters.
- Paint 15 wooden clothespins orange. Allow rectangles and clothespins to dry. ( about one hour)
- Cut 5-6 feet of Jute or ribbon, hang 2 ribbons 11 inches apart one above the other.
- Attach to the wall by tying the ribbon to tacks with the ends 5-6 ft apart (or what works for you).
- Using the orange clothespins, attach (letter-by-letter) HAPPY to the top ribbon, HALLOWEEN to the bottom.
- Center and adjust for your desired look.
NOTE: Perfection is not the goal for this project: burlap frays, clothespins can be tricky to paint, and hand-lettering is a challenge for some people, but that is part of the charm of this banner. (That’s my story and I’m sticking to it!)
RANDOM STUFF:
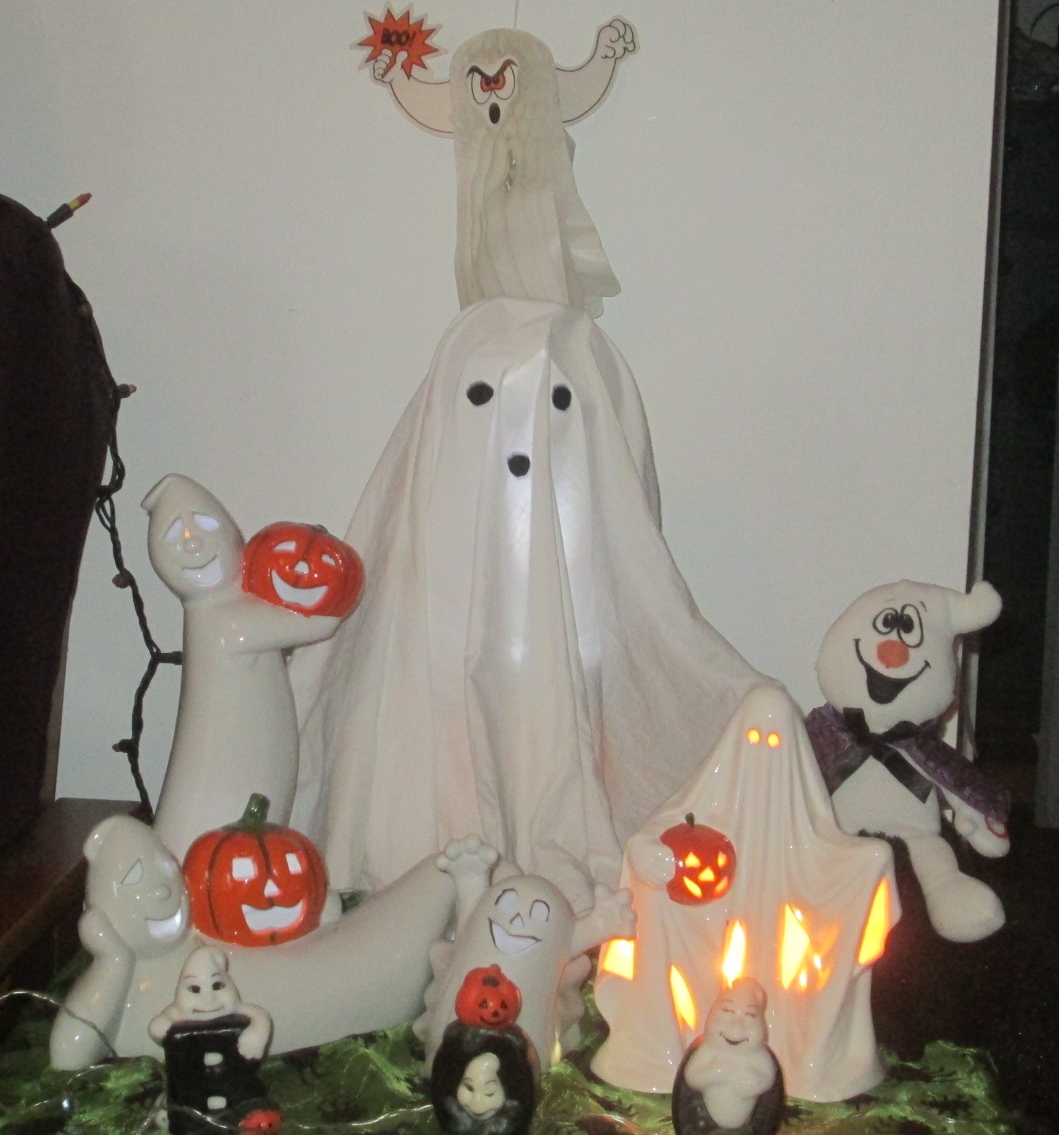
Here’s another picture of our Halloween decor.

TREAT TRICK: An easy way to make popcorn balls is to use the Rice Krispies treat recipe (on the box or online), use the same amount of popcorn instead of Rice Krispies!
PETS WARNING: Remember chocolate is toxic for pets, keep the kids trick-or-treat candy out of their reach! (The pets reach that is, well maybe the kids too!)
GO FLAMELESS: Flameless candles make for a safer Halloween. Use them in Jack-O-Lanterns and all over the house!
JOKE OF THE WEEK: What’s the problem with twin witches? You never know which witch is which! (Source: jokerz.com)
Up next week: Thanksgiving!
Thanks everyone for reading this and the other entries. Please share, like and follow!
We wish you and yours a Happy, safe and creative Halloween!
Roy and Kevin
 Decorating tip: The Lighted Stacked Jack-O-Lanterns shown here is a cute display that is easy to create. You can make this for under $10.00. We had 3 pumpkins but needed a forth. We also needed a set of lights. We went to Target and bought the pumpkin for $1.00 and a set of lights for about $5.00. Start with four plastic pumpkins that are the same size. The ones here are 8 inches. Using a utility knife, cut the bottoms out of the 3 top pumpkins. The very bottom of these pumpkins are usually thicker plastic, so cut along the edge where it is thinner and easier to cut. Stack them together with the uncut one on the bottom and string lights through them from the top. Our’s shown are just stacked, but you may want to attach them together with duct tape in the back. The light shines through the plastic and gives the room a great glow!