Category Archives: creativity

Happy St. Patrick’s Day 2017 (now that we are both Irish)!

“If you’re lucky enough to be Irish, you’re lucky enough.”

Our mantra has always been that everyone is Irish on St. Patrick’s Day. This year, we have found out that it is actually true for us. Kevin is Irish and is named for his Irish roots. Recent new family DNA testing reveals that Roy is 13 percent Irish! Erin go Bragh!

TASTY GREEN ICE CREAM

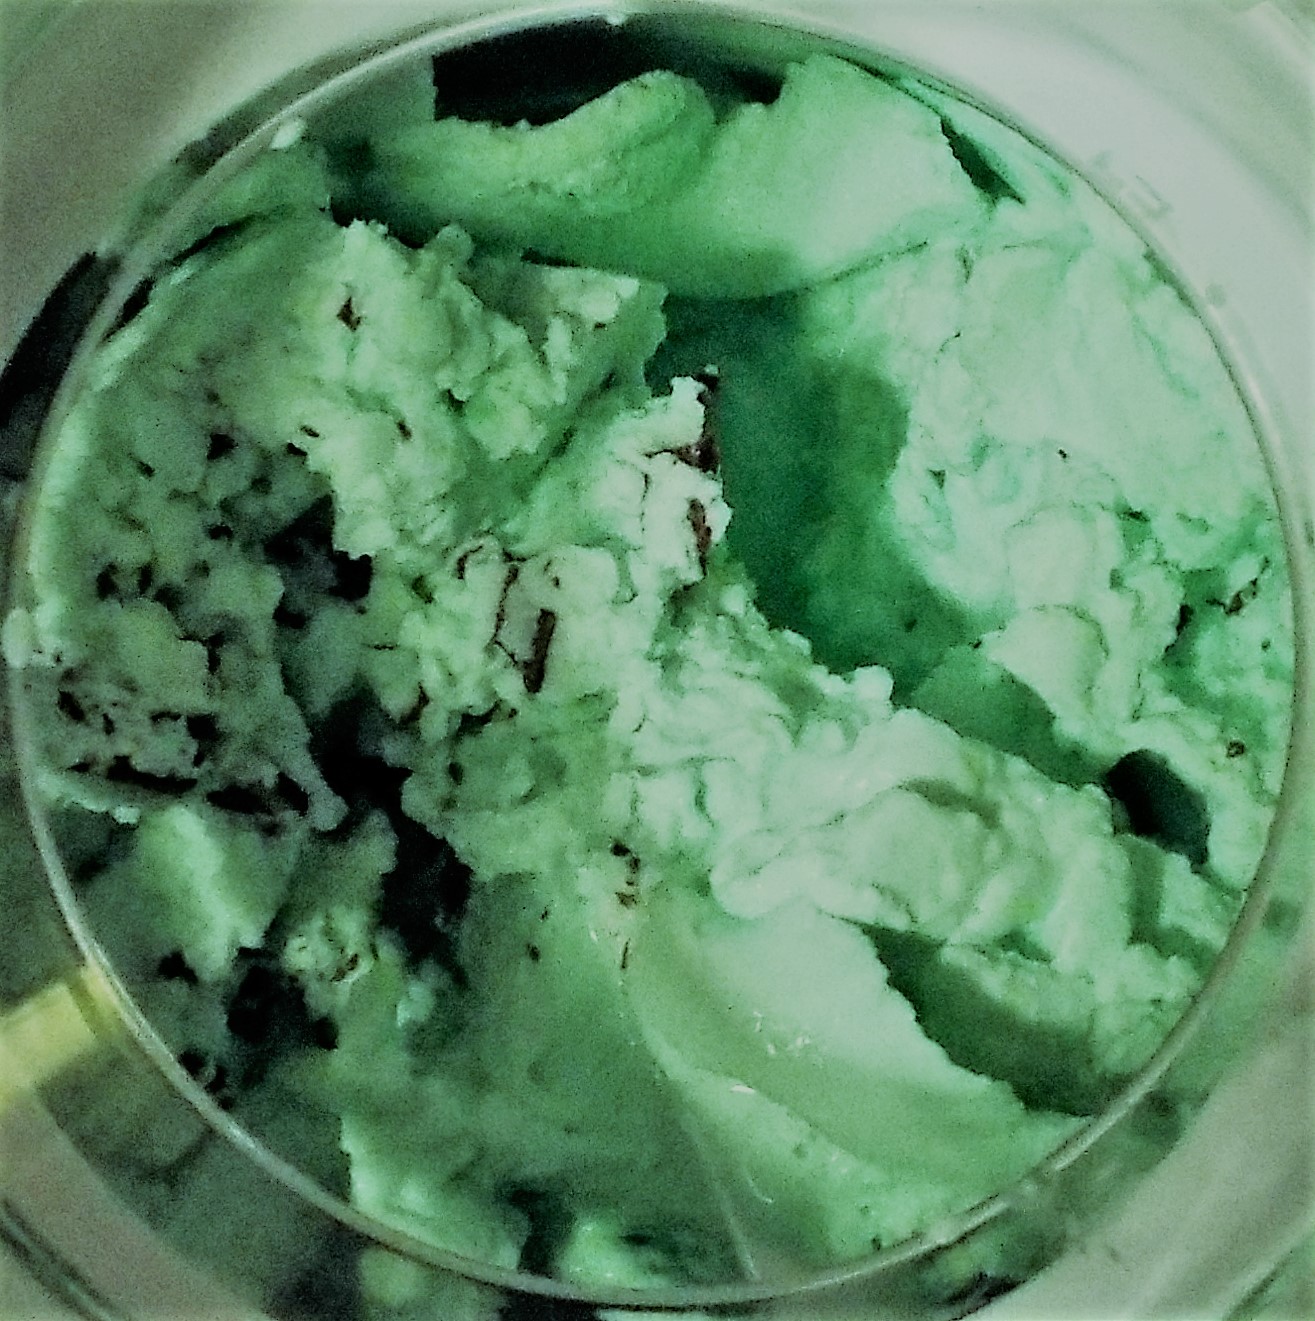
We love our new ice cream maker and have been experimenting with different flavors. In honor of St. Patrick’s Day, it’s Andes Candies Green! We made a standard vanilla ice cream, added some drops of green food coloring and 1/2 teaspoon of mint extract. Five minutes before the ice cream was done, some chopped Andes Candies were added to the mix. Fittingly green, minty, and festive!

If you have an ice cream maker, follow your directions for vanilla ice cream and add the last three ingredients listed below.

  • 1 cup whole milk
  • 3/4 cup granulated sugar
  • pinch salt
  • 2 cups heavy cream
  • 1 teaspoon pure vanilla extract
  • 6 drops green food coloring*
  • 1/2 teaspoon peppermint extract*
  • 1/2 cup chopped Andes candies*

Source: Cuisinart ice cream maker recipe booklet

*These are ingredients we added to the recipe.
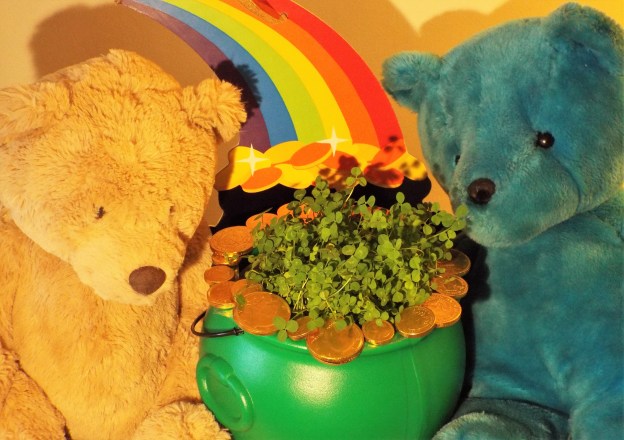
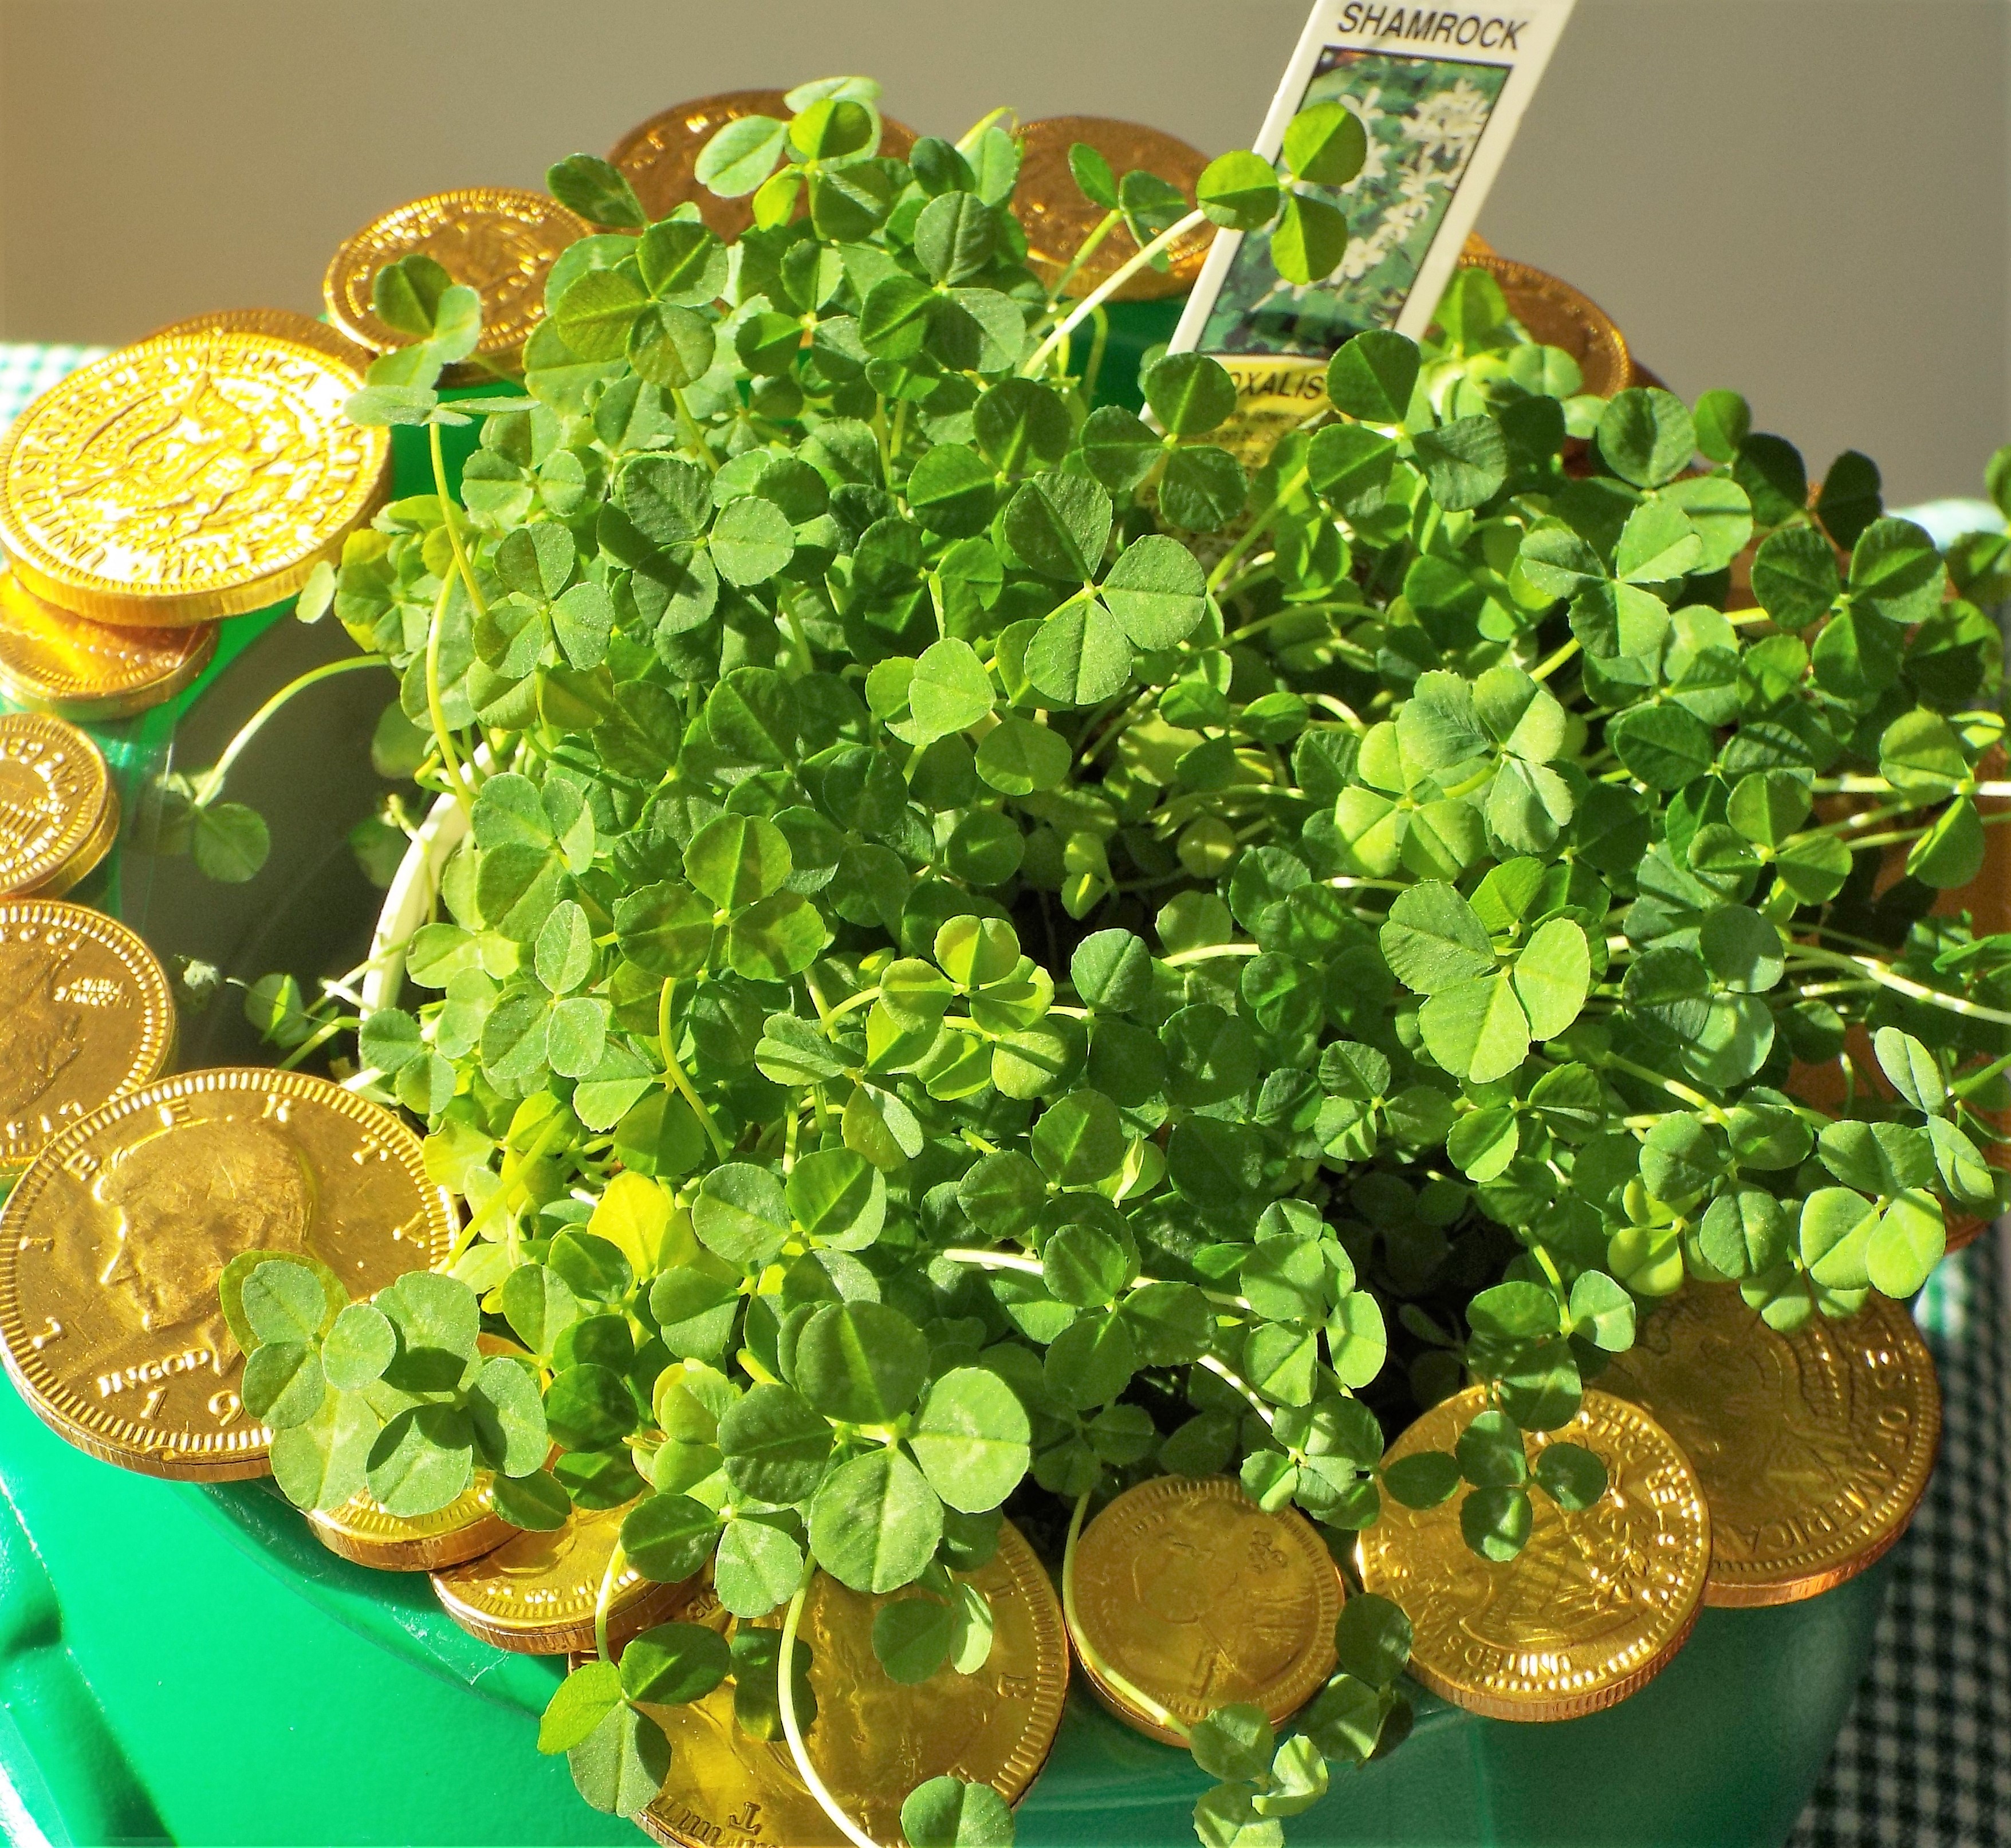
SHAMROCK DECORATION

Place a small pot of shamrocks (ours were bought at Stop and Shop for $2.99) in a holiday pot picked up at a party store. Attach chocolate gold coins around the edge using double stick tape. A rainbow wall decoration adds the perfect background for our “pot at the end of the rainbow”. This works well for a party, but for a more permanent decoration, use plastic gold coins and attach them with craft glue.

Work in Progress

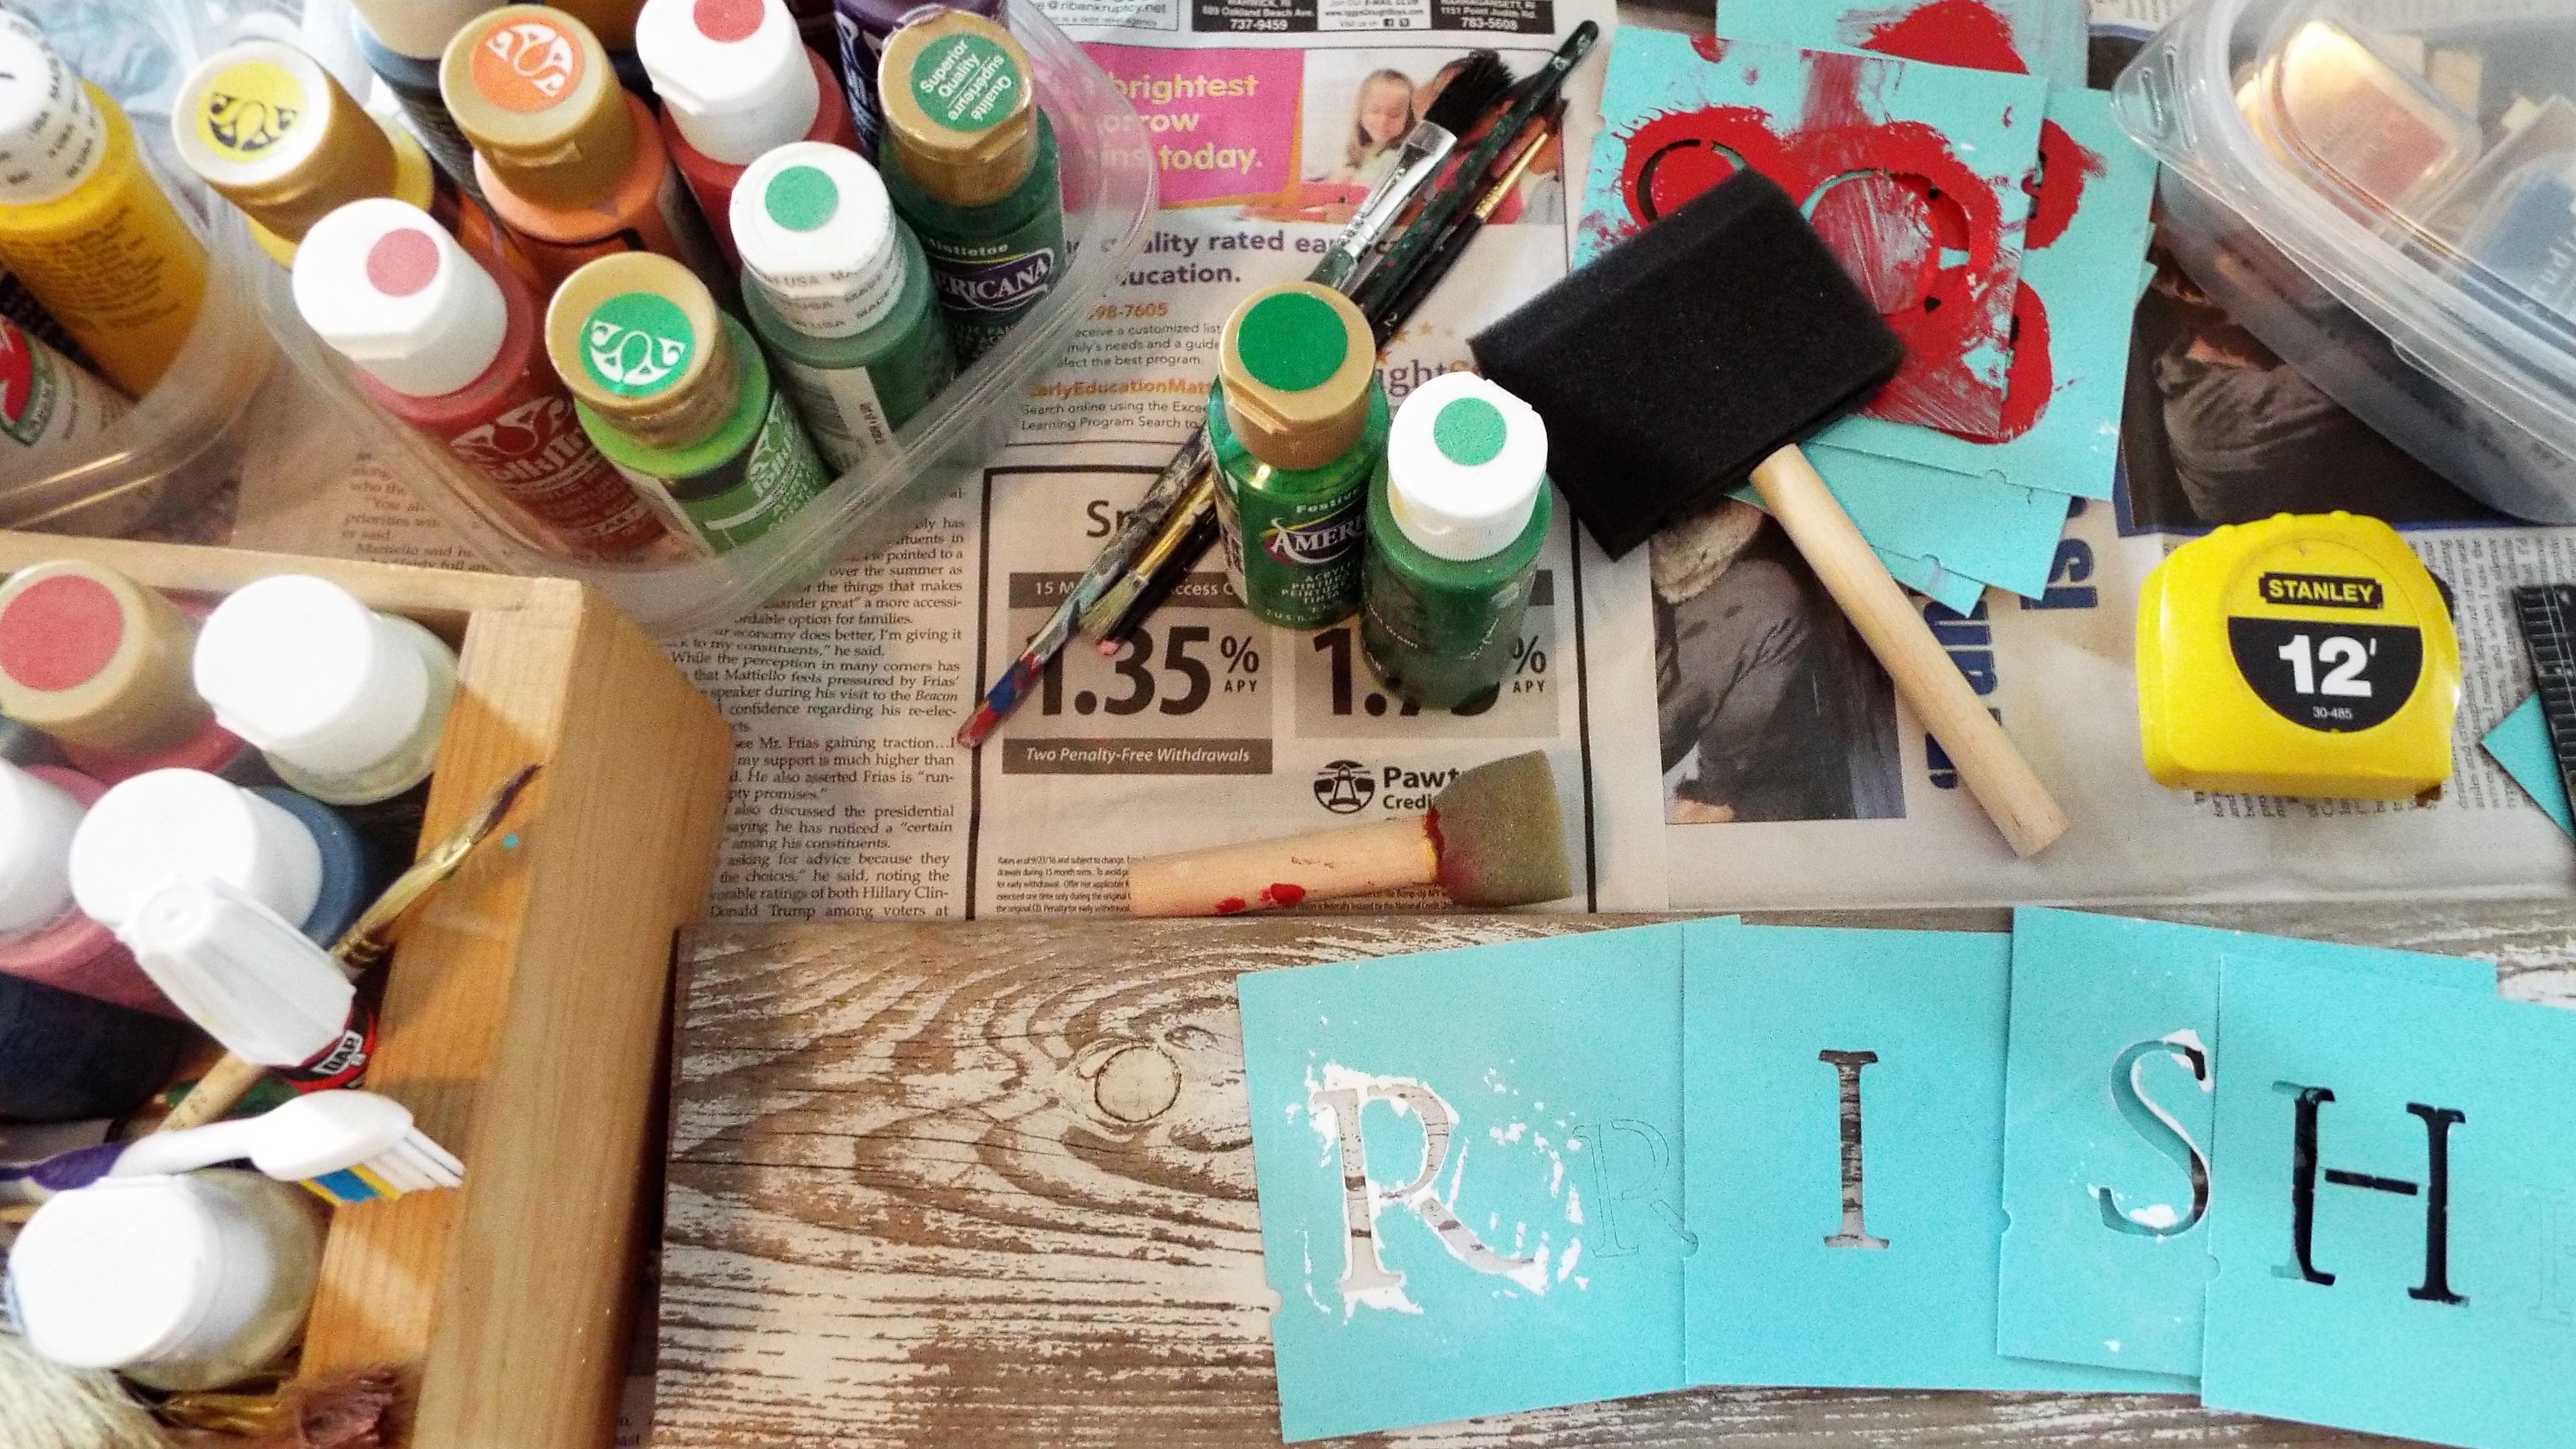
We have been learning to create signs with stencils and stamps. Here is a work in progress for St. Patrick’s Day:

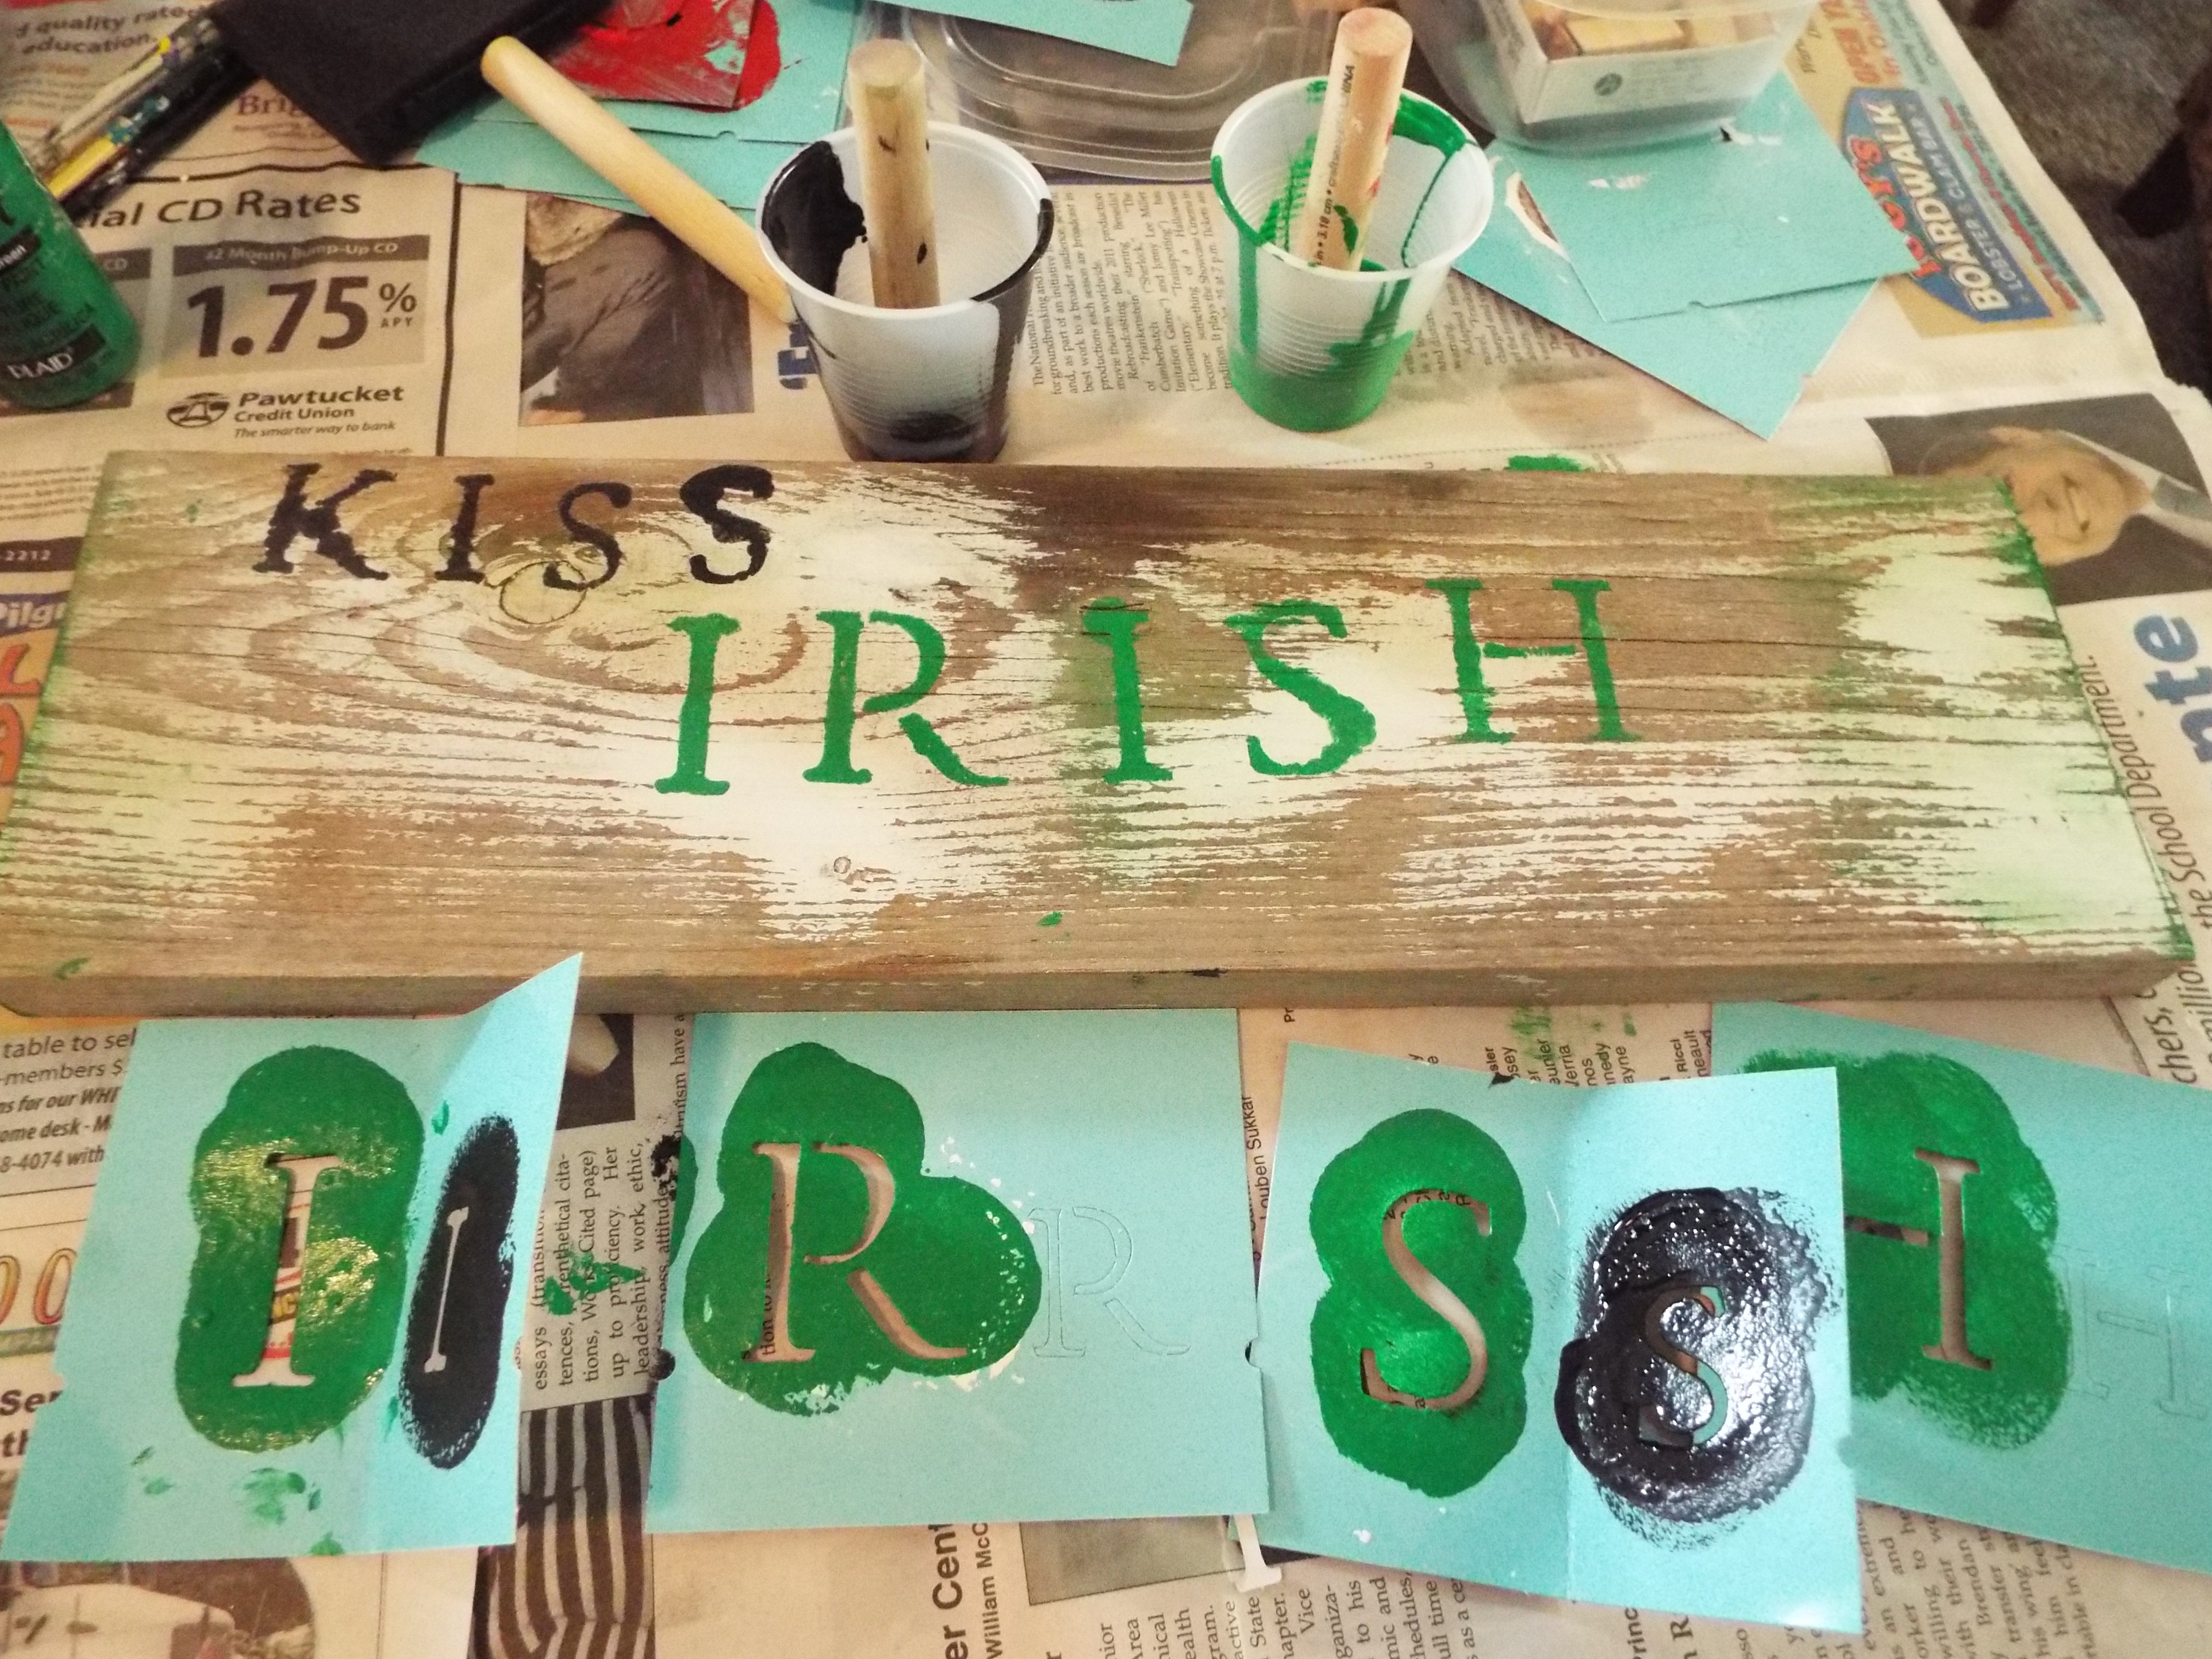
Some of the materials used: acrylic paints, stencils, stamps, old boards.

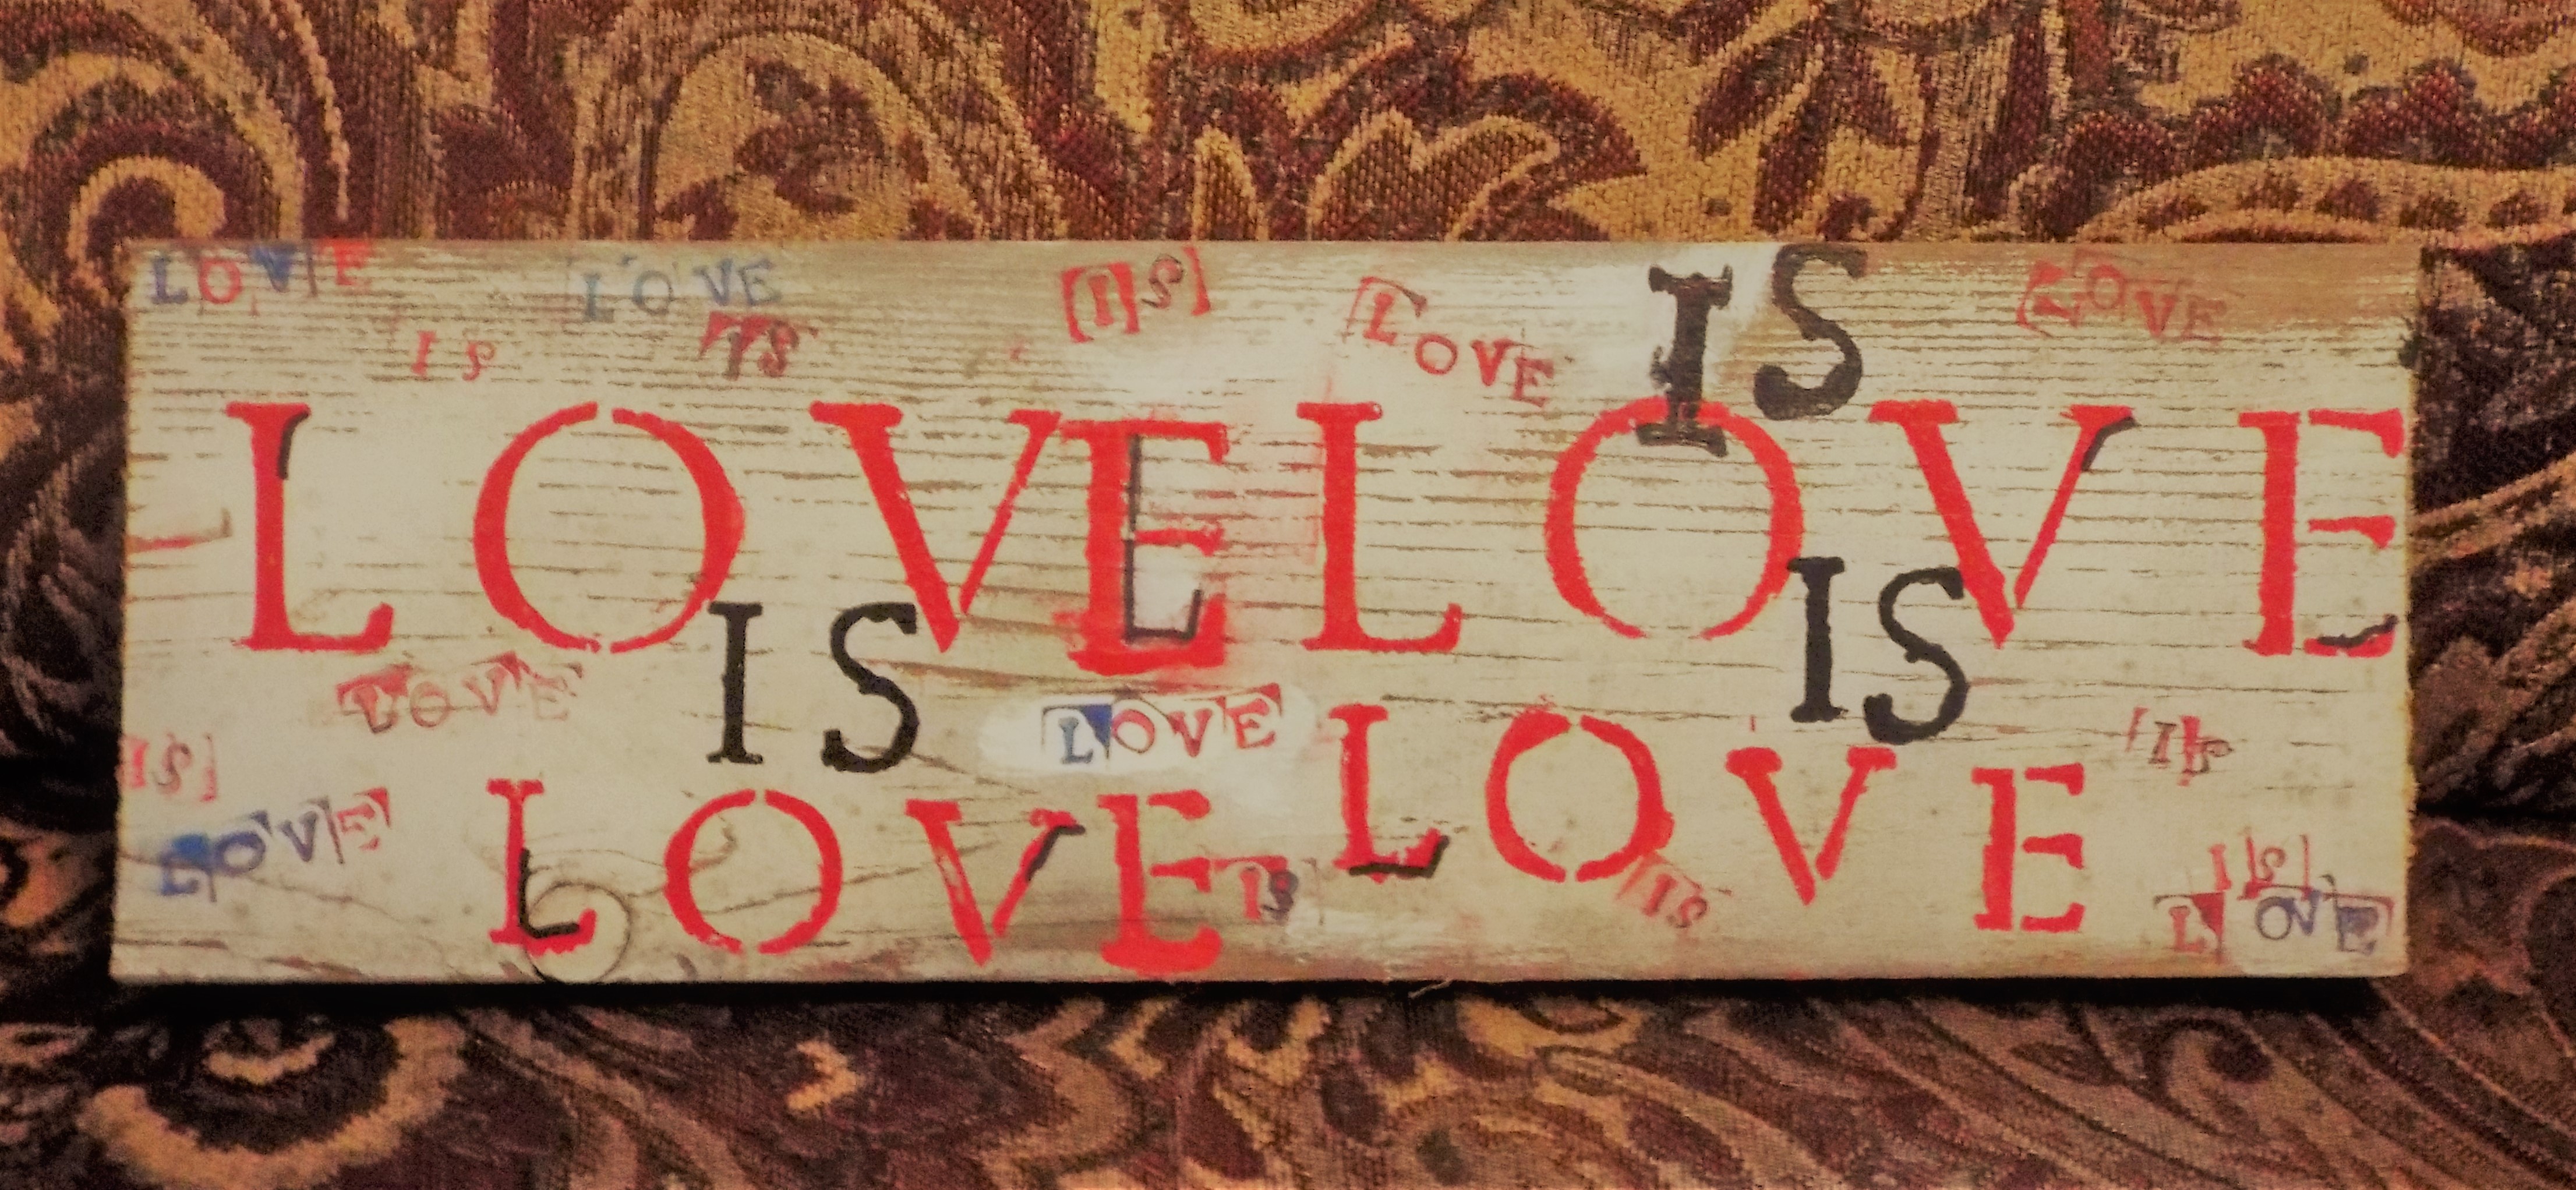
Here is a sign we created for St. Valentine’s Day based on a quote by Broadway’s “Hamilton” creator Lin-Manuel Miranda in response to the Pulse nightclub shooting.

“Love is love is love is love is love…”

A TRIO OF IRISH JOKES

What’s Irish and stays out all night? Paddy O’furniture!

How is a best friend like a 4-leaf clover? Because they are hard to find and lucky to have.

Never iron a 4-leaf clover because you don’t want to press your luck!

Source for all jokes : Jokes4us.com
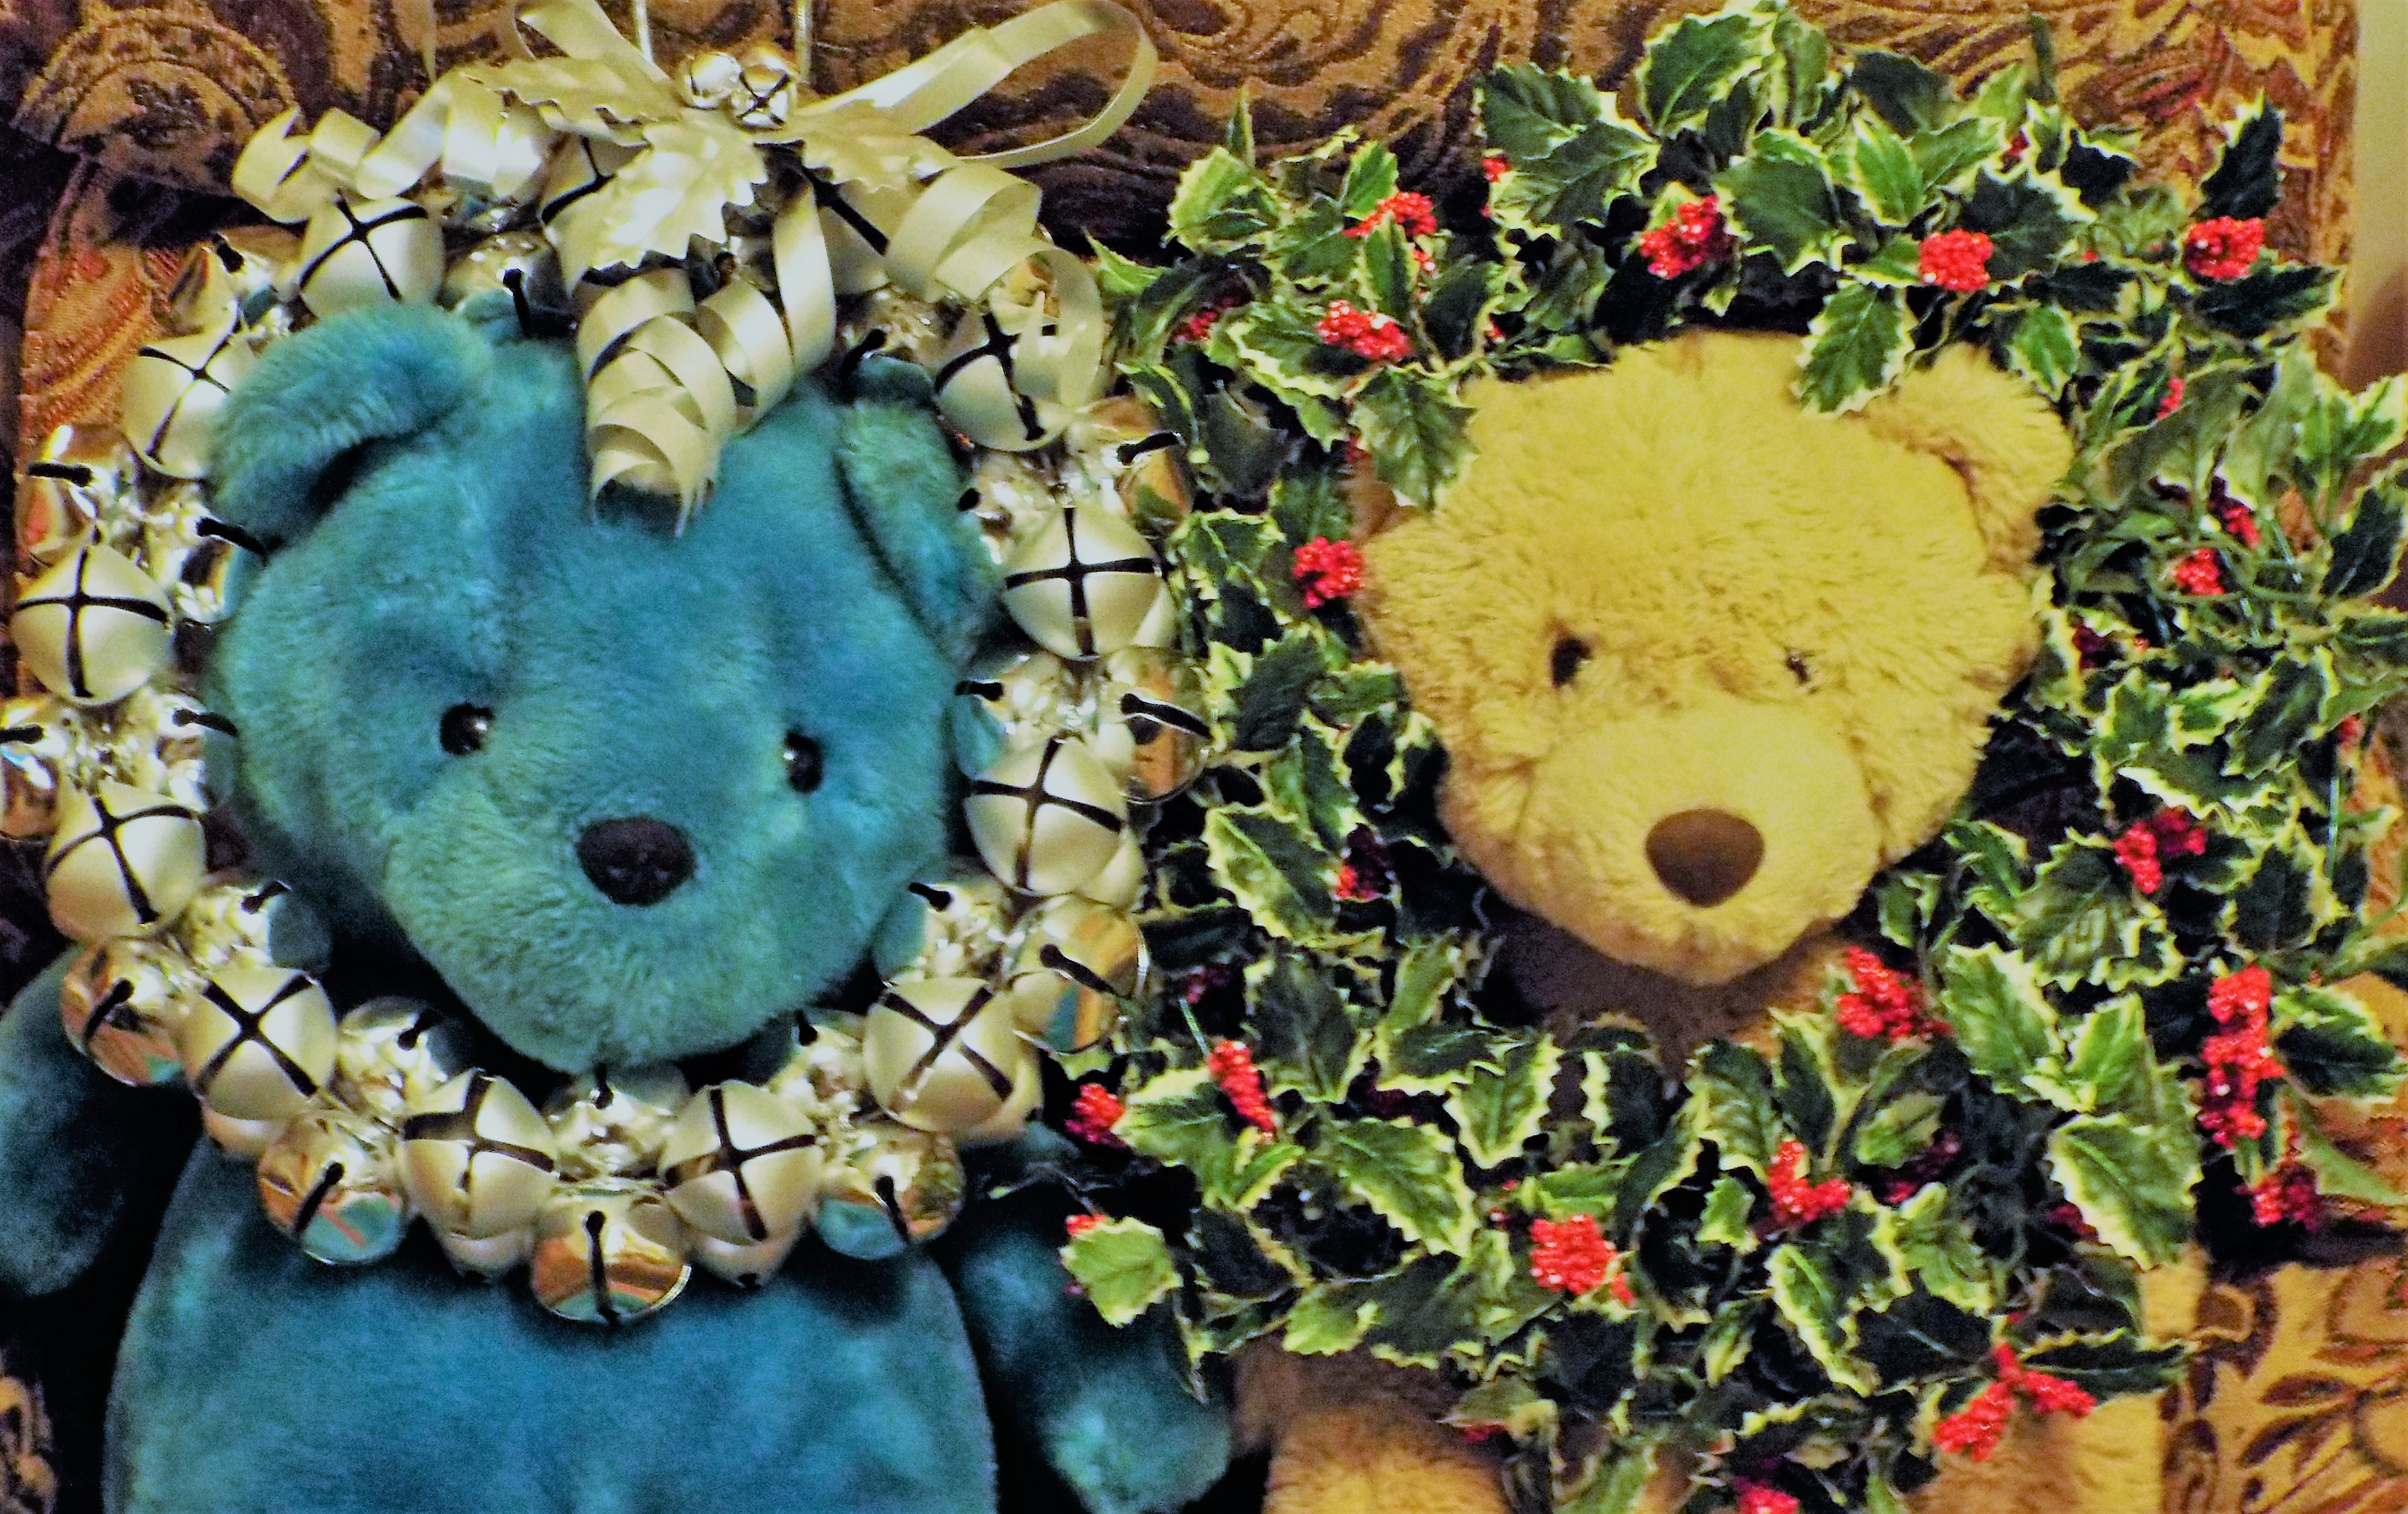
THE BEARS

The bears followed the rainbow to the Pot o’ Shamrocks!

Slainte!!!

Roy and Kevin


Advertisement

Wreath is the Word!!!


Happy Holidays! This week, our miniblog is about creating simple, beautiful wreaths, using Christmas ornaments and collectibles. Every year, most of the tables in our home are filled with holiday-themed vignettes – Santas, nutcrackers, snowmen, etc. Creating wreaths is a great way to free up some table space!

Using coupons (of course), we bought a variety of plain wreaths and wreath forms at Michael’s and Joann’s.

dscf4735-2

NUTCRACKER WREATH

These nutcrackers make a festive wreath. They were gifts from Kevin’s mother, Irene, who presented her children with a special ornament or decoration, the “family gift”, every Christmas. Kevin attached them to the white wreath with Christmas tree hooks or wire depending on the weight of the ornament. It’s a great way to showcase this collection.

dscf4741-2  dscf4763


dscf4760-2

SANTA WREATH

Our Santa figurine collection has grown over the years. Ho Ho Ho!!!

Here’s a Santa vignette decorating one of our desks last Christmas.

DSCF1917 (2)

This year, we created a Santa wreath and saved some valuable counter space.

dscf4751-3

The Santas were attached with green twist ties and final product is the featured image above.

MORE ABOUT THE FAMILY GIFT

For many years, Kevin’s mom, Irene, gave what she called, “The Family Gift”. Each year, usually with the a special assist from daughter Christine, Irene selected a special Christmas decoration and gave that to her seven children. An angel, Santa, snowman, nutcracker or set of nutcrackers, or some other treasure was given each year. All of the nutcrackers on the wreath featured above were family gifts.

Irene chose each family gift with a lot of love (and an eye to finding seven of the same item!), and we have borrowed the idea, continuing the family gift tradition for Kevin’s family each Christmas. We lost Irene in 2014, but these wonderful ornaments are a reminder of her love for her family and the holidays.

The bears are back to get in on the wreath fun!!!

dscf4818-2

Peace.

Roy and Kevin


Pine Cones 102 – Not So Itsy-Bitsy Spider!

No living thing is ugly in this world. Even a tarantula considers itself beautiful.”

– Munia Khan (poet) Source: Goodreads

For our second mini-blog, we created a spider out of pine cones and mini pumpkins. A fun project to do with your kids. Perfect for Halloween!

You will need:

  • Six 5-inch pine cones
  • One 3-inch mini pumpkin
  • One 4-inch mini pumpkin
  • Black spray paint (Satin finish)
  • 1 black chenille stem (we used Jumbo Fuzzy Sticks from Target) cut to 5 inches
  • Craft glue
  • Two 1/2-inch googly eyes
  • One 14-inch platter

How to create your spider:

  • In a ventilated area, spray paint pumpkins and pine cones thoroughly. Use newspapers to protect surfaces.

dscf4298-3 dscf4300-3

  • Allow to dry.
  • Place 3-inch pumpkin upside down below and in front of the 4-inch pumpkin on the platter or whatever you choose as a base.

dscf4331-2

  • Add googly eyes with craft glue. (Some come with adhesive backs, use those if you have them.)

dscf4335-2

  • Decide which pine cones go where. We used larger pine cones as the back legs.
  • Place 3 legs on each side.
  • Bend chenille stem to create feelers and position under spider head.

dscf4321-2

Watch the bugs (and some people) disappear in fear!

Hint 1: This display is temporary because we will be using the parts for future holiday decor. Stay tuned! For more permanence, attach spider parts to platter with double stick tape.

Hint 2: If paint comes off pumpkins during assembly, touch up with quick drying, matching acrylic paint.

Be creative with your spiders! Use colorful googly eyes, make a purple spider or whatever you favorite spider color is, add stickers and designs. We’d love to see pictures of your creations!

Enjoy!

Roy & Kevin


Pine Cones 101

” You can’t use up creativity. The more you use, the more you have.” – Maya Angelou     Source: Goodreads

dscf4219-2

For the first in our mini-blog holiday crafting series, we feature one of several pine cone entries, starting with a centerpiece made with painted pine cones. This is an easy, fun, affordable idea whether you use pine cones you find in nature or buy at your local craft store (don’t forget to use coupons!). Here is what we did. (Figured you were “pining” to know all about it!)

PREPPING THE PINE CONES

If you find your pine cones in nature, they will need a little prep to make them usable for crafting and decorating.

There are a couple of ways to prepare your pine cones. The method we used was to bake them in a pre-heated 200 degree oven for 1/2 hour, and allow them to dry for a couple of days.

For more about pine cones preparation, check out this link:

http://tipnut.com/how-to-prepare-preserve-pinecones/

PAINTING THE PINE CONES

dscf4245-2

  • We chose orange and black for this fall and Halloween craft.
  • The cones were spray painted in a well ventilated area. (Our patio fit the bill.)
  • A disassembled cardboard box covered with newspaper protected the concrete floor.
  • One side was painted, allowed to dry a half hour, before turning over and painting the other side.

dscf4231-2dscf4230-2

Stand pine cones up in saved egg cartons to allow for thorough drying.

dscf4239-2

Bonus Craft Tip: Save your egg cartons, they work well for paint projects and for storing small items such as beads and pins.

Plan ahead – avoid the fumes!

We prefer to use spray paints outdoors. If you are planning to spray paint pine cones, or anything for Halloween, Thanksgiving or Christmas, do so before outdoor temperatures get too cold. For best results, spray paints should be used in 50-90 degrees Fahrenheit.

EASY AUTUMN CENTERPIECES

Once our black and orange pine cones were ready, we created these centerpieces using a glass trifle bowl and vase. Pump it up with a couple of mini-pumpkins!

Pretty and simple!

Here are a couple of different versions:

dscf4288-2dscf4277dscf4264

More pine cone and holiday craft mini-blogs coming soon!

Enjoy!

Roy & Kevin