Recycle your coffee cans. Here are some fun, easy ways to decorate with recycled cans (if you don’t drink coffee, pick up some metal cans in the paint department at your local hardware store).
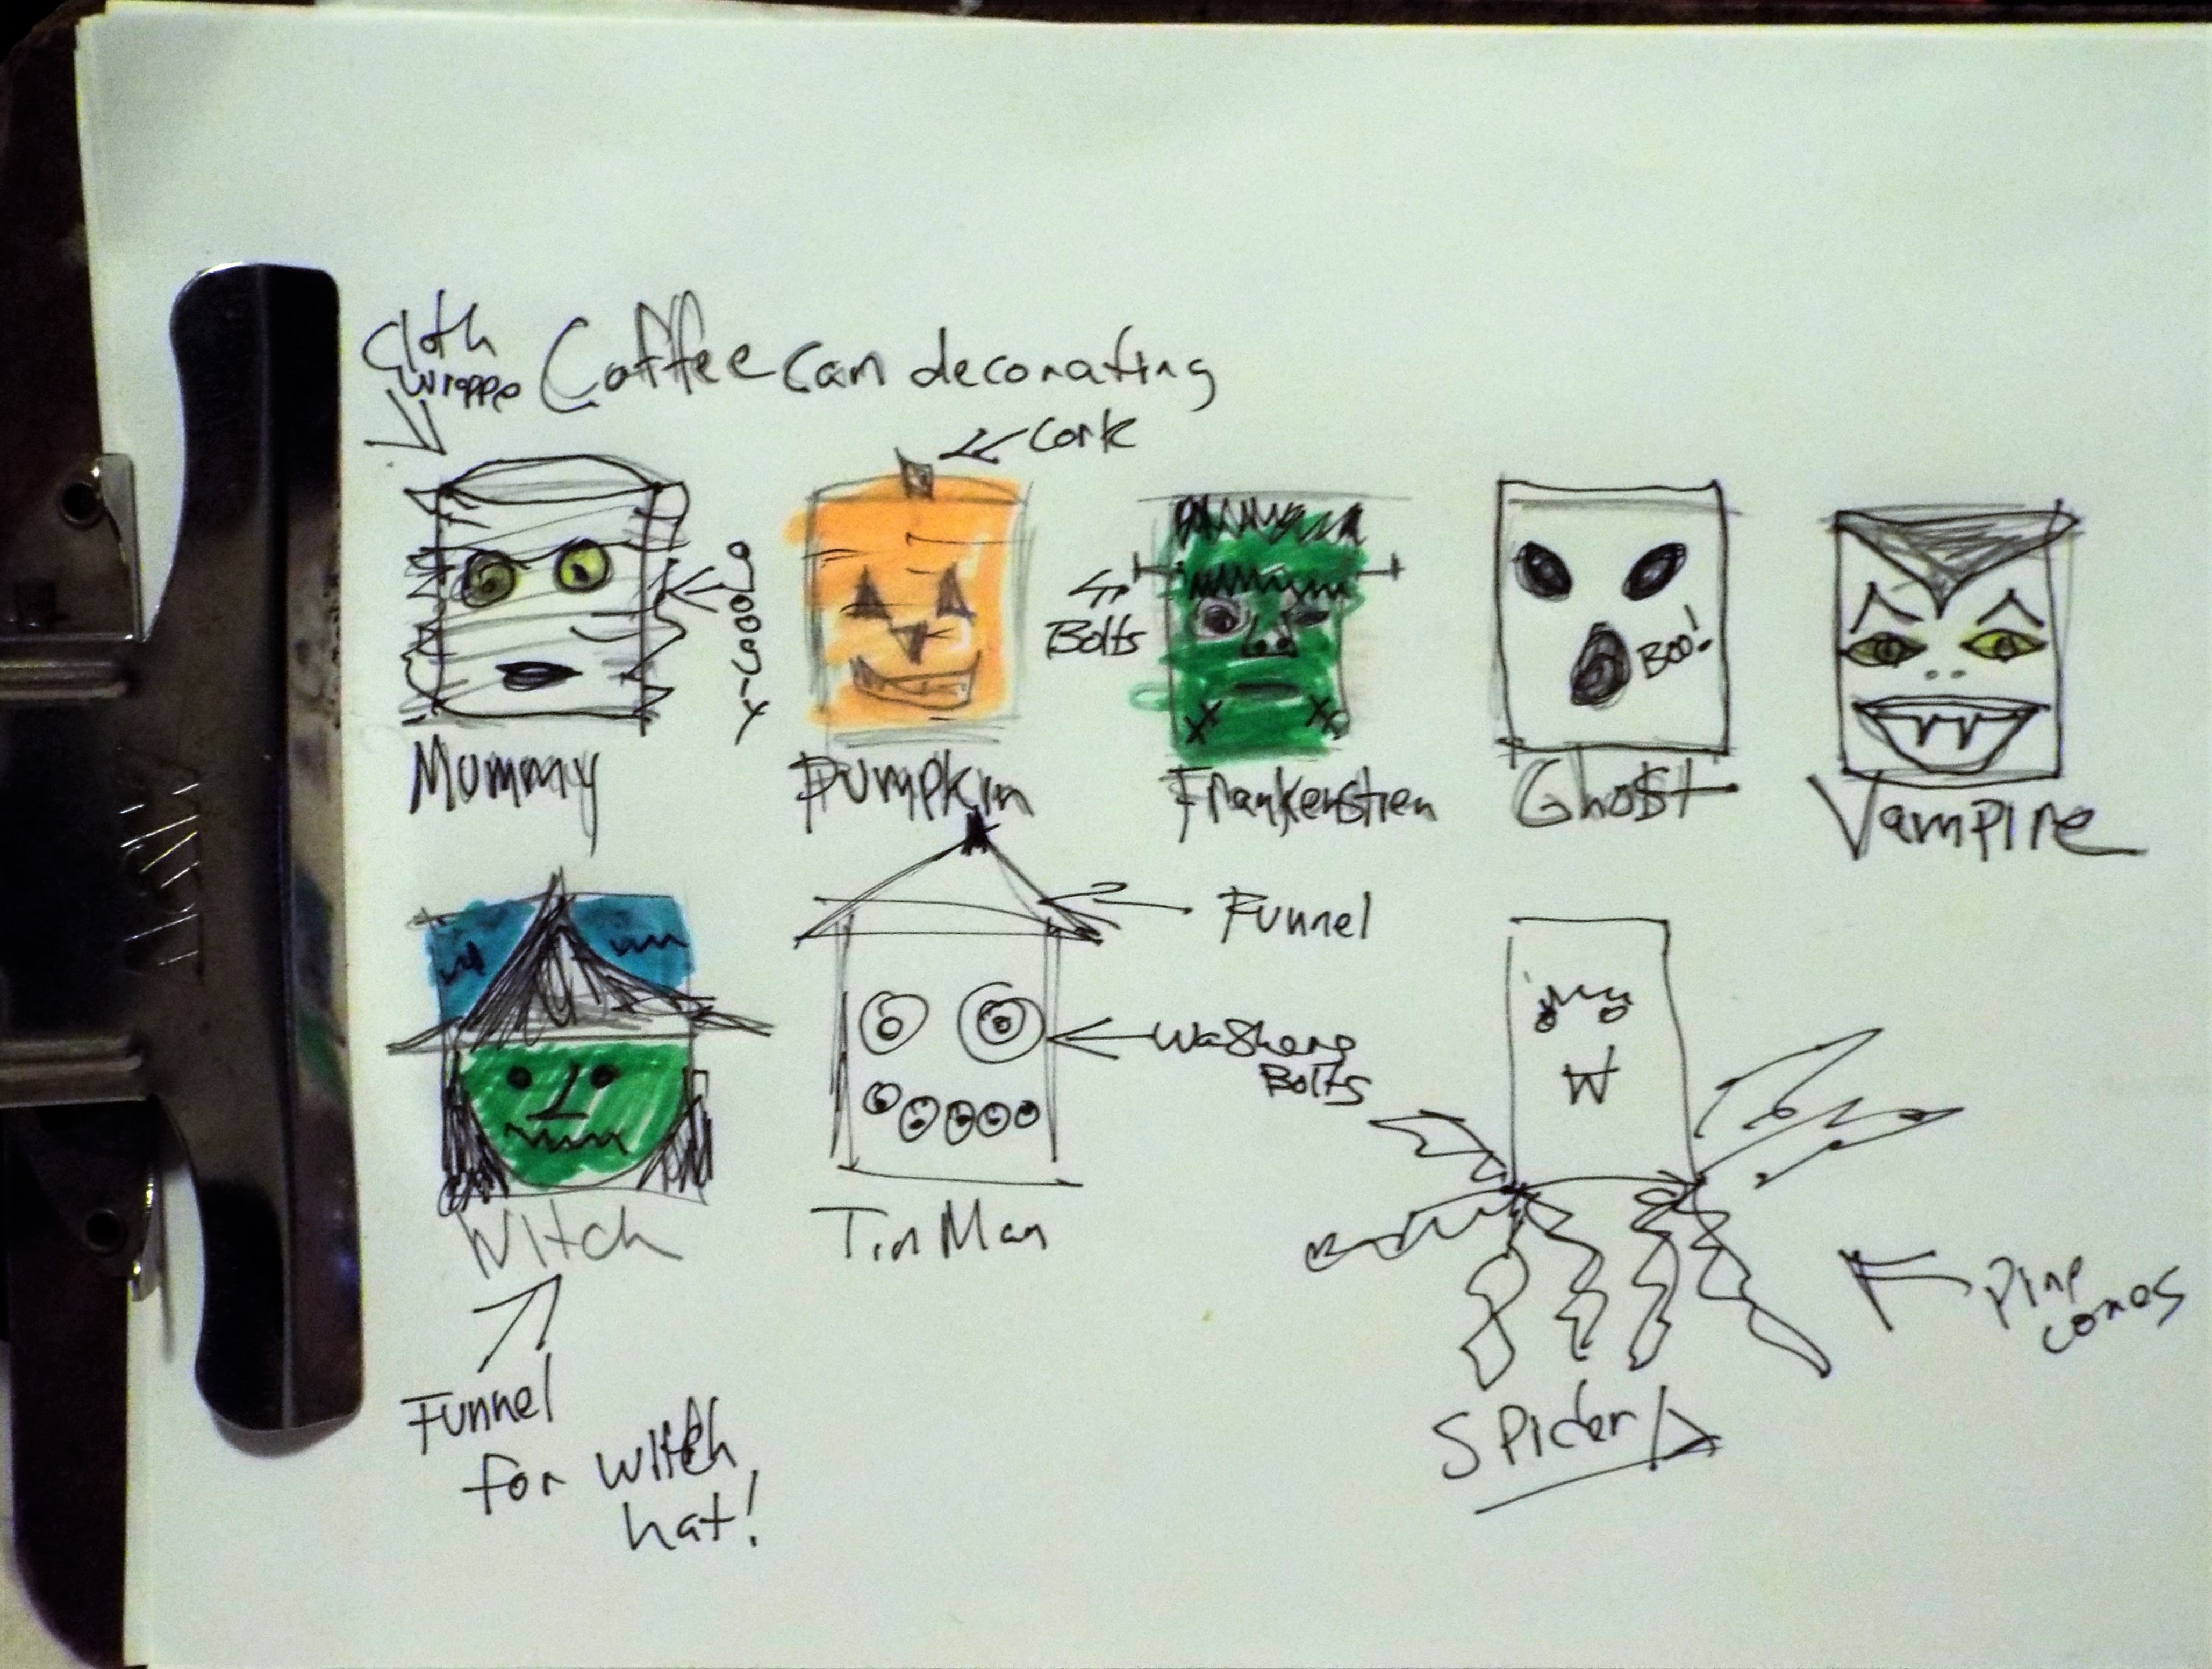
This sketch is the storyboard for this creative idea. Even if feel you can’t draw well, making sketches can help you focus on any project, and no one has to see the sketches!

Suggested materials:
- coffee cans
- construction paper
- googly eyes
- pom poms
- craft glue
- hot glue
- double stick tape
- muslin fabric
- rick rack trim
- chenille stems (we used Jumbo Fuzzy Sticks from Target)
- corks
- funnels (we got a 3-pack from Lowes for 3.69)
- nuts and bolts
- markers
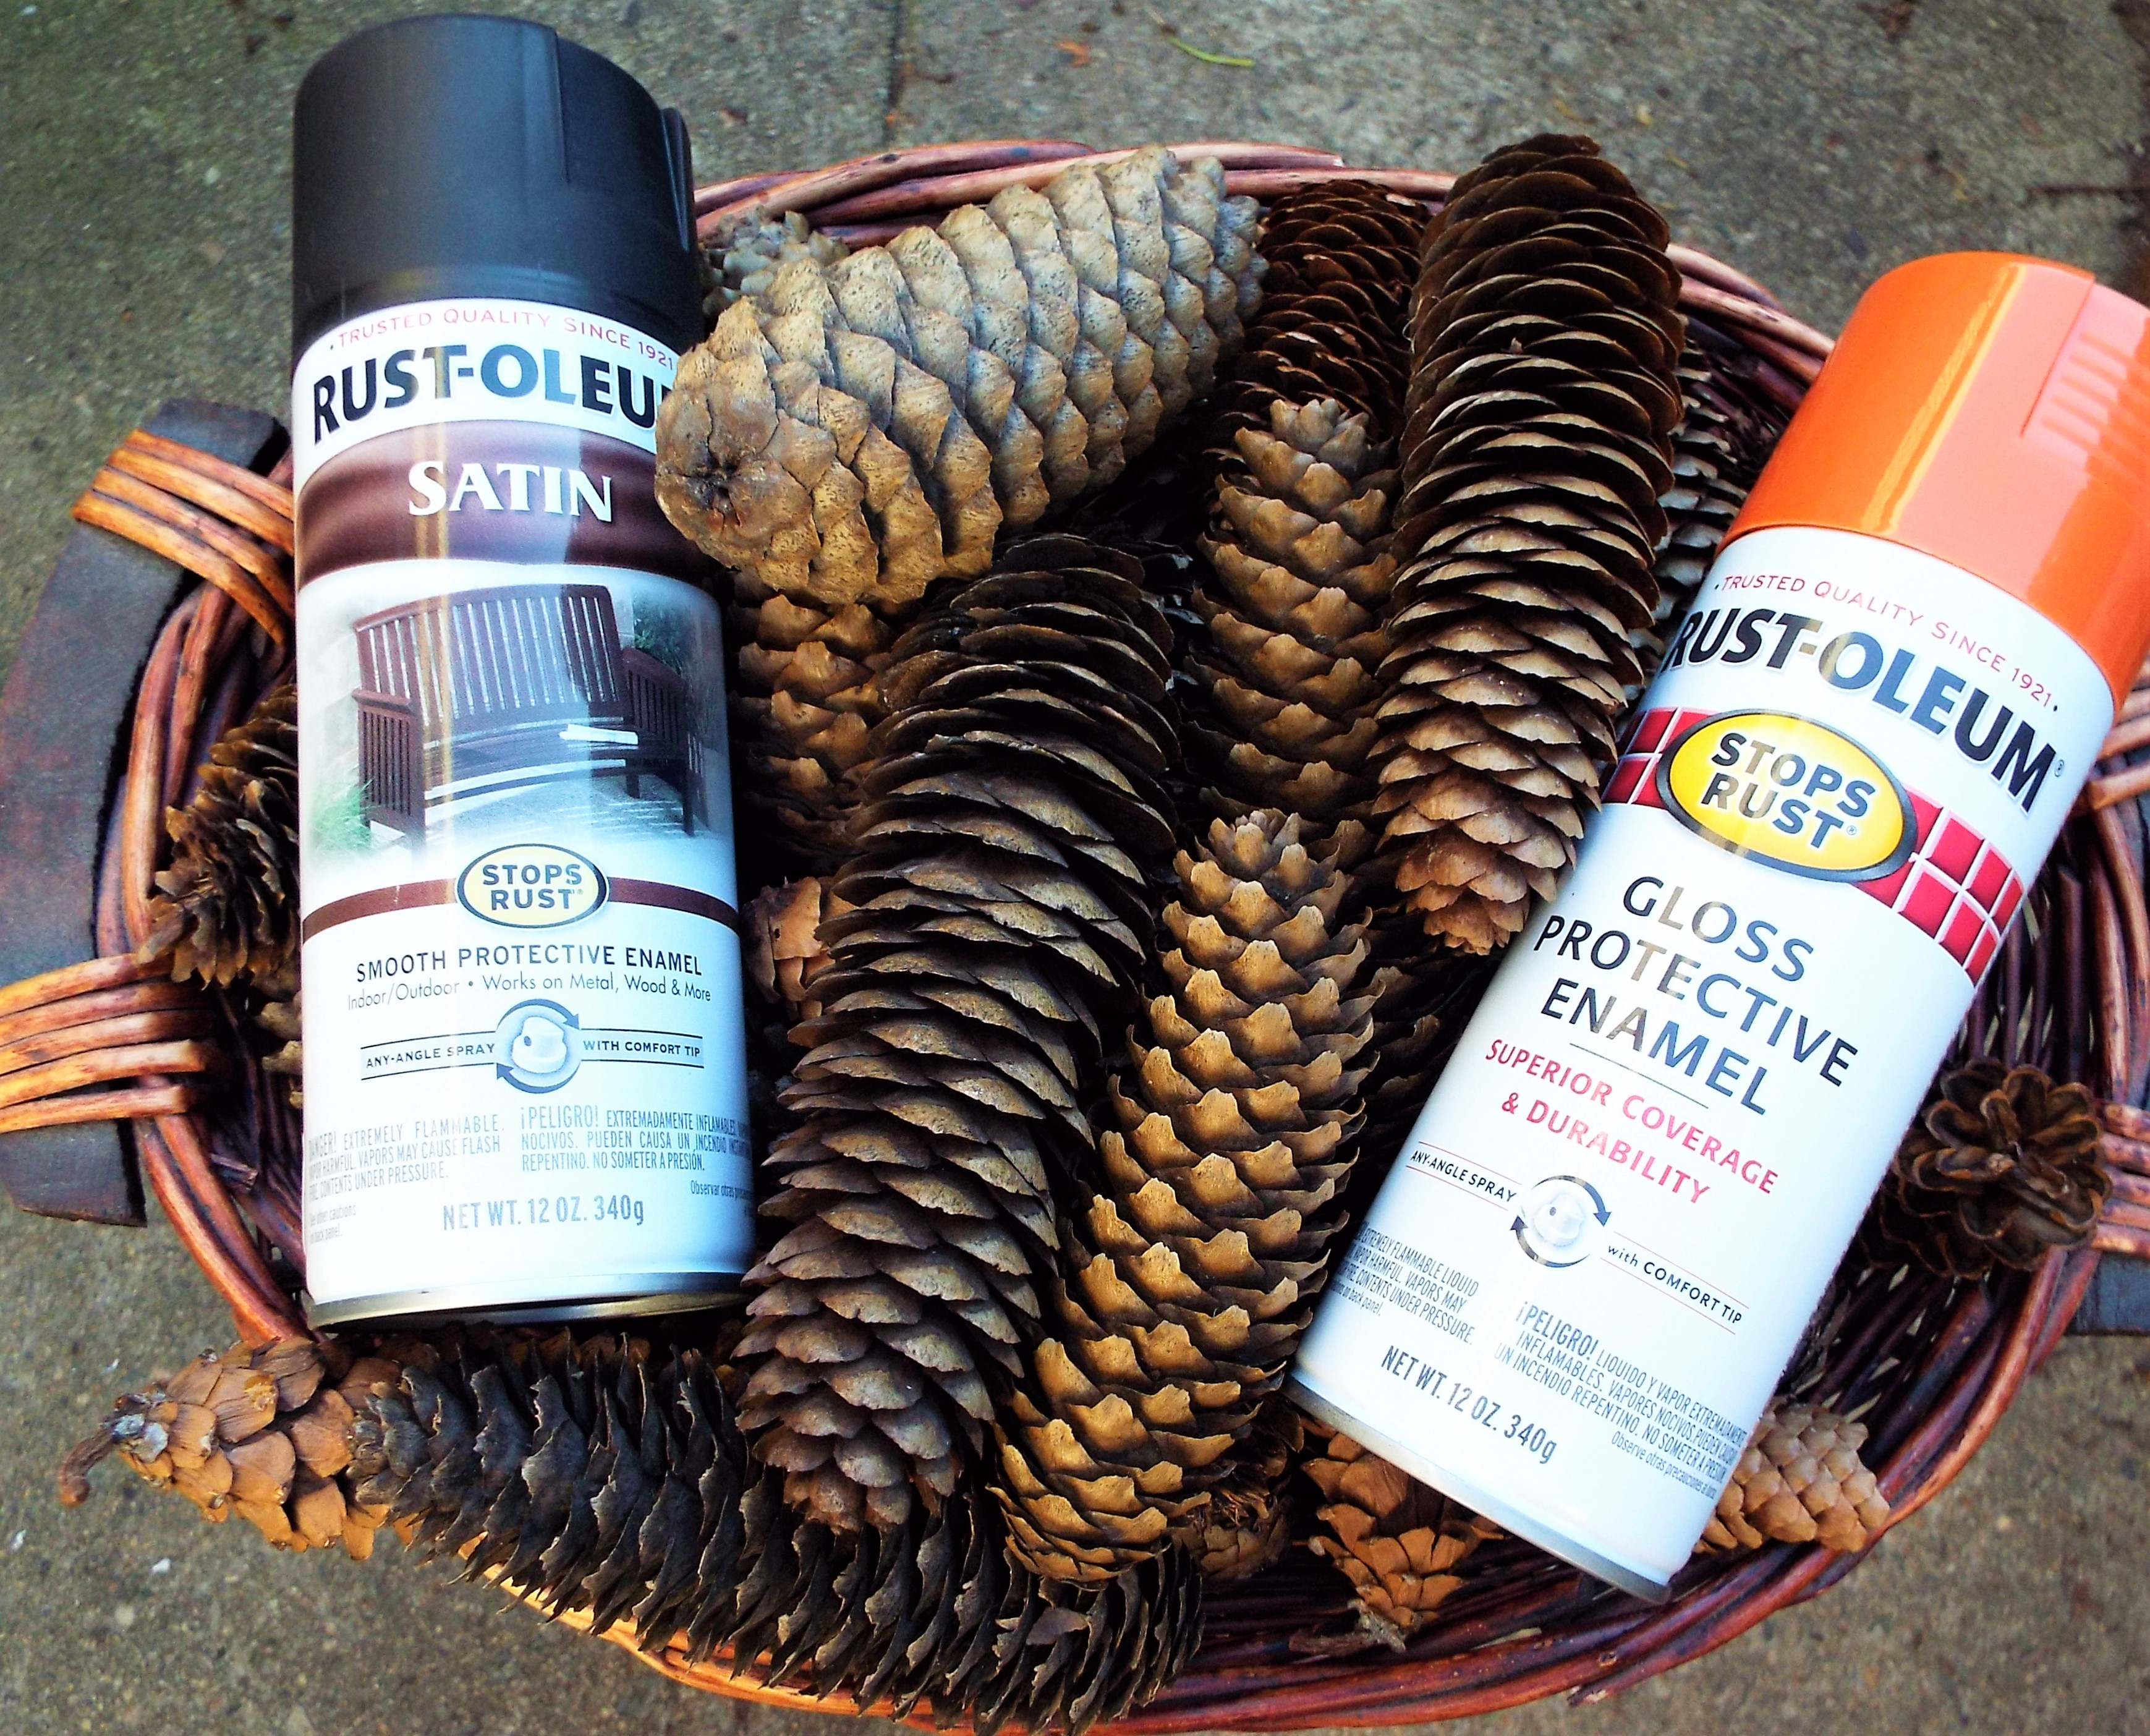
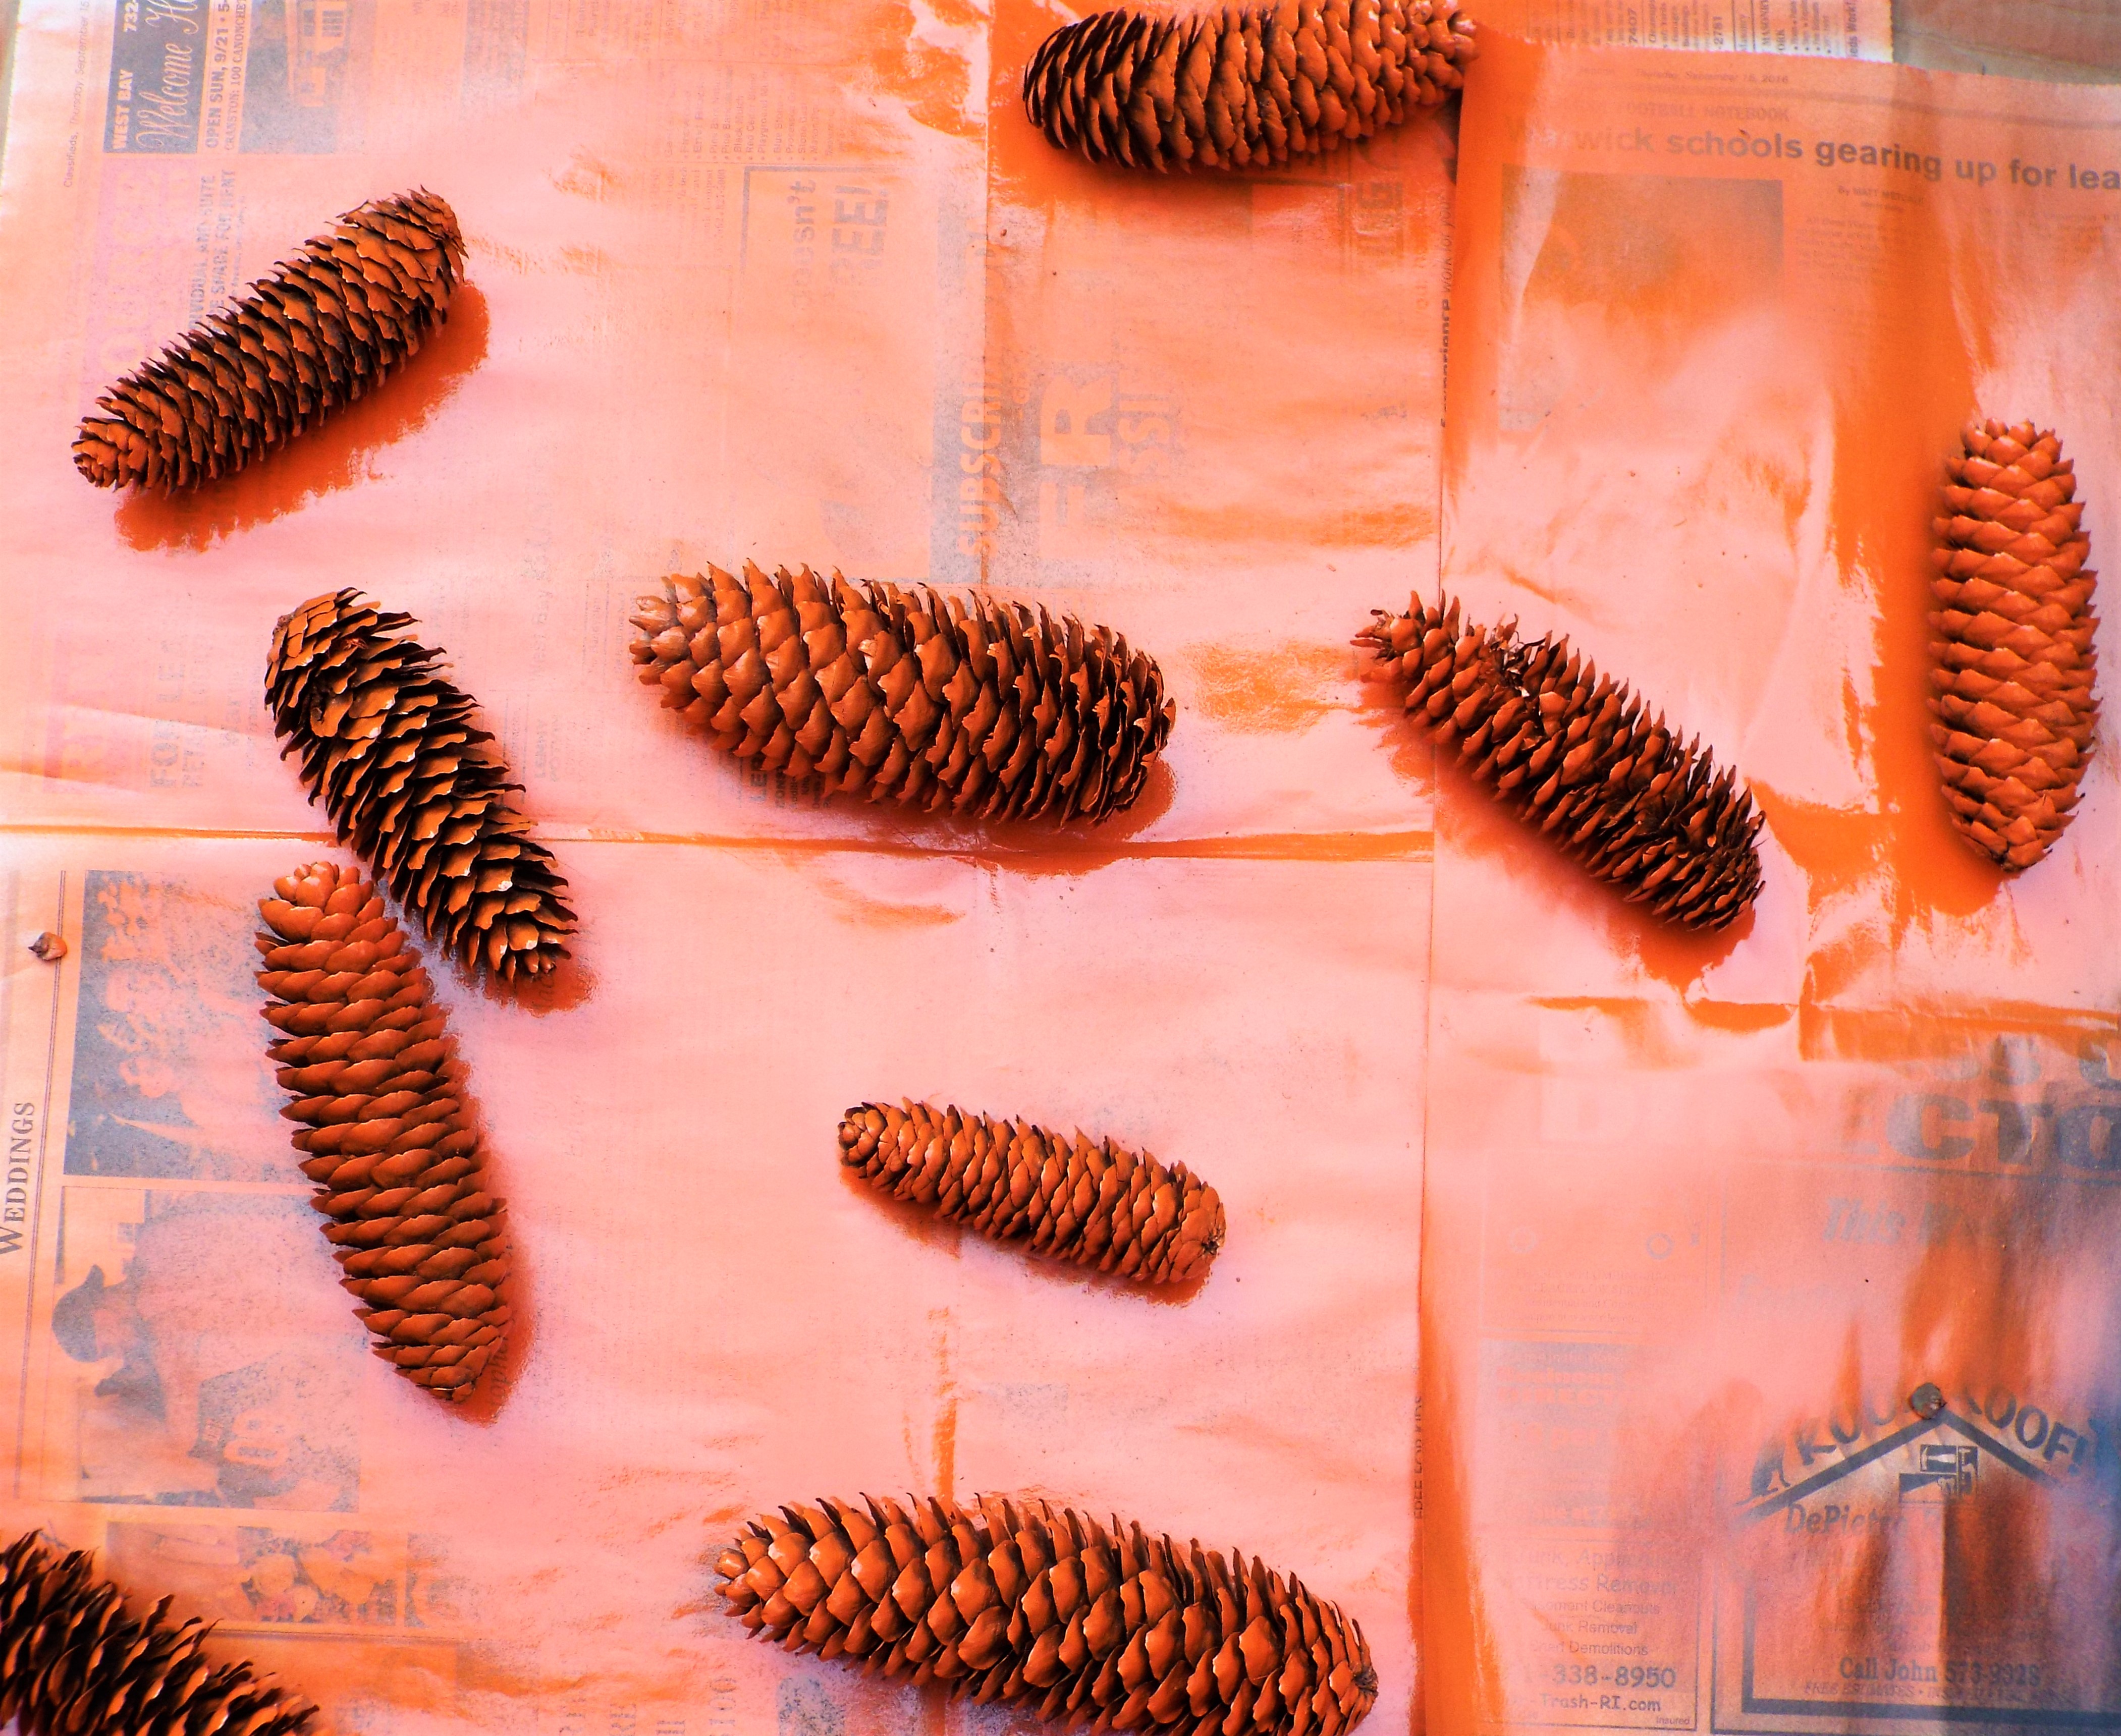
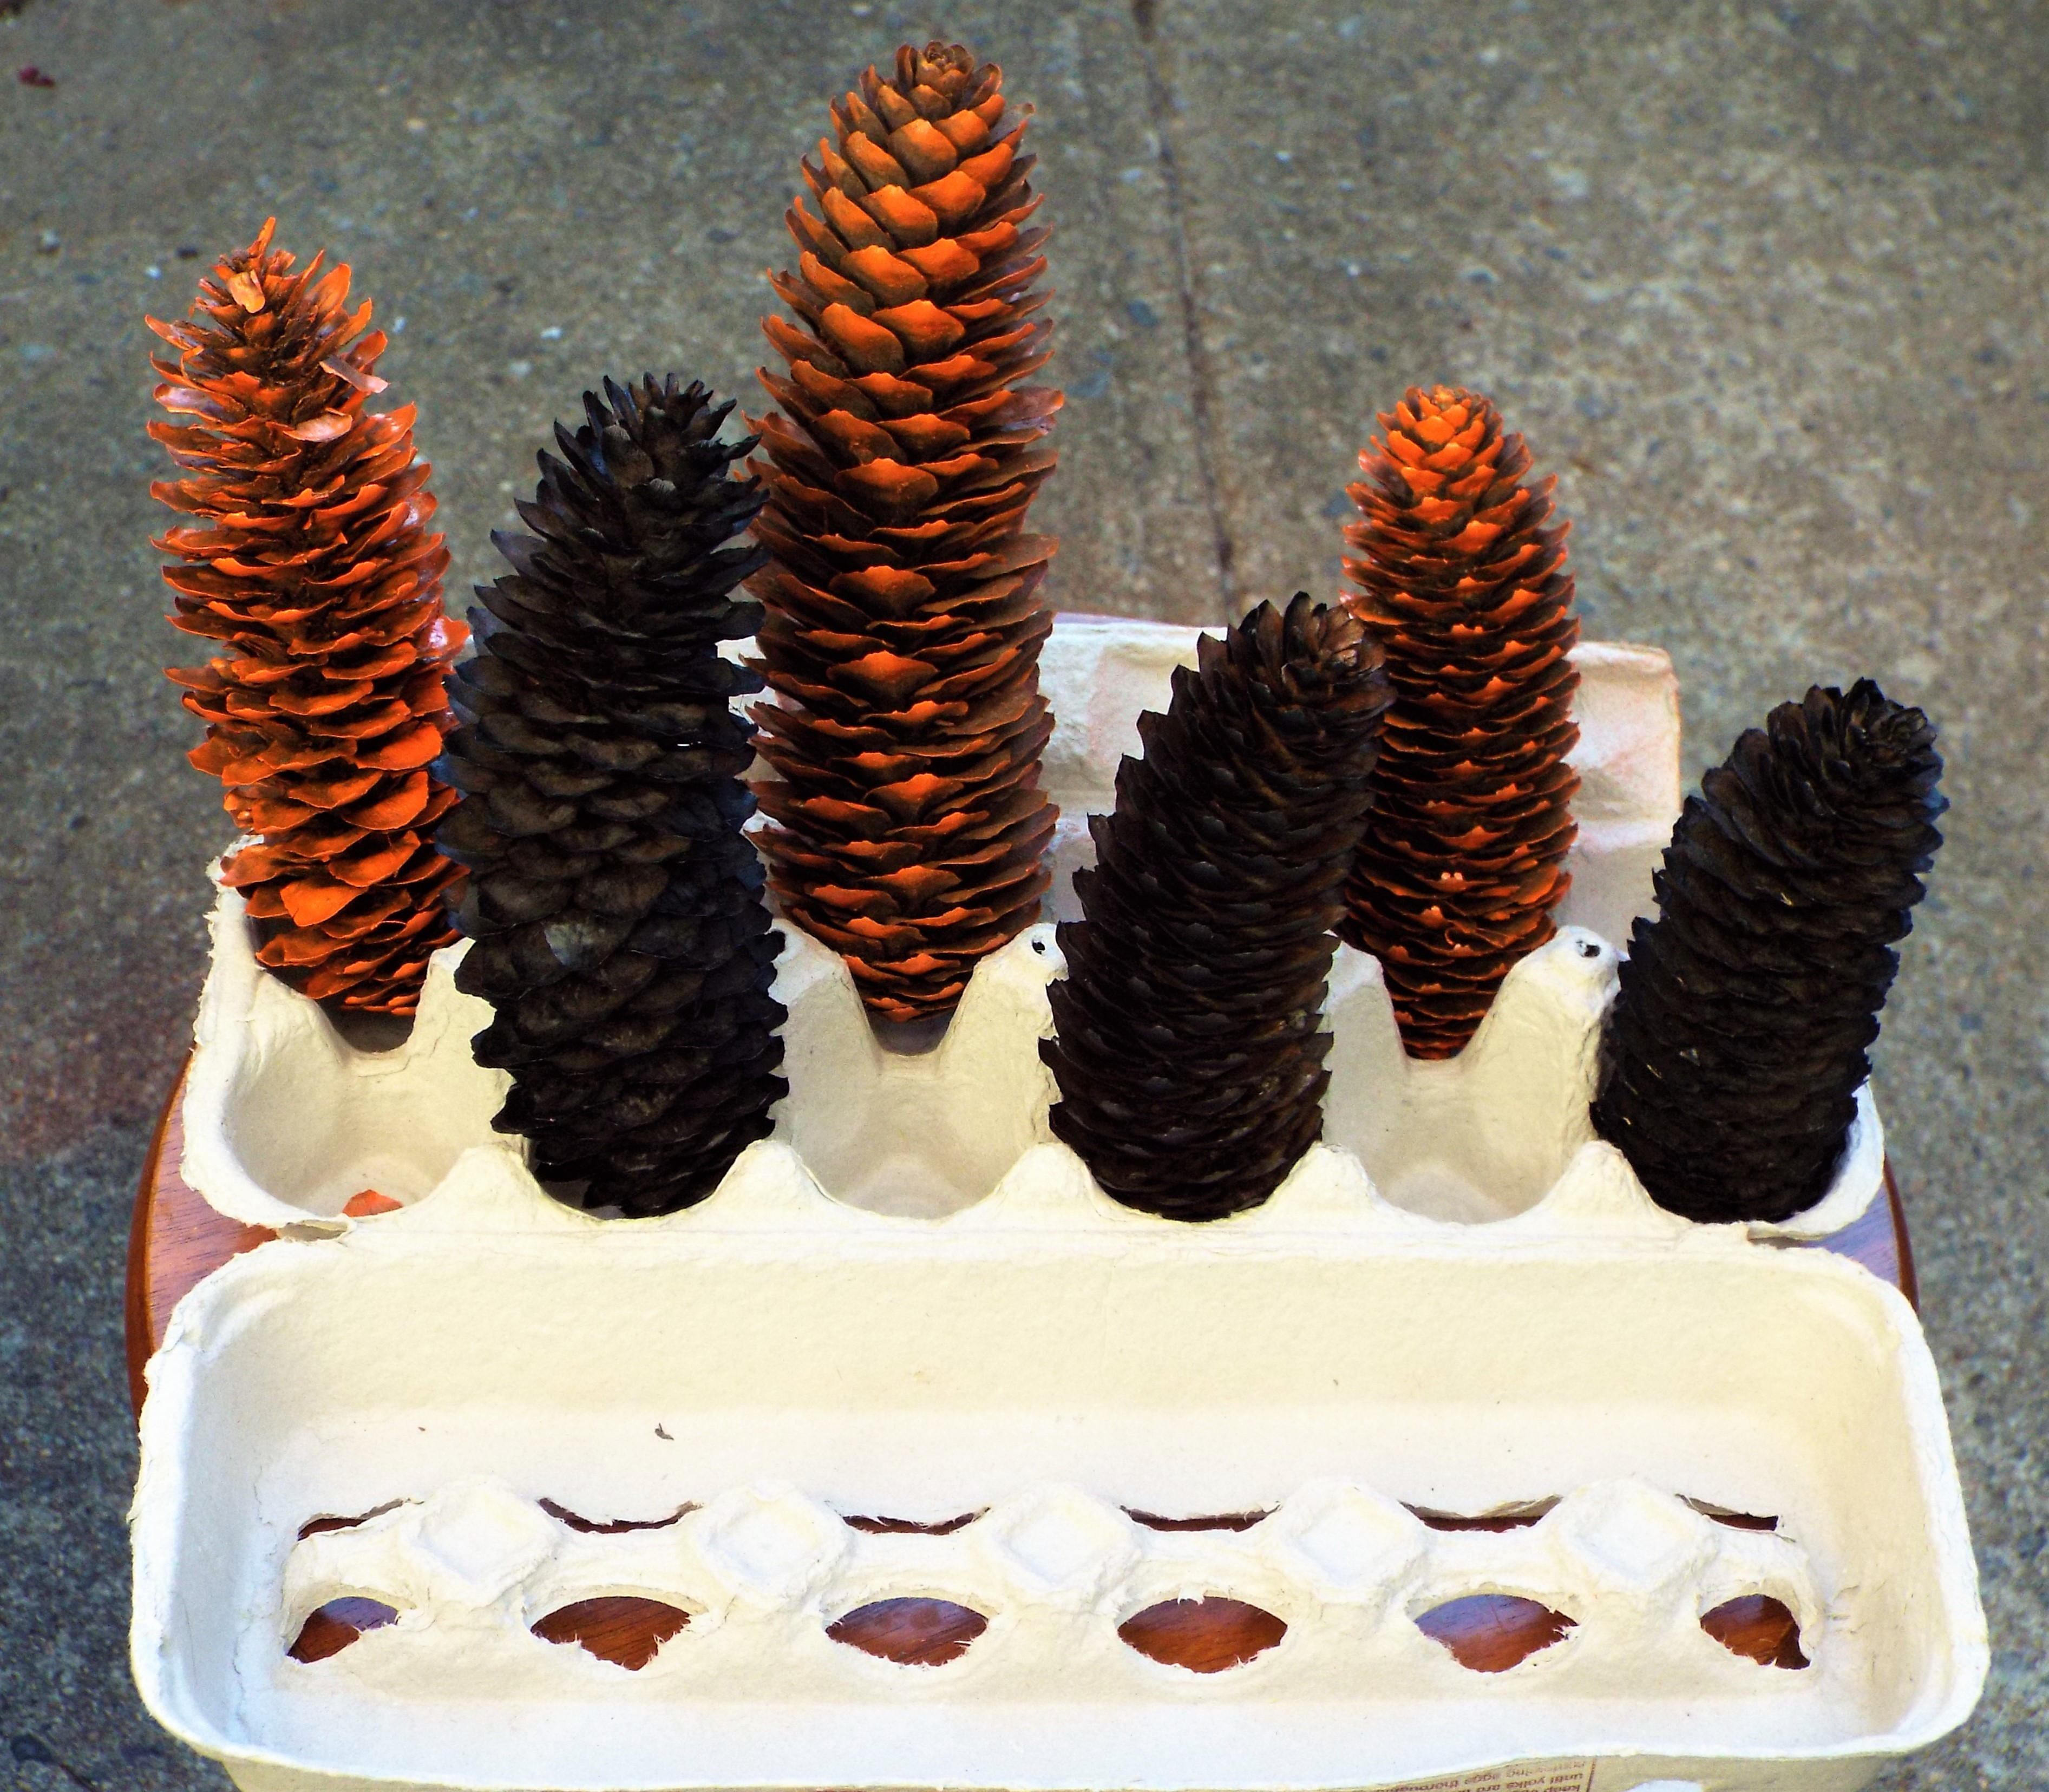
- spray paint
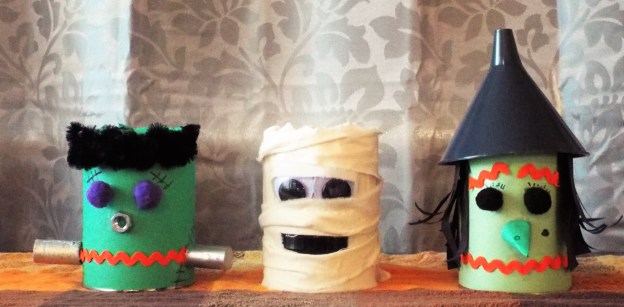
Here are three completed cans. We may do the others from the sketch in the future:
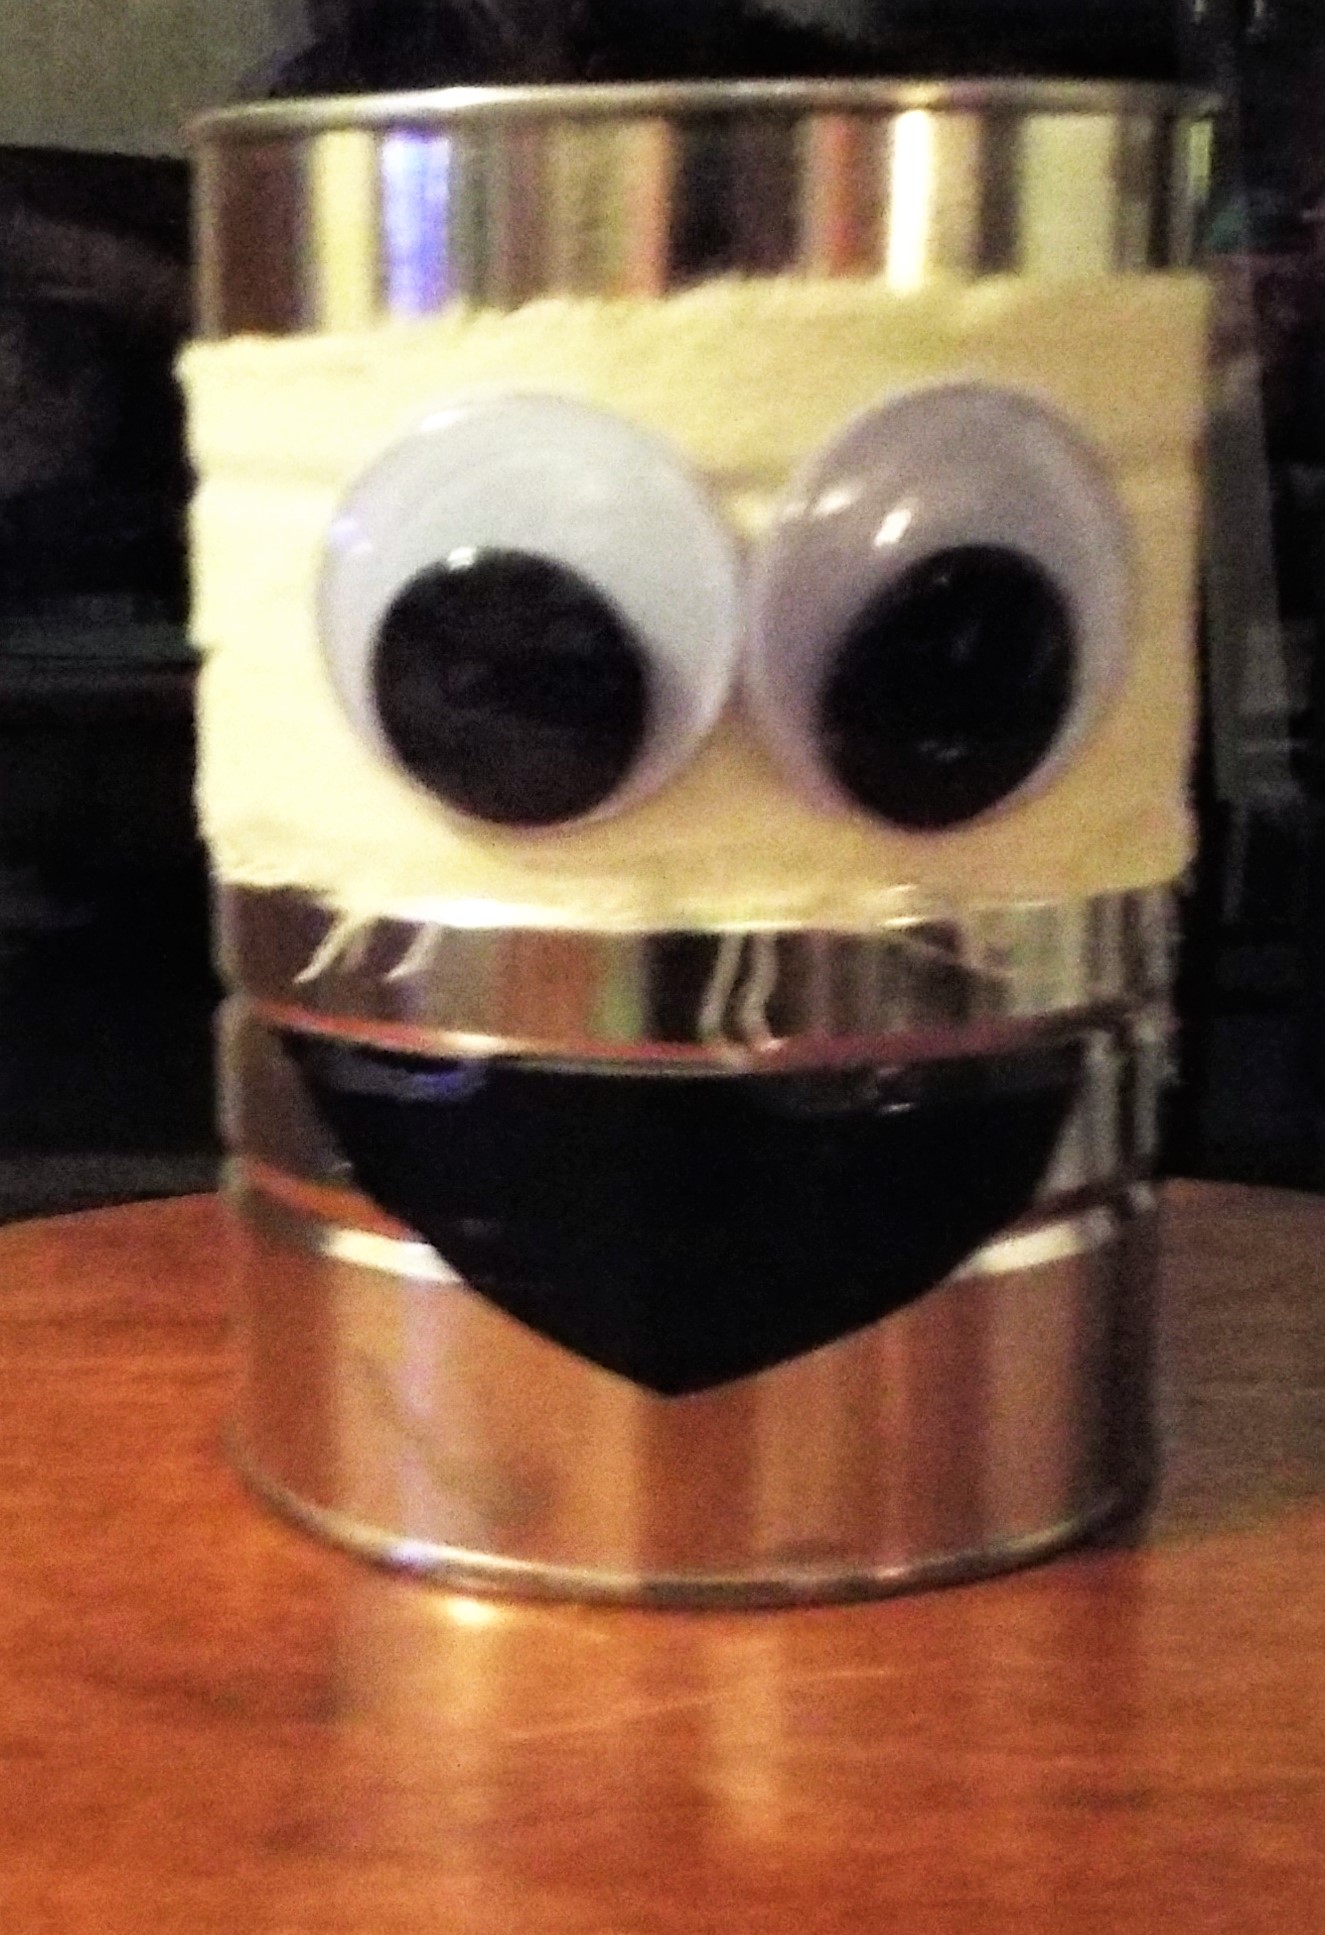
Frankenstein
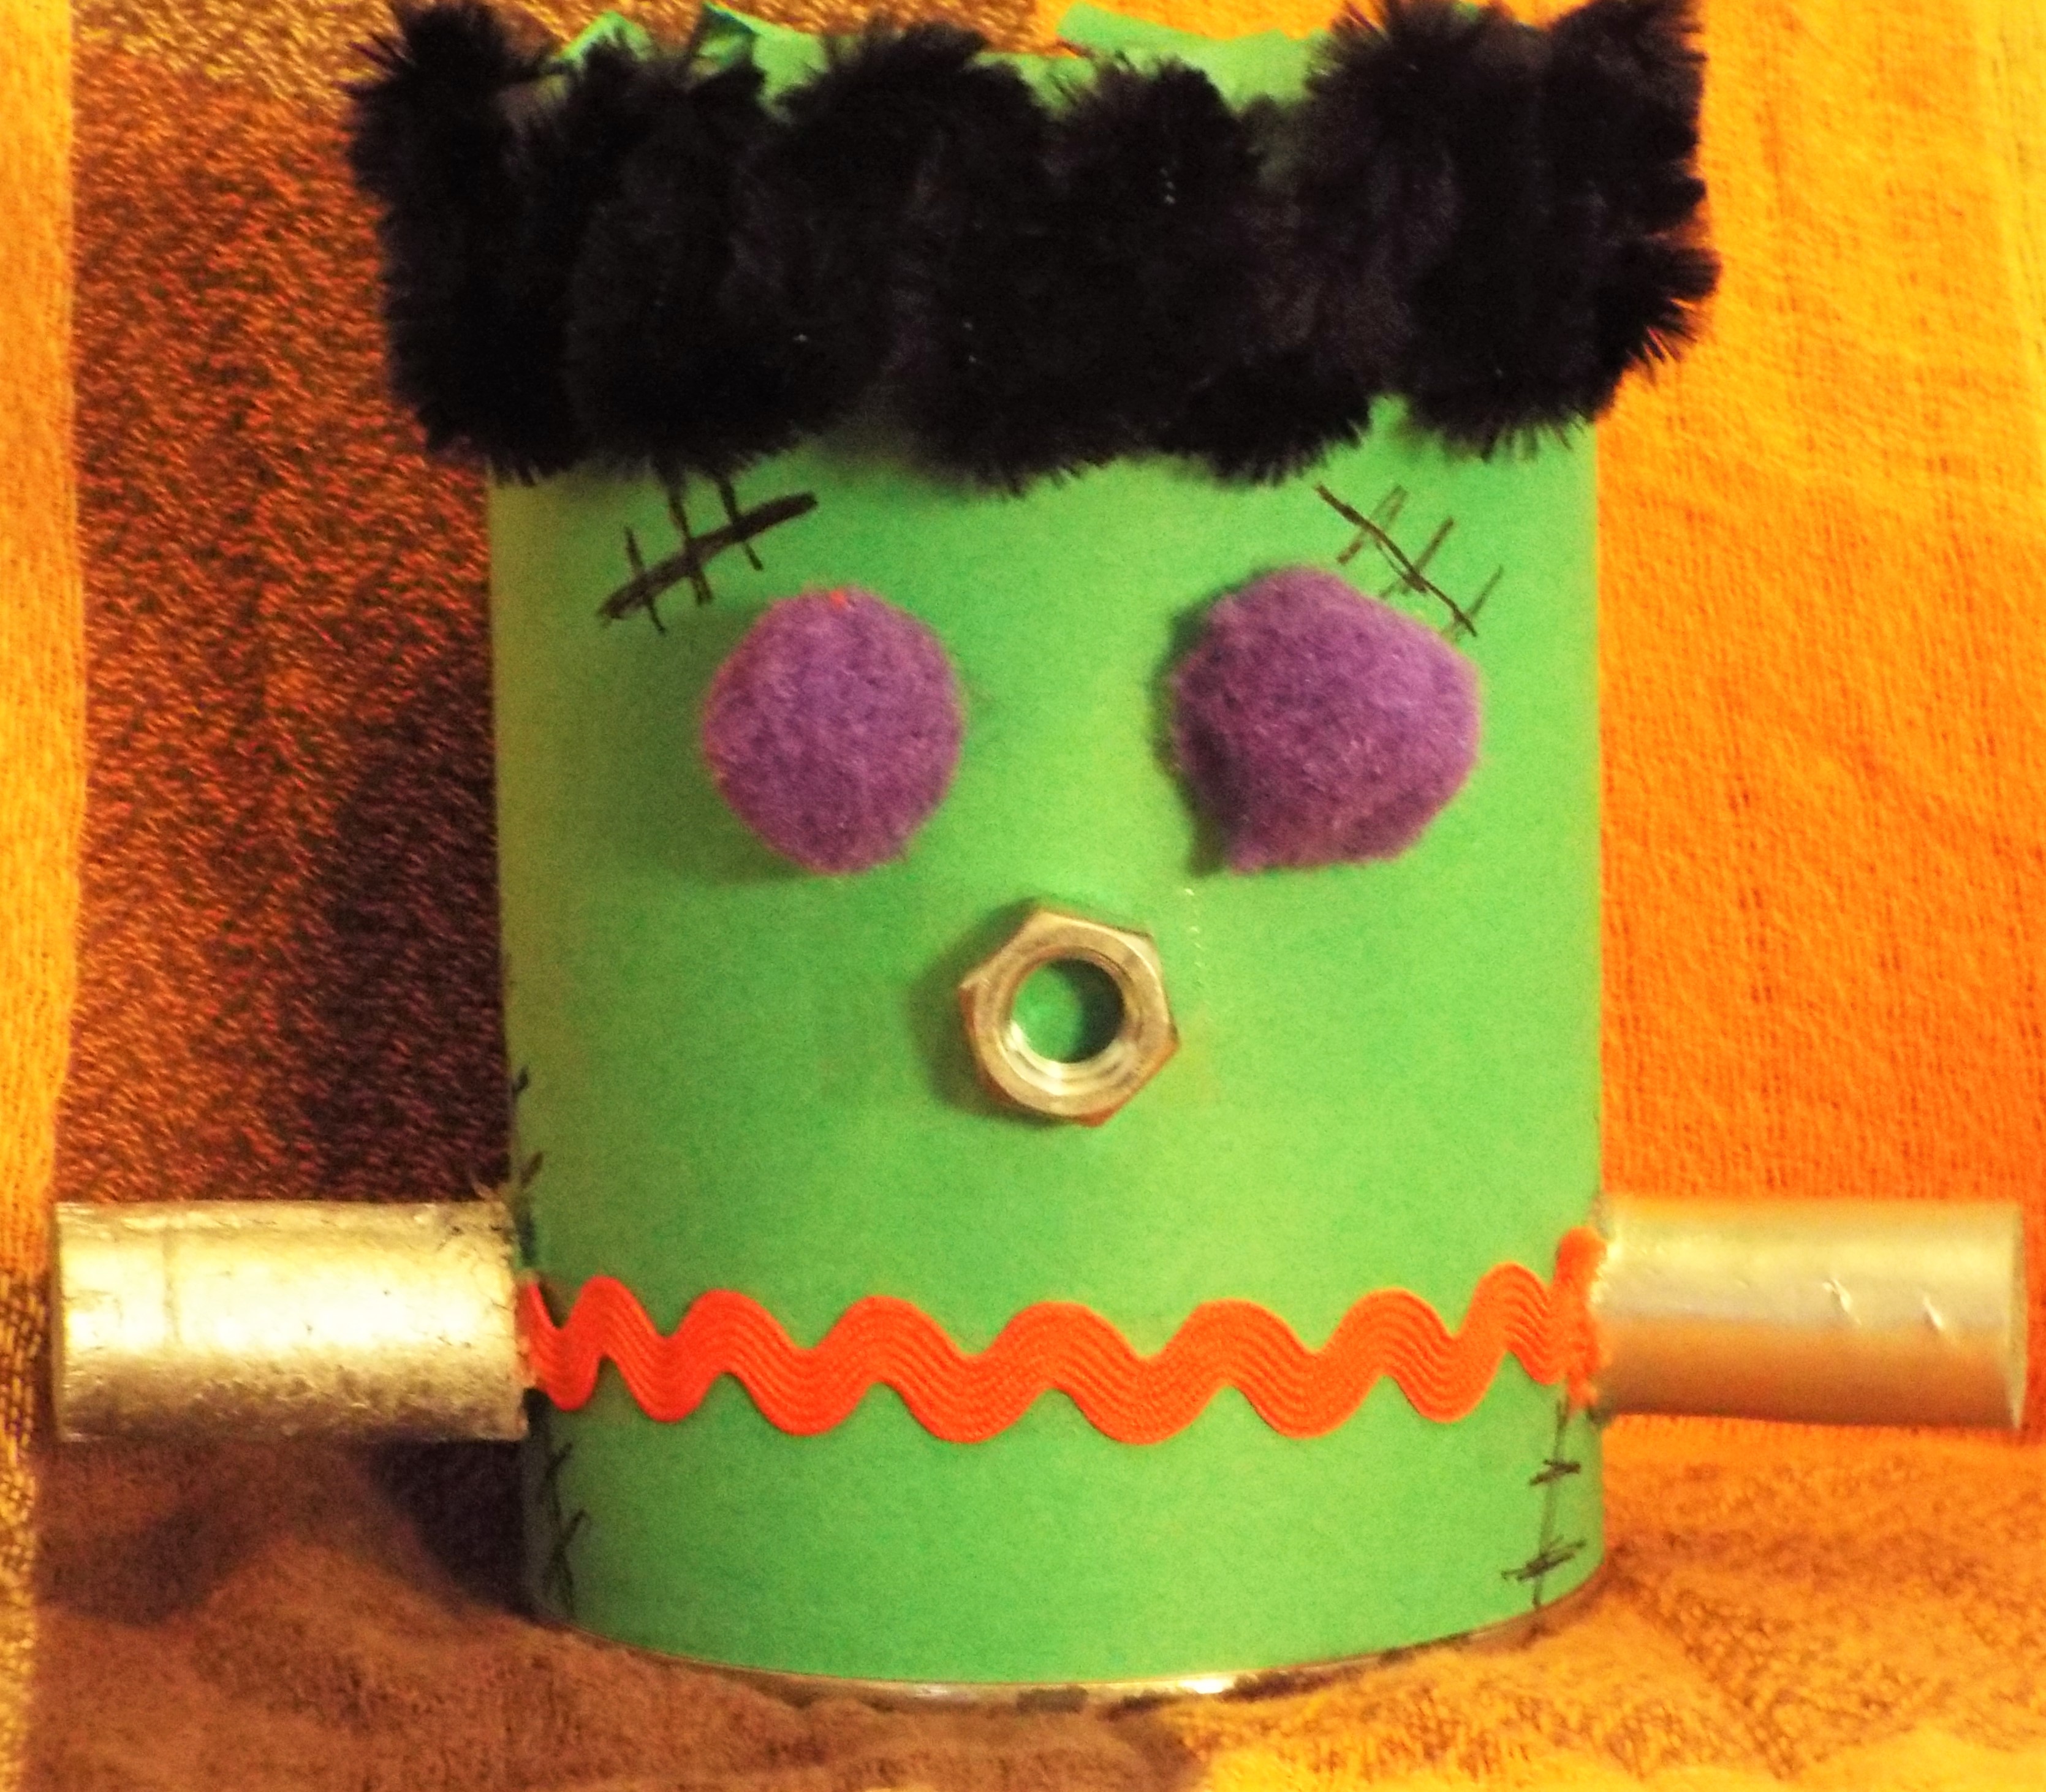
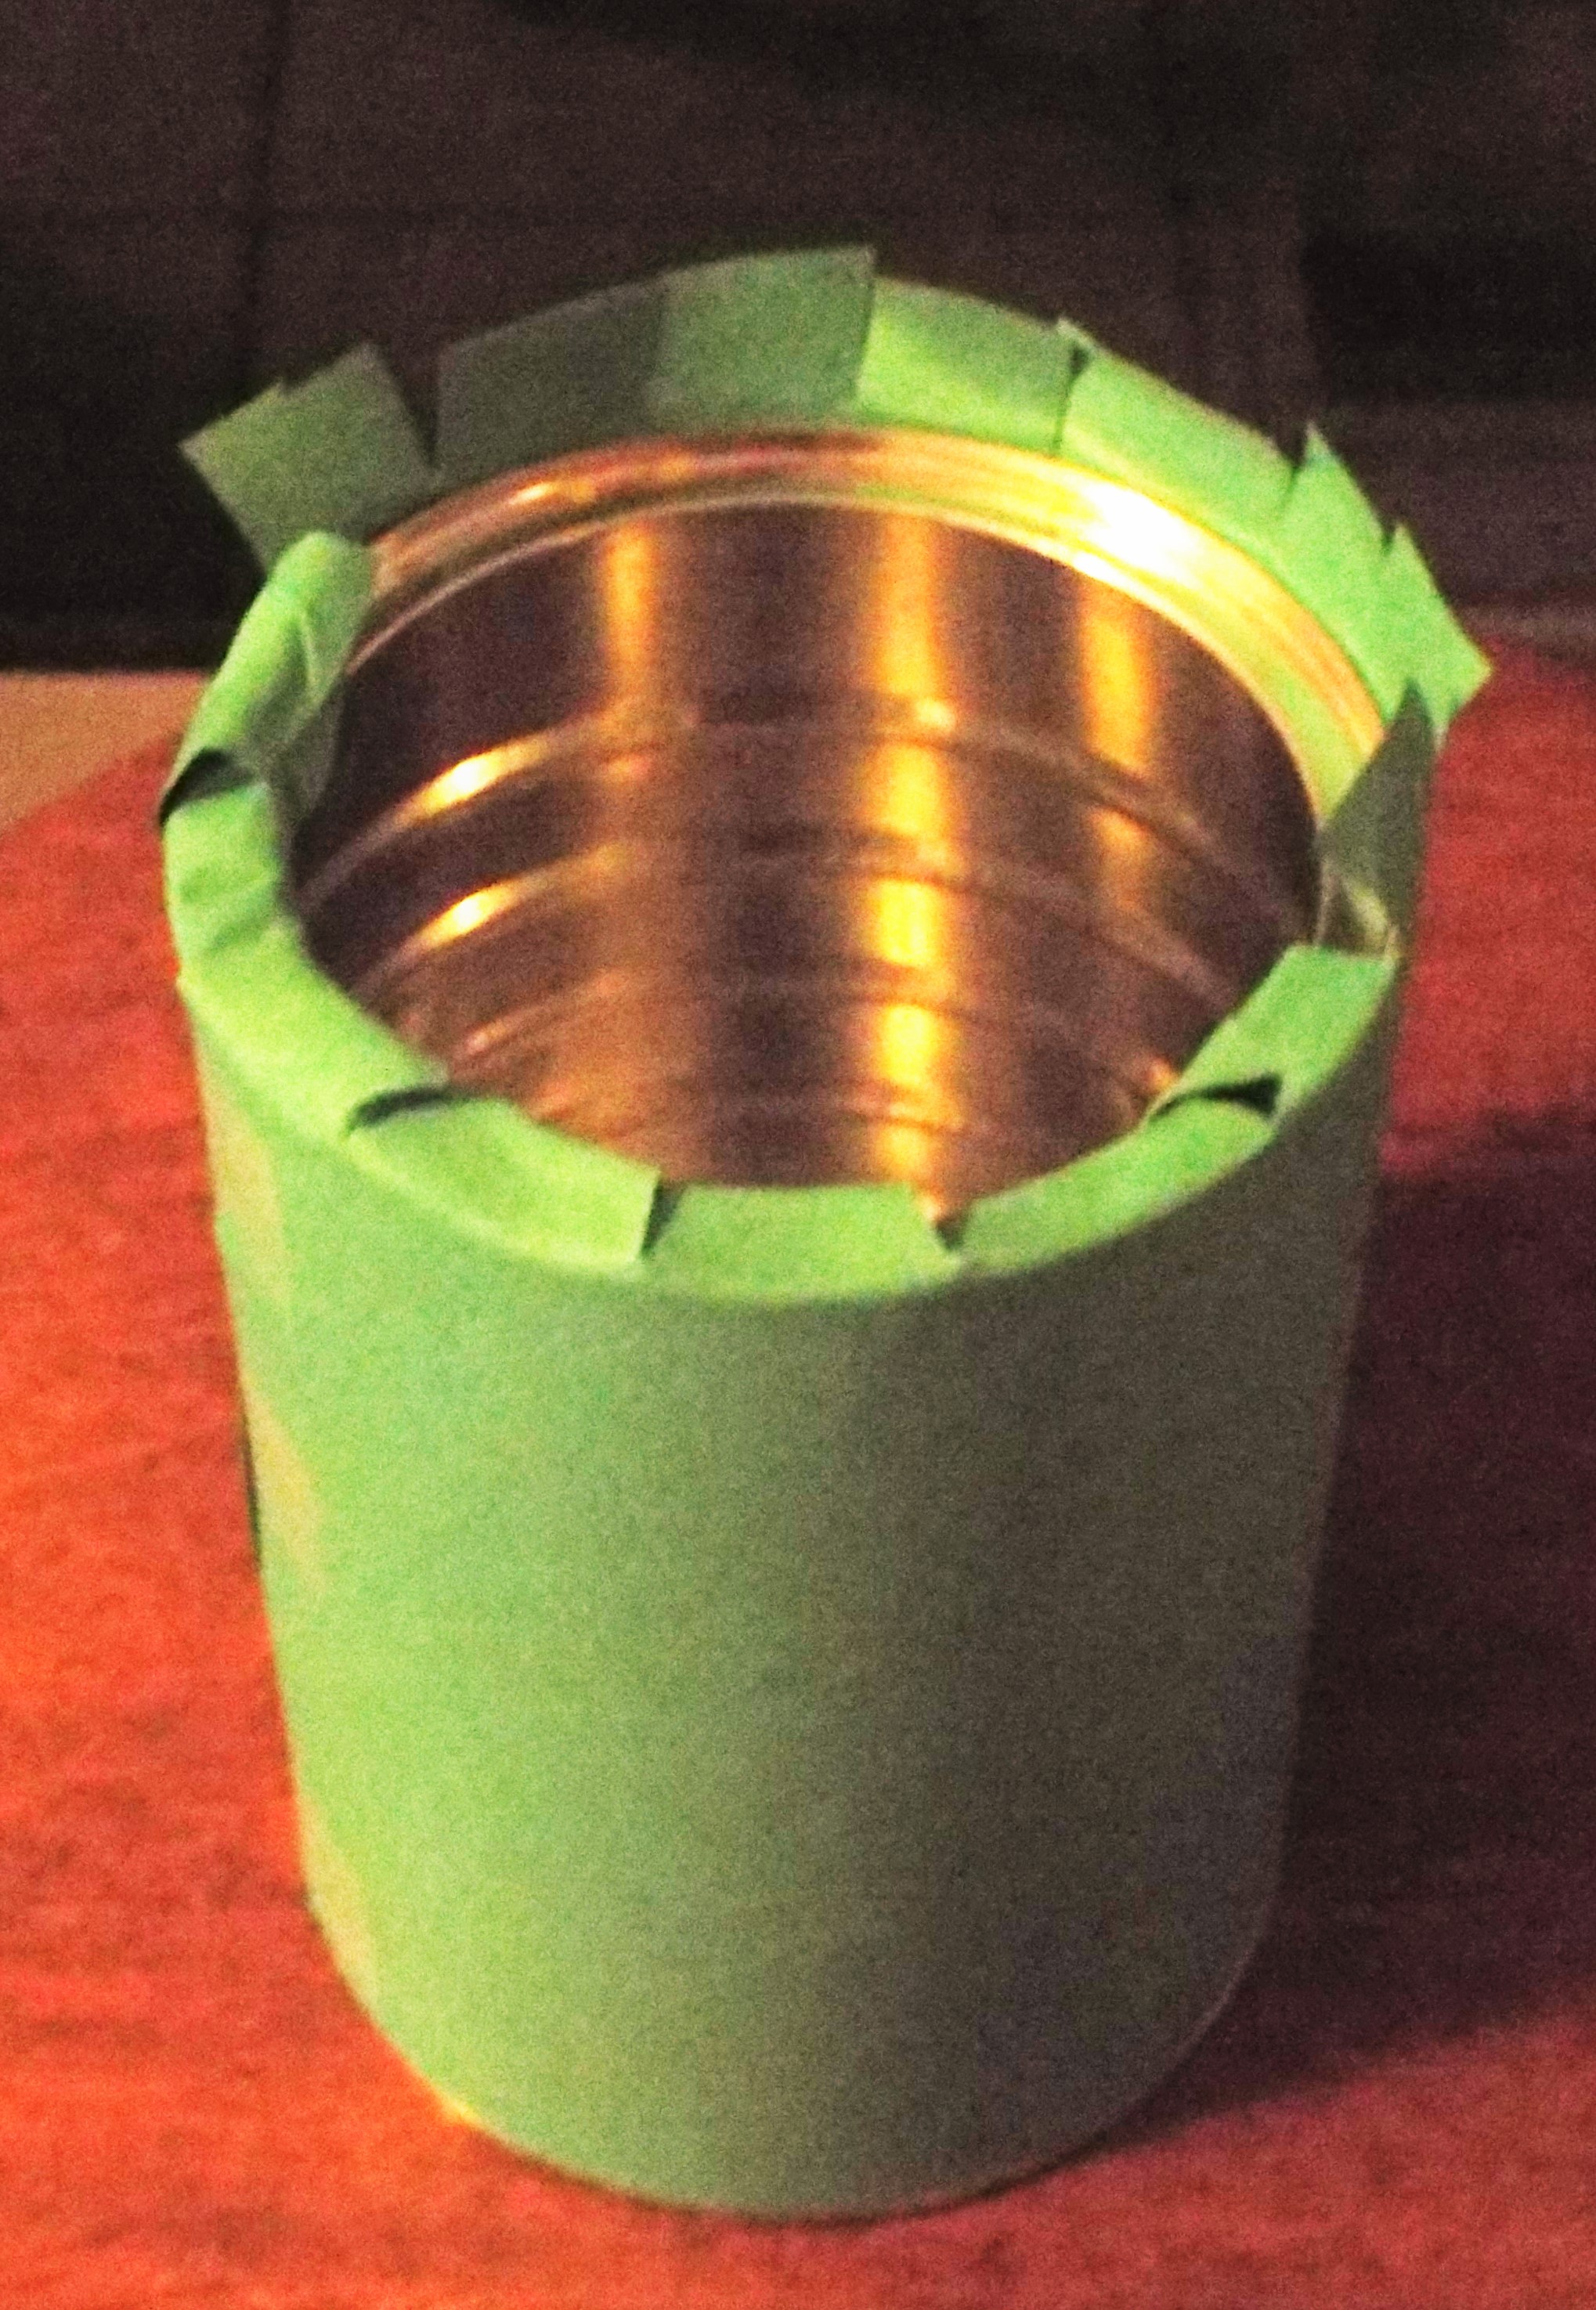
- For Frankenstein, we covered a can with construction paper. Allow at least one inch at the top of the can, cut slits and fold over top of can for a crisp fit.
We used:
- A chenille stem for the hair
- Mini pom poms for eyes
- A metal nut for the nose
- Rick rack for the mouth
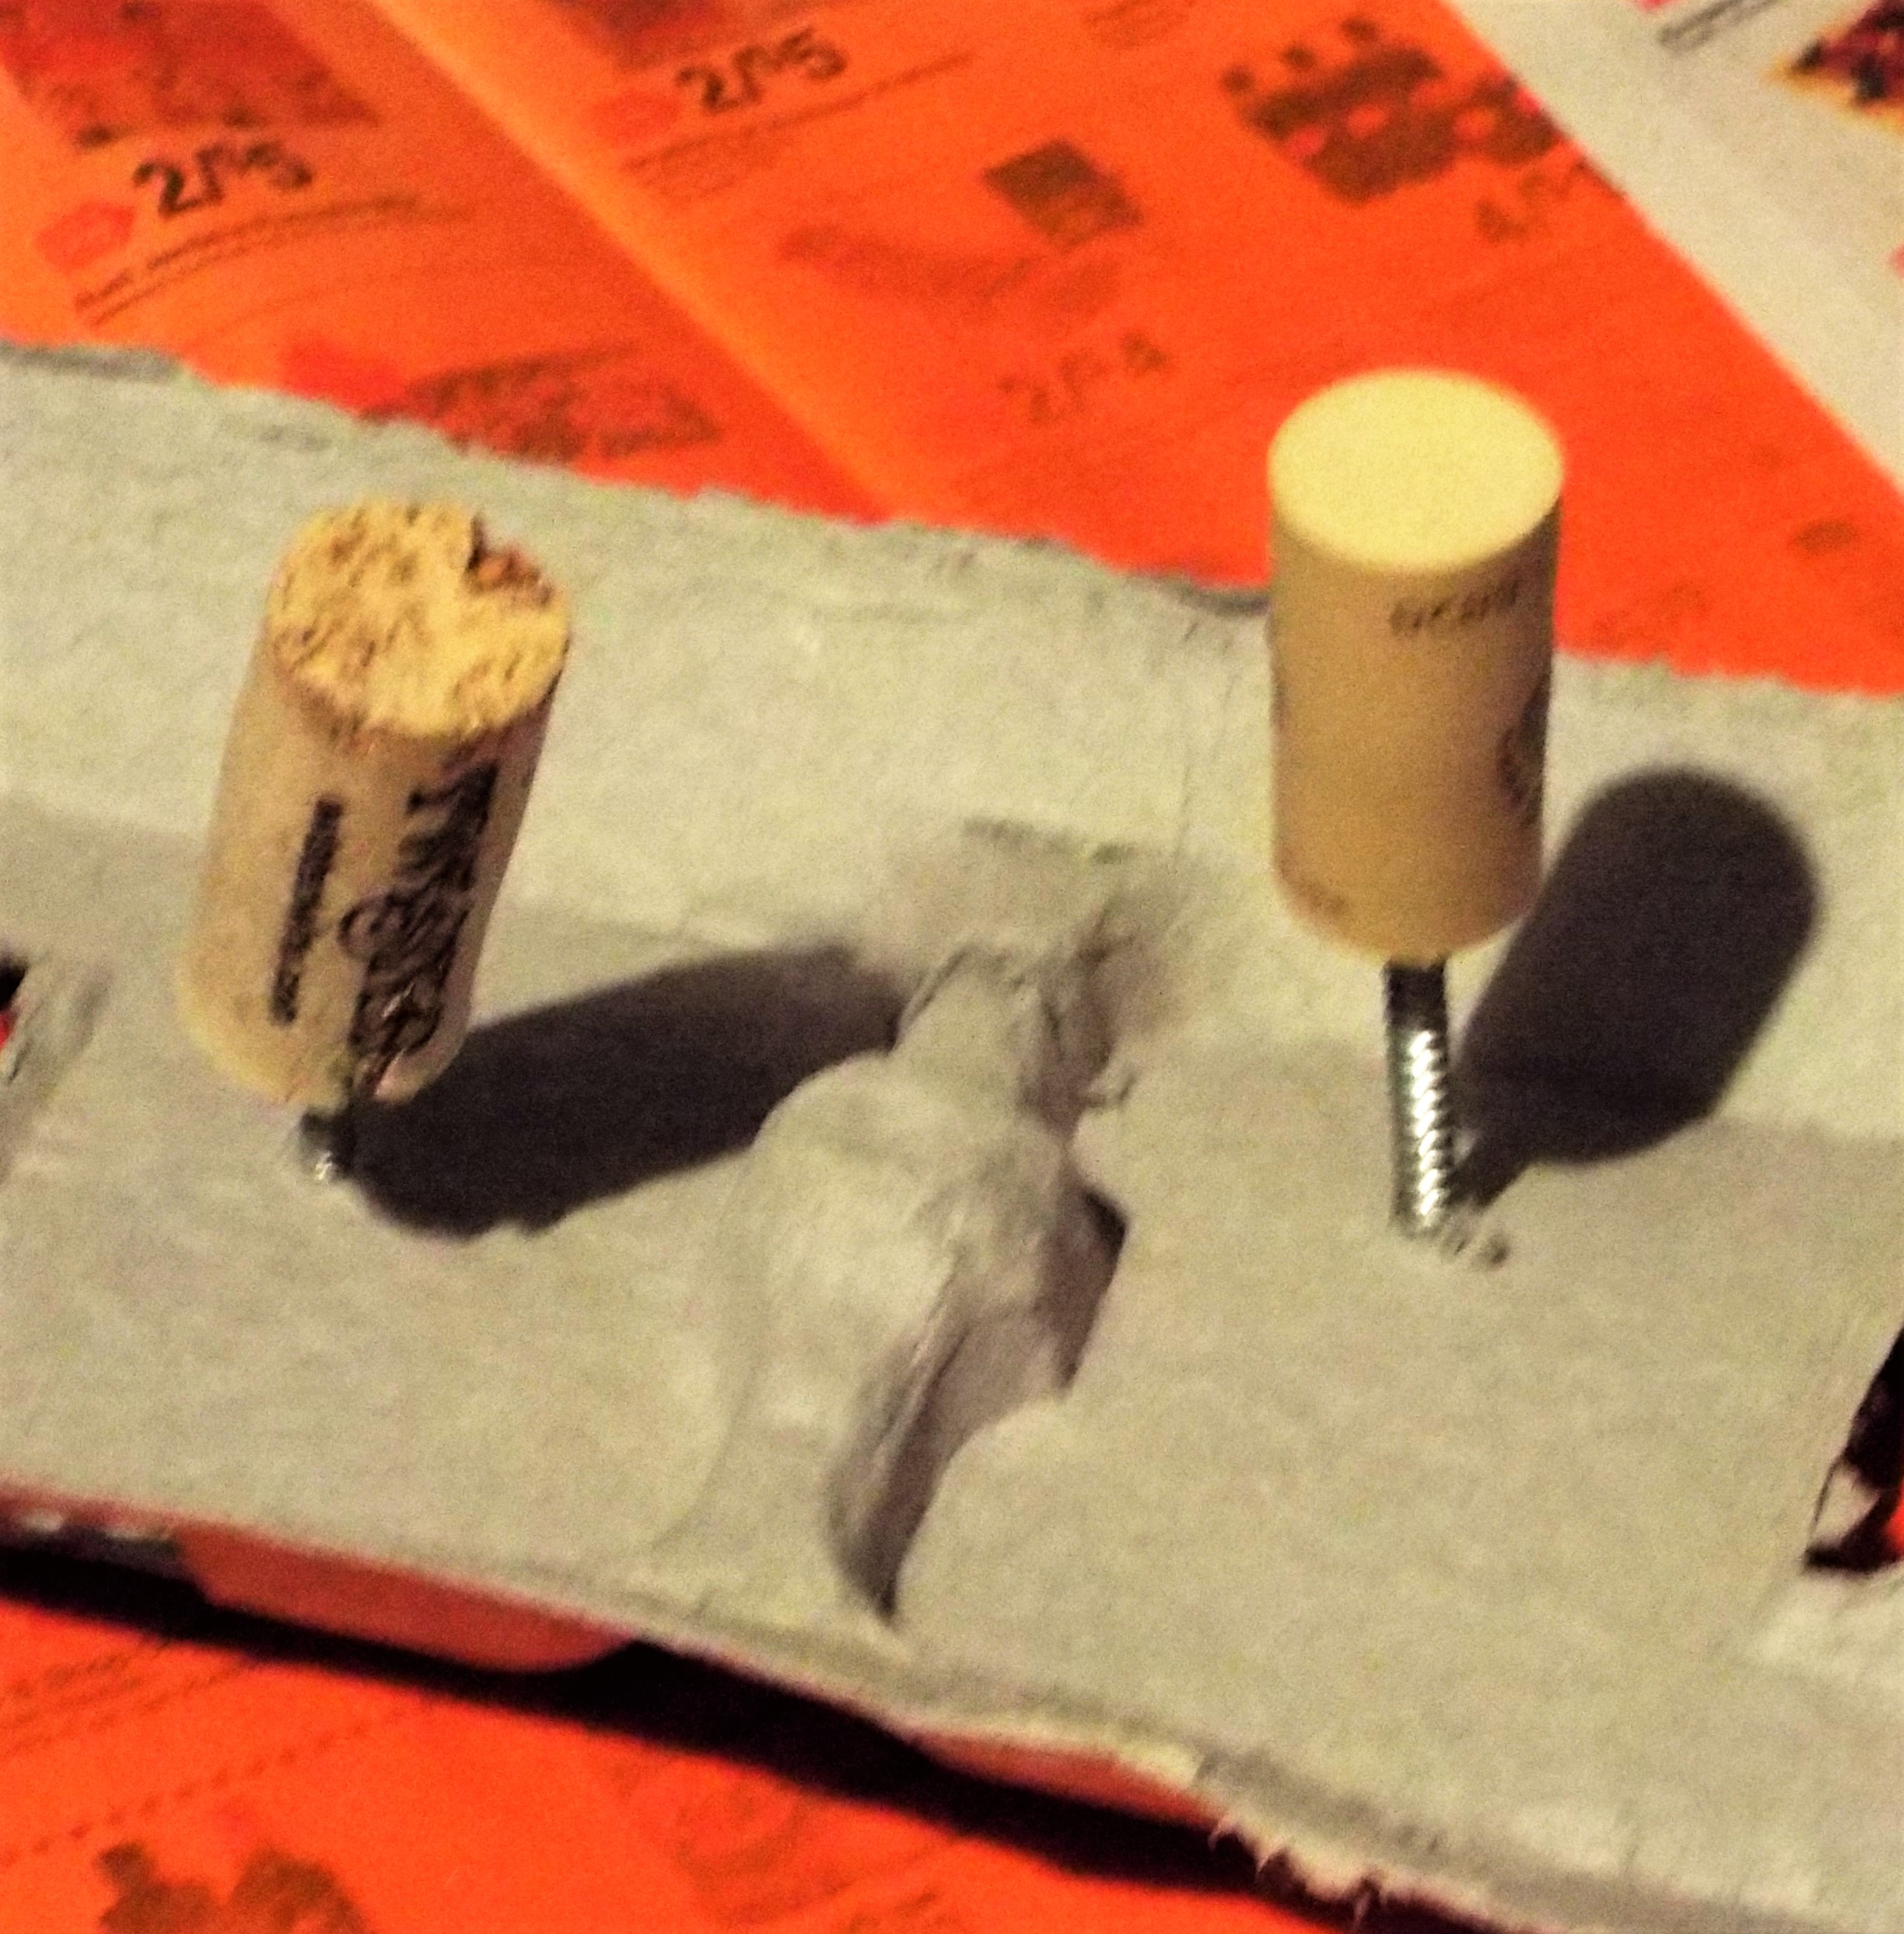
- Wine corks spray painted silver for the bolts. Paint the corks by securing them on a screw through a piece of cardboard or egg carton. Another, less kid-friendly option is to drill holes in the can and use real bolts!
- Stitches were added with a Sharpie fine marker.
- Facial features were attached with double stick tape. Nose and neck bolts were attached with hot glue.
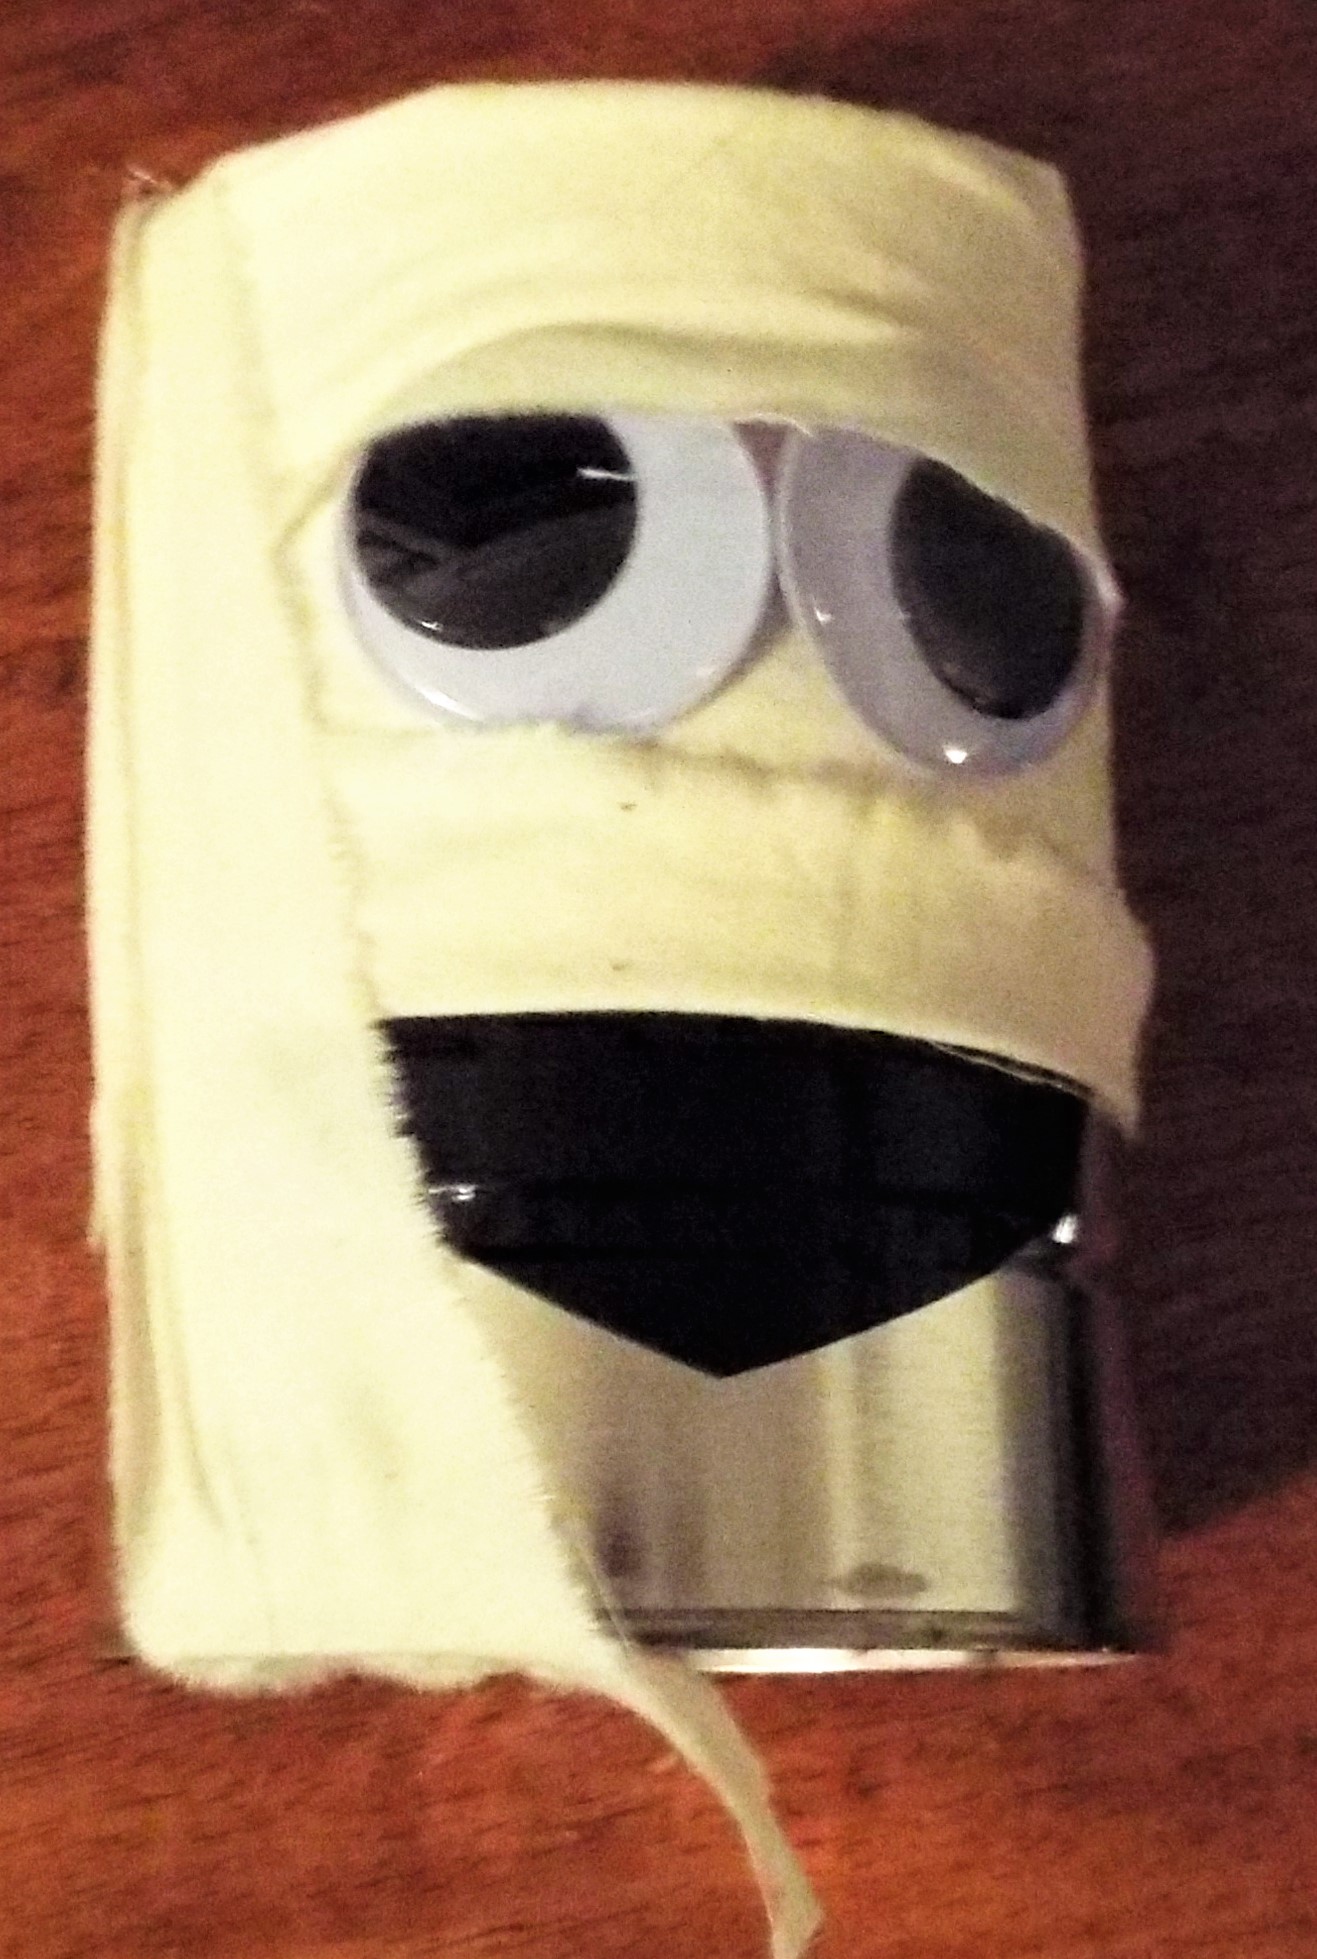
Mummy
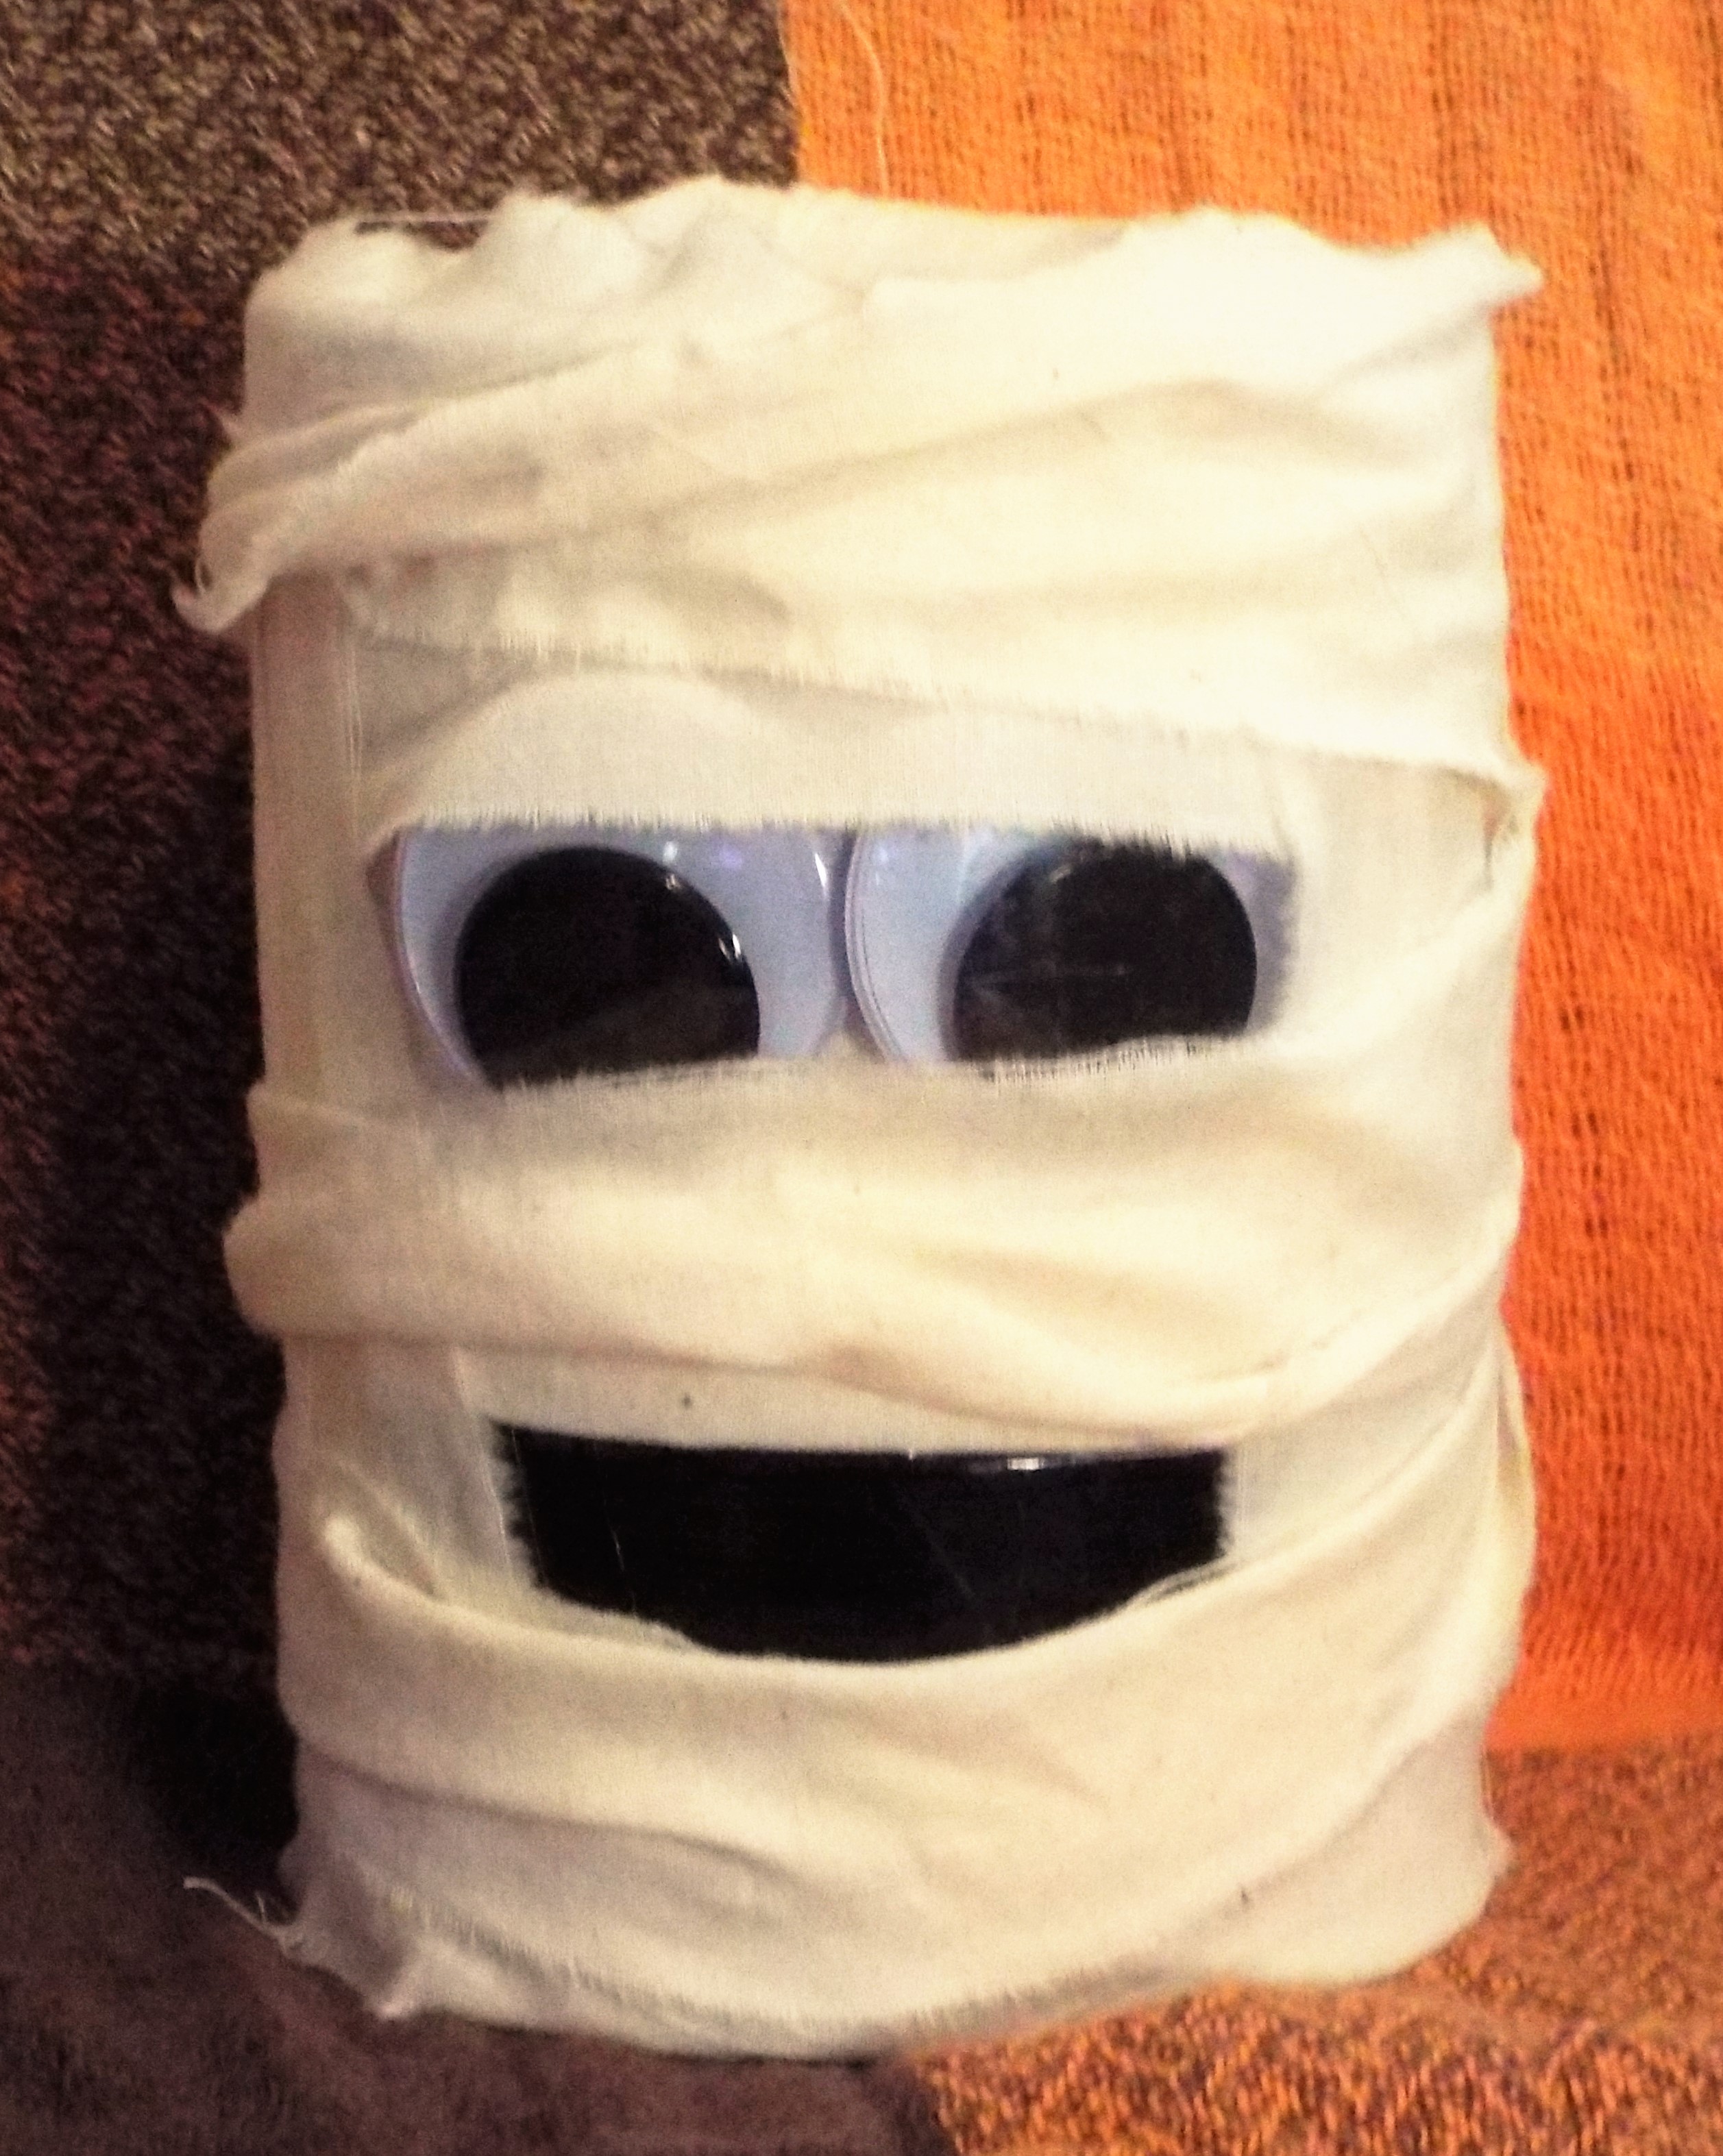
Materials:
- Coffee can – empty and washed
- One yard of muslin fabric (or any fabric scraps) cut into 2 inch wide strips
- Black duct tape
- 2 large googly eyes (No googly eyes? Use black duct tape to create eyes.)
- Hot glue (craft glue works well too)
How to create:
- Attach a strip of cloth (see photo below) as a base for the eyes.
- Glue the eyes to the cloth and add mouth cut from black duct tape.
- Wrap rest of can with cloth strips and secure with hot glue or craft glue.


Witch
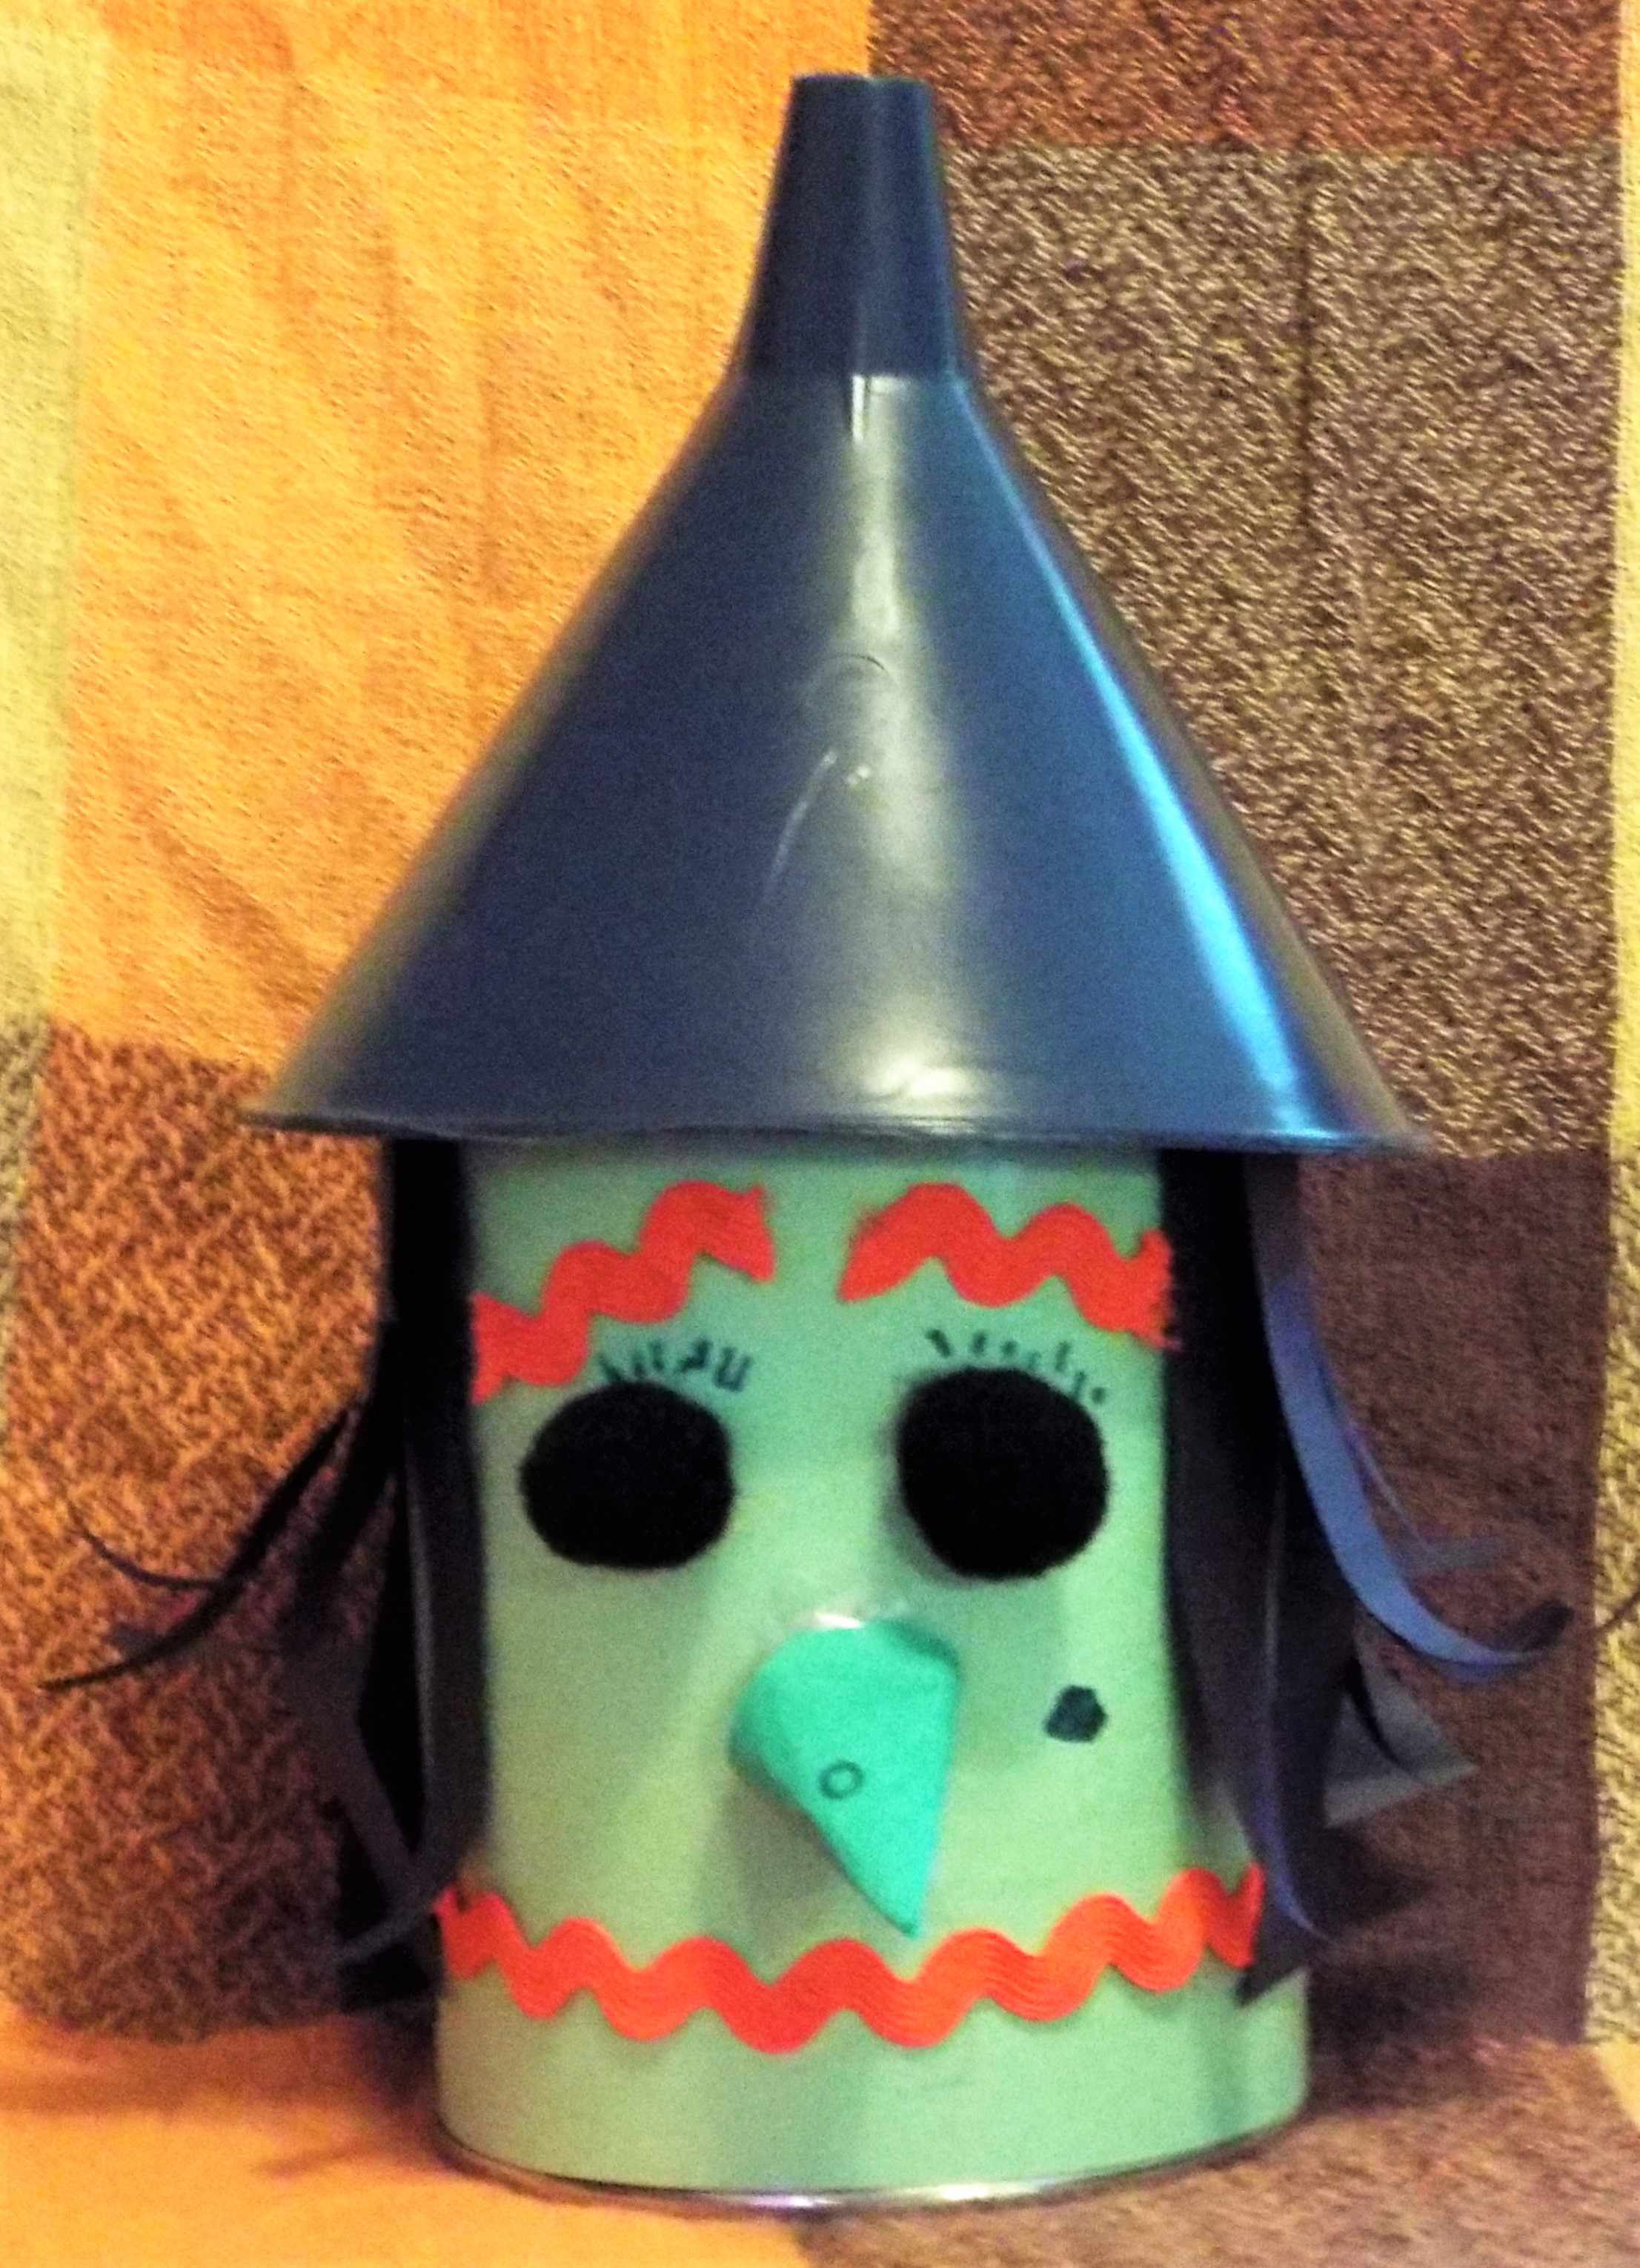
- Can was covered with green construction paper.
- All features were attached with double stick tape.
- Rick rack trim used for the eyebrows and mouth.
- Pom poms for the eyes.
- The nose is a small cone fashioned from darker green construction paper.
- Eyelashes and warts were drawn with a fine sharpie.
- Hat is a funnel.
FUN CRAFT FOR KIDS
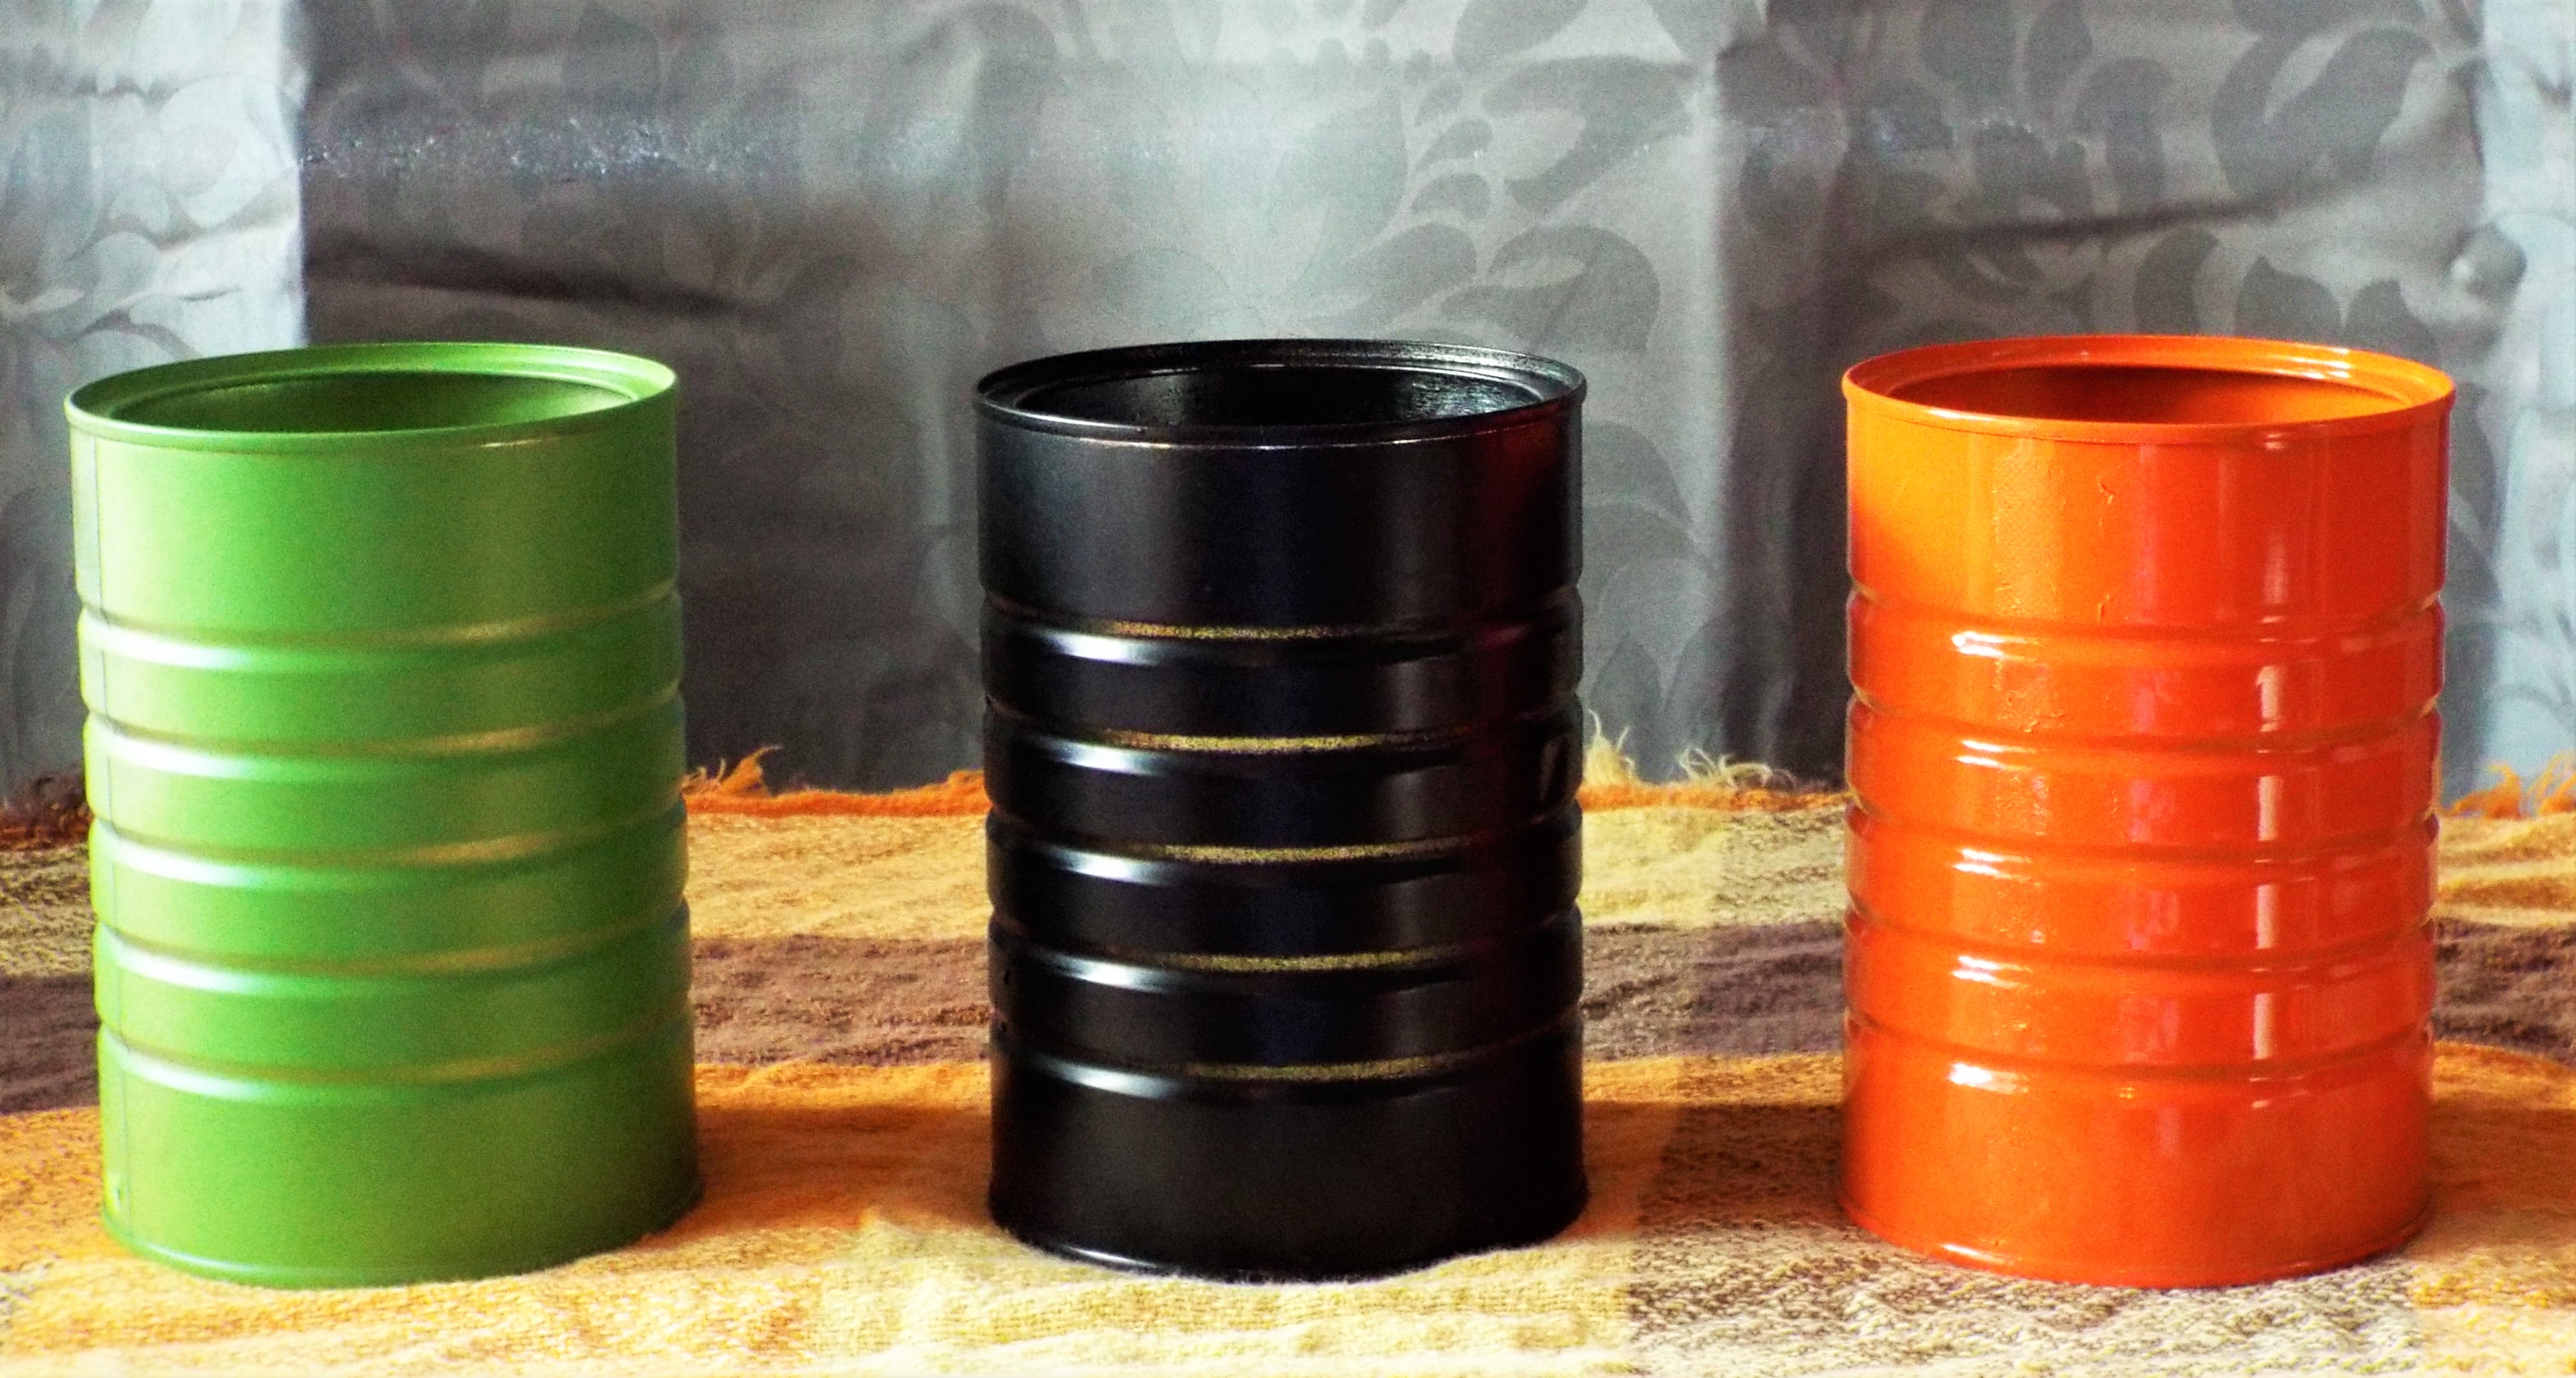
Spray paint a few coffee cans in different colors.
They look pretty nice without decorations, too!
Lay out a bunch of craft supplies including paints, markers, double stick tape, craft glue, and more. Let the kids play and create their own designs. The only limit is imagination.

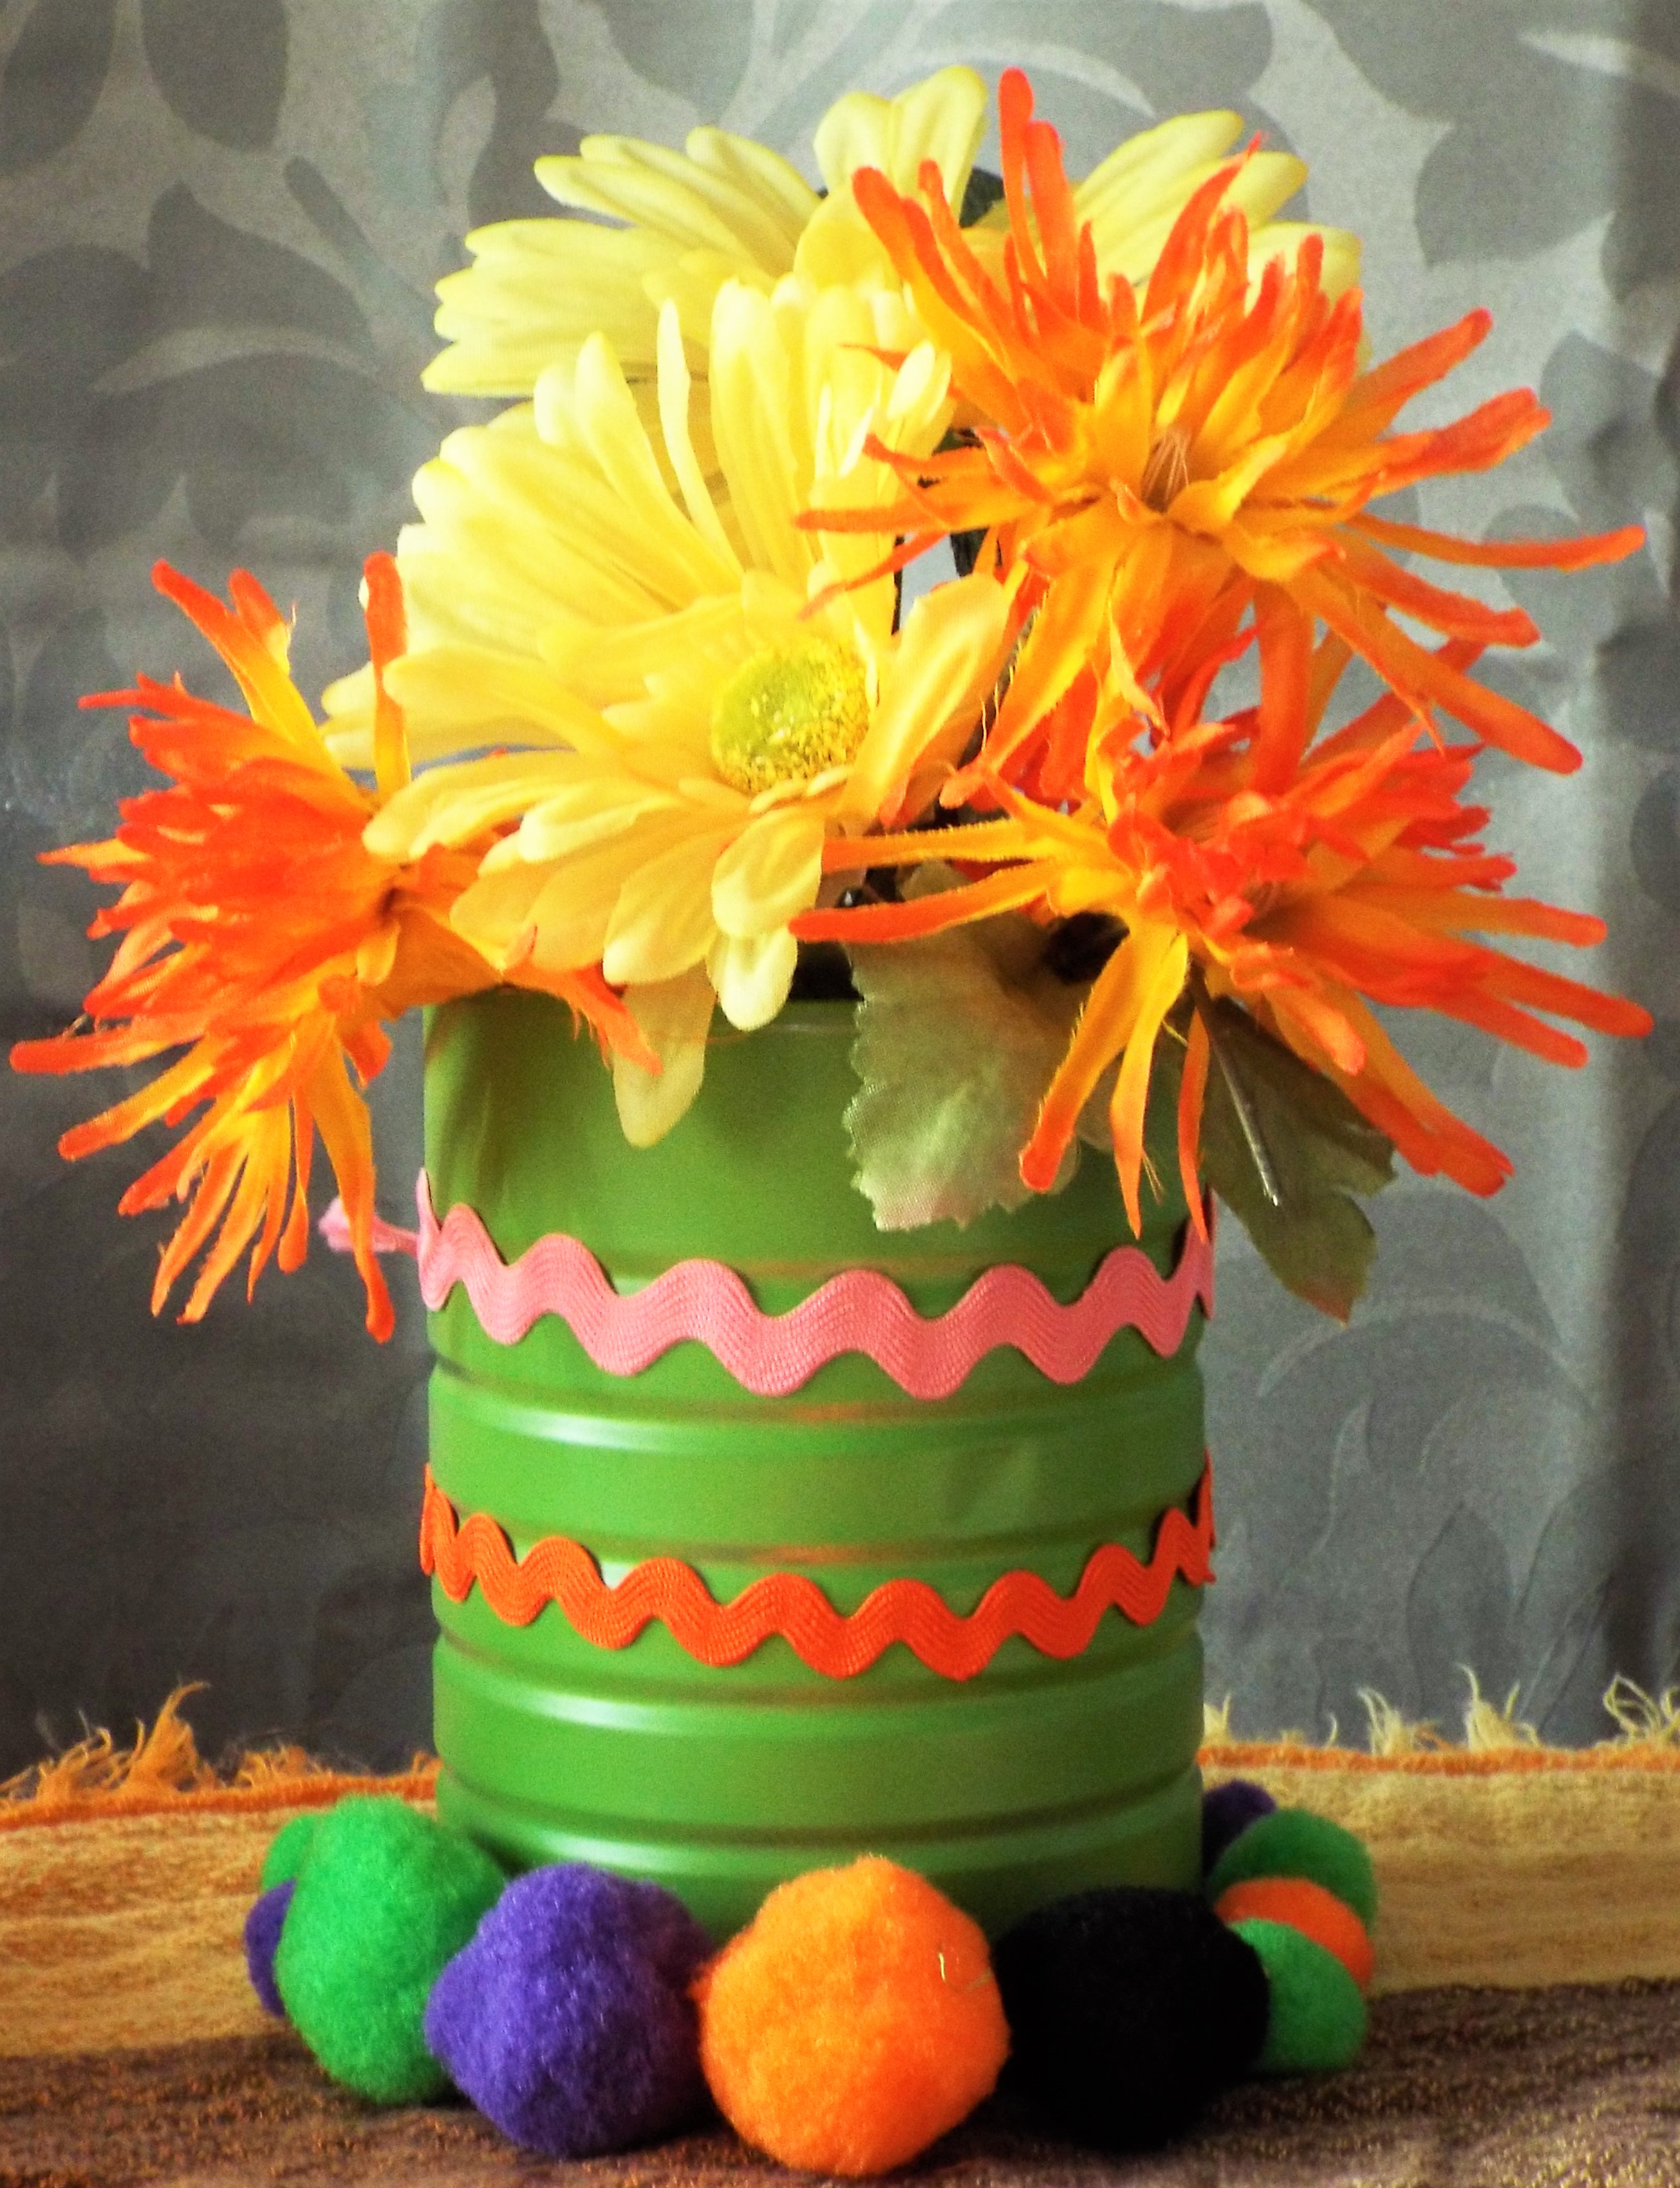
USES FOR THESE CANS
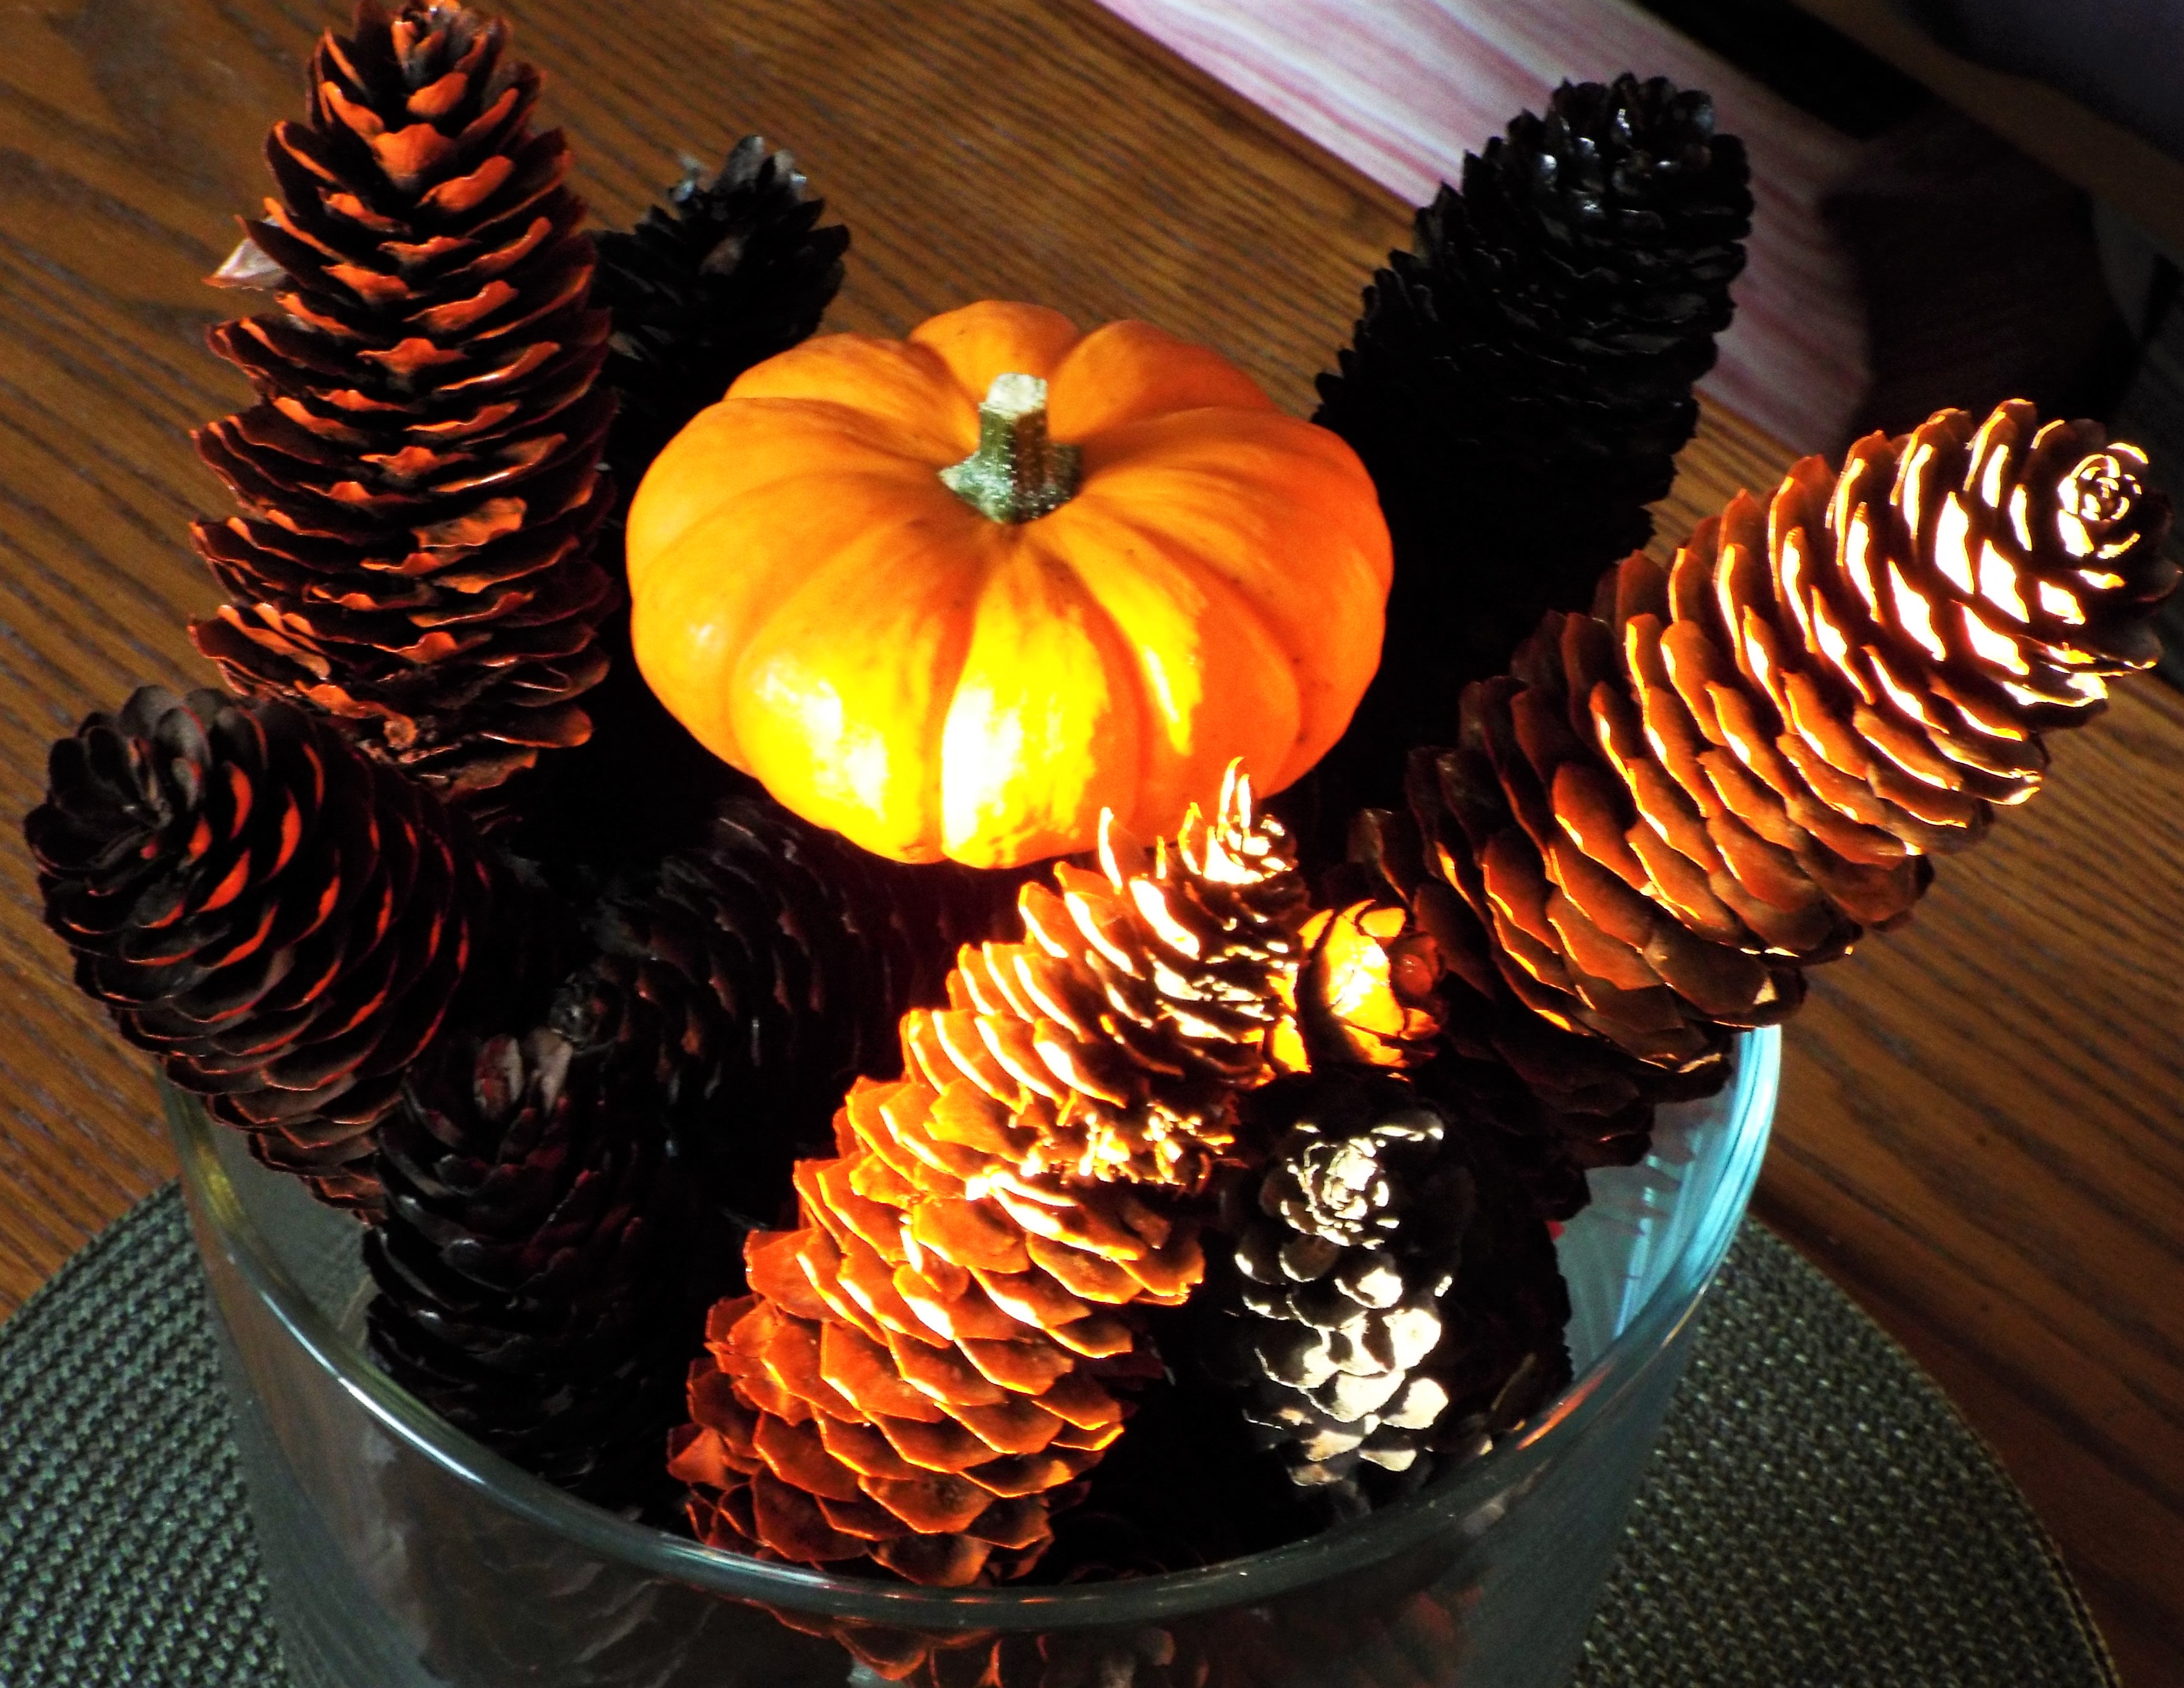
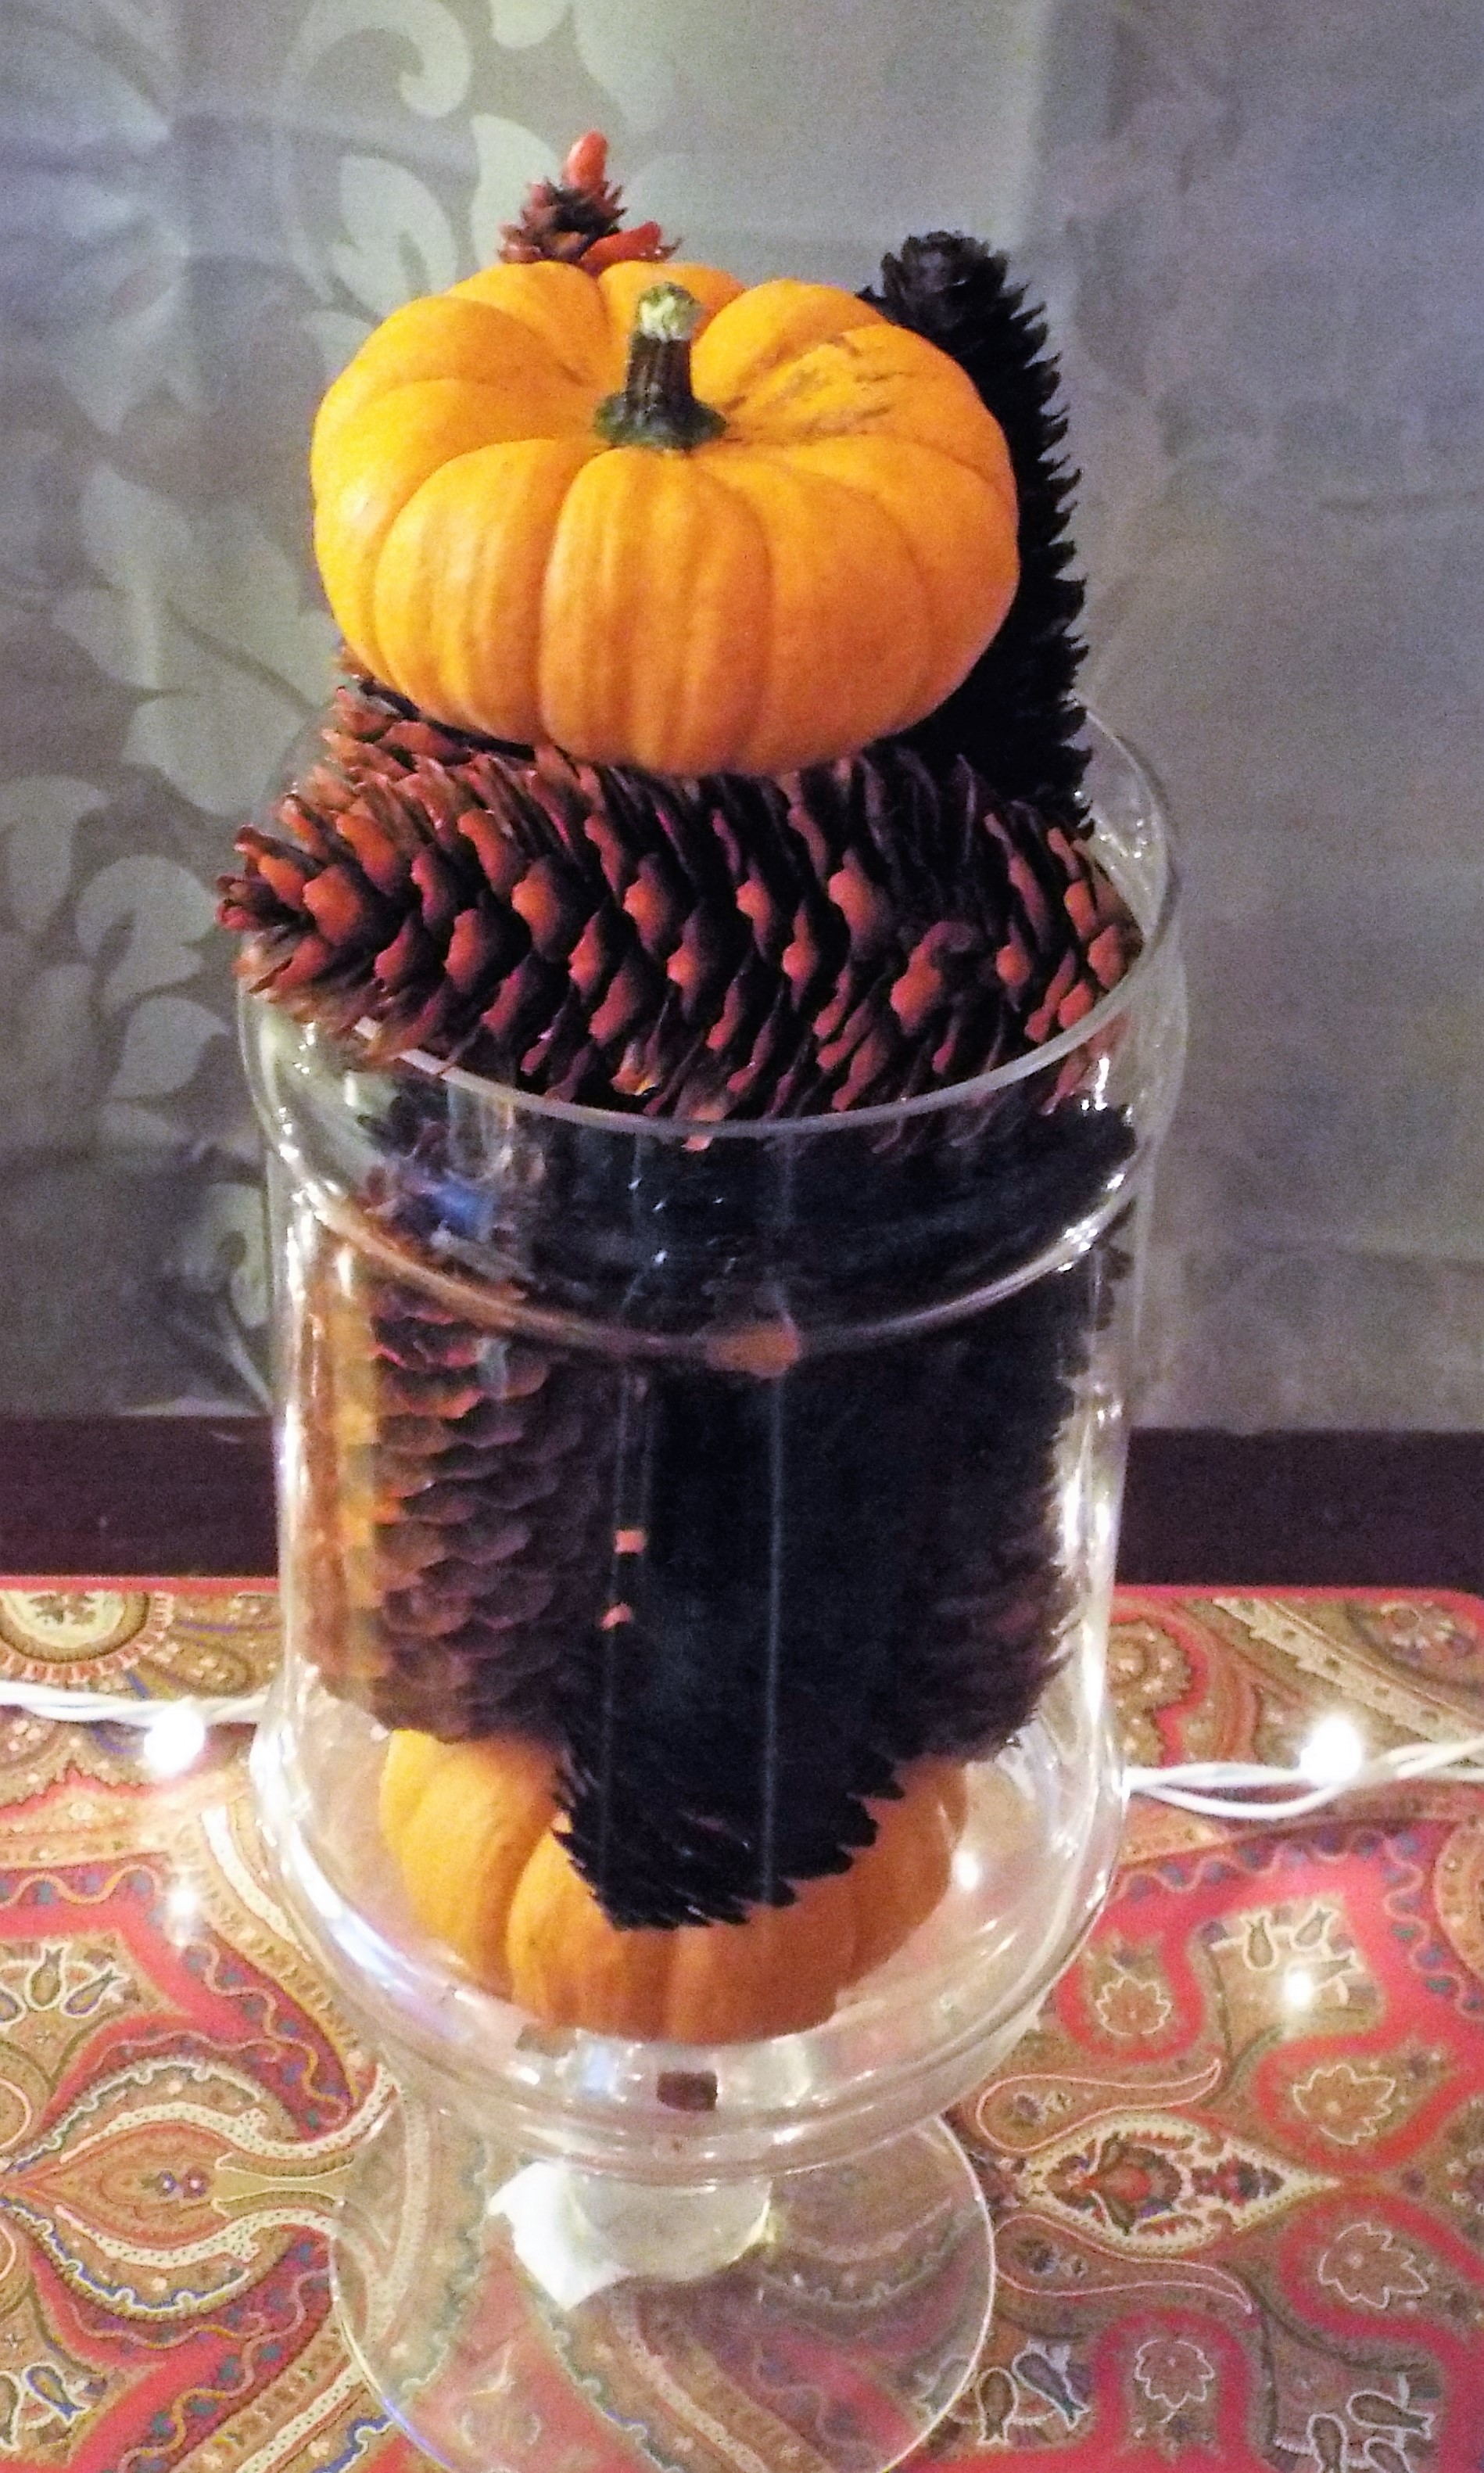
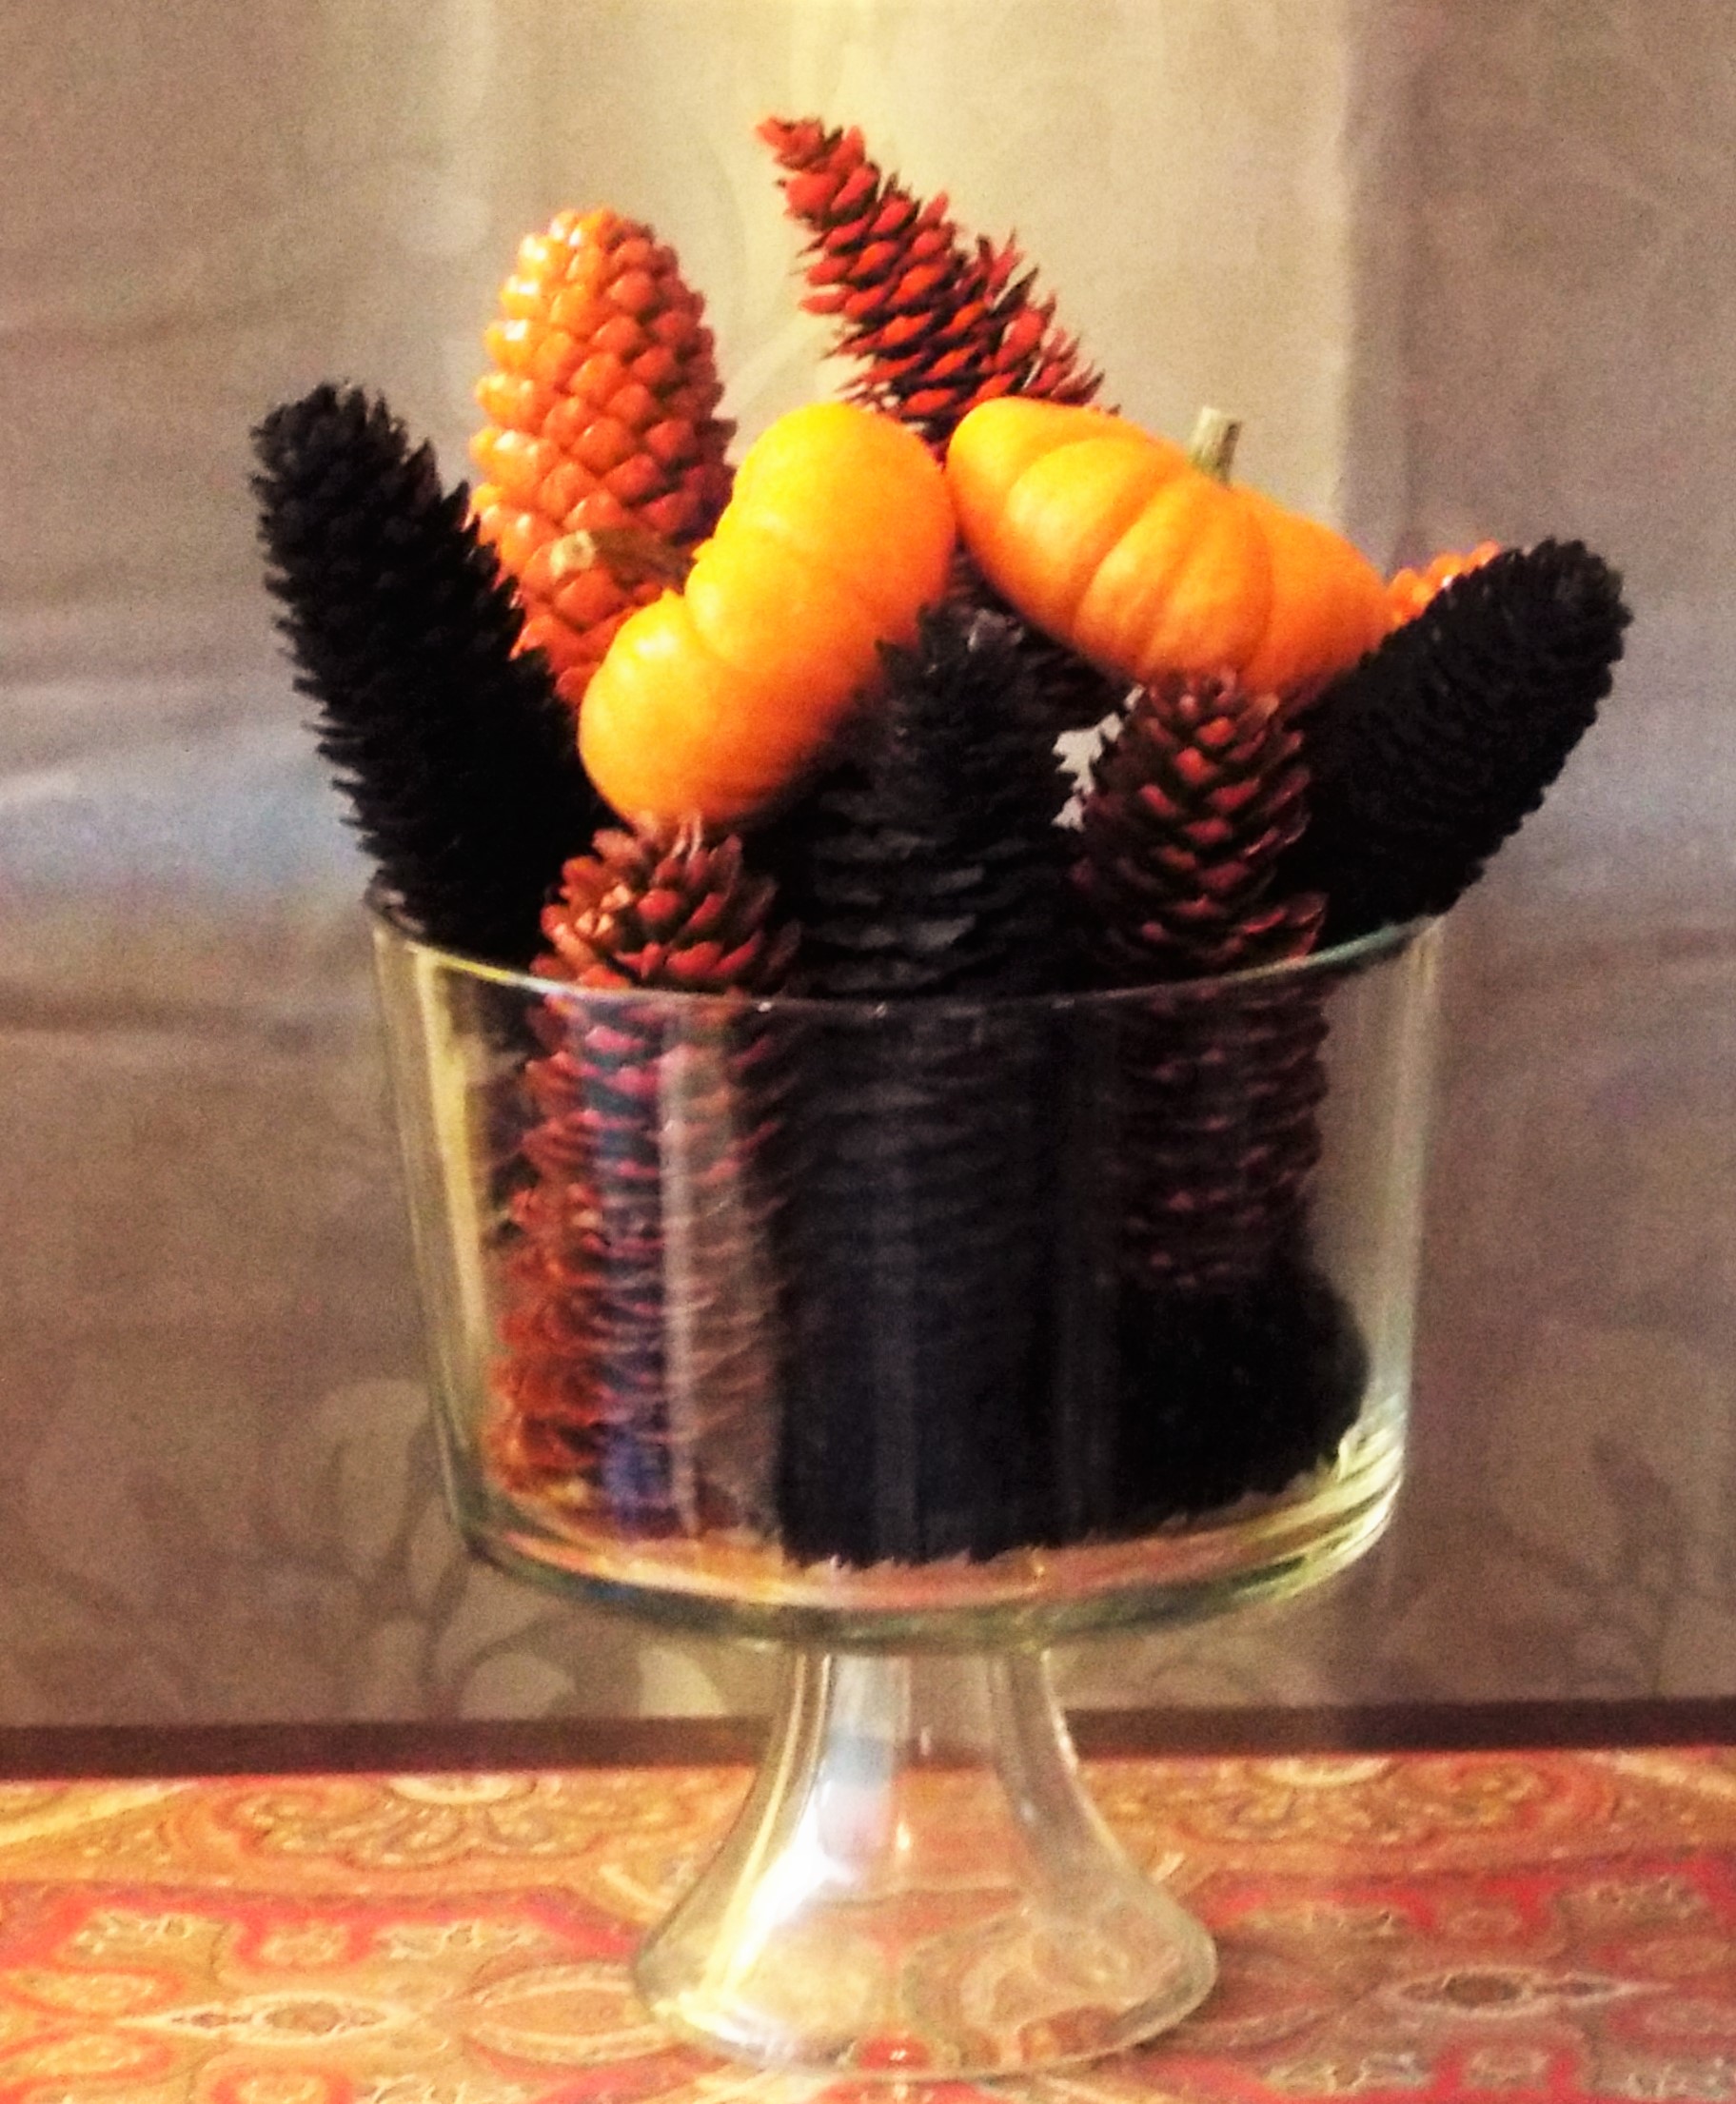
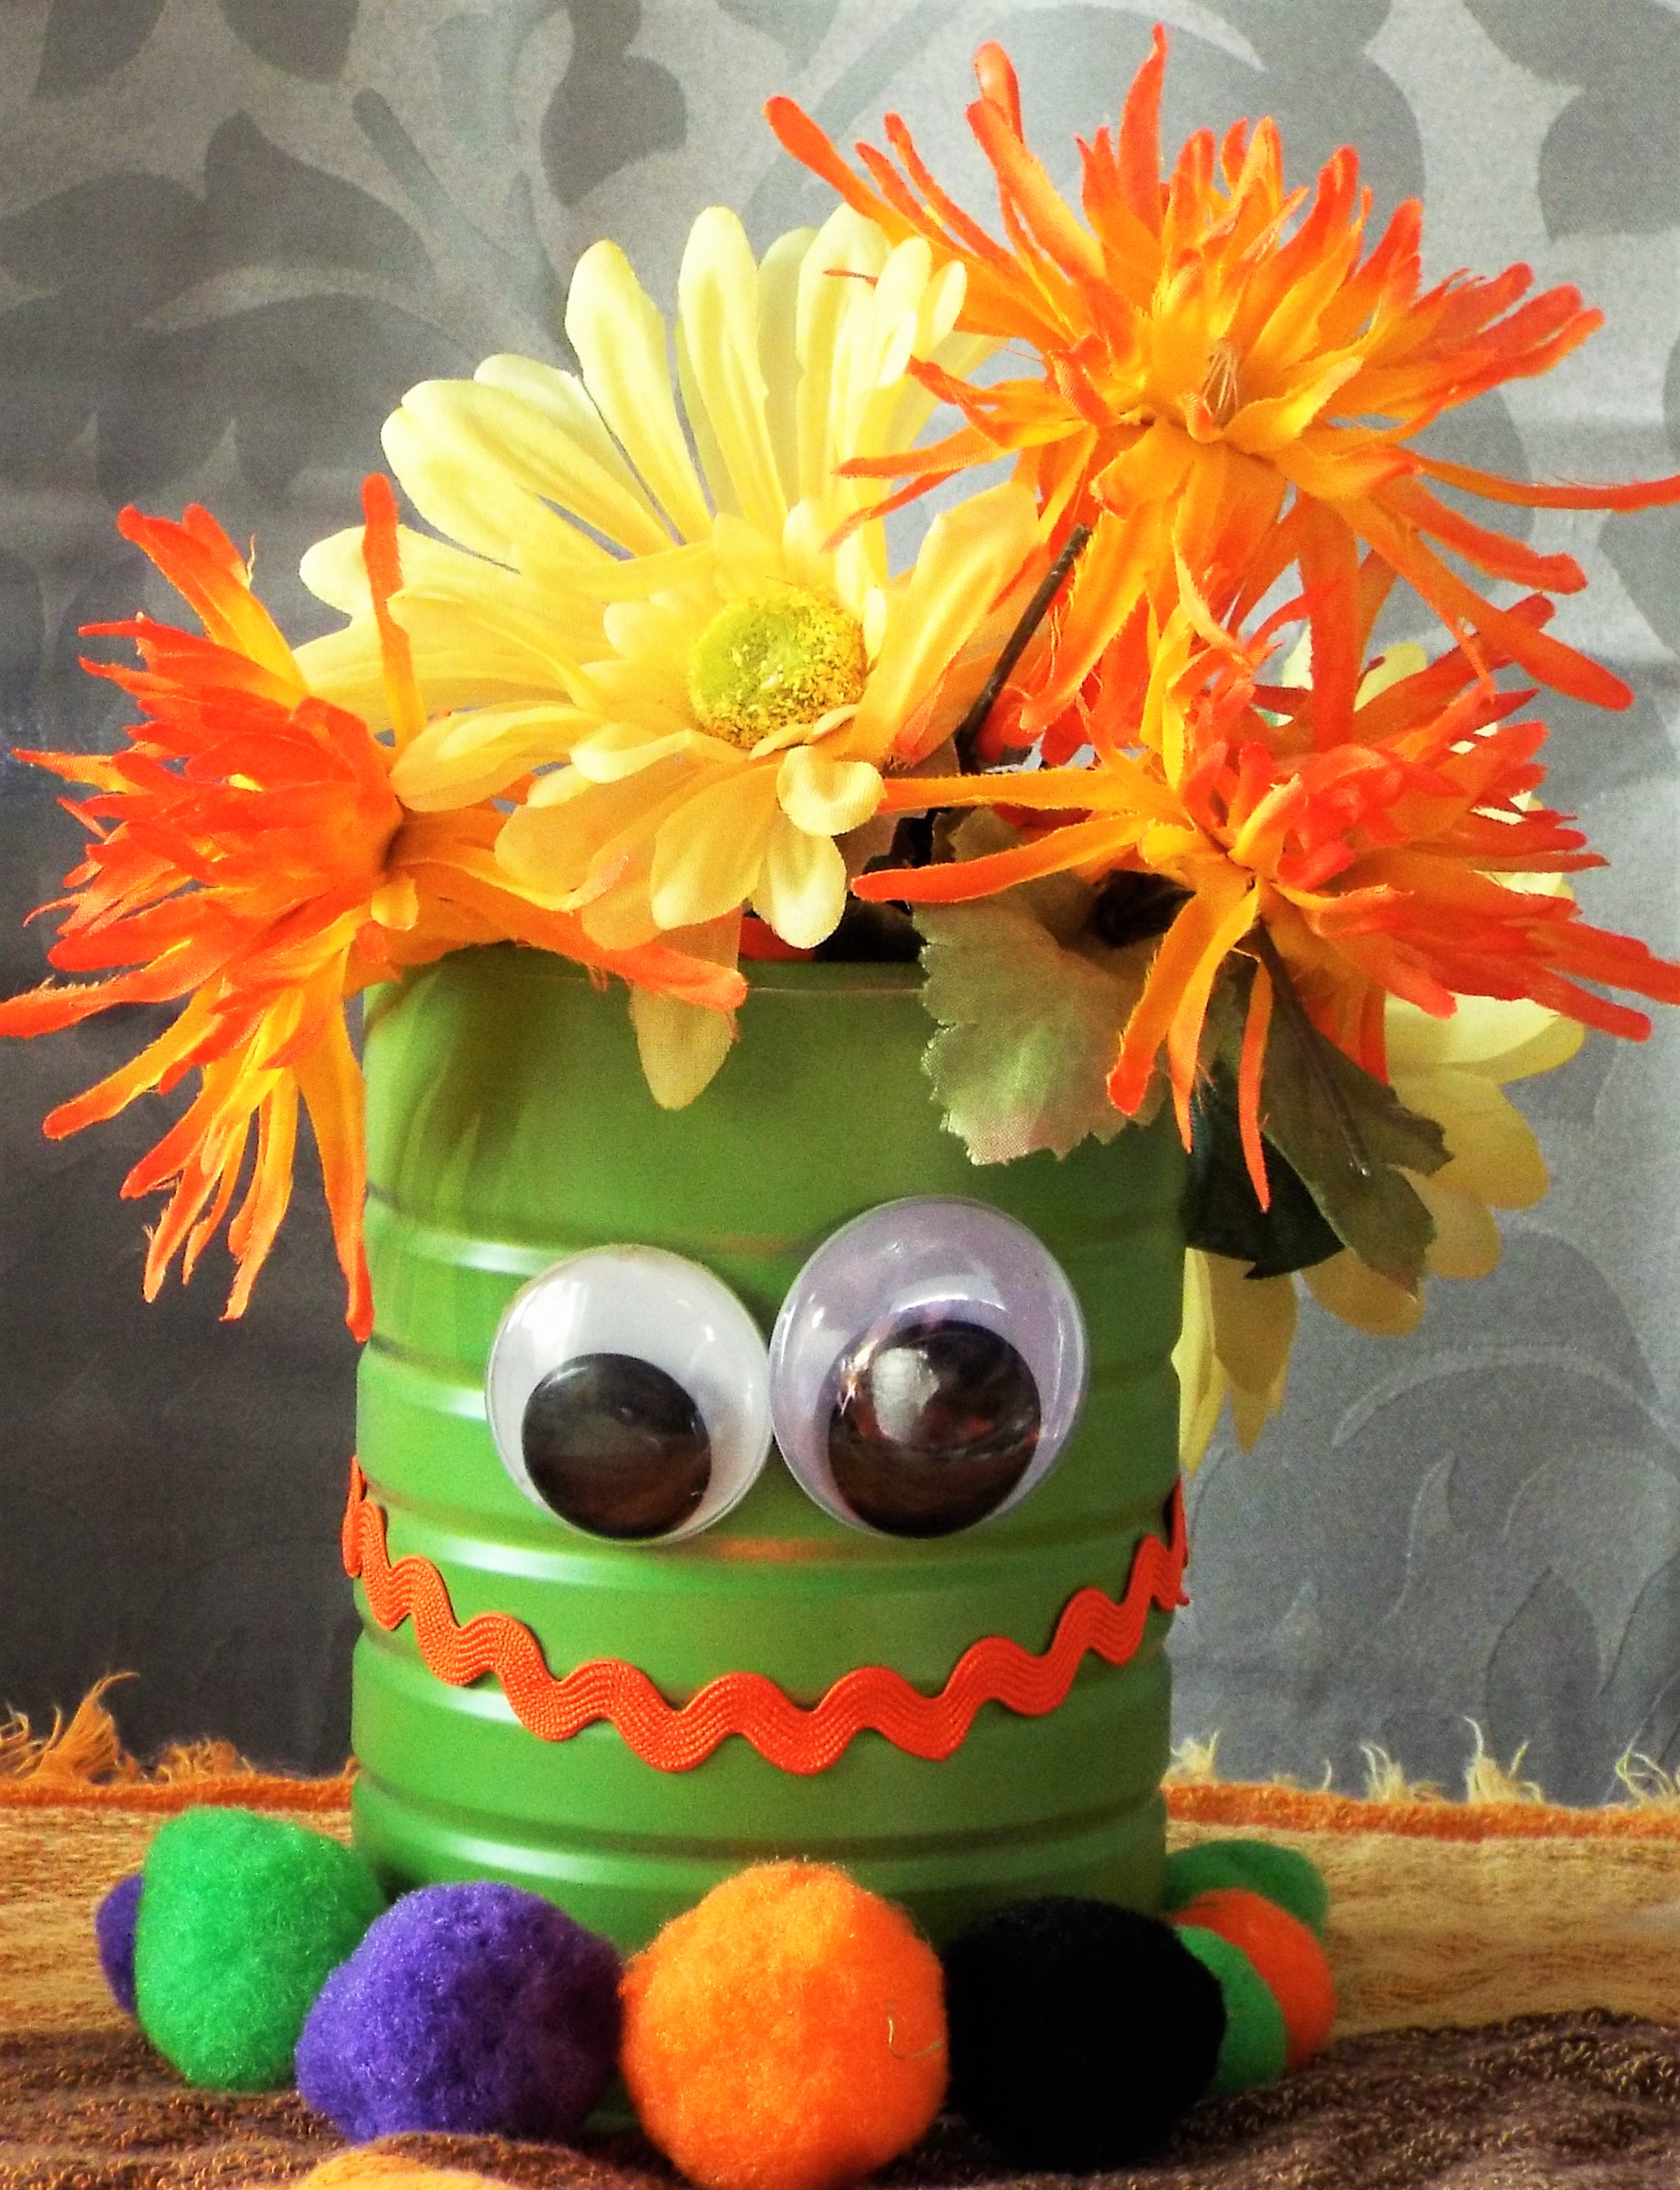
These cans make really cute decorations but they have other uses, such as the vases above and these ideas:
Gift Container

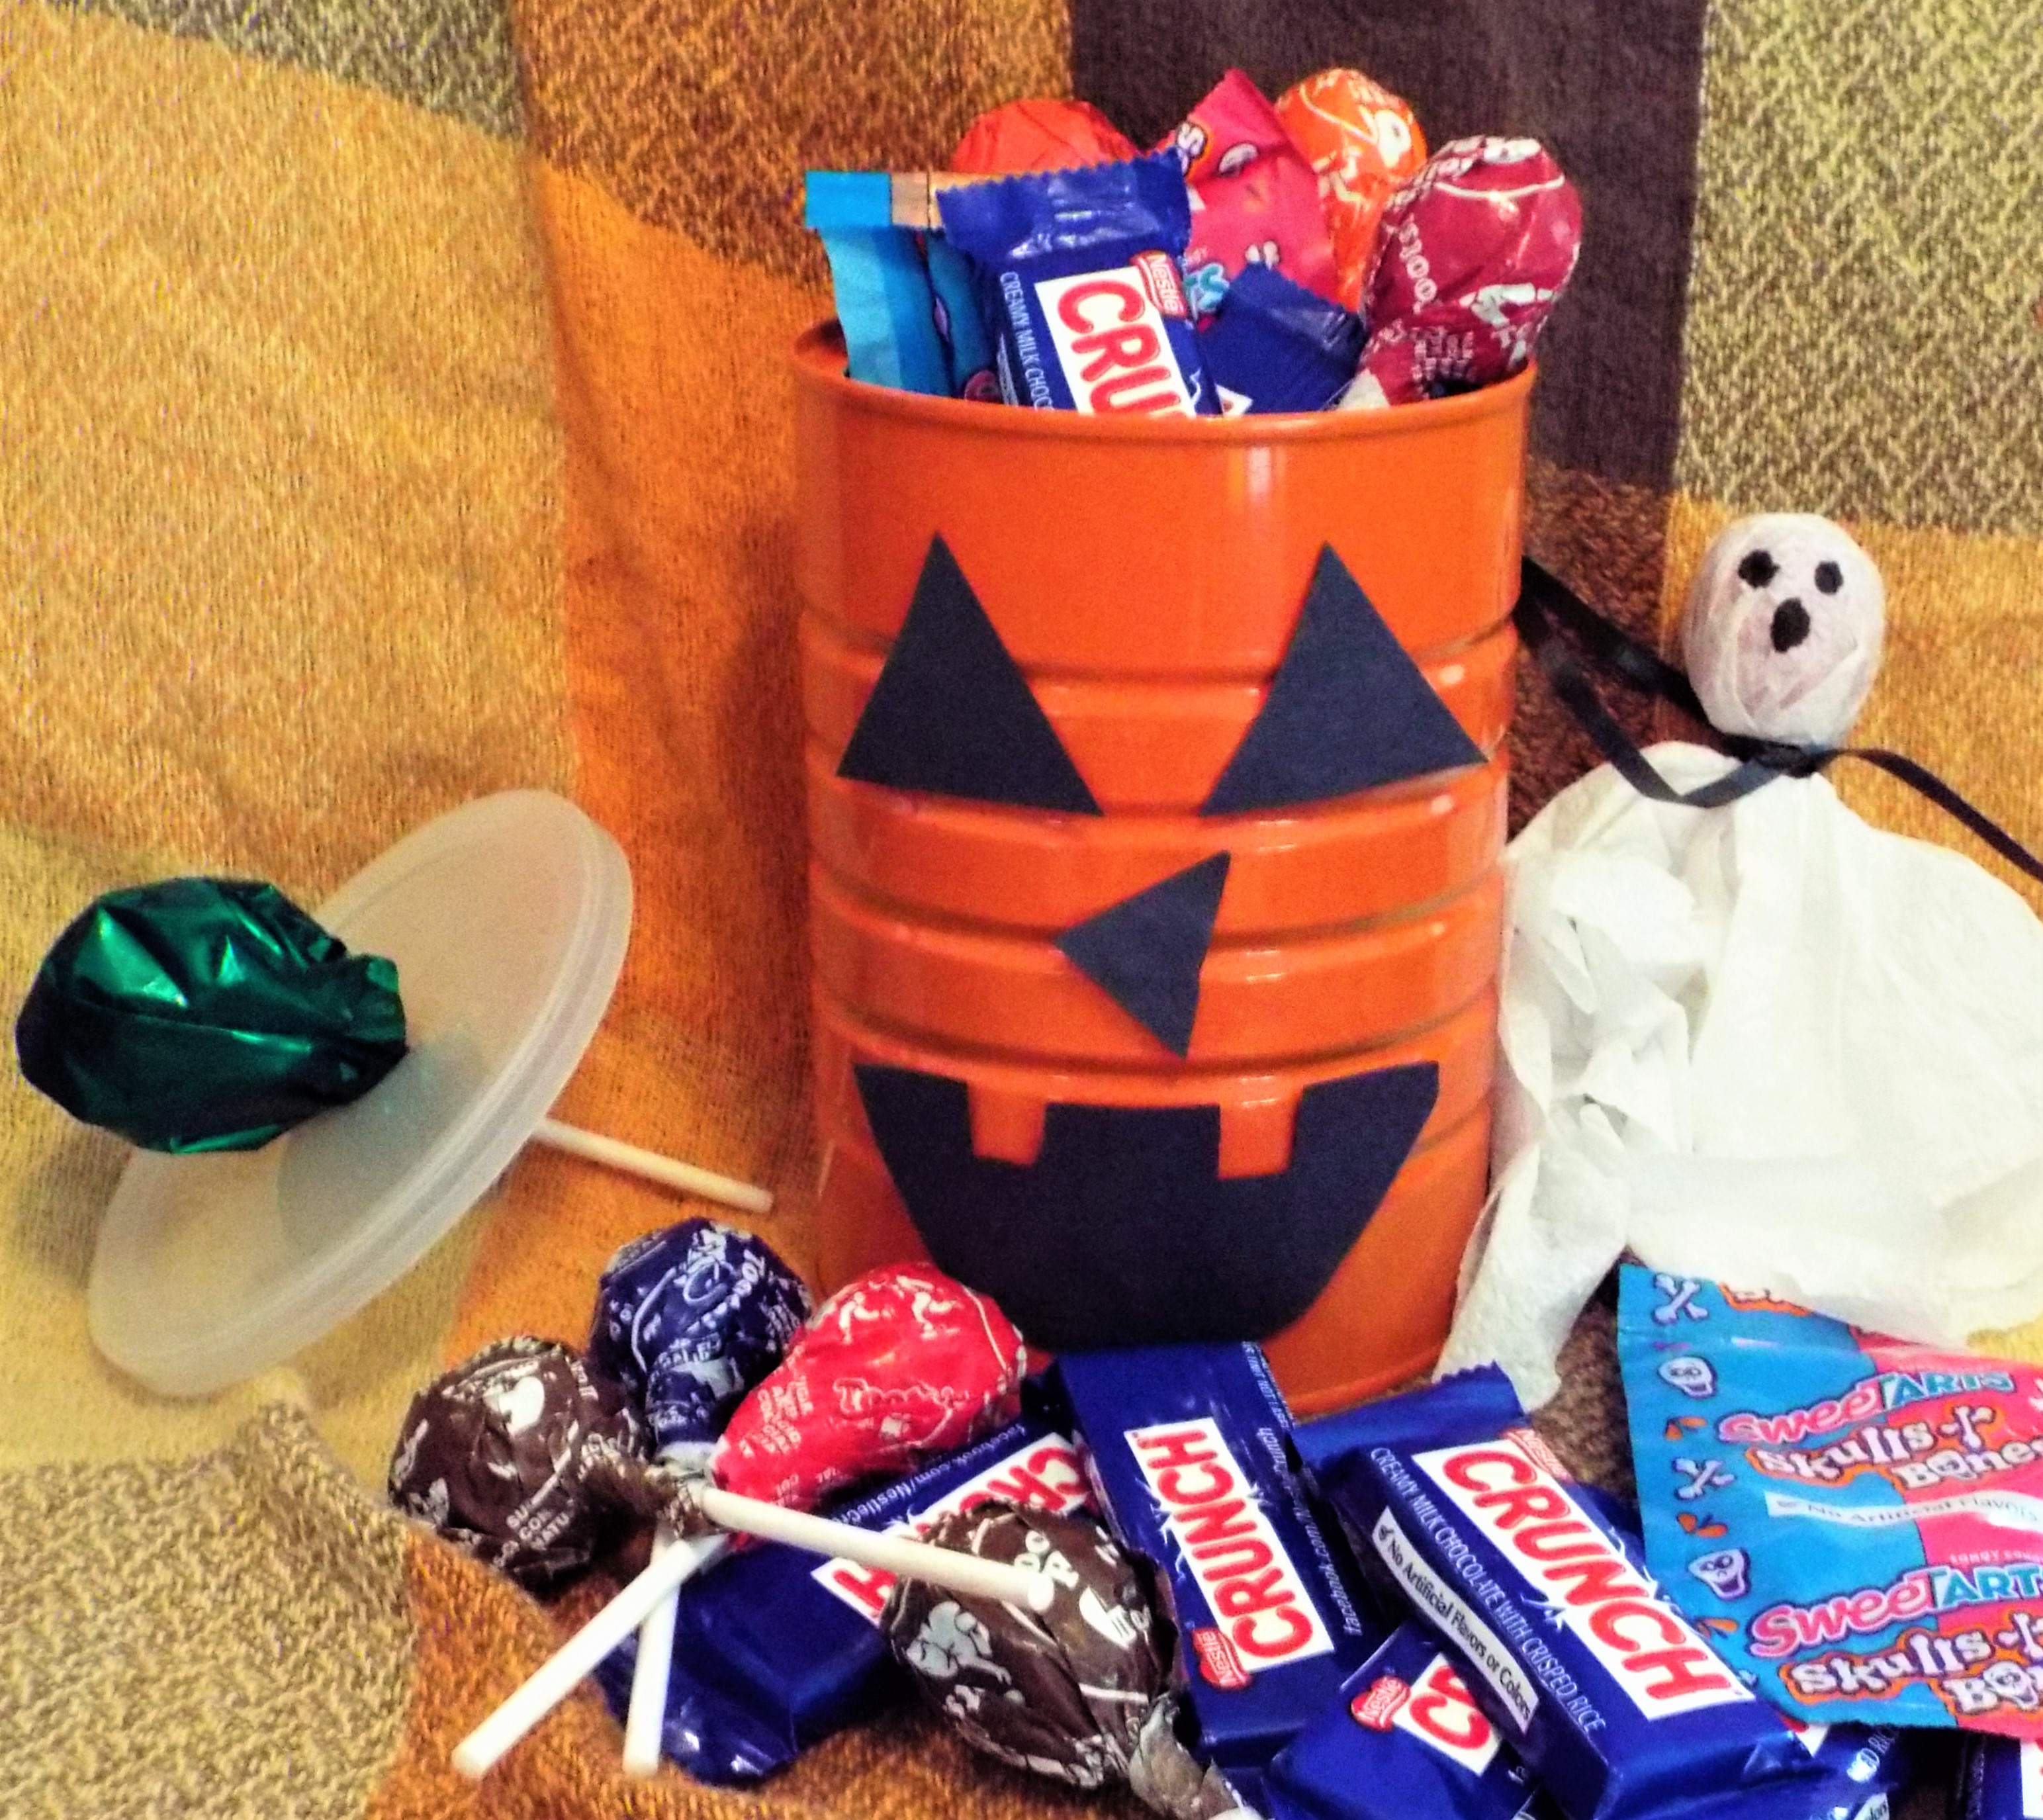
All of the candy pictured on the right fit inside the can on the left. The stem is a lollipop wrapped in green foil. Great gift!!!
(Looks like Mr. Jack-O-Lantern got his nose out of shape!)
Candy or treat dishes for parties or trick-or-treaters!
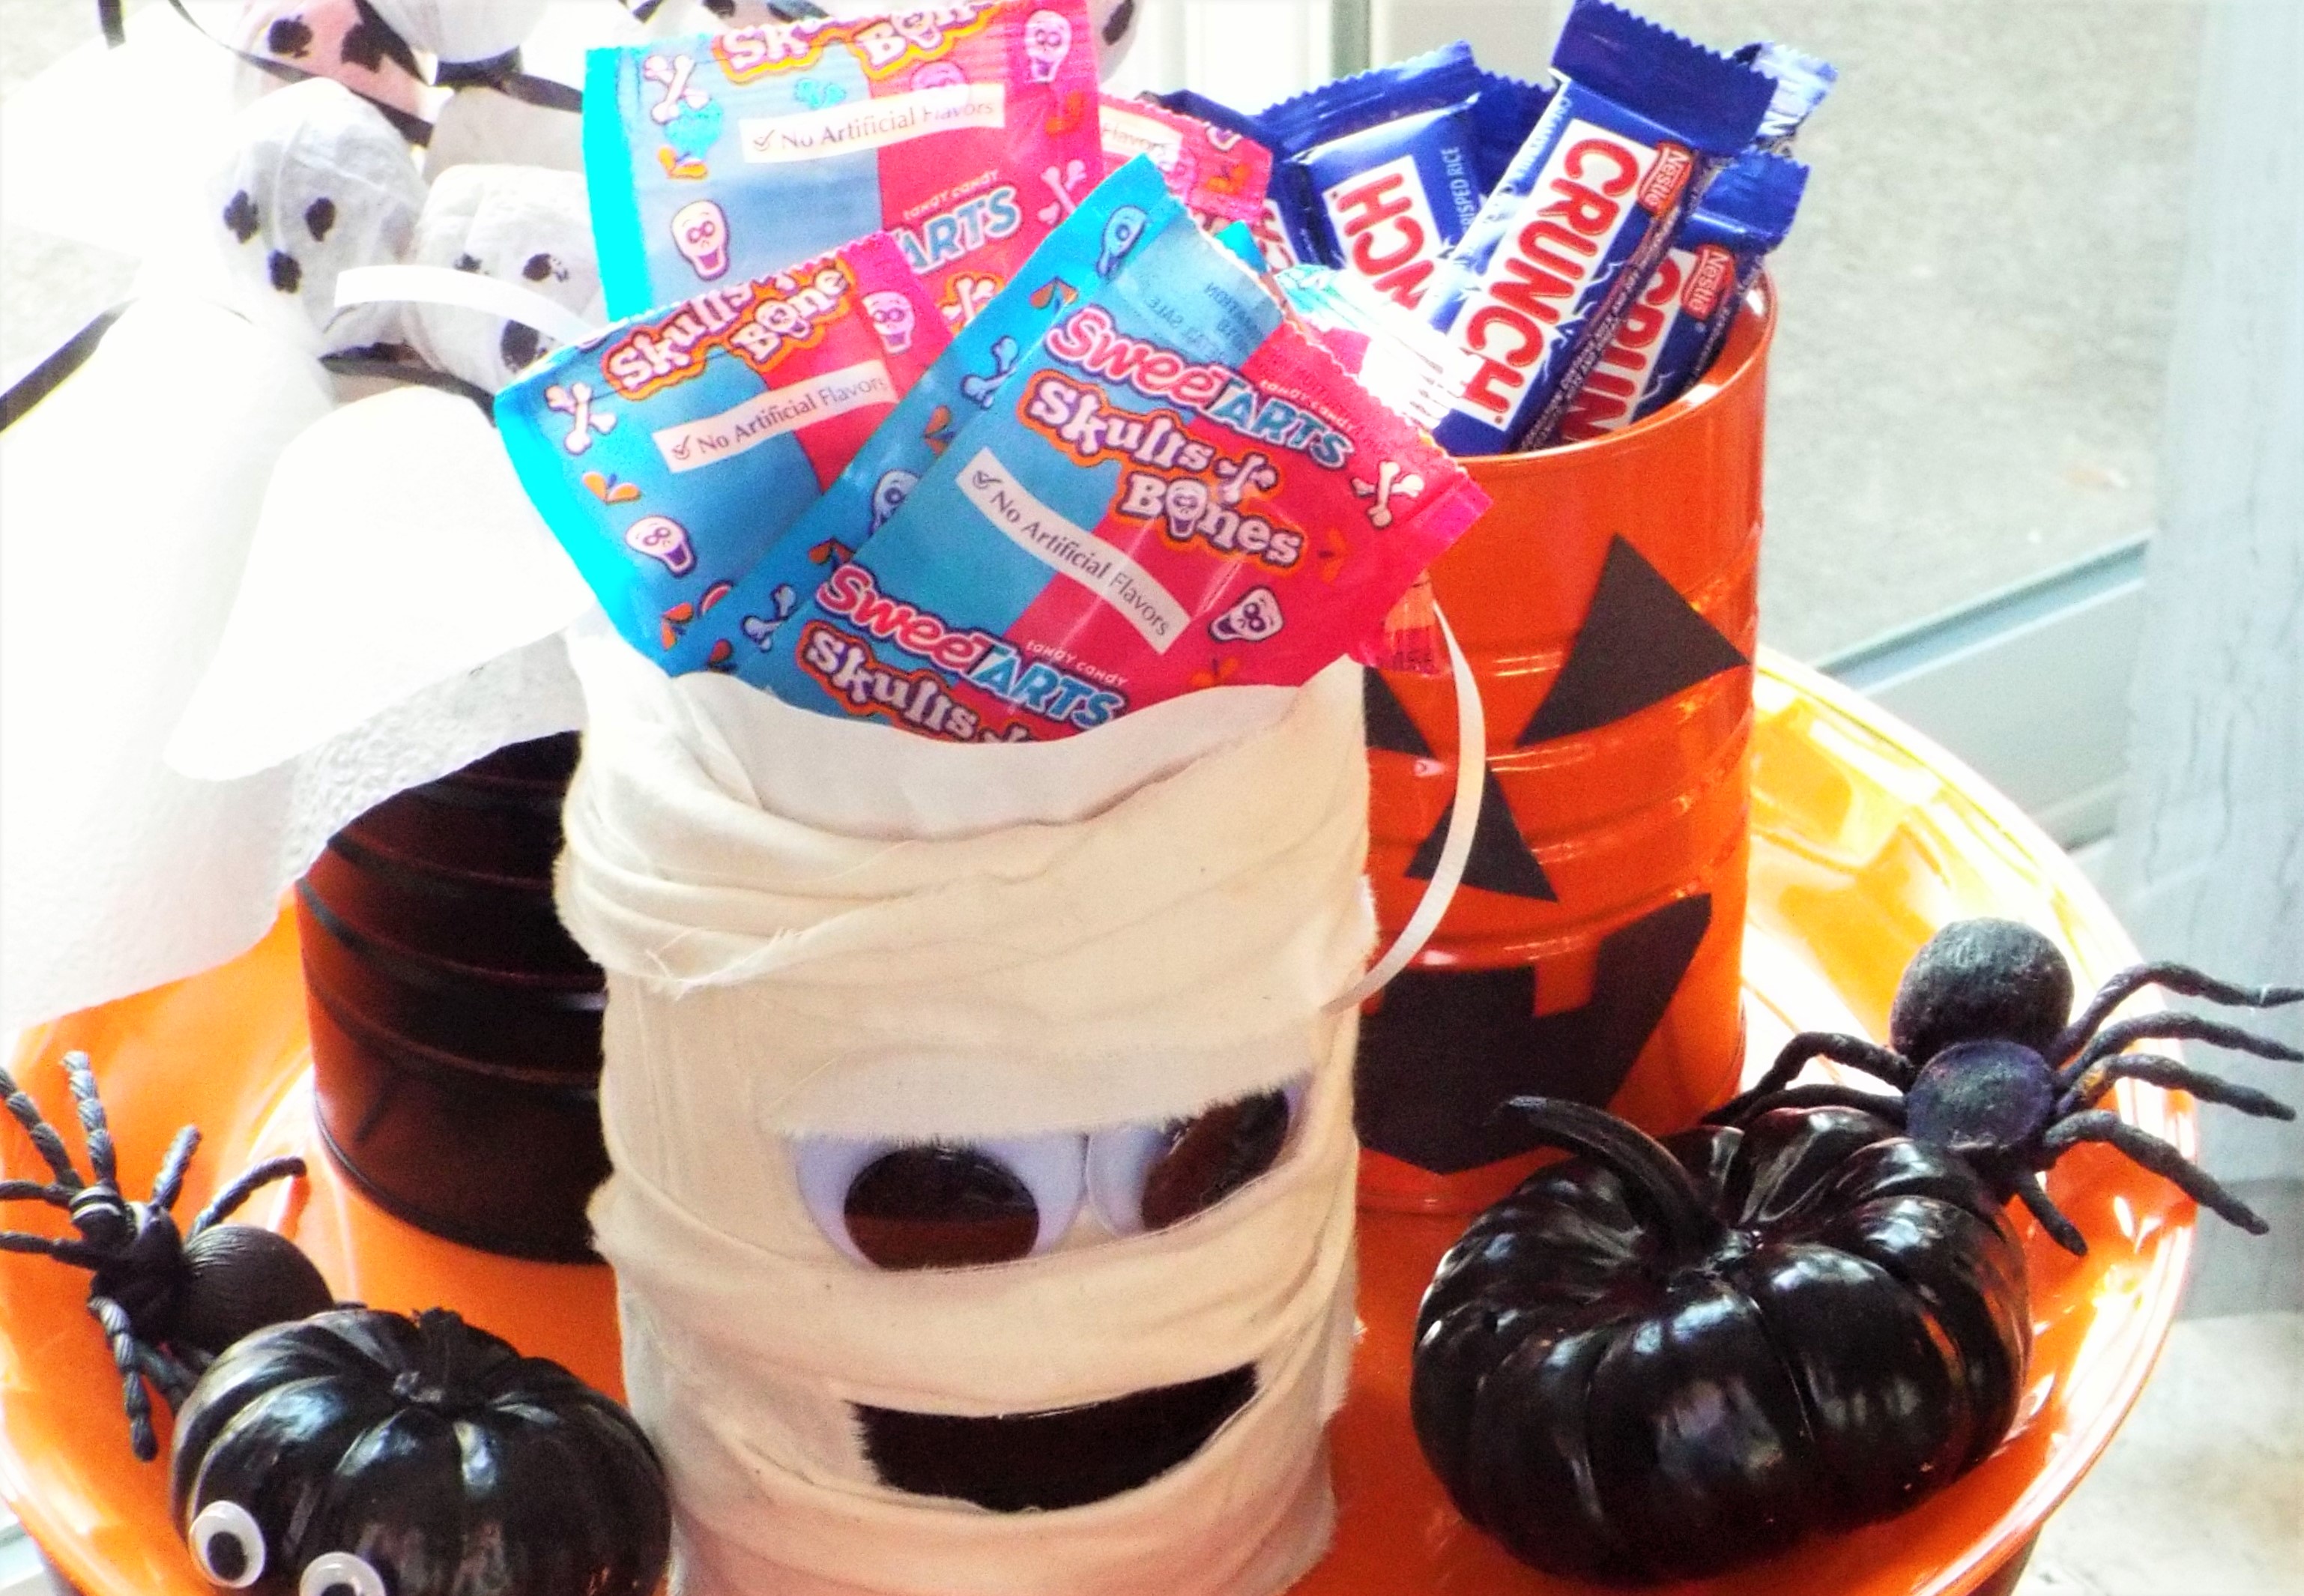

The mummy “popped his lid” over the candy and popcorn!
Boo! Check out the lollipop ghosts from a previous blog, a quick and easy treat!
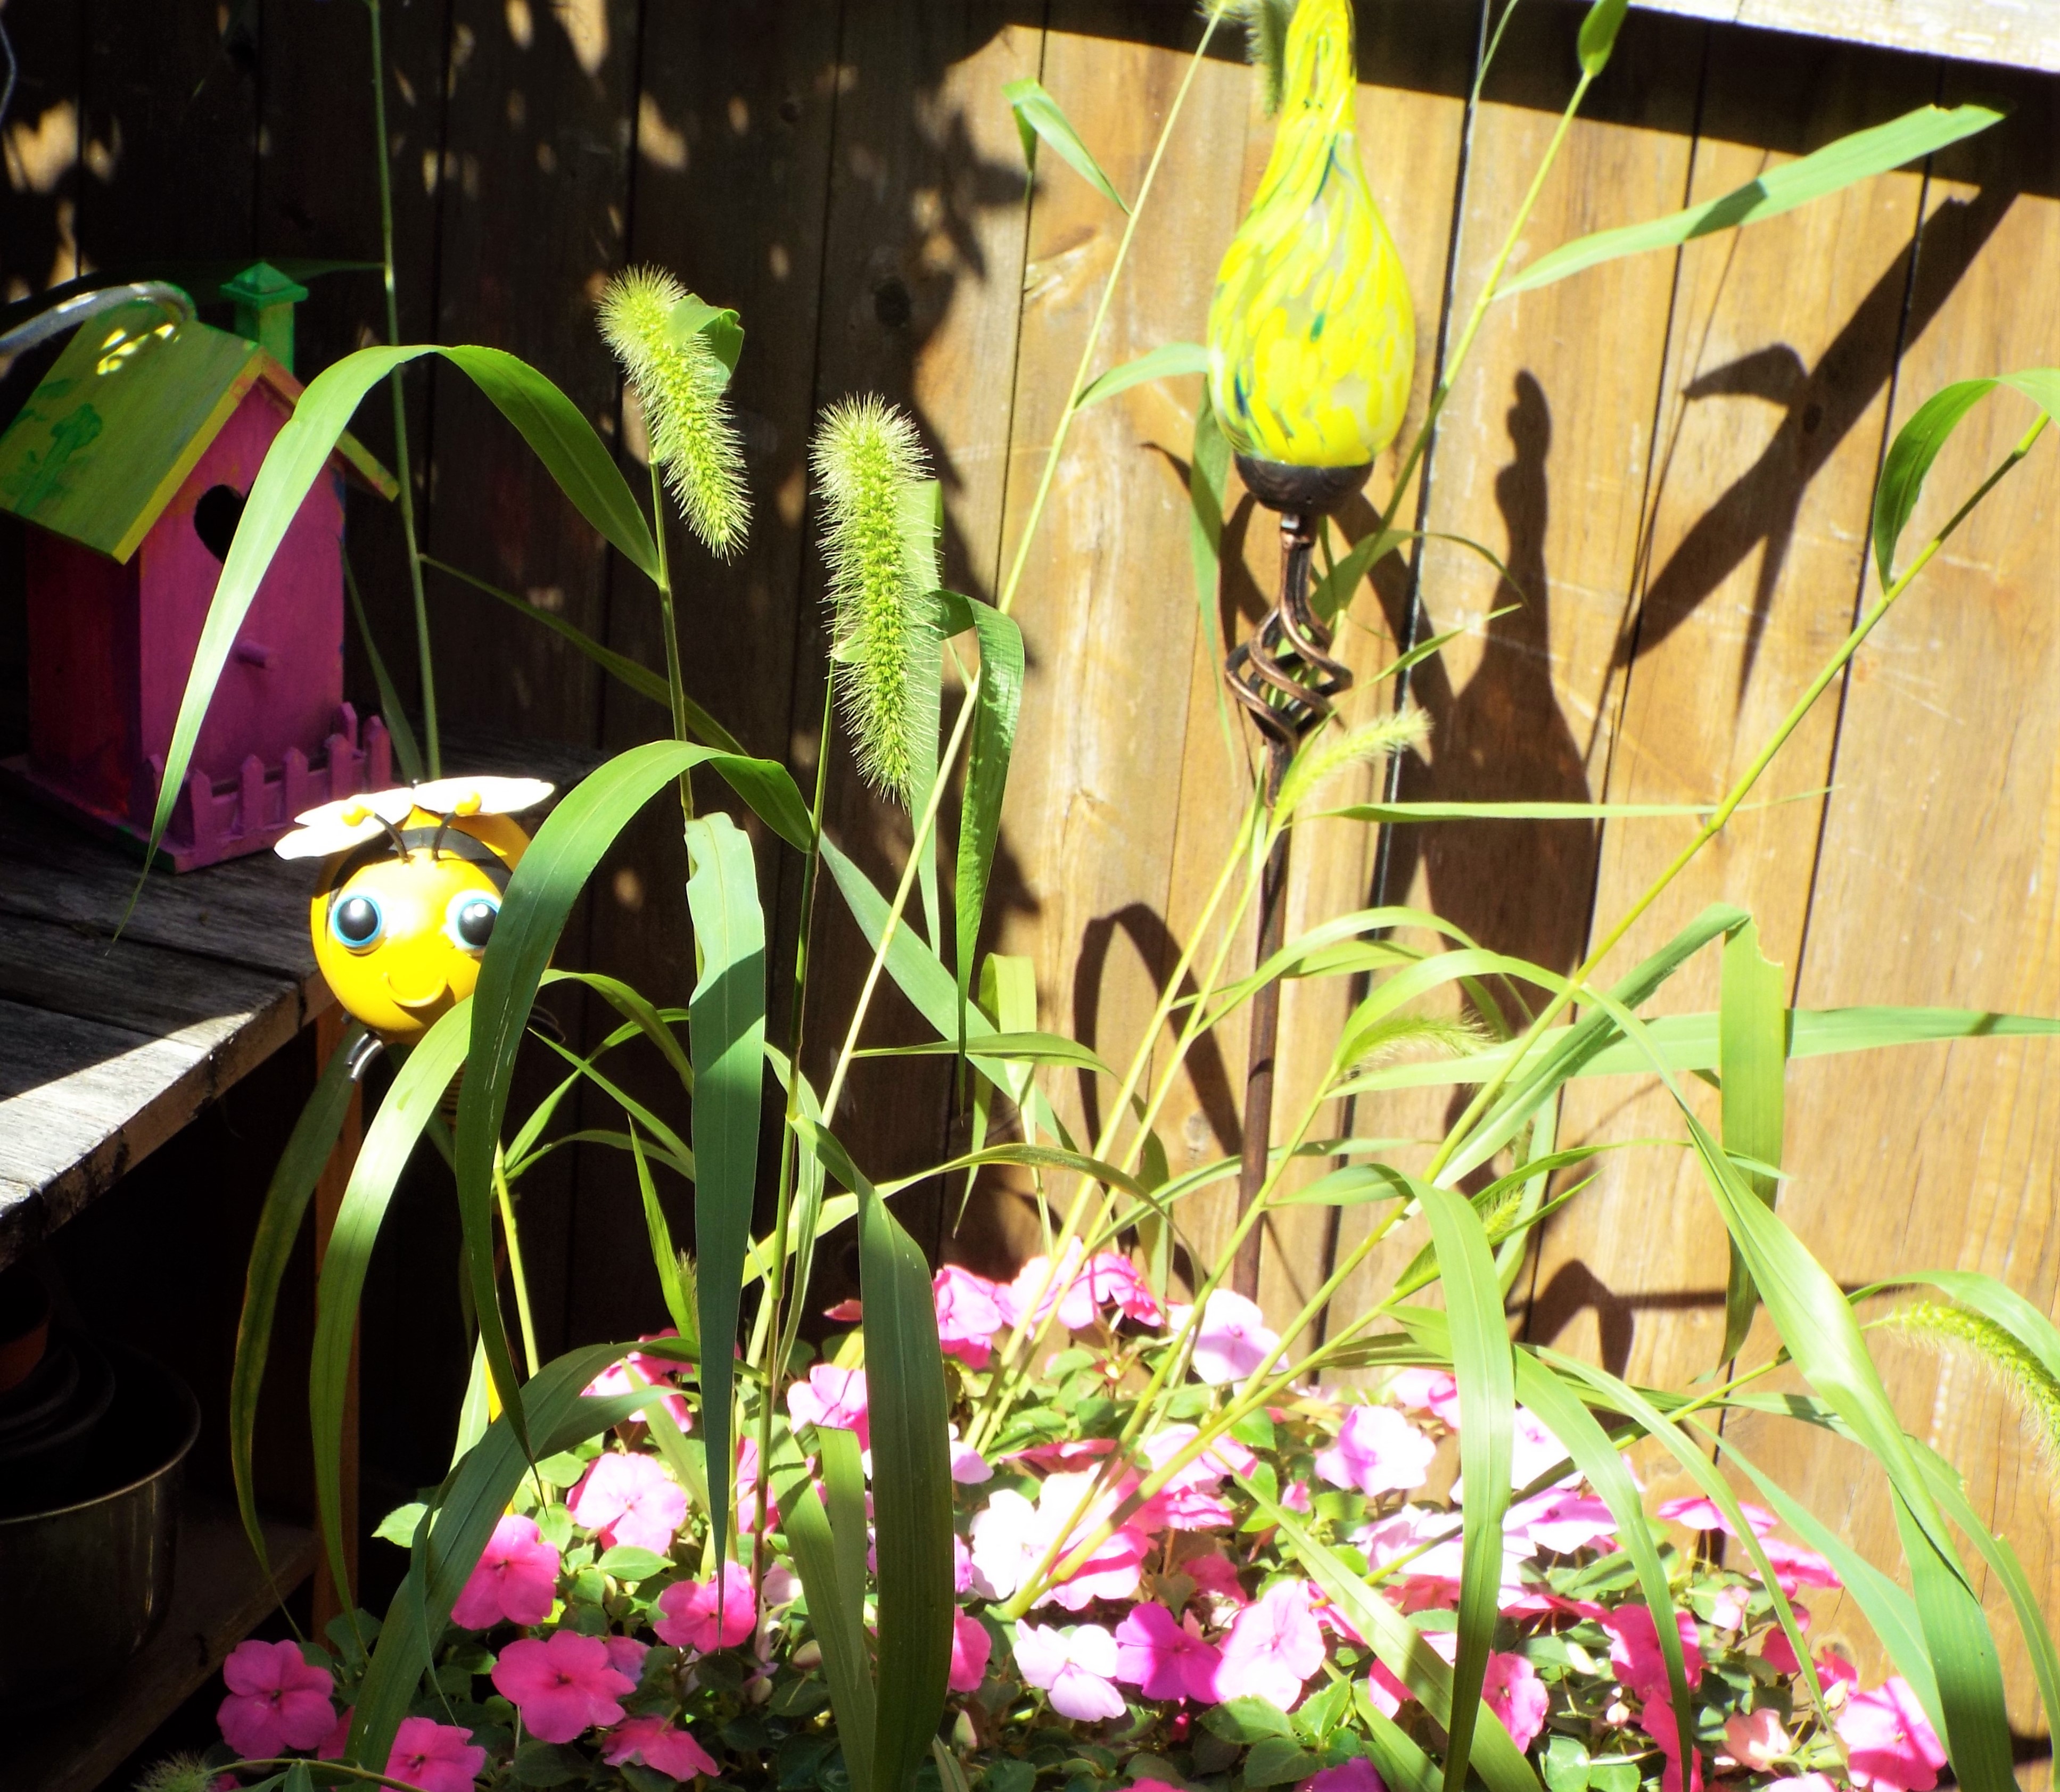
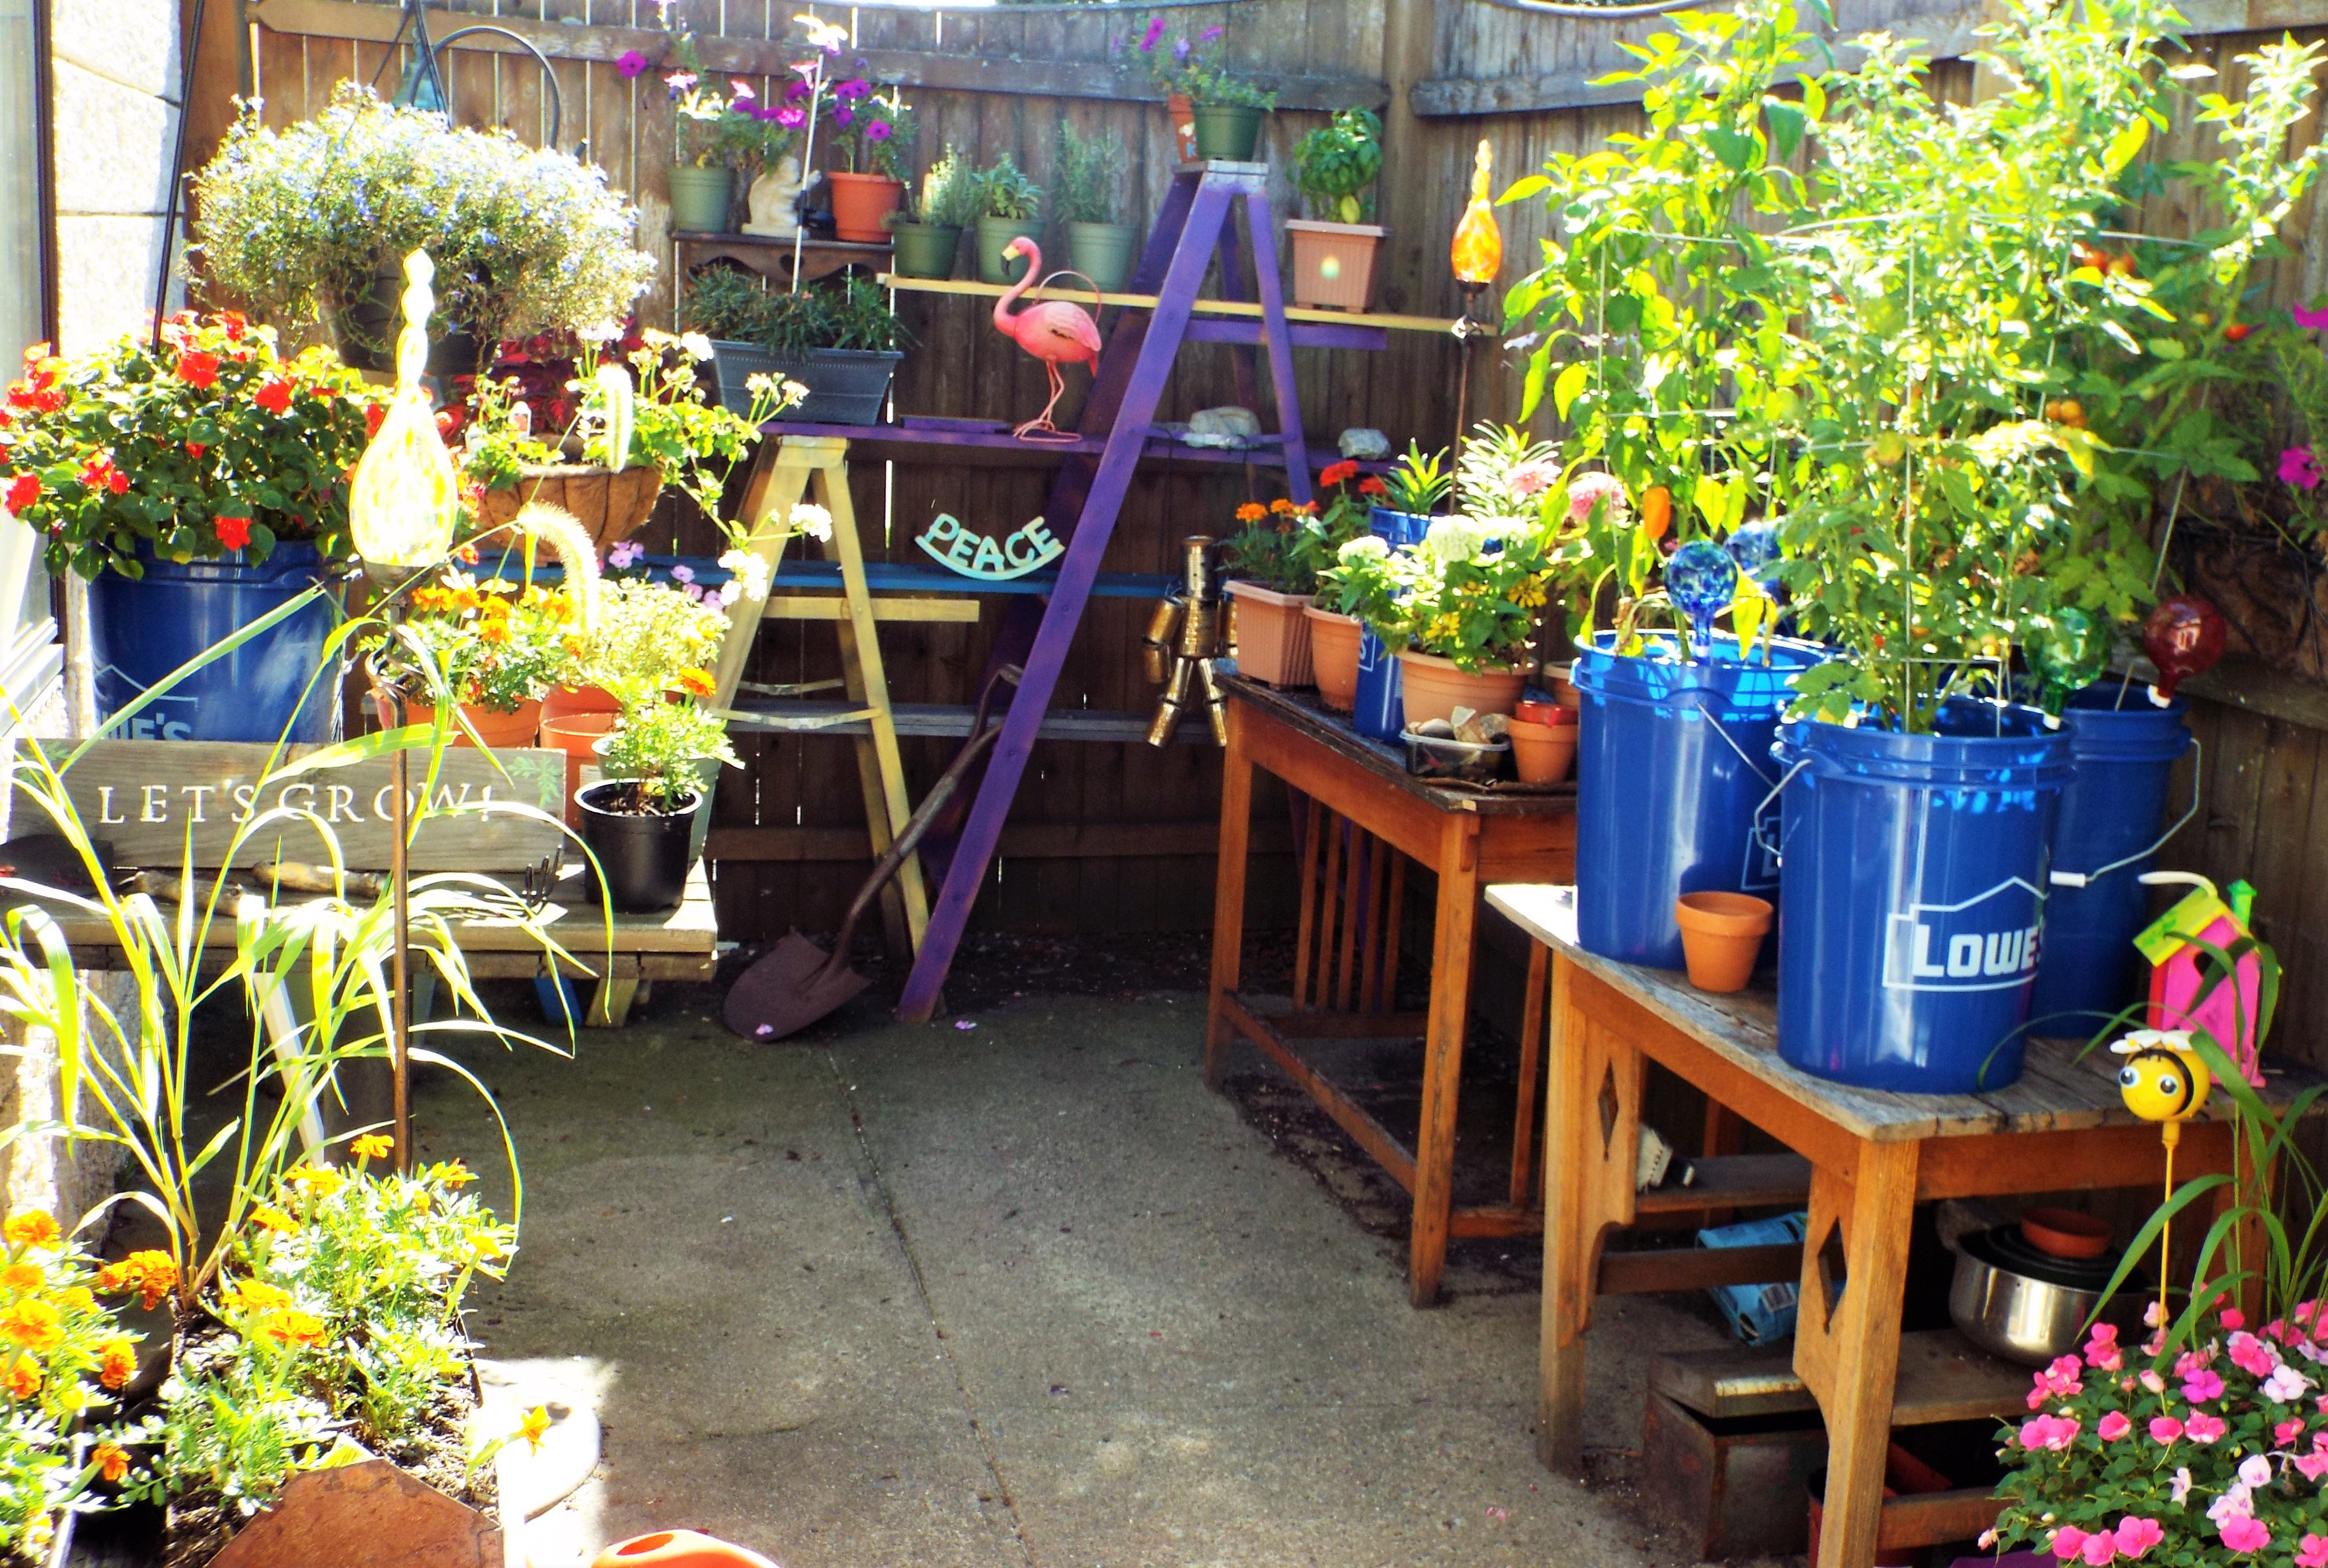
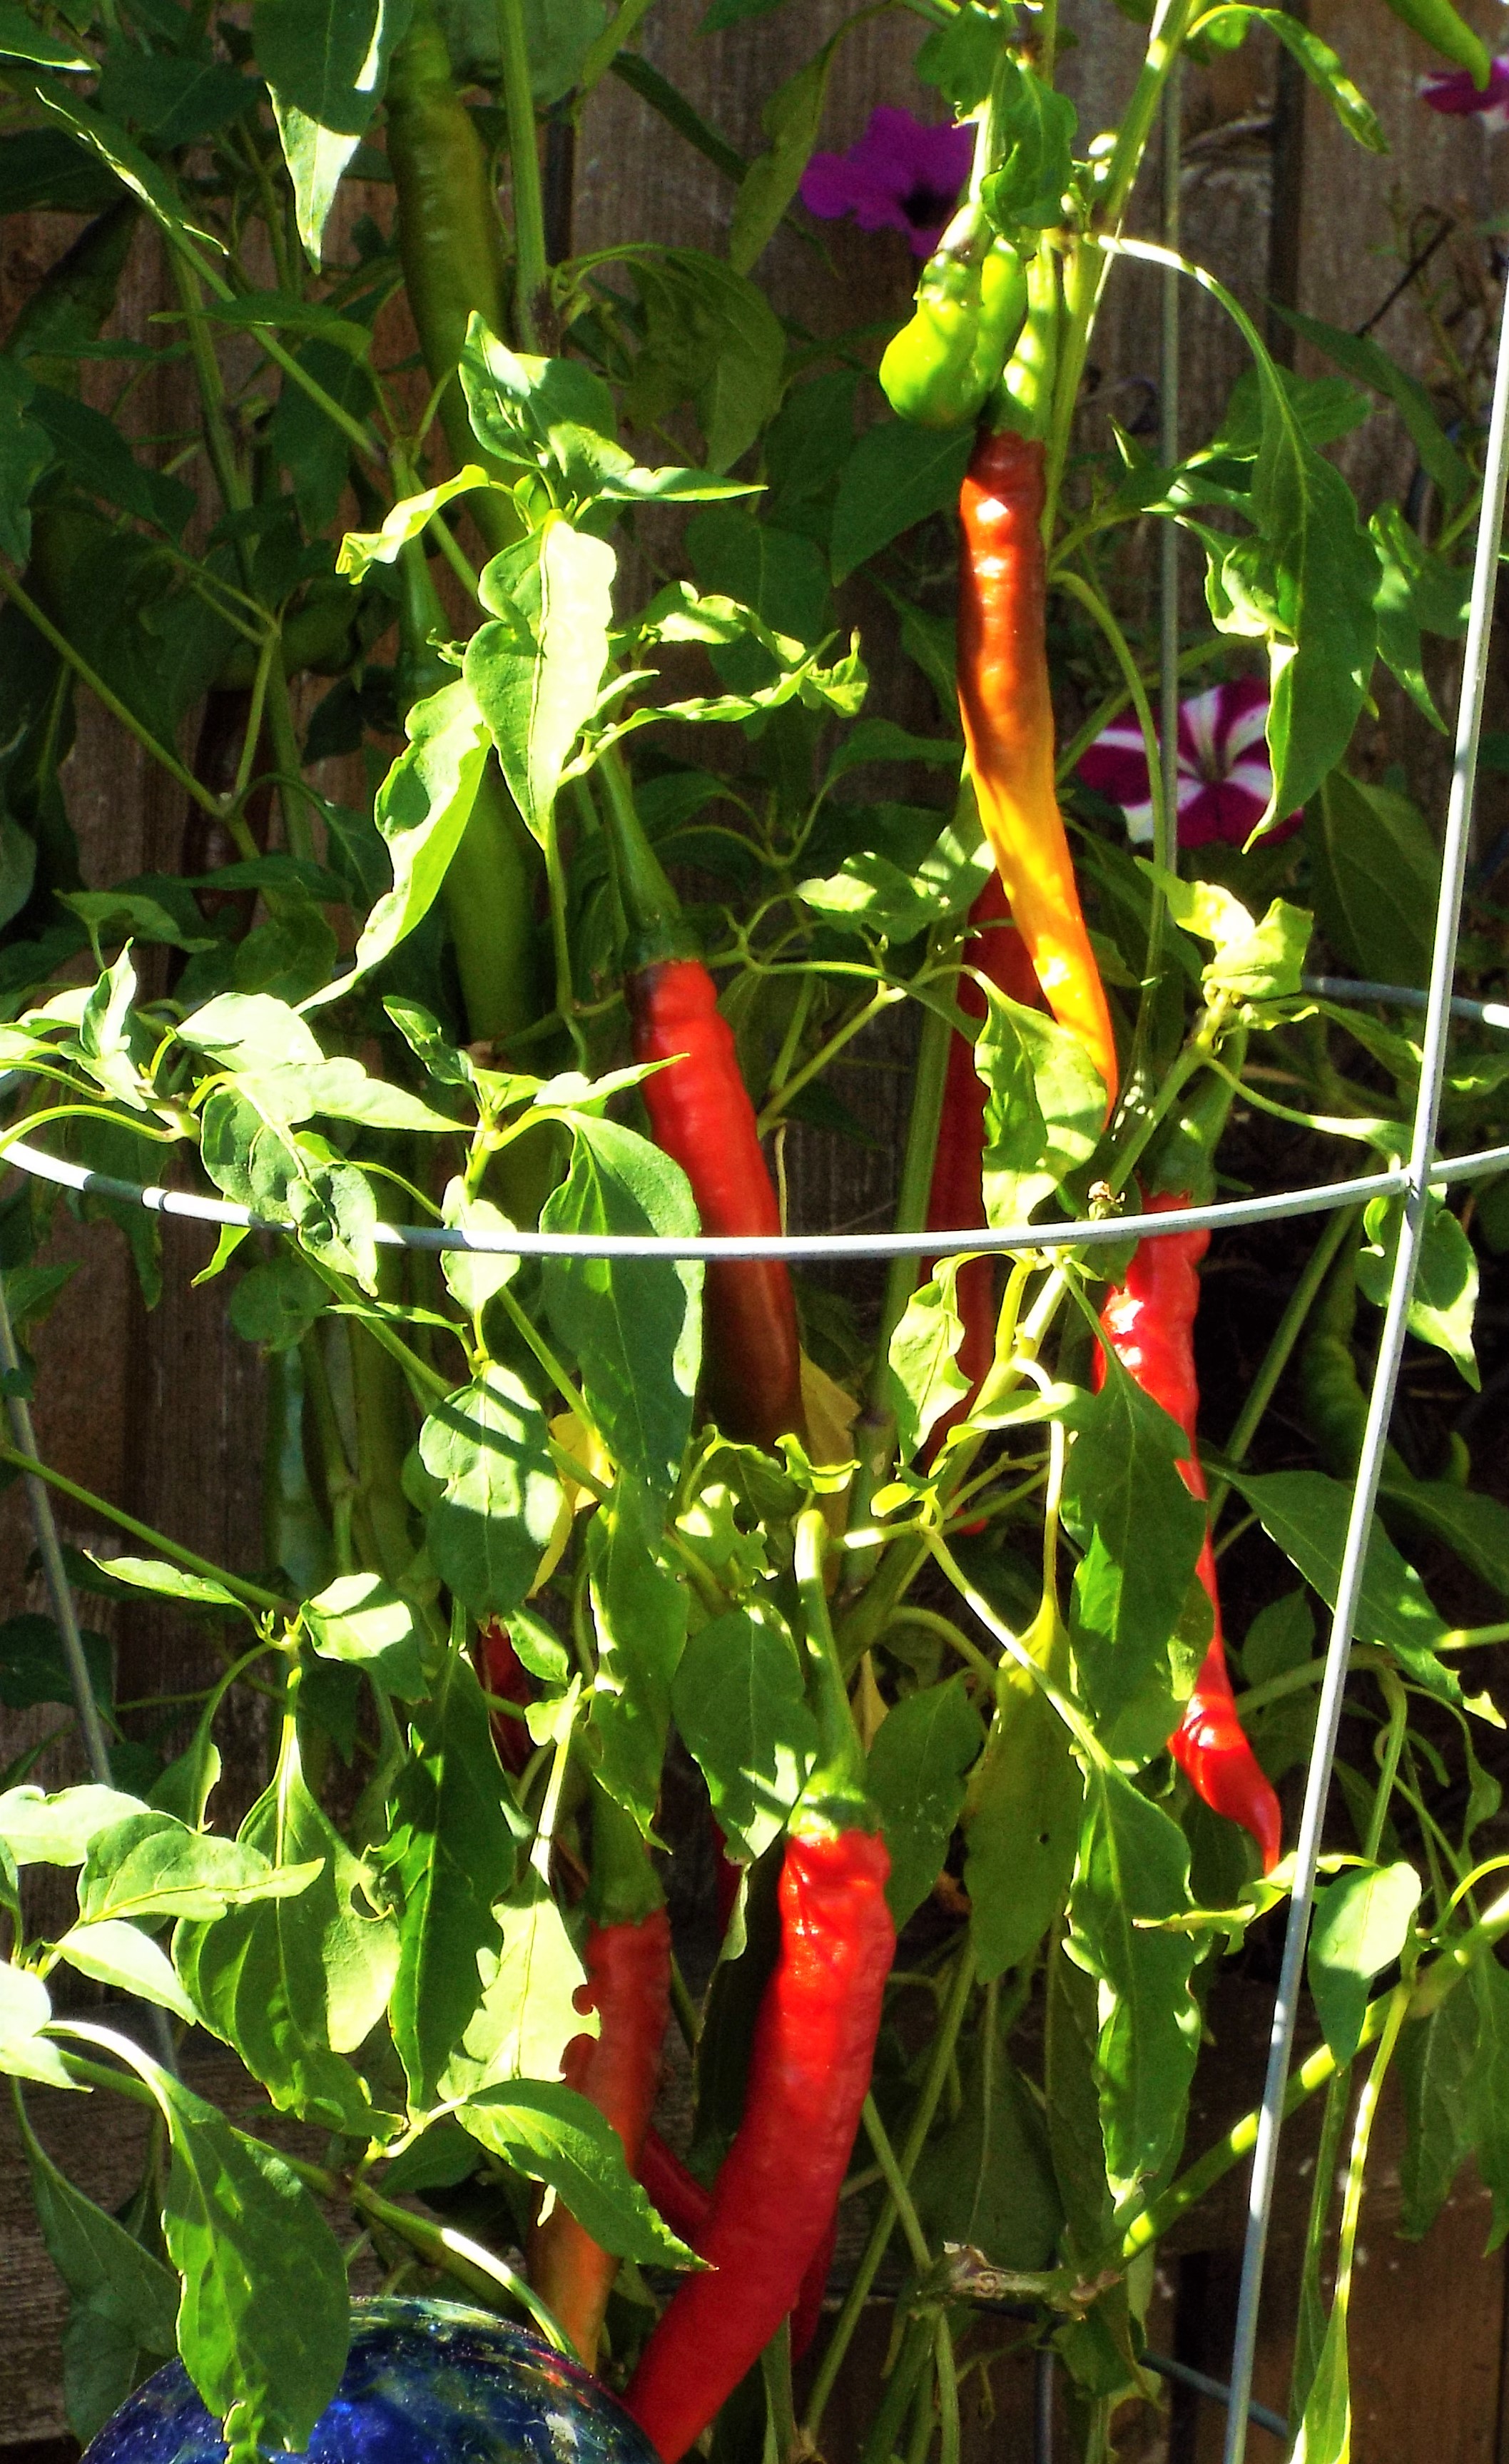
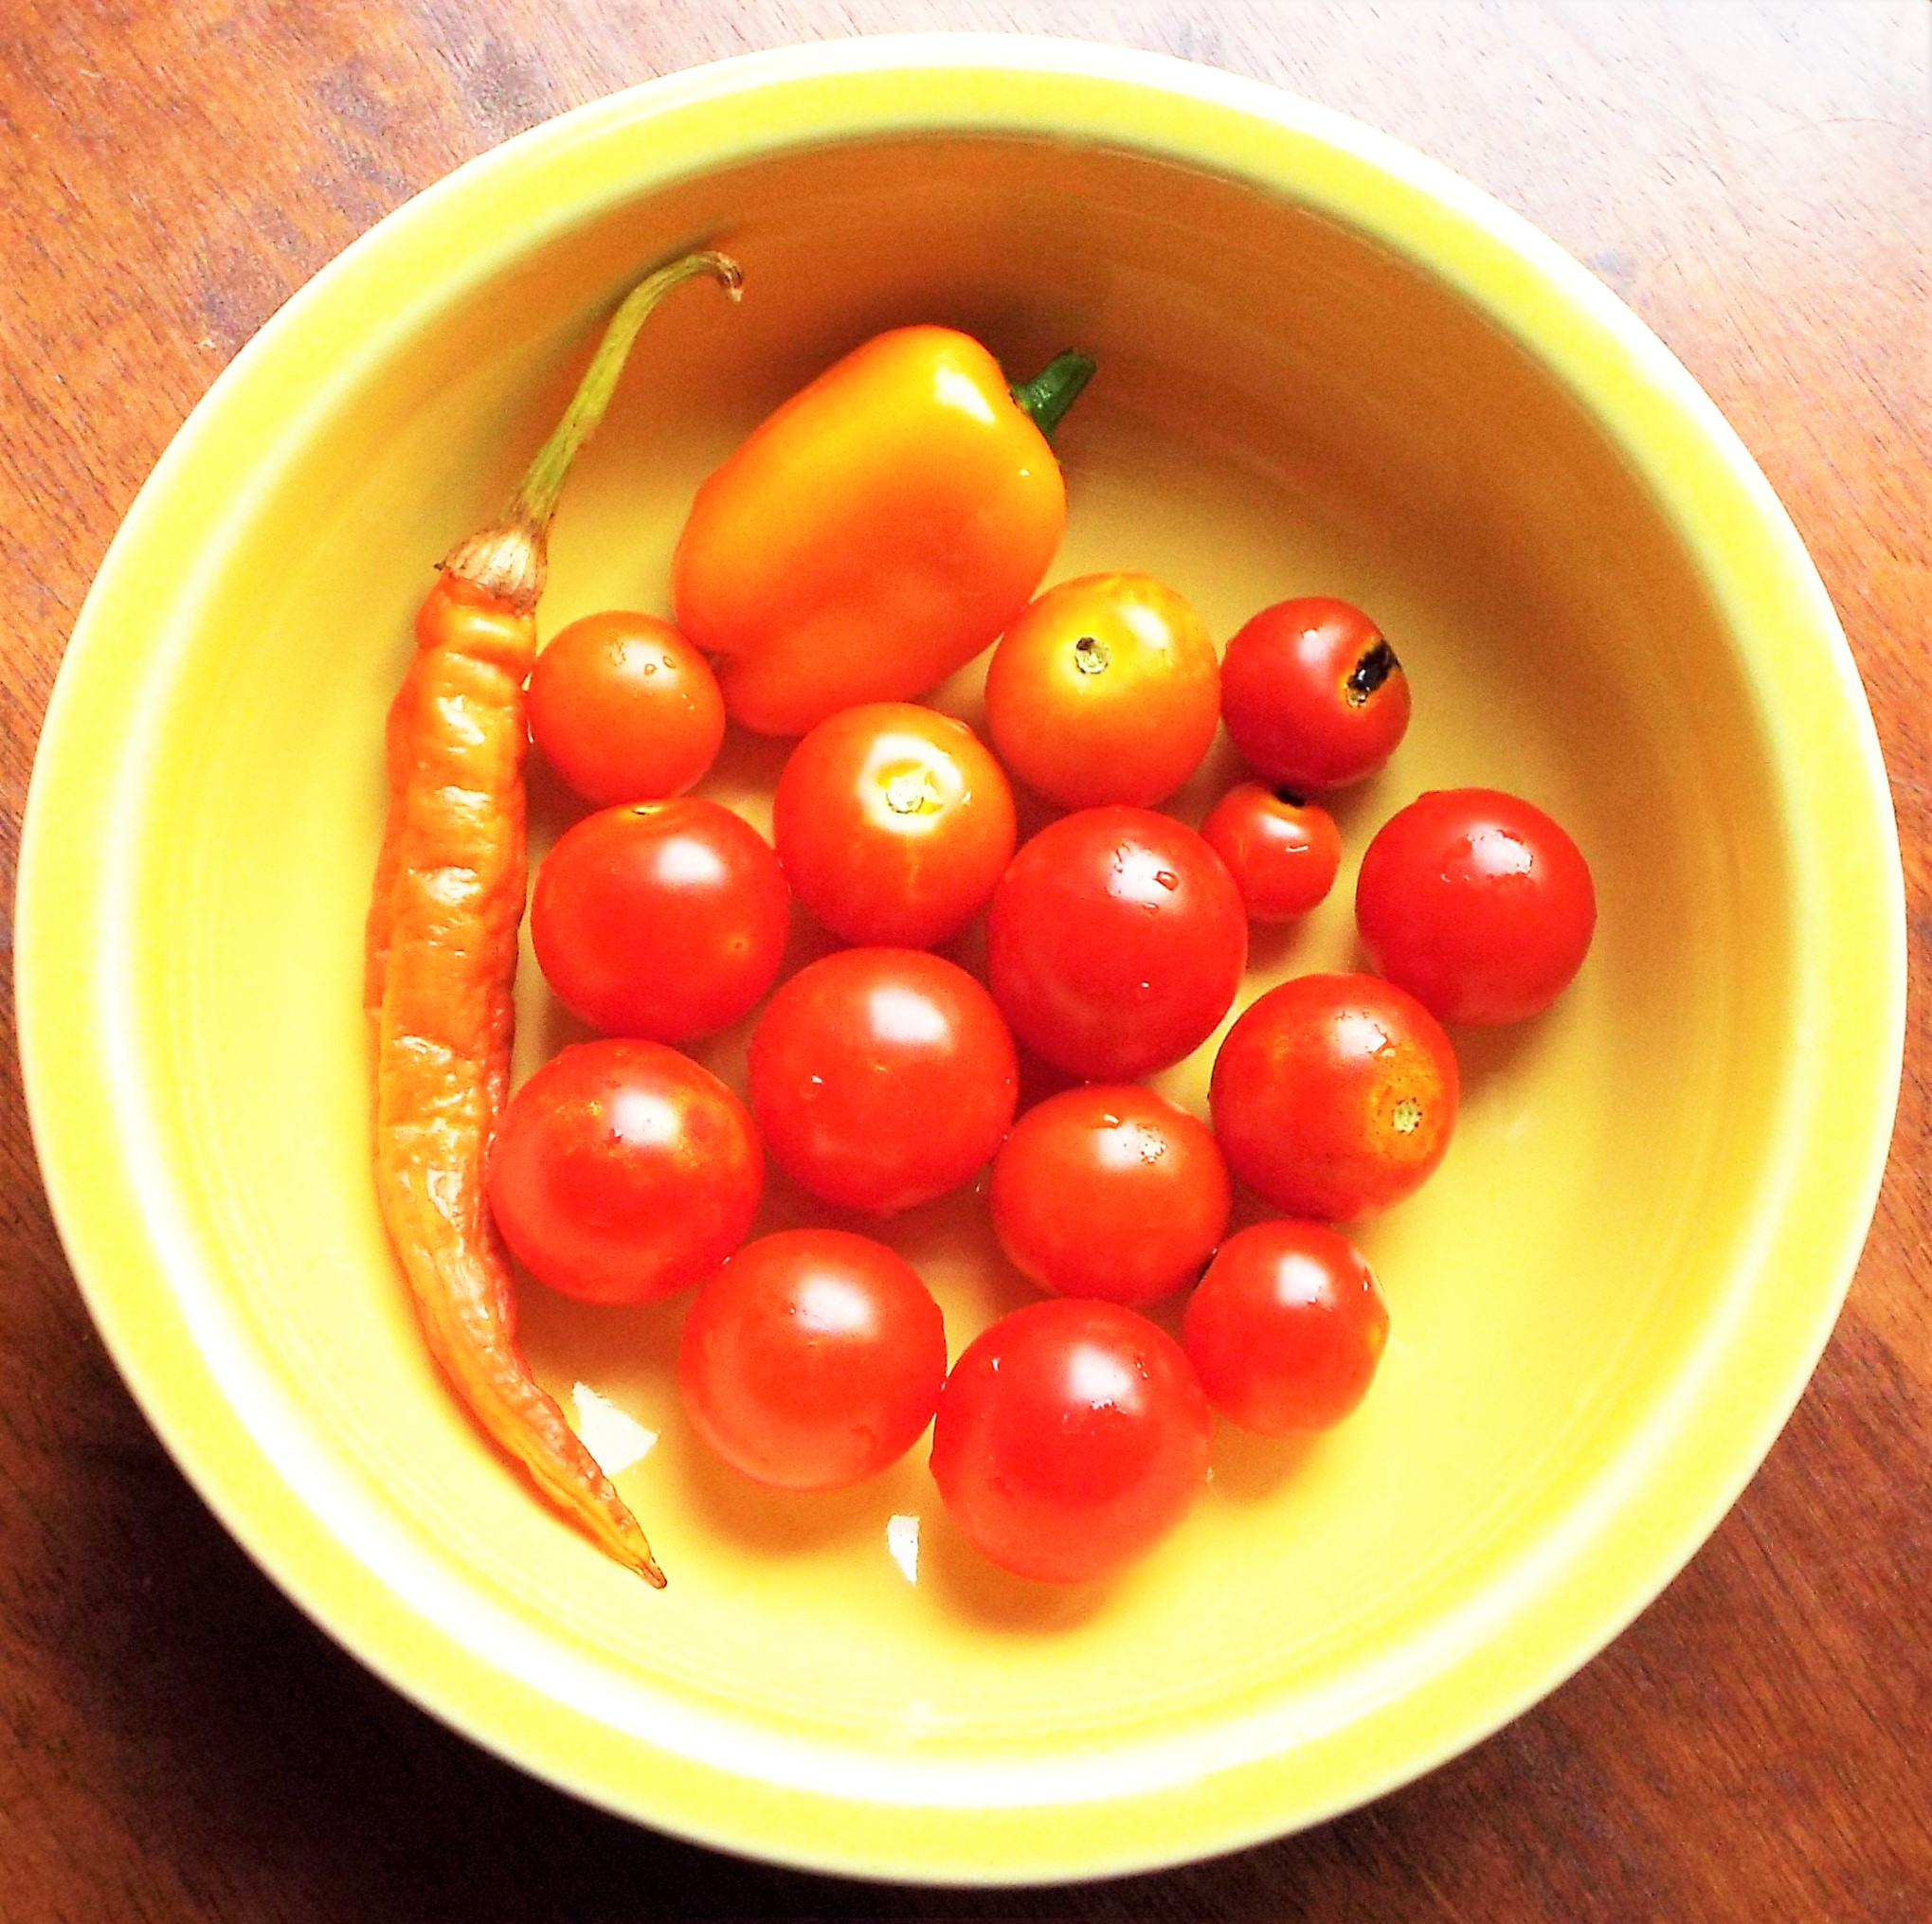
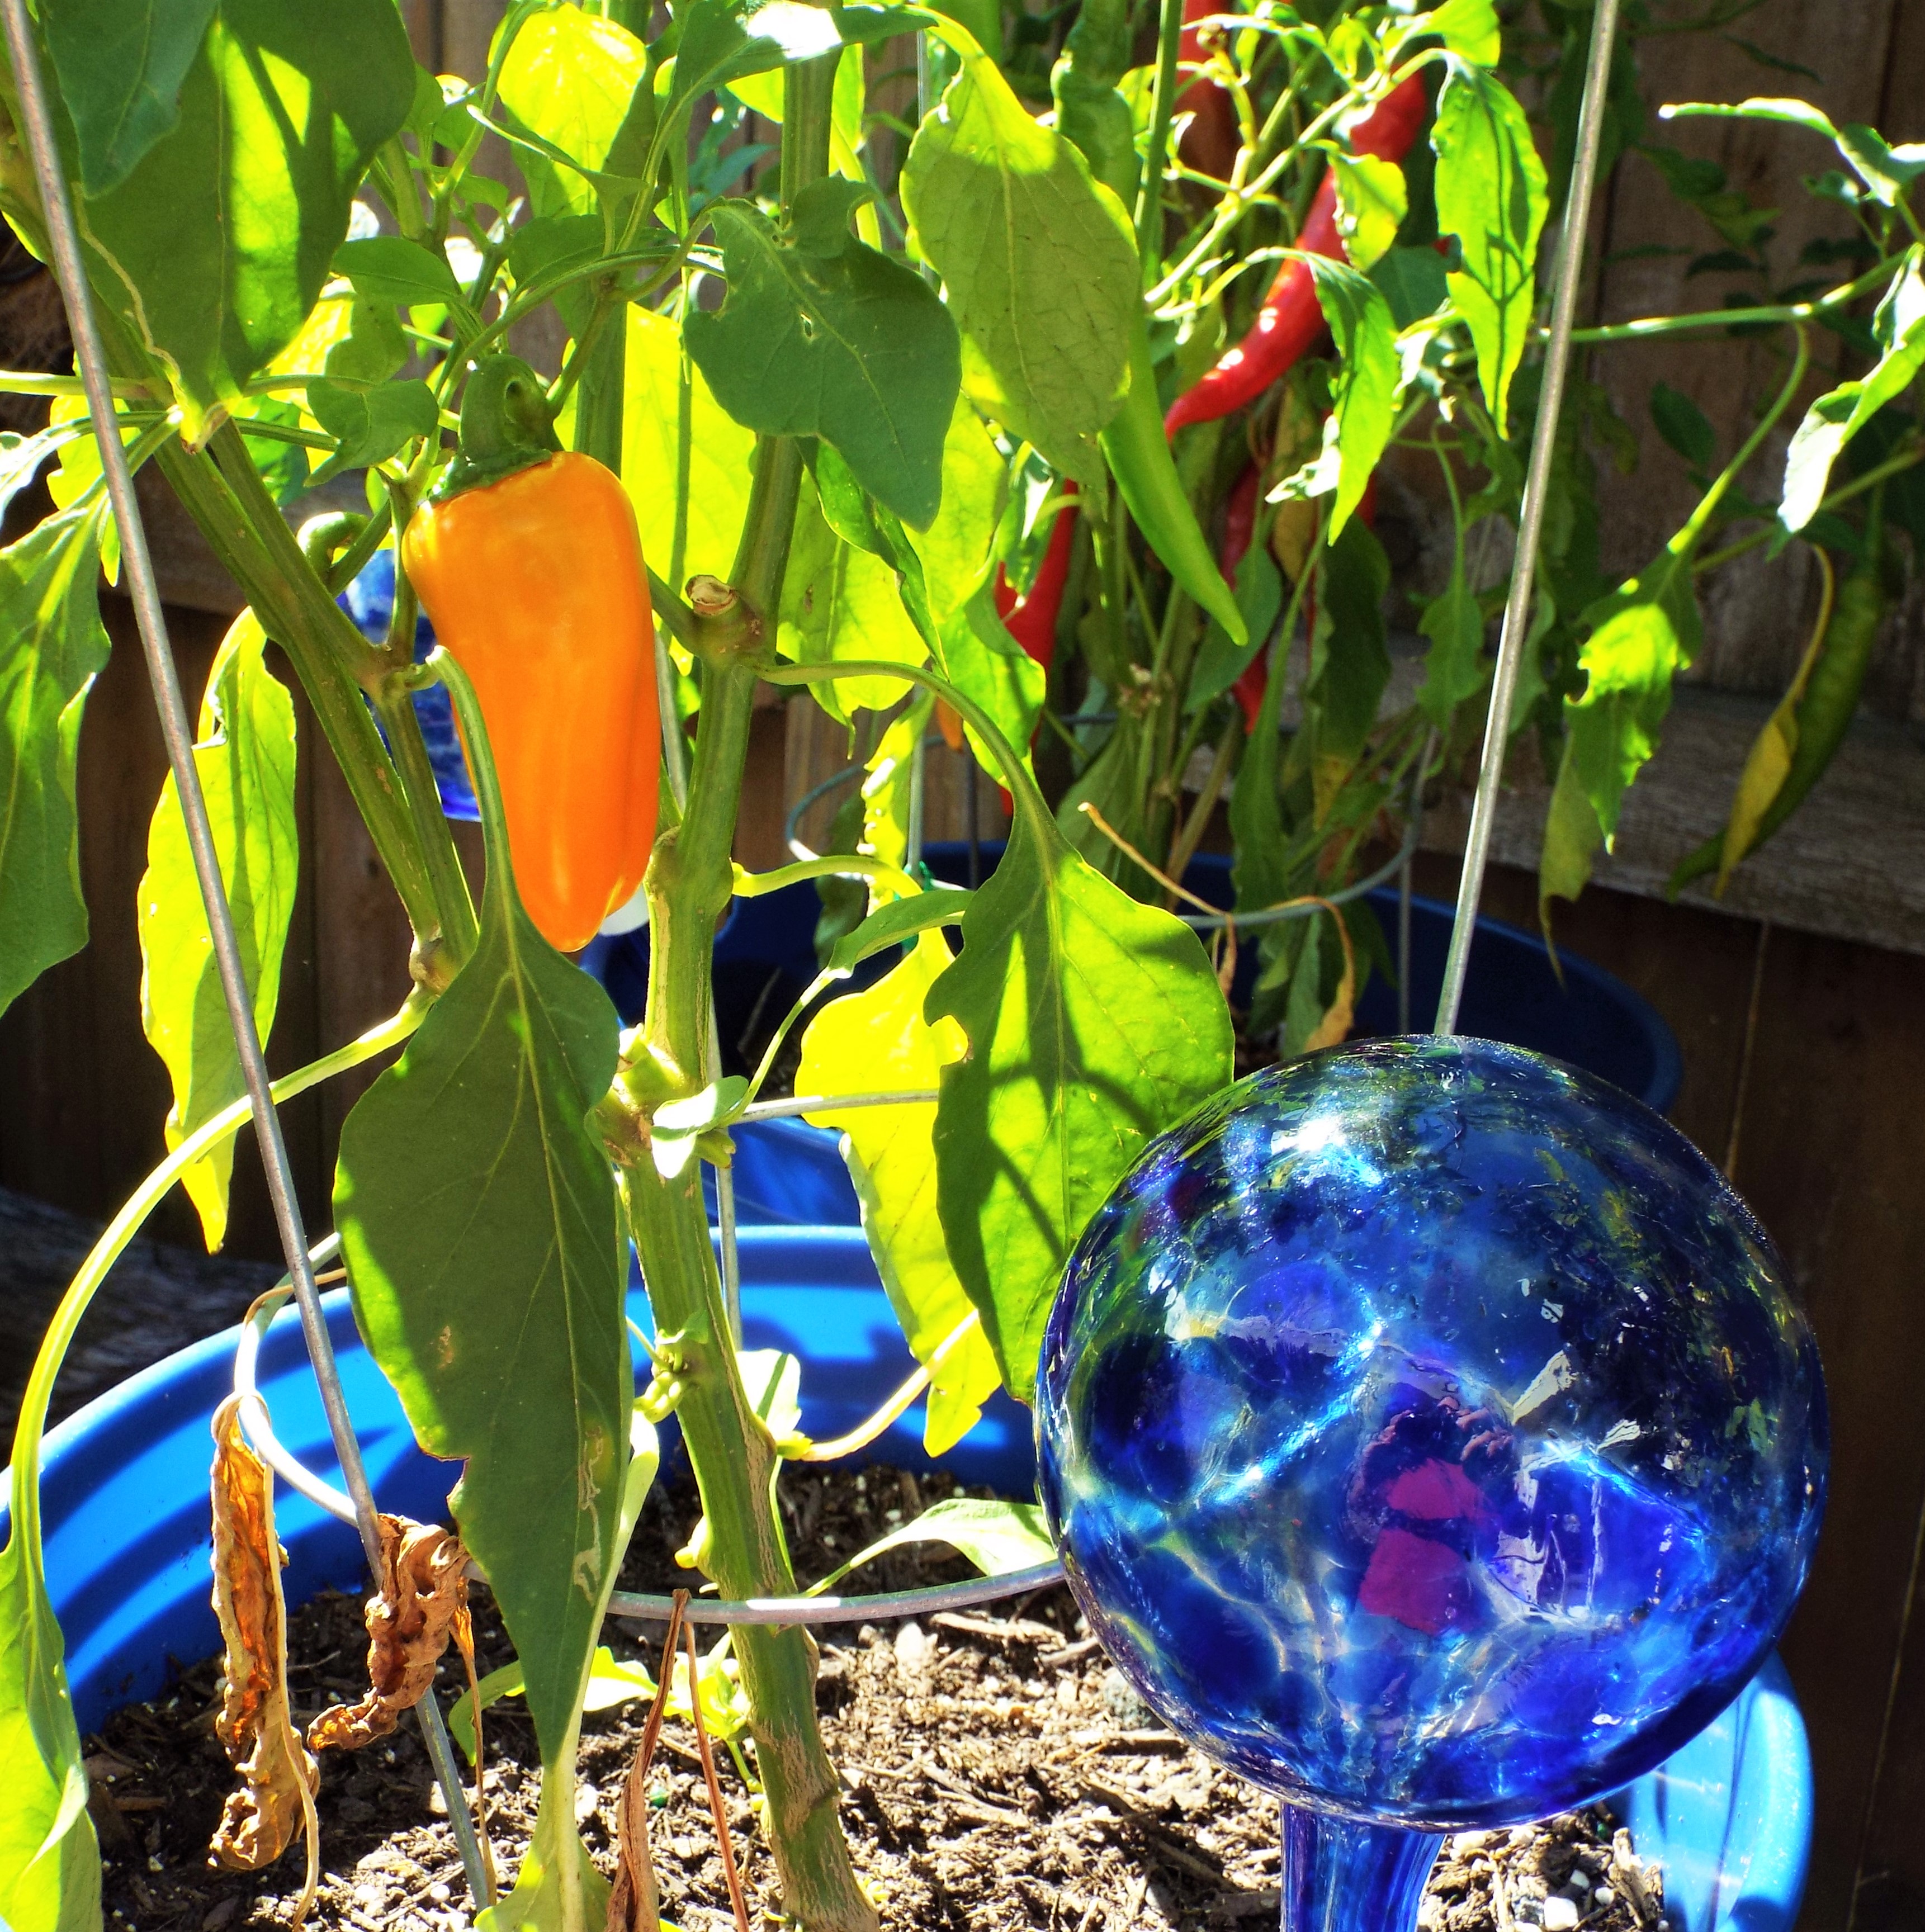
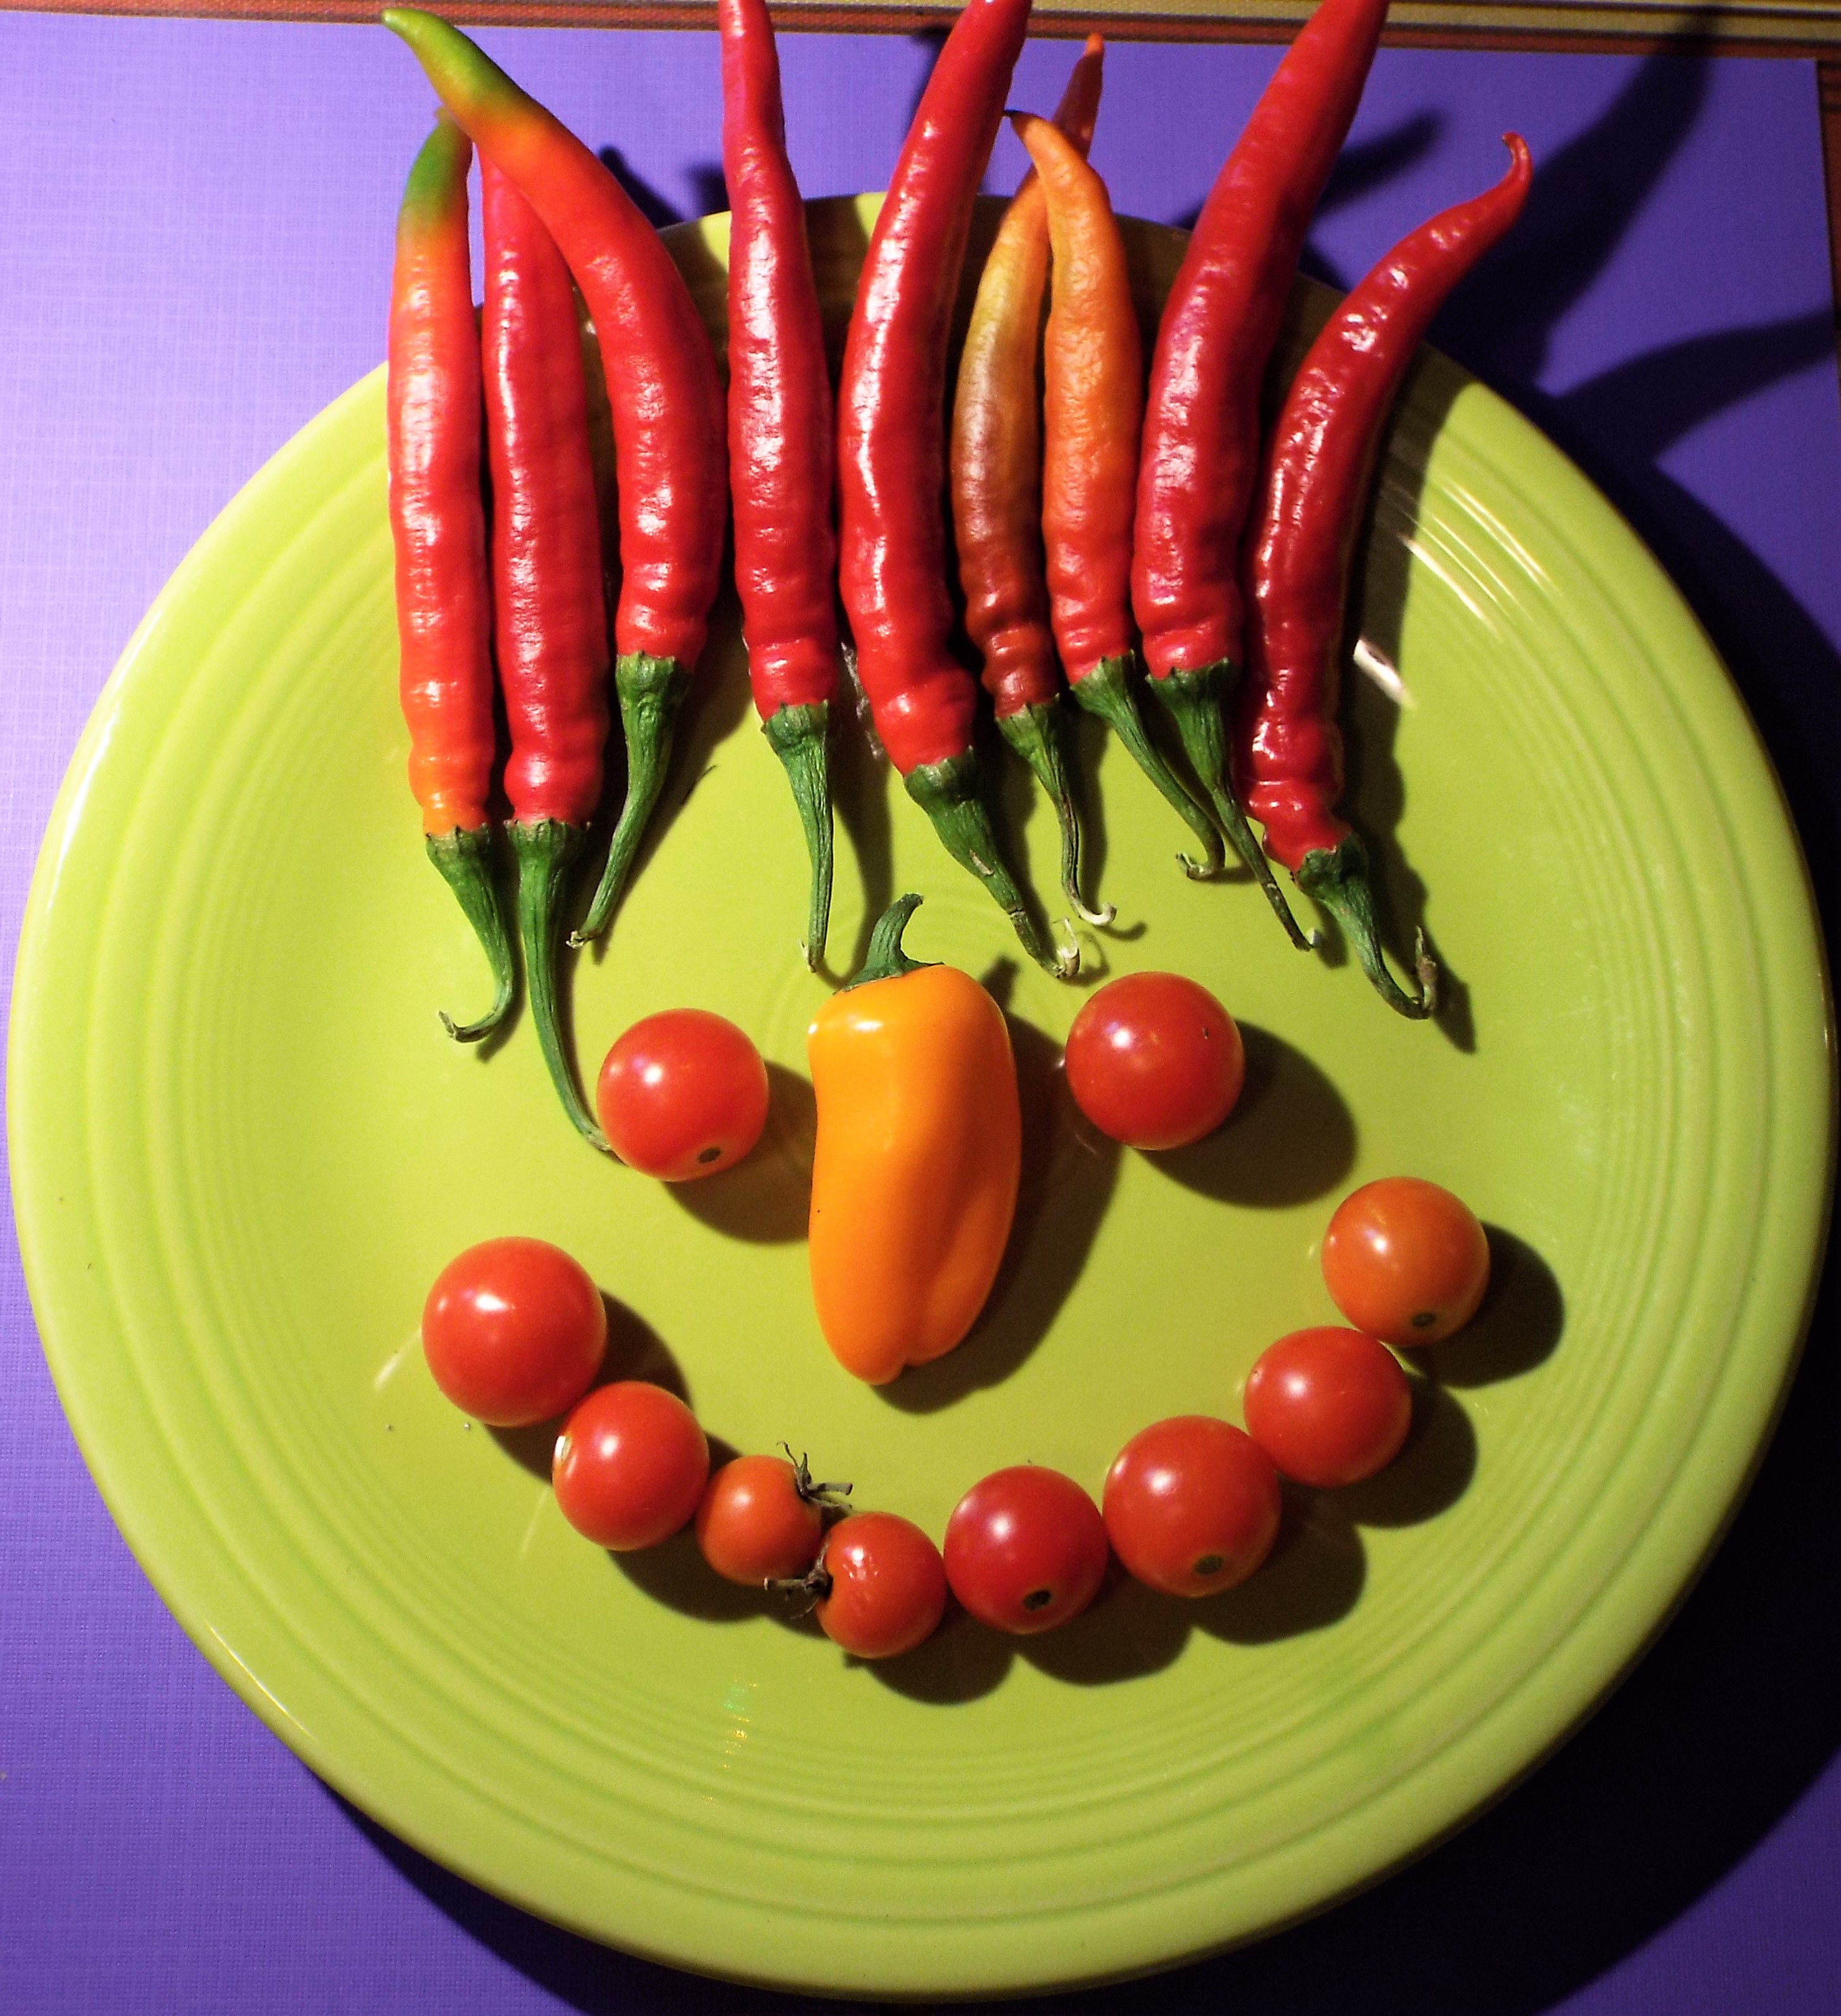
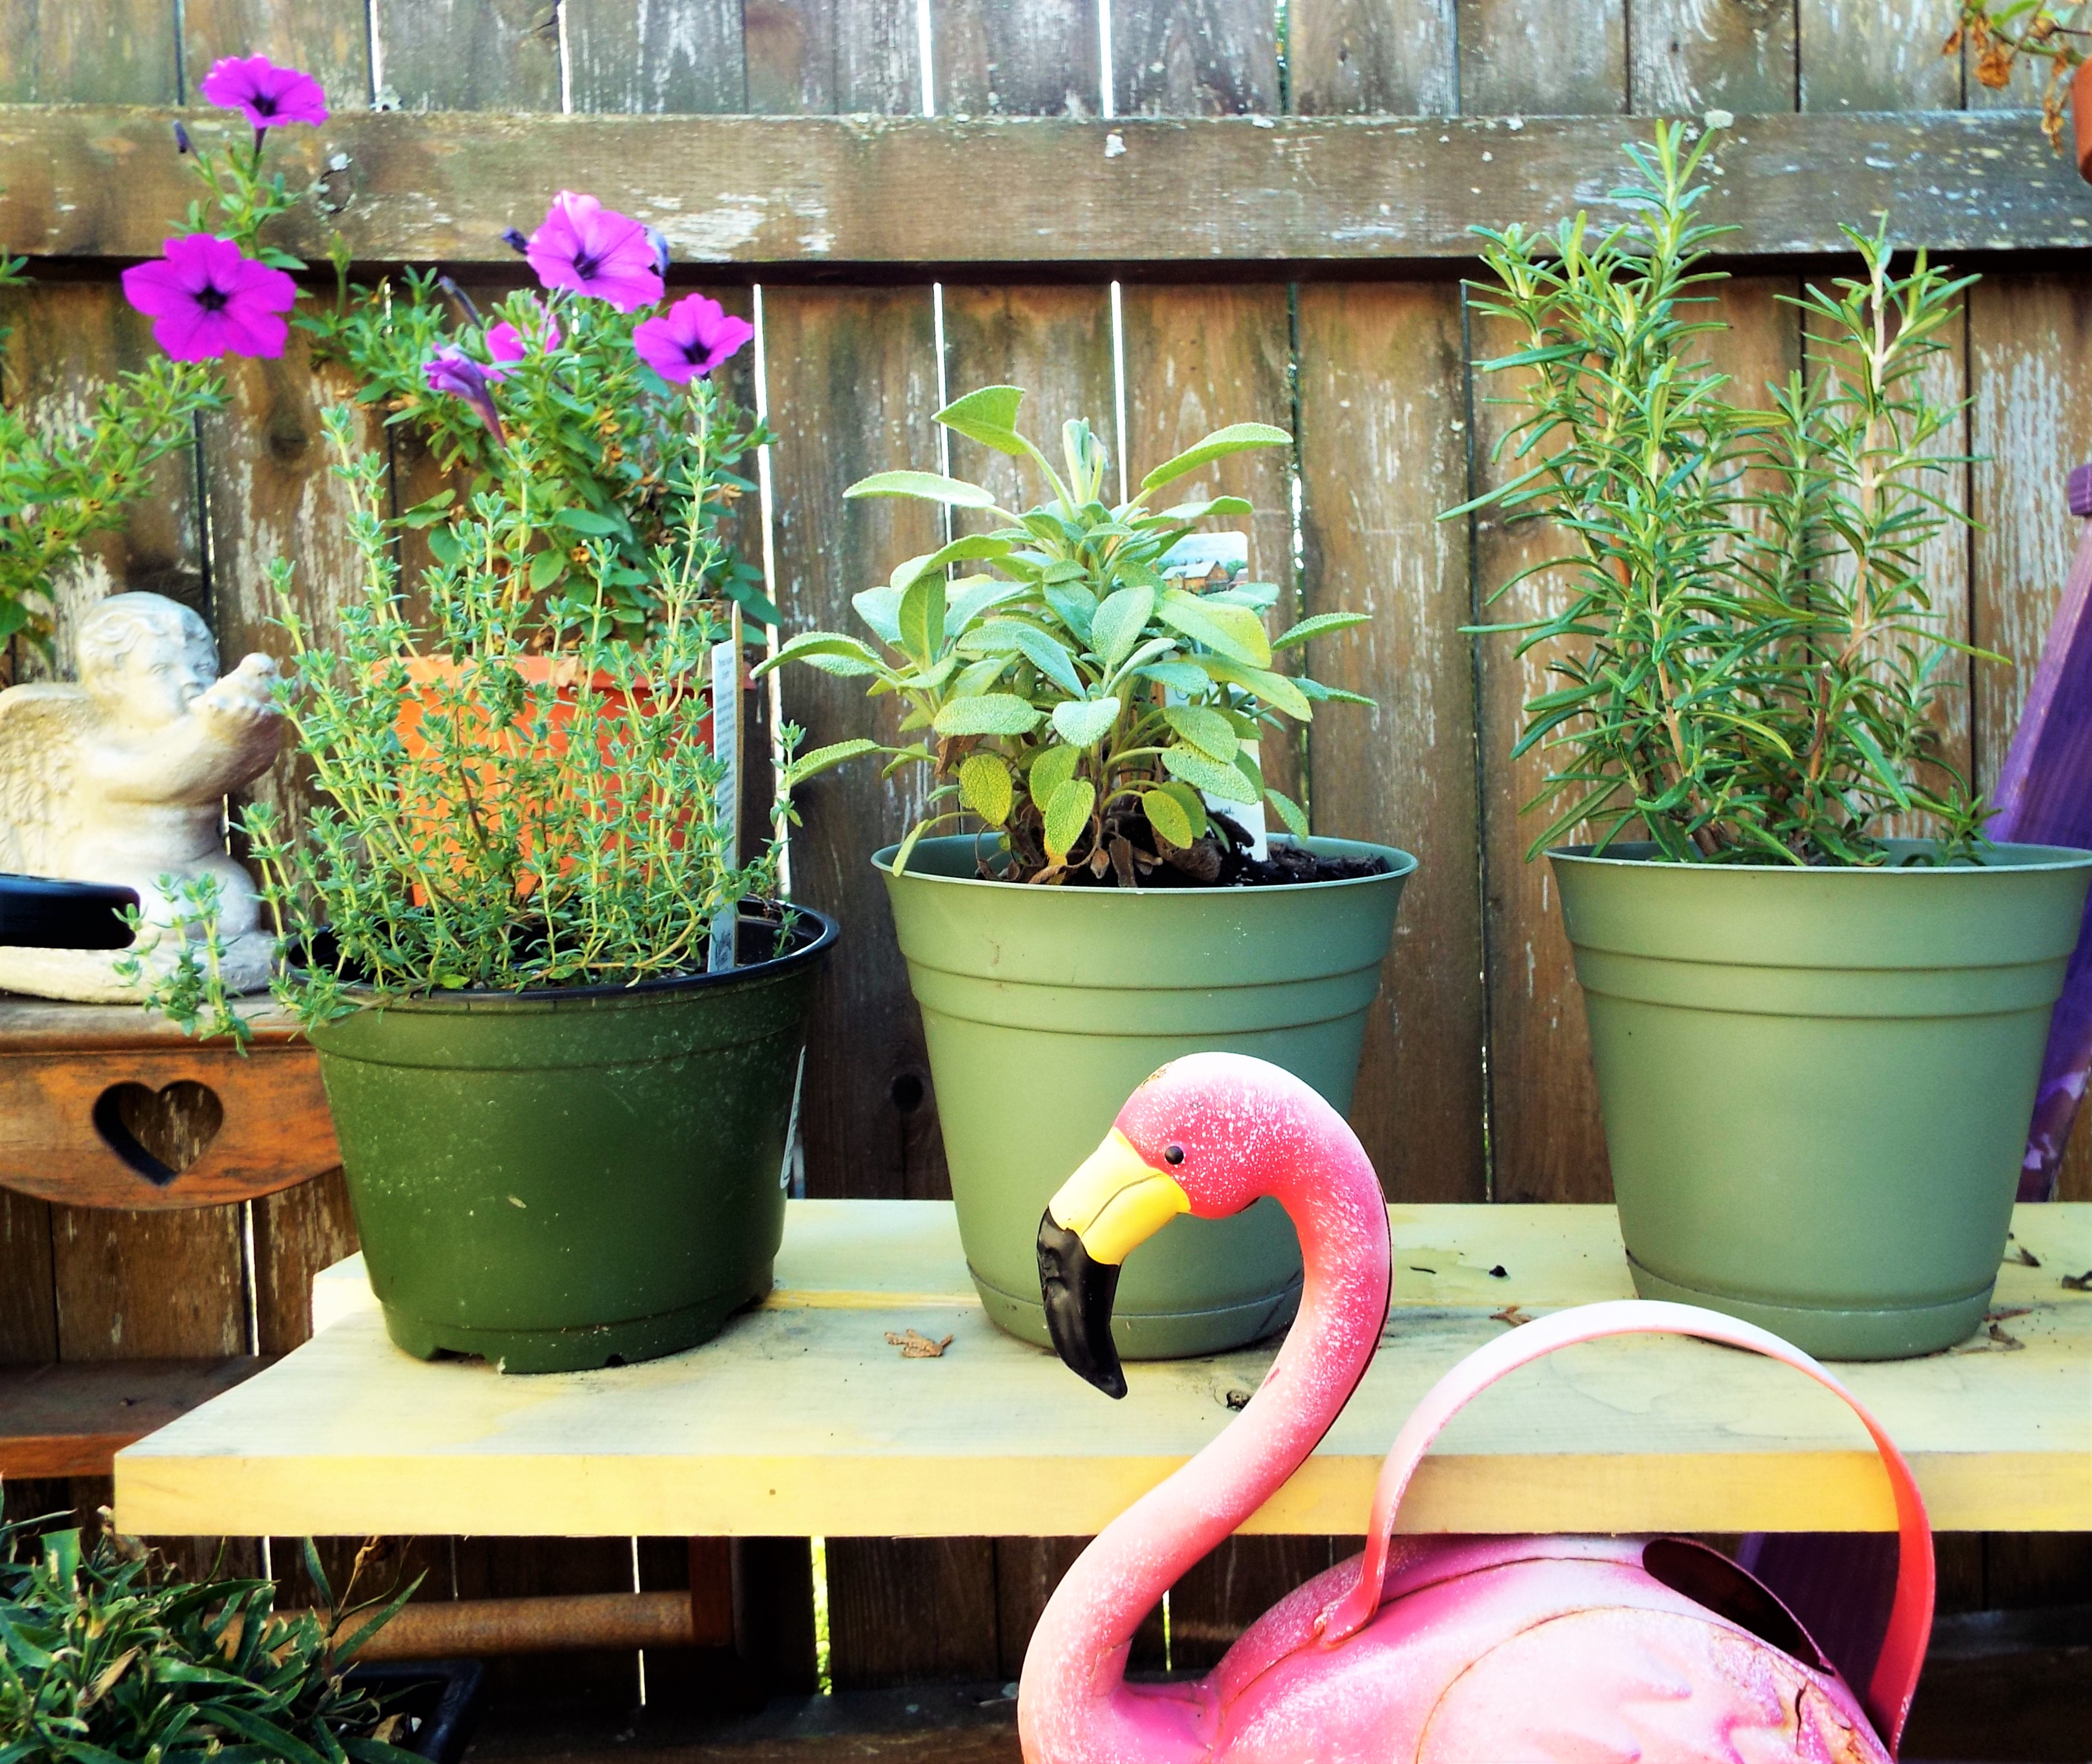
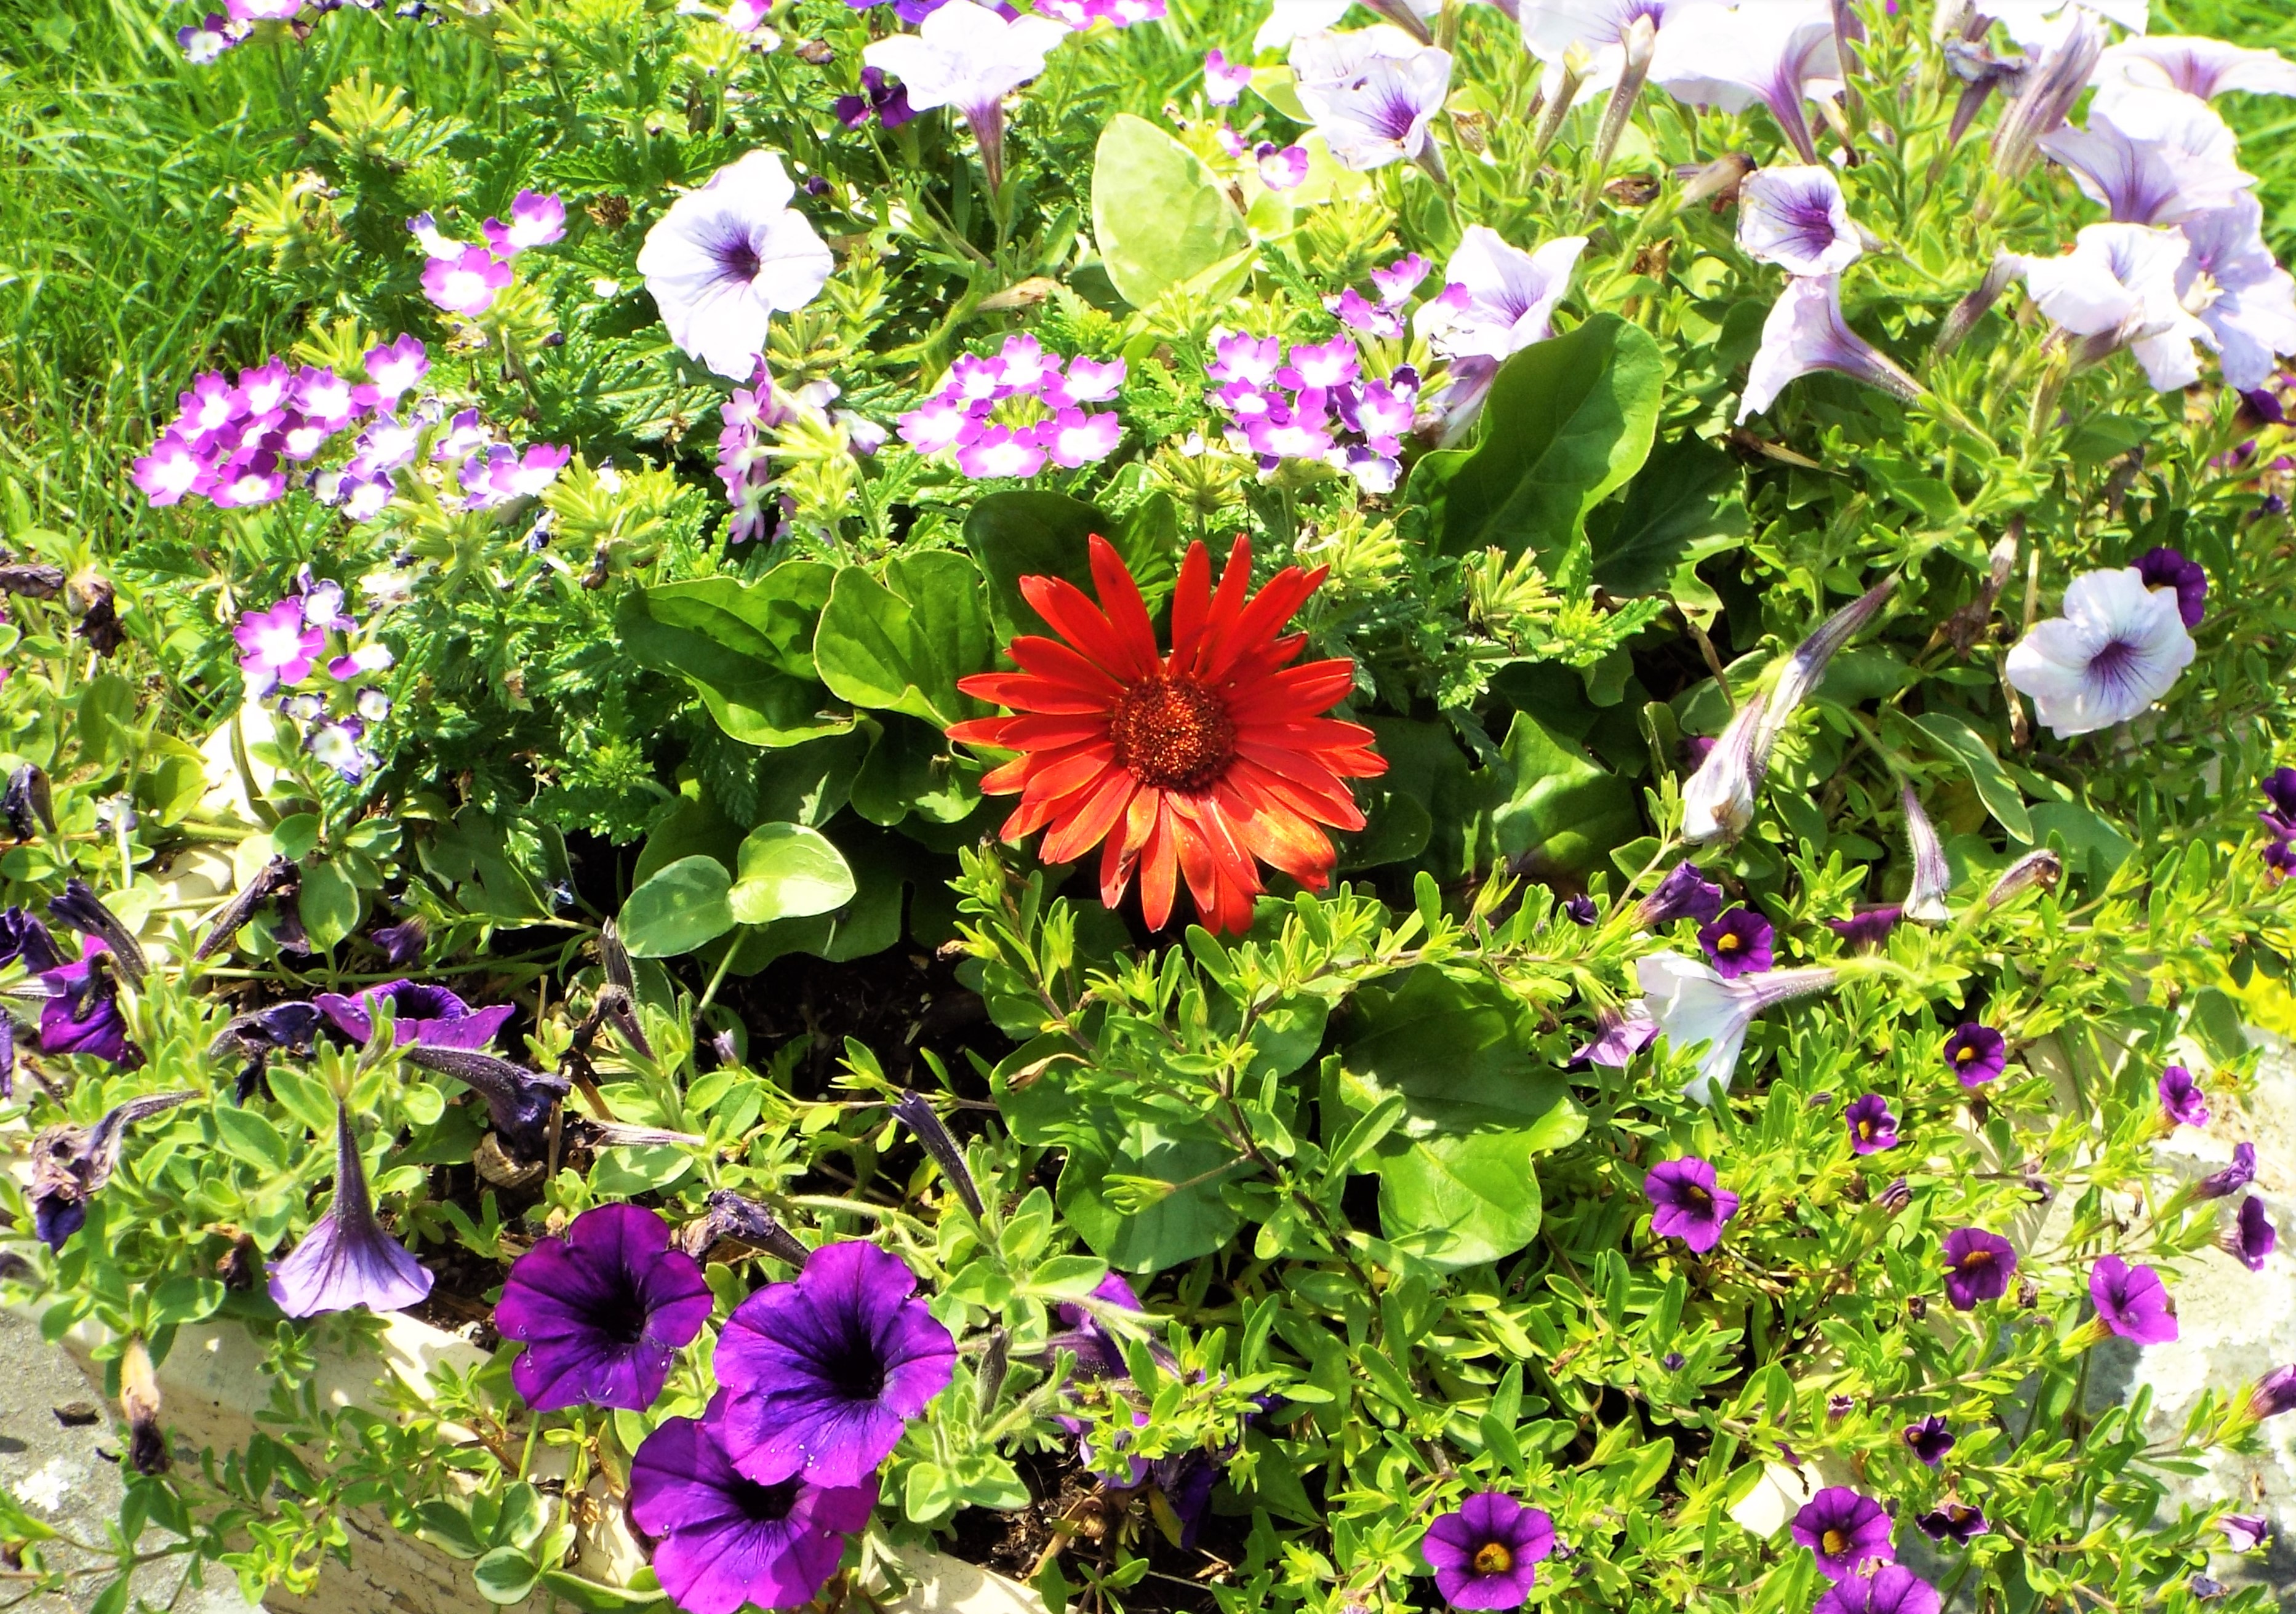
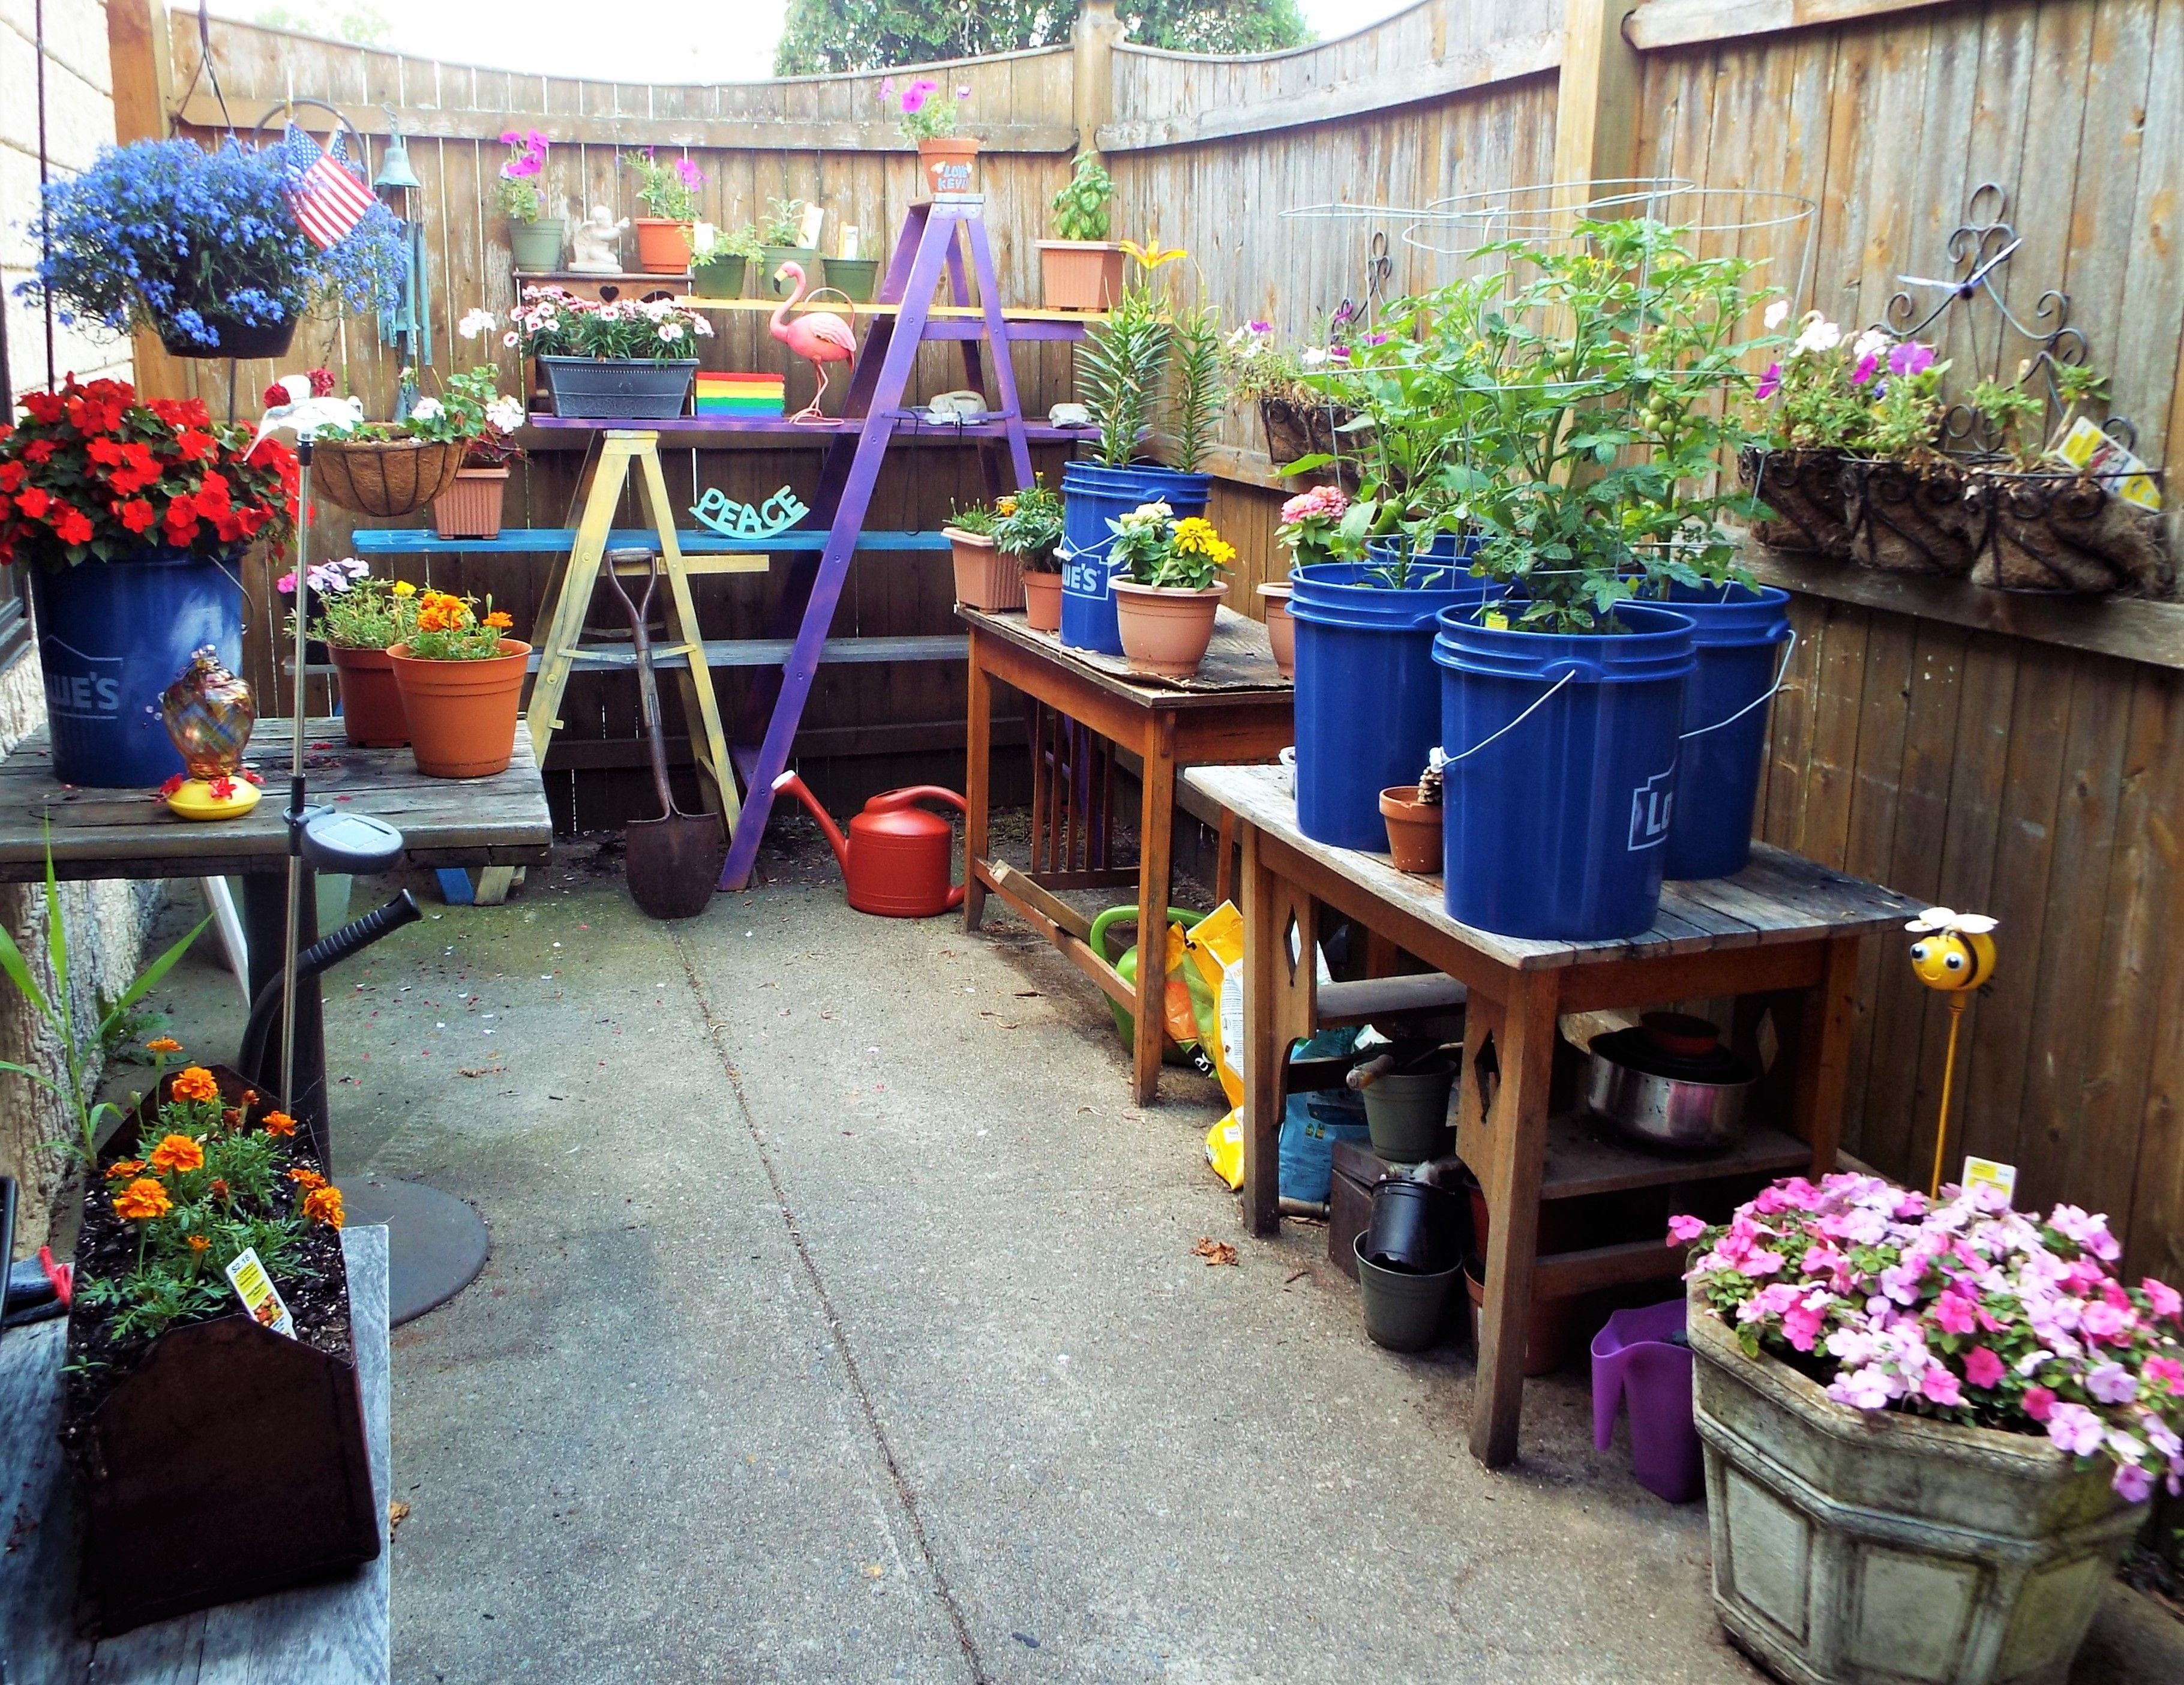
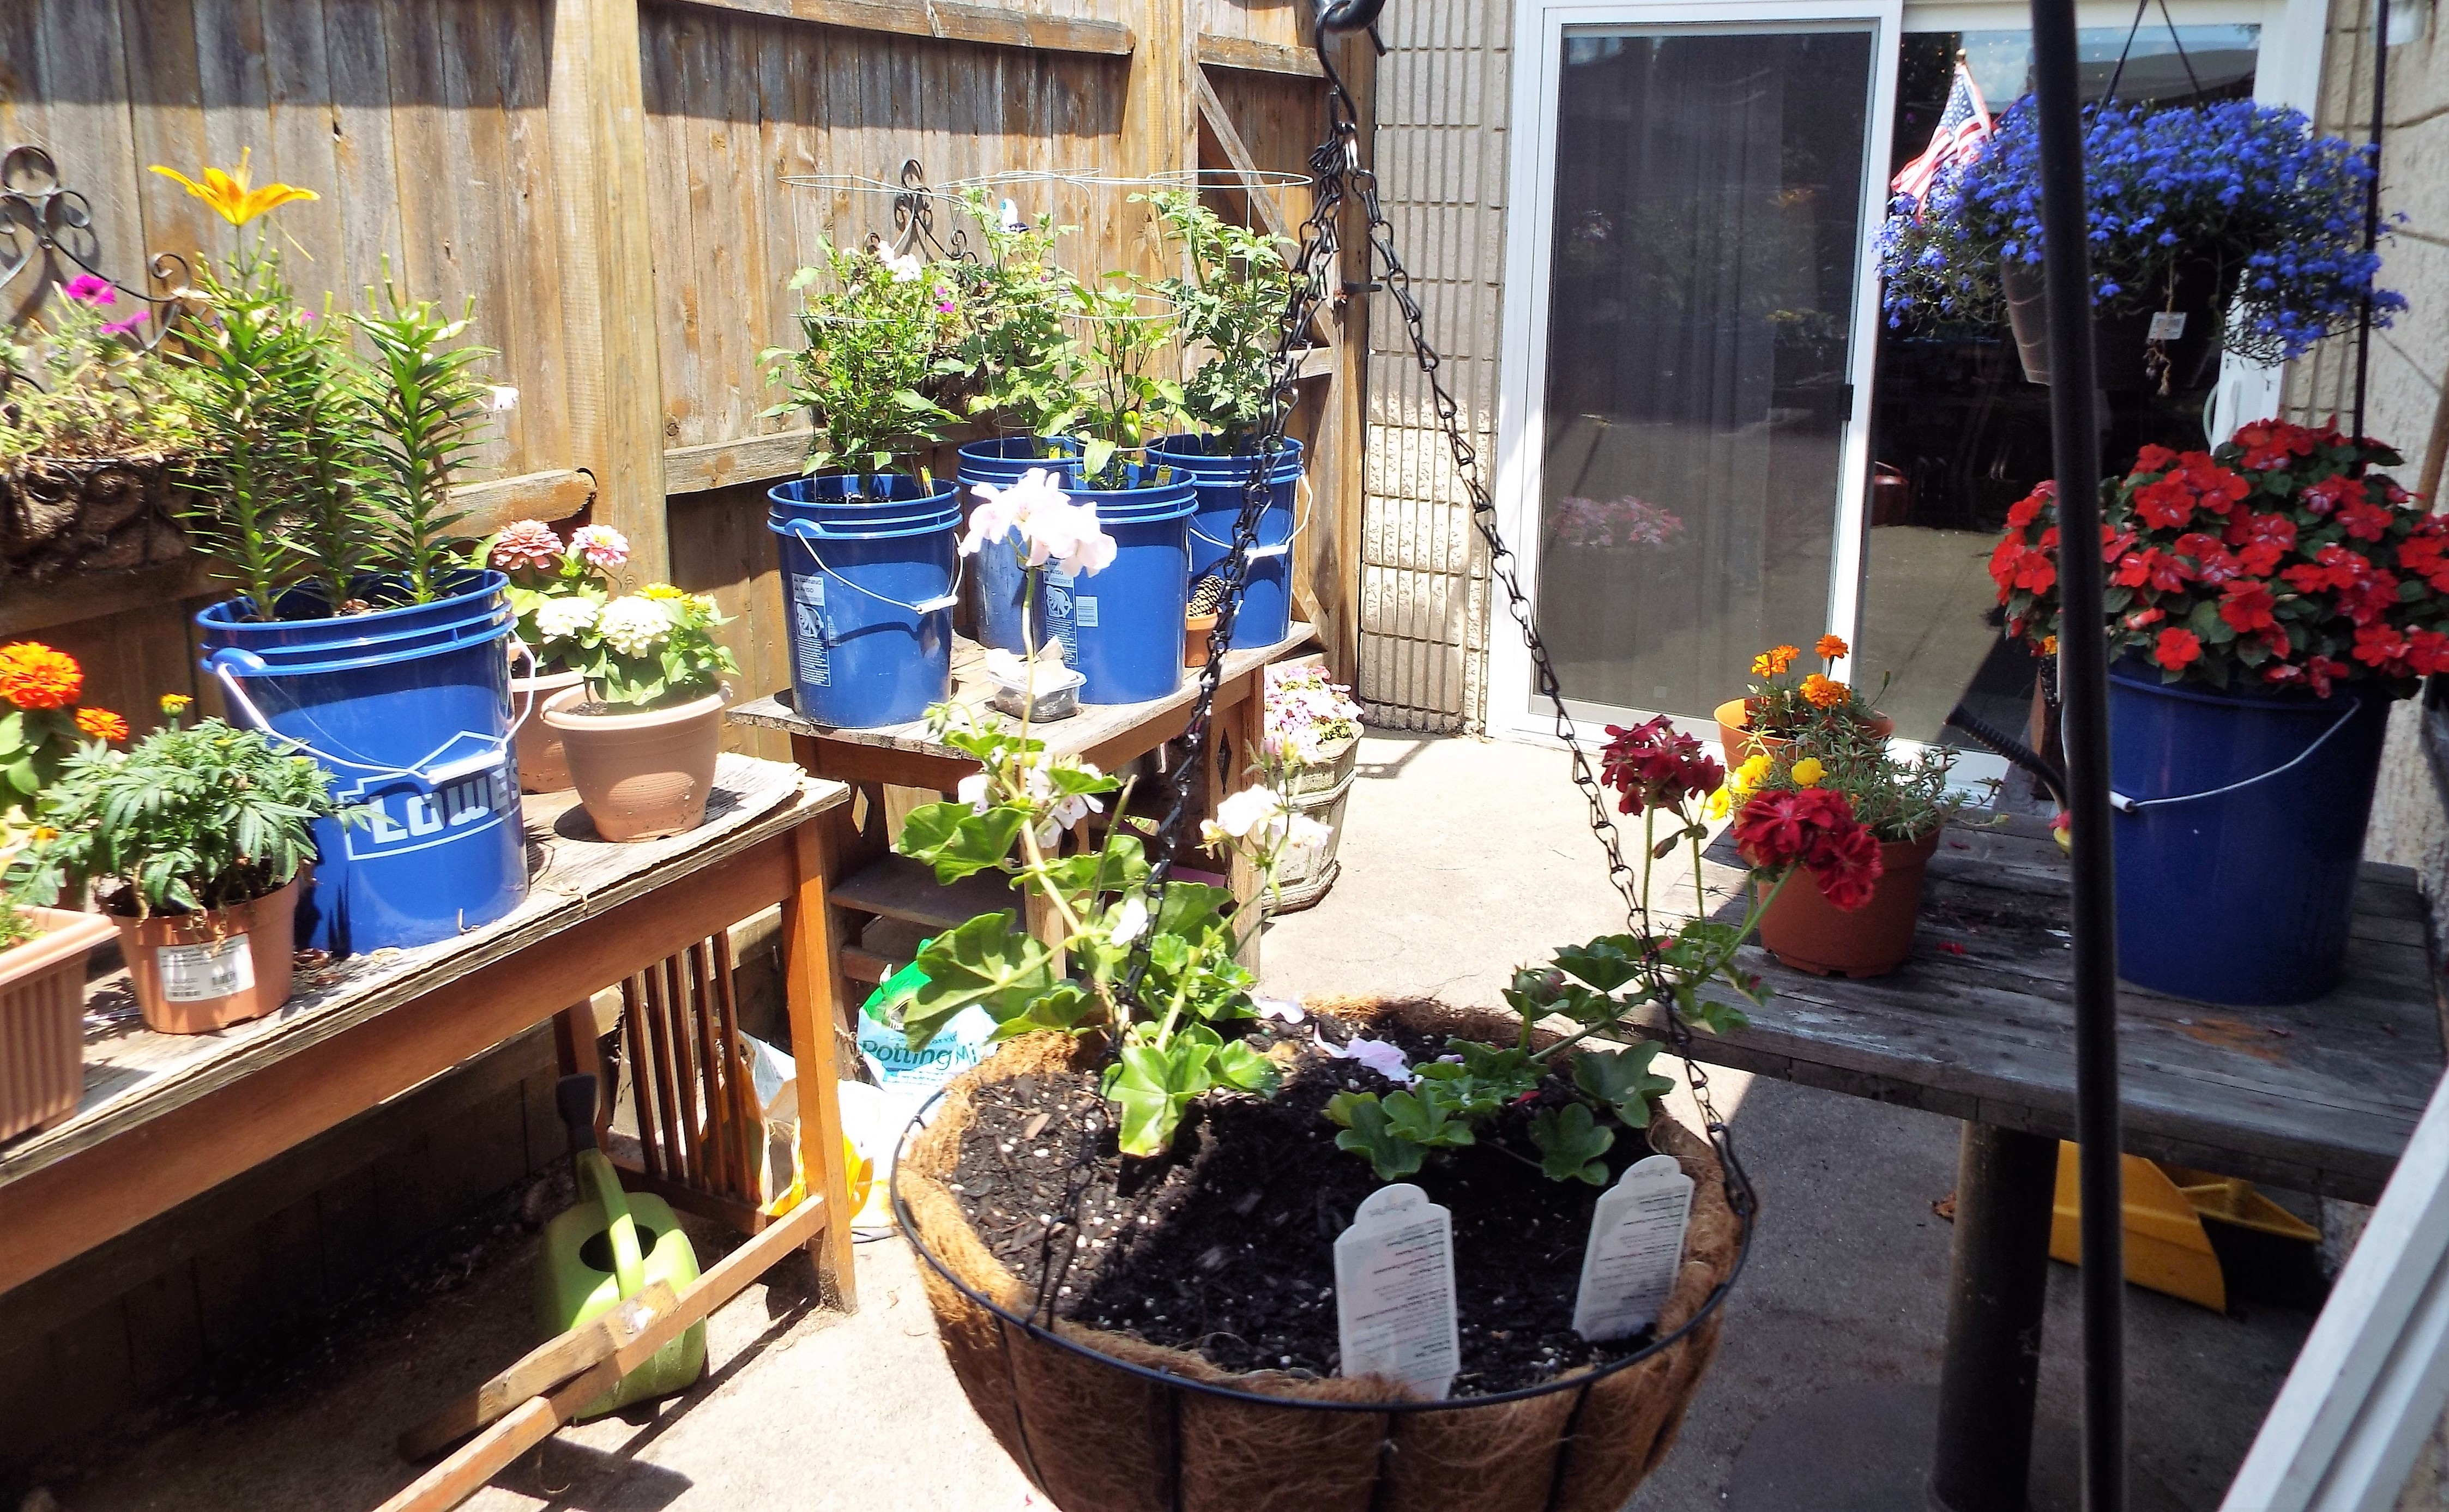
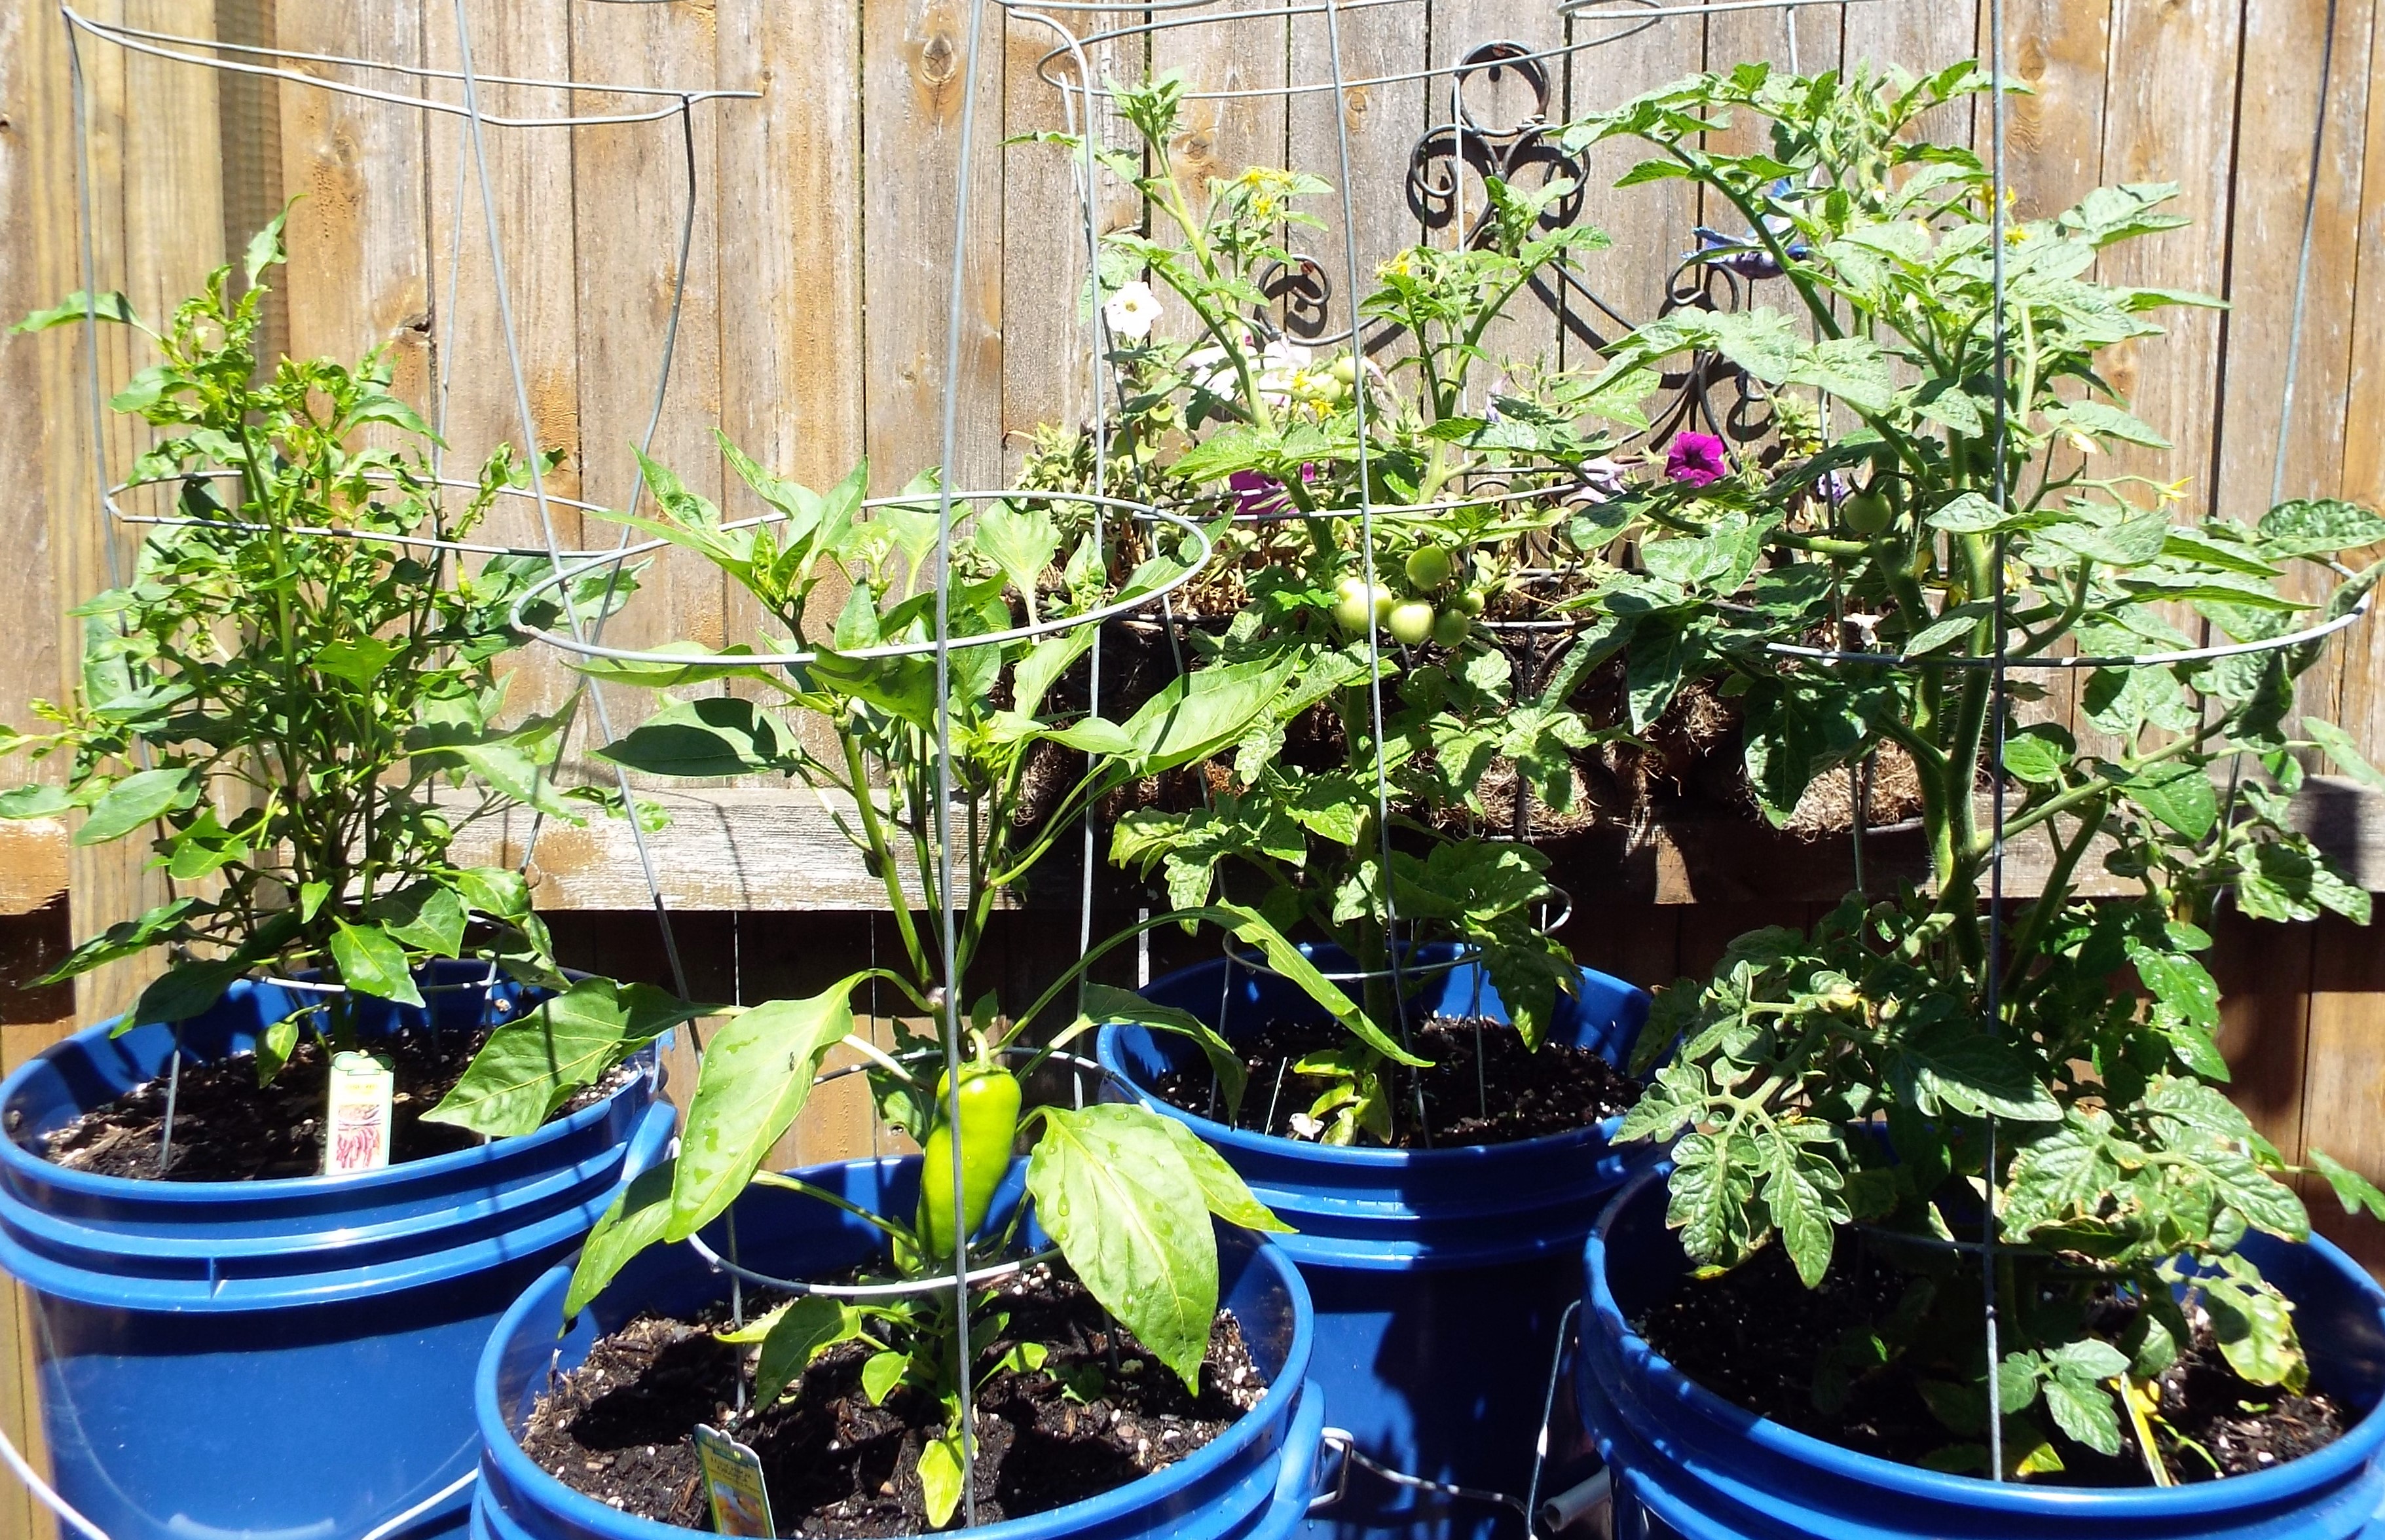
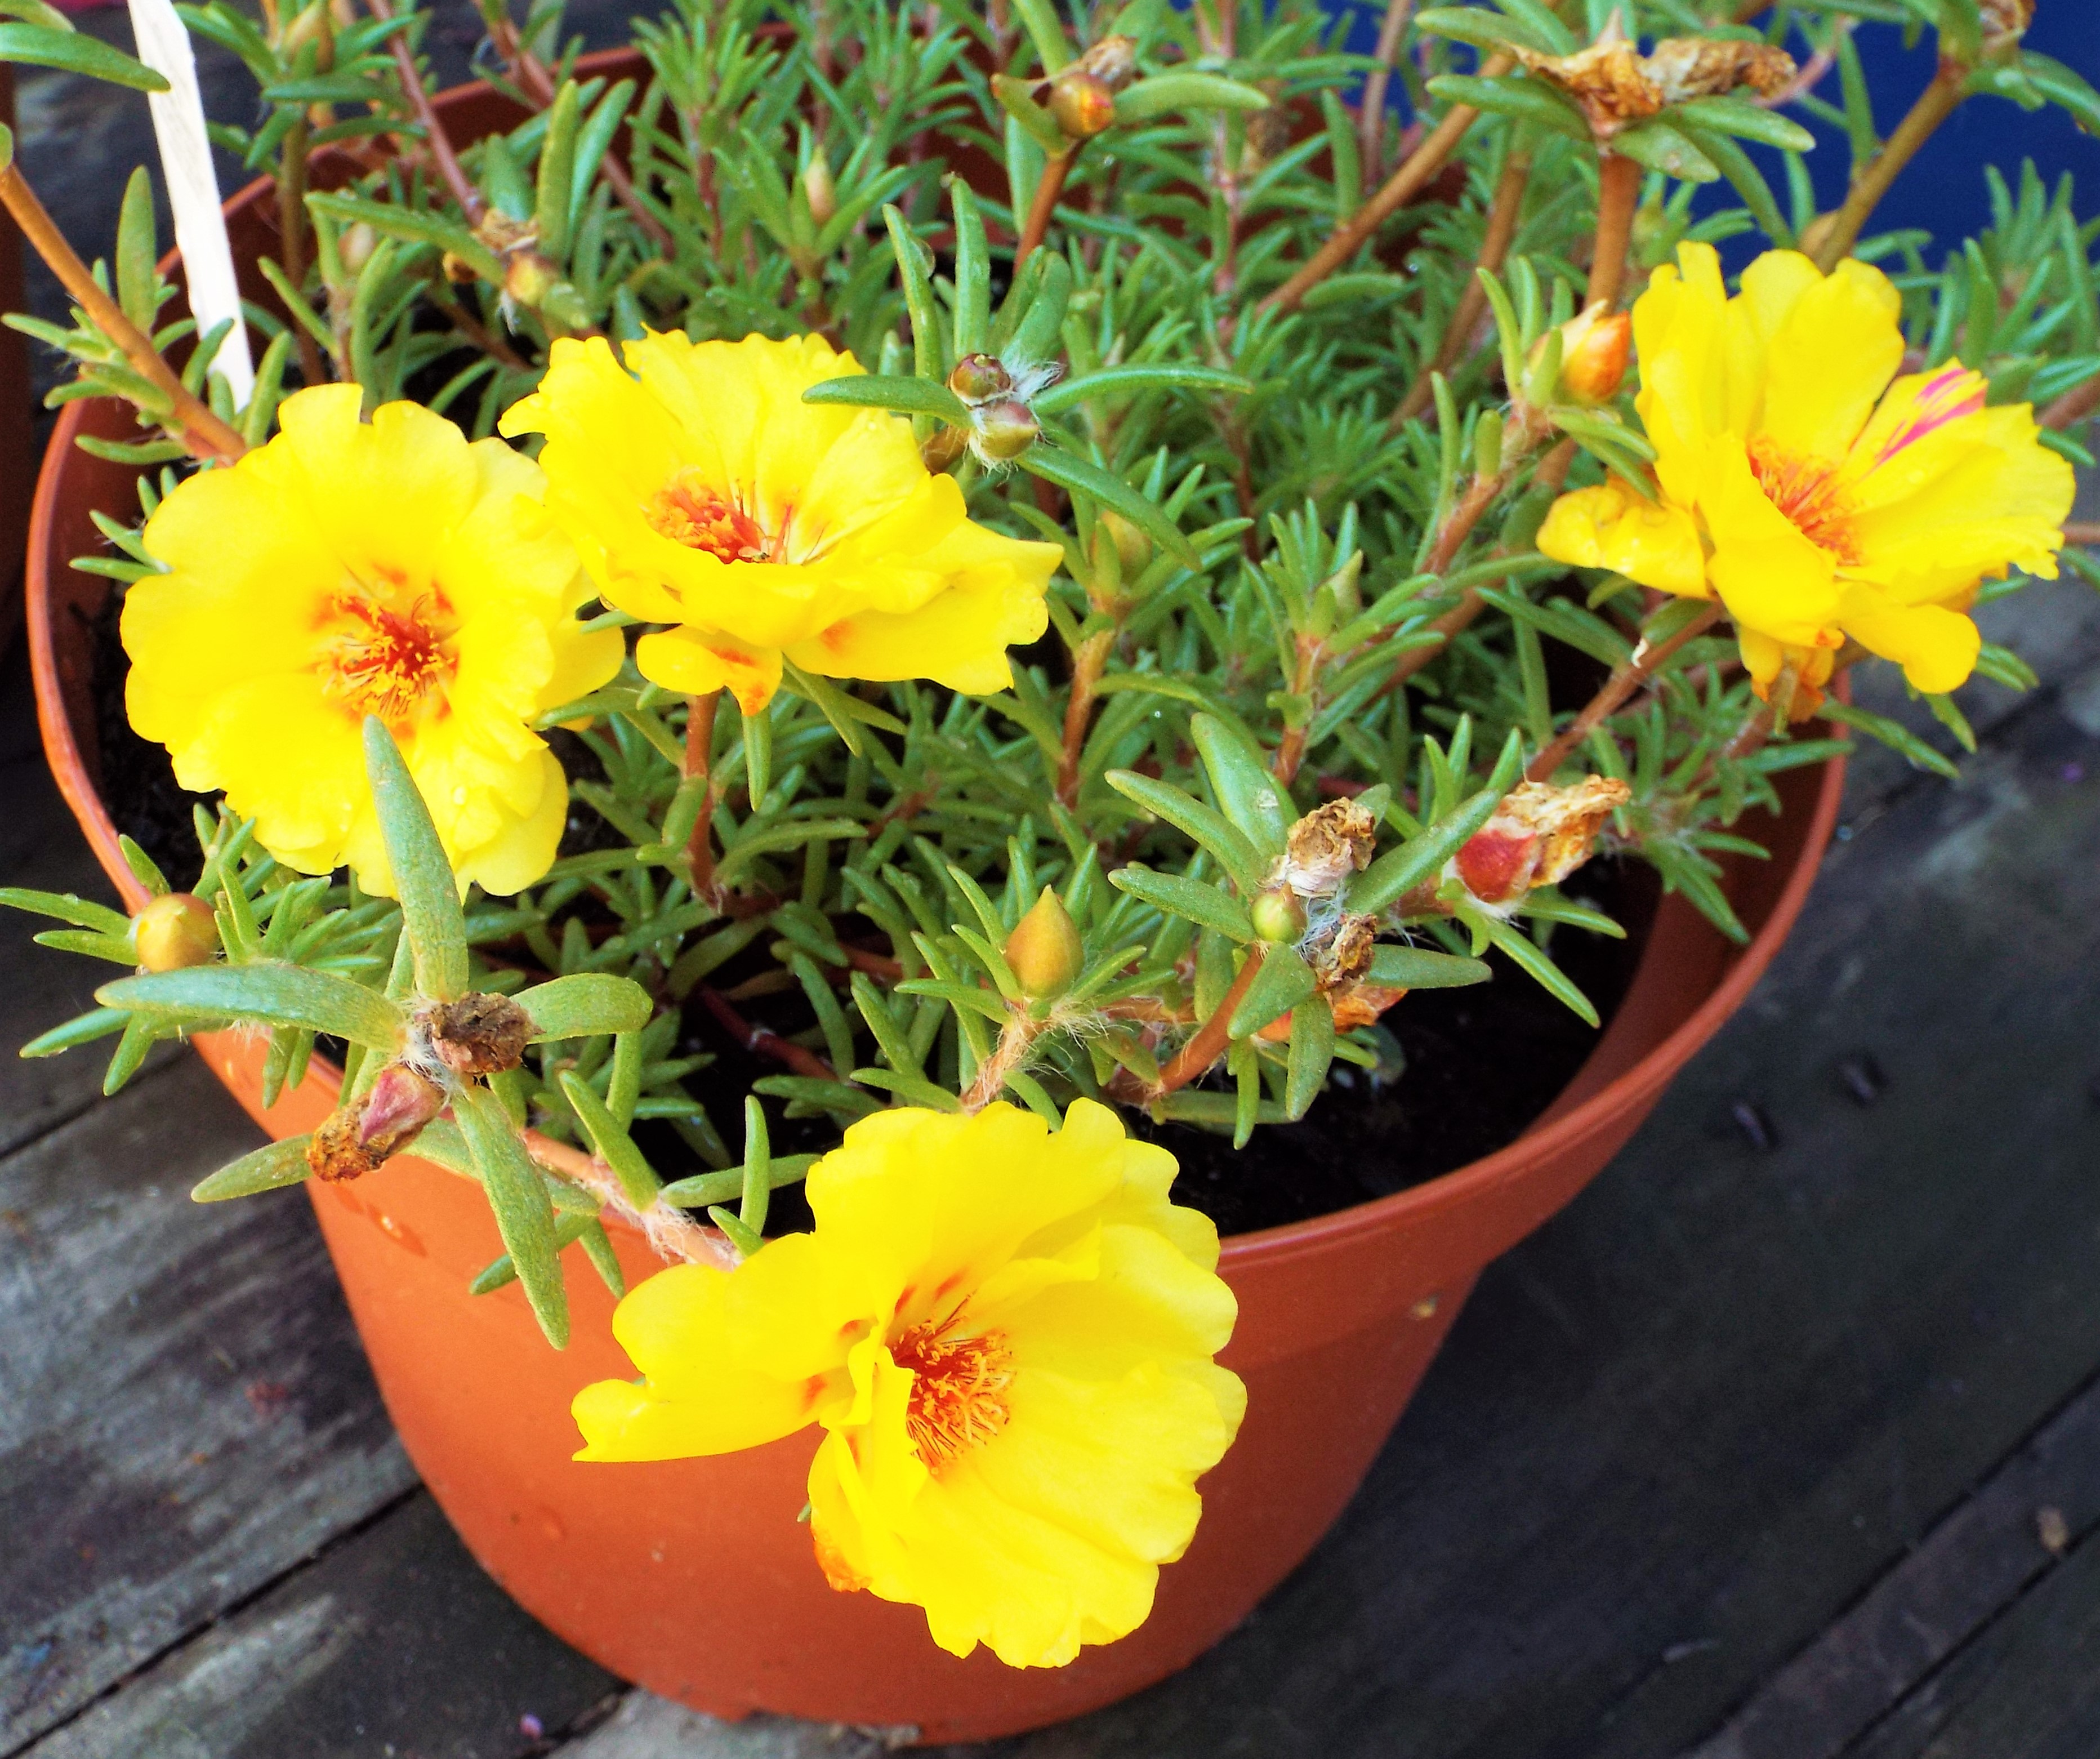
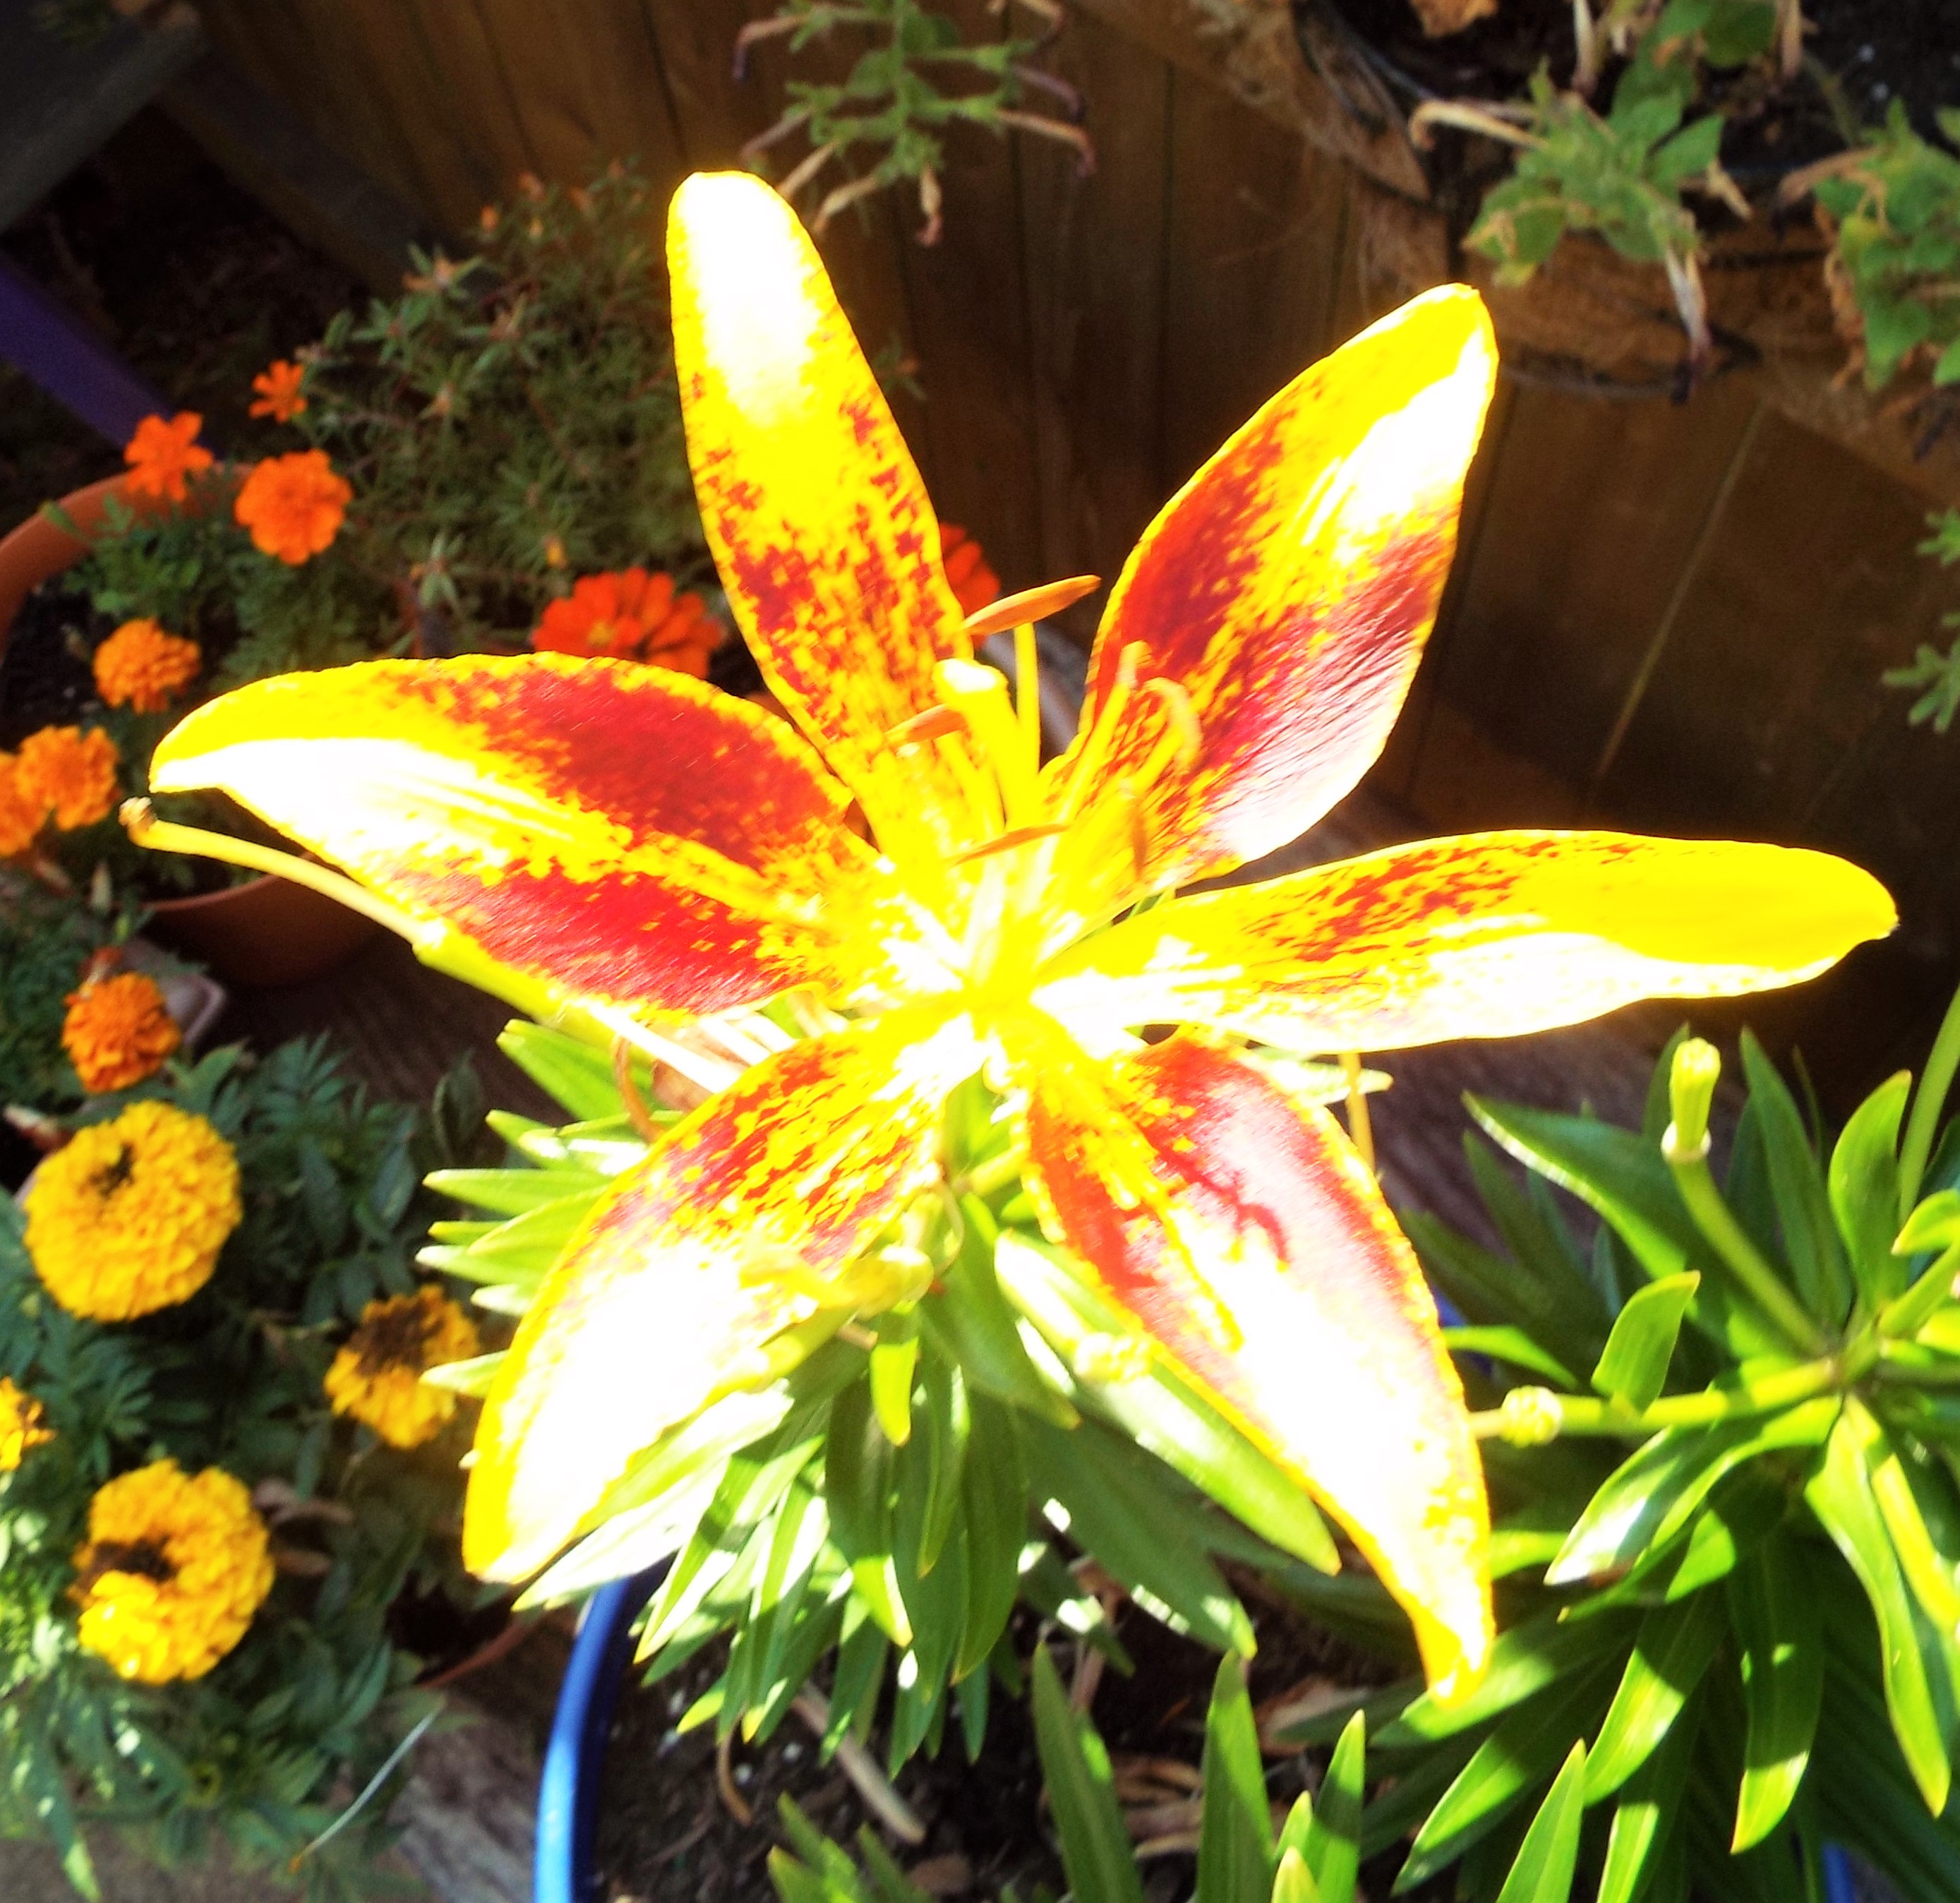
MINI GARDEN UPDATE


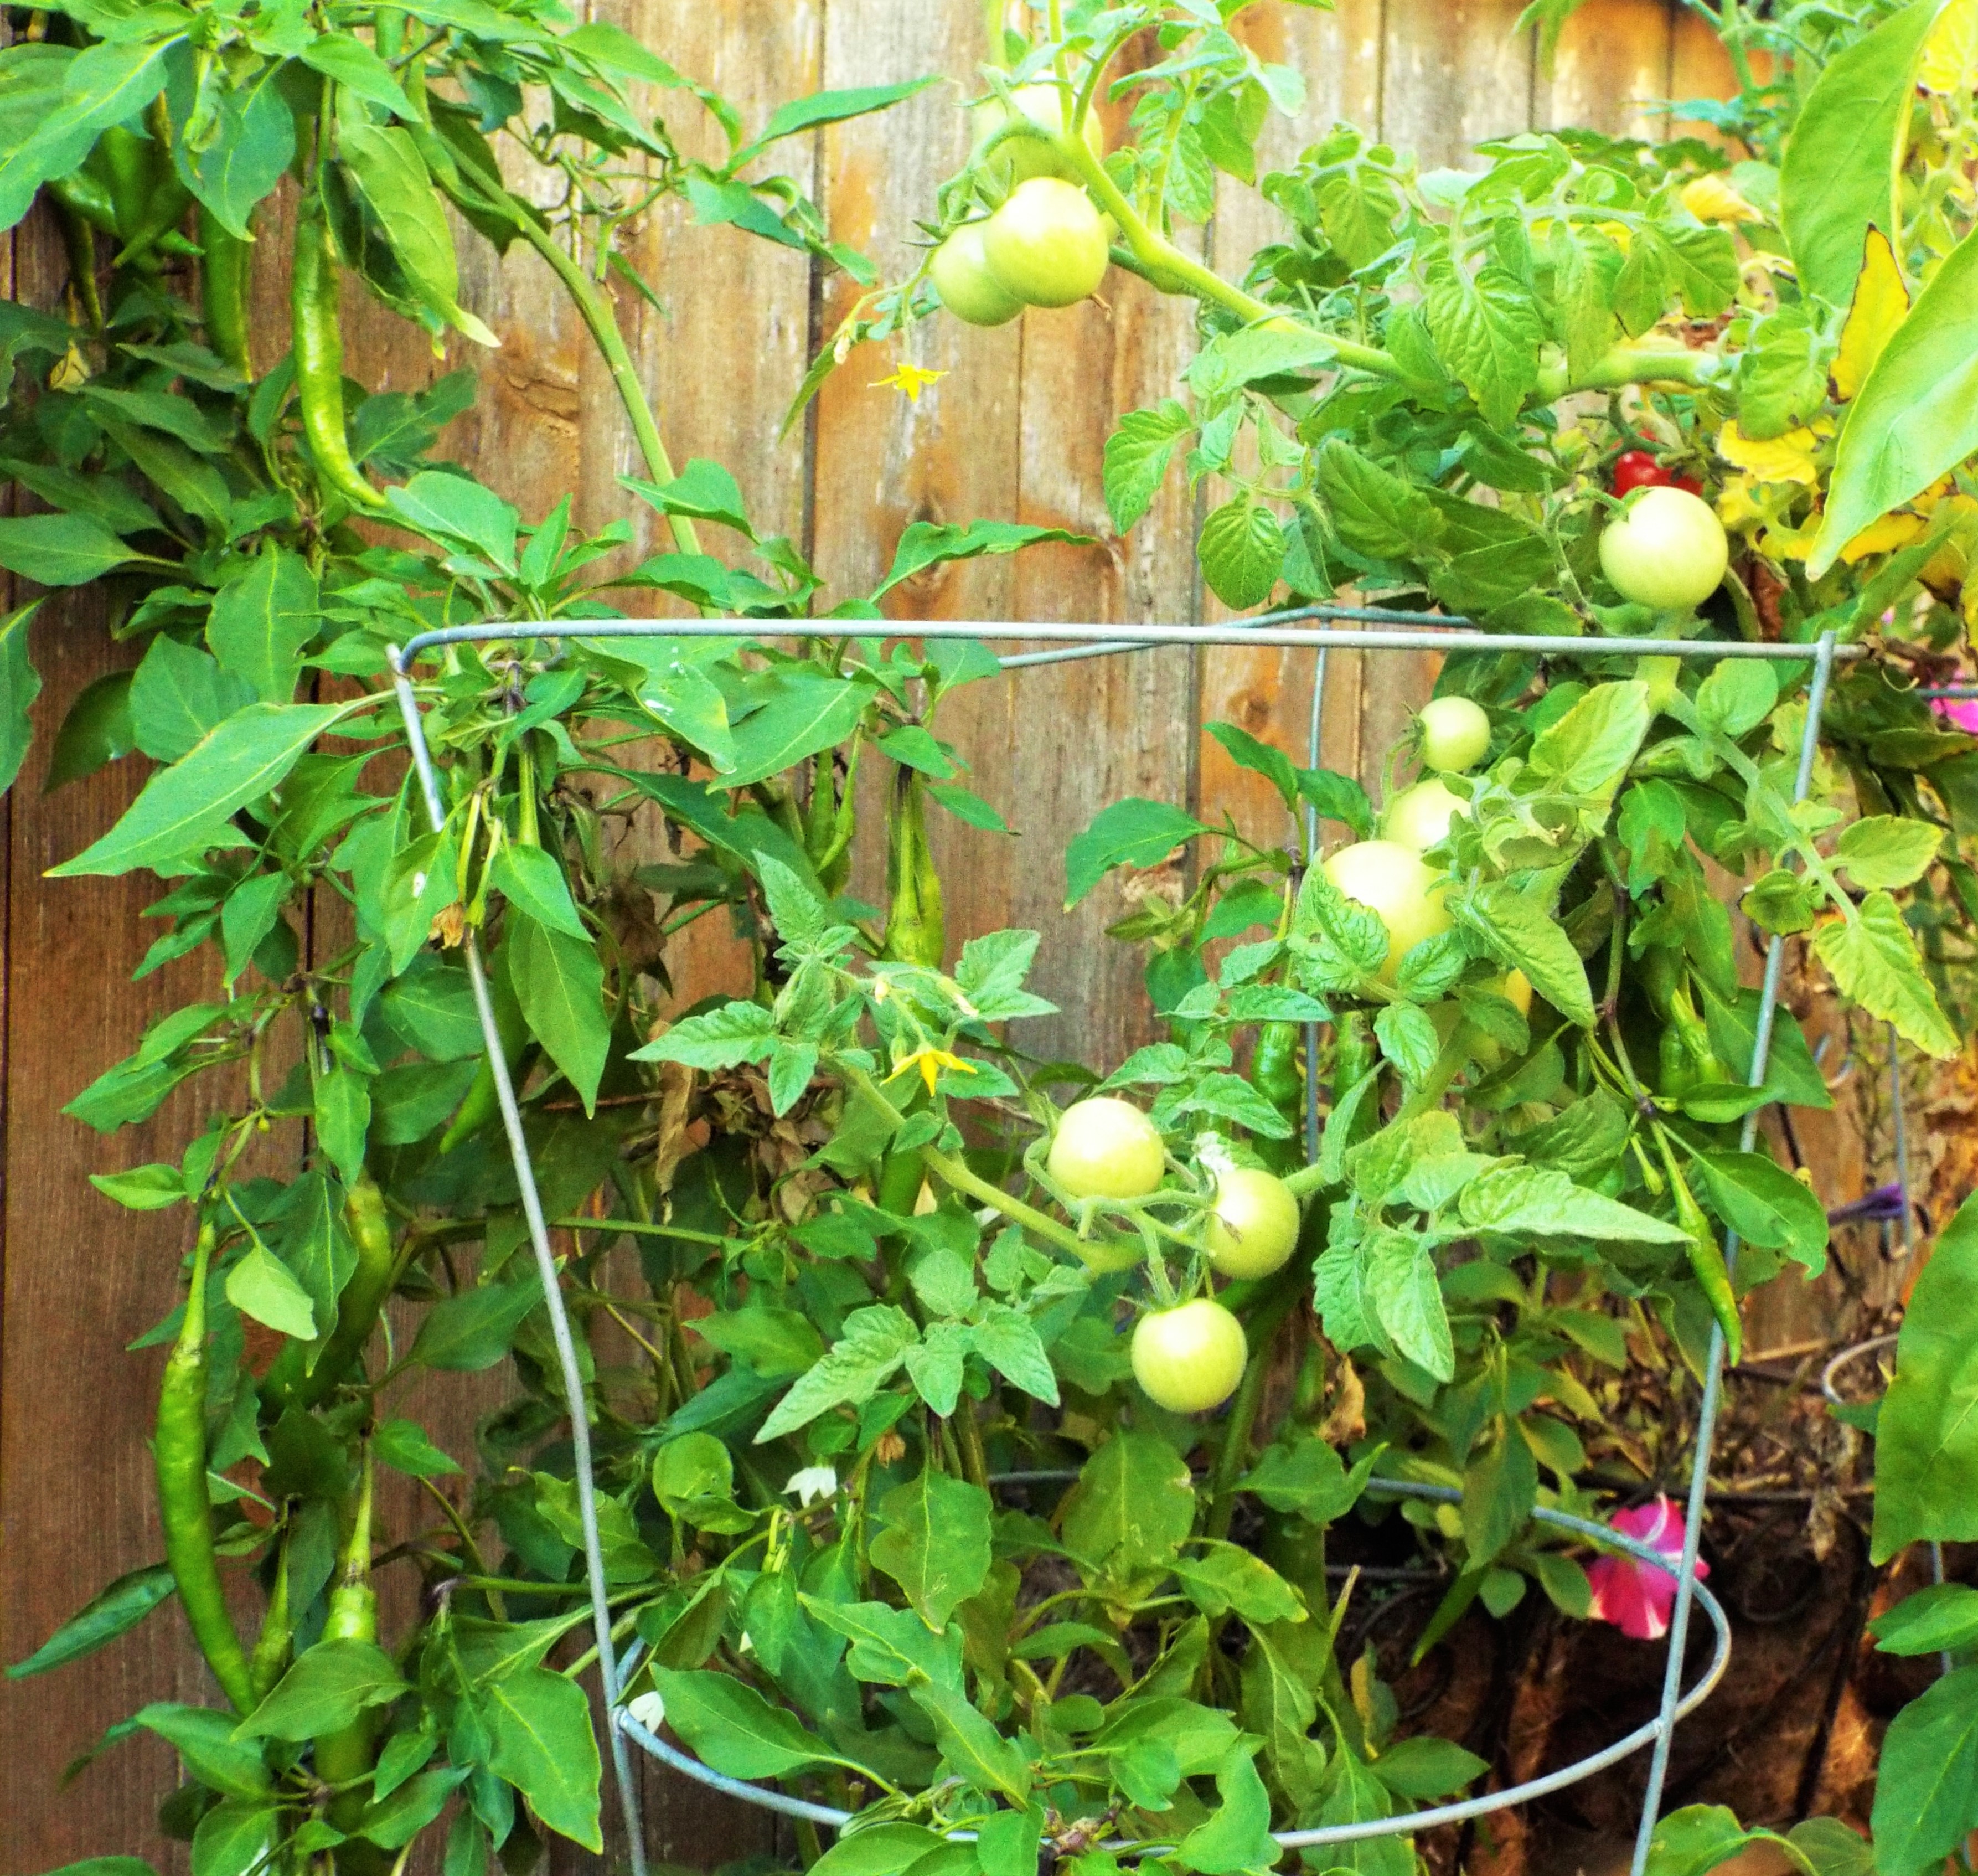
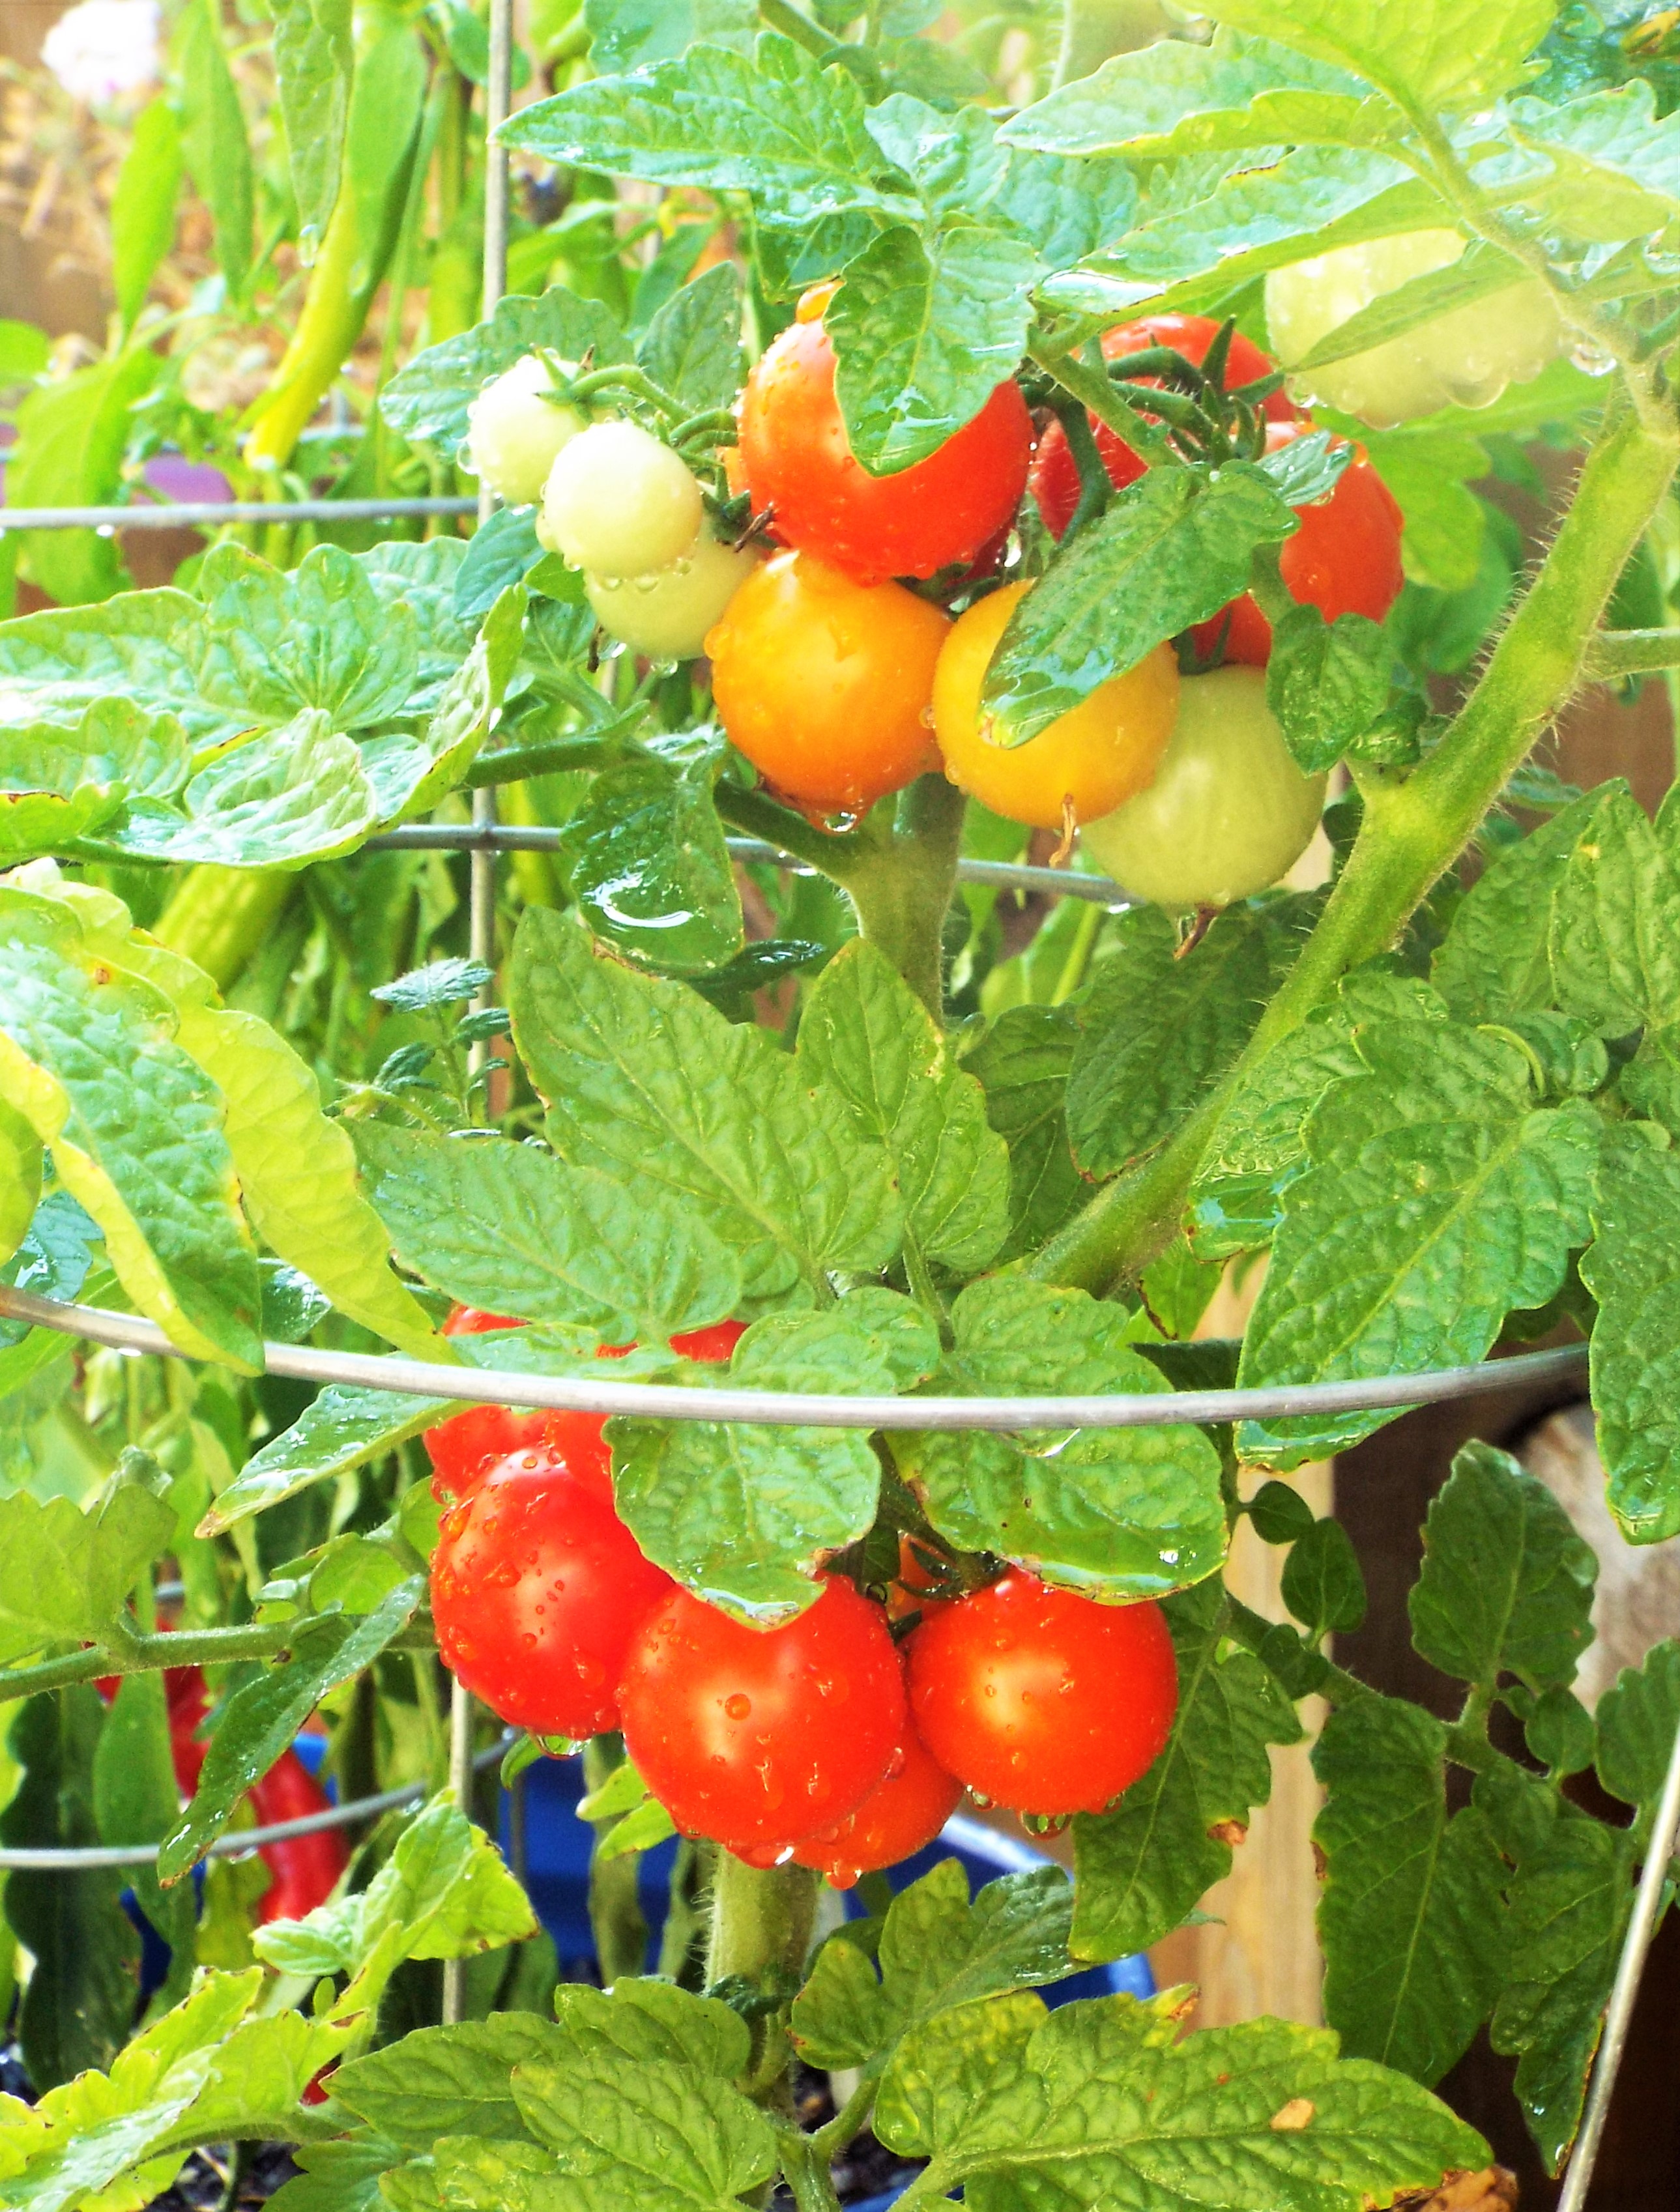
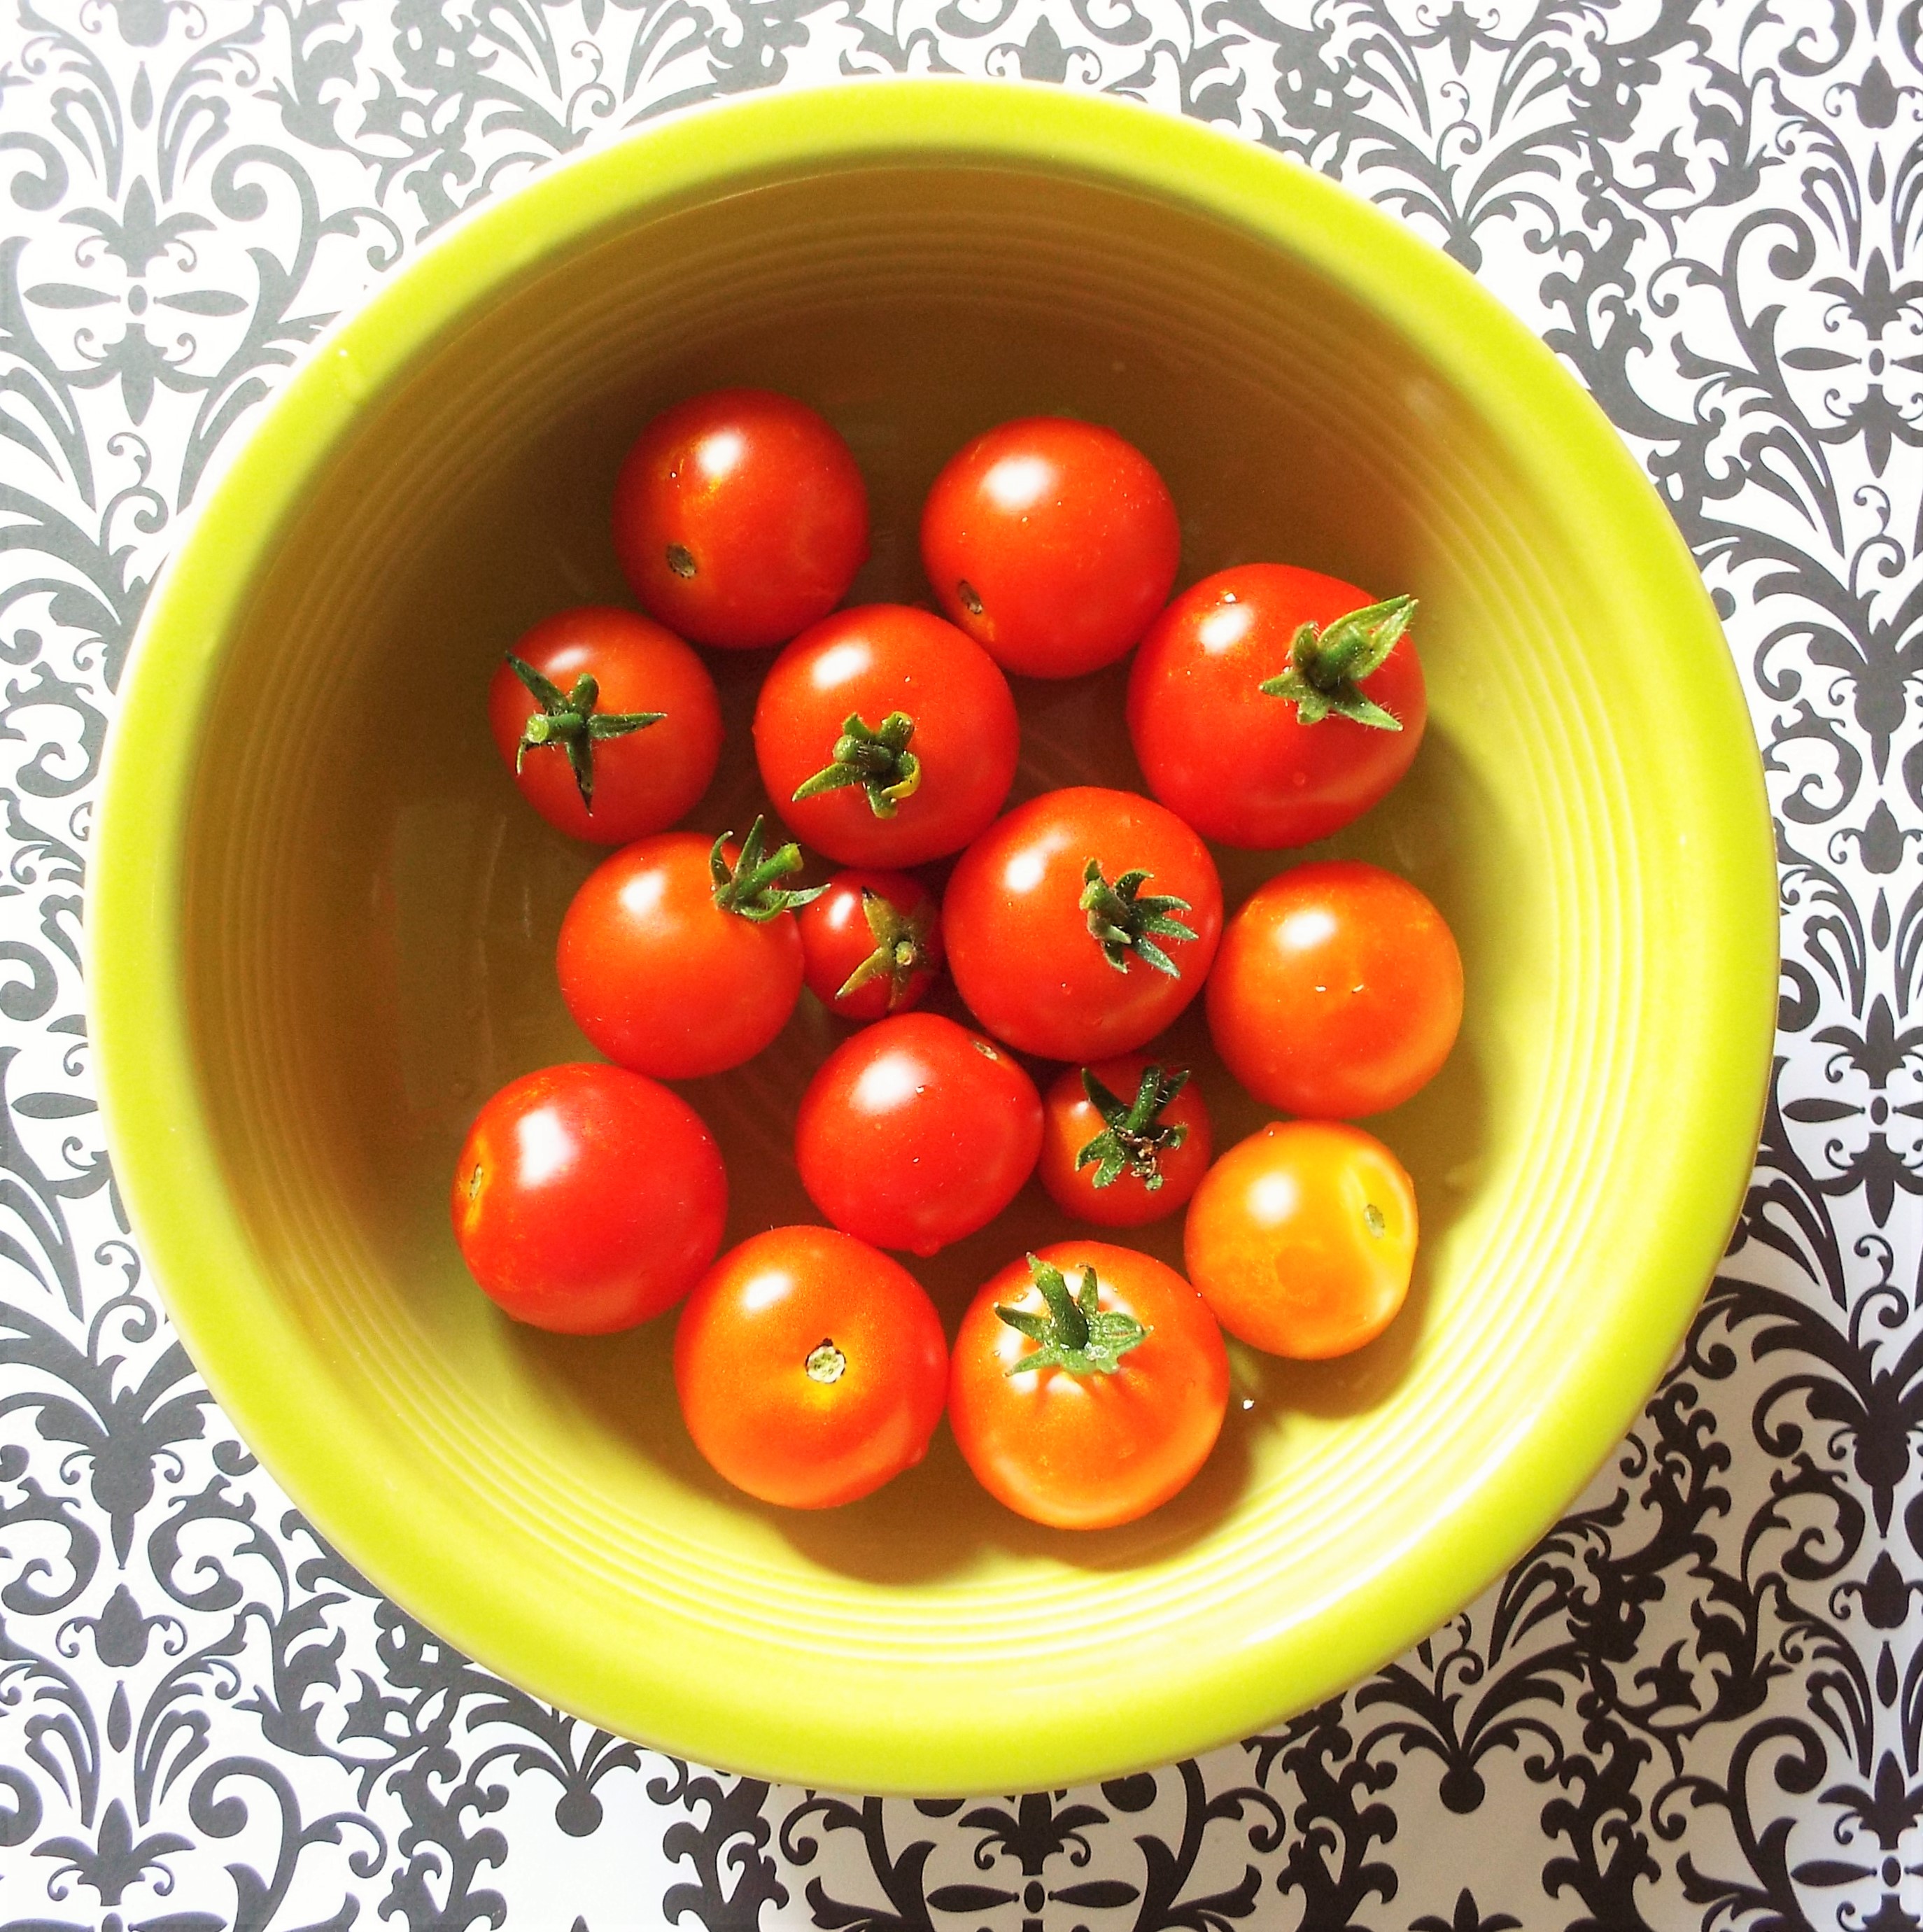
It’s coming close to Halloween and the garden is still doing well. Record-breaking warm temperatures and having an enclosed patio have kept our garden thriving. Hope there is enough time for this last group of tomatoes to ripen, or else it might be mini-fried green tomatoes!
Enjoy!!!
Roy and Kevin