This week, we share ideas for re-purposing our Halloween decorations, a seasonal art project, a quick and delicious recipe for tuna pizza, our garden update and, of course, the bears!
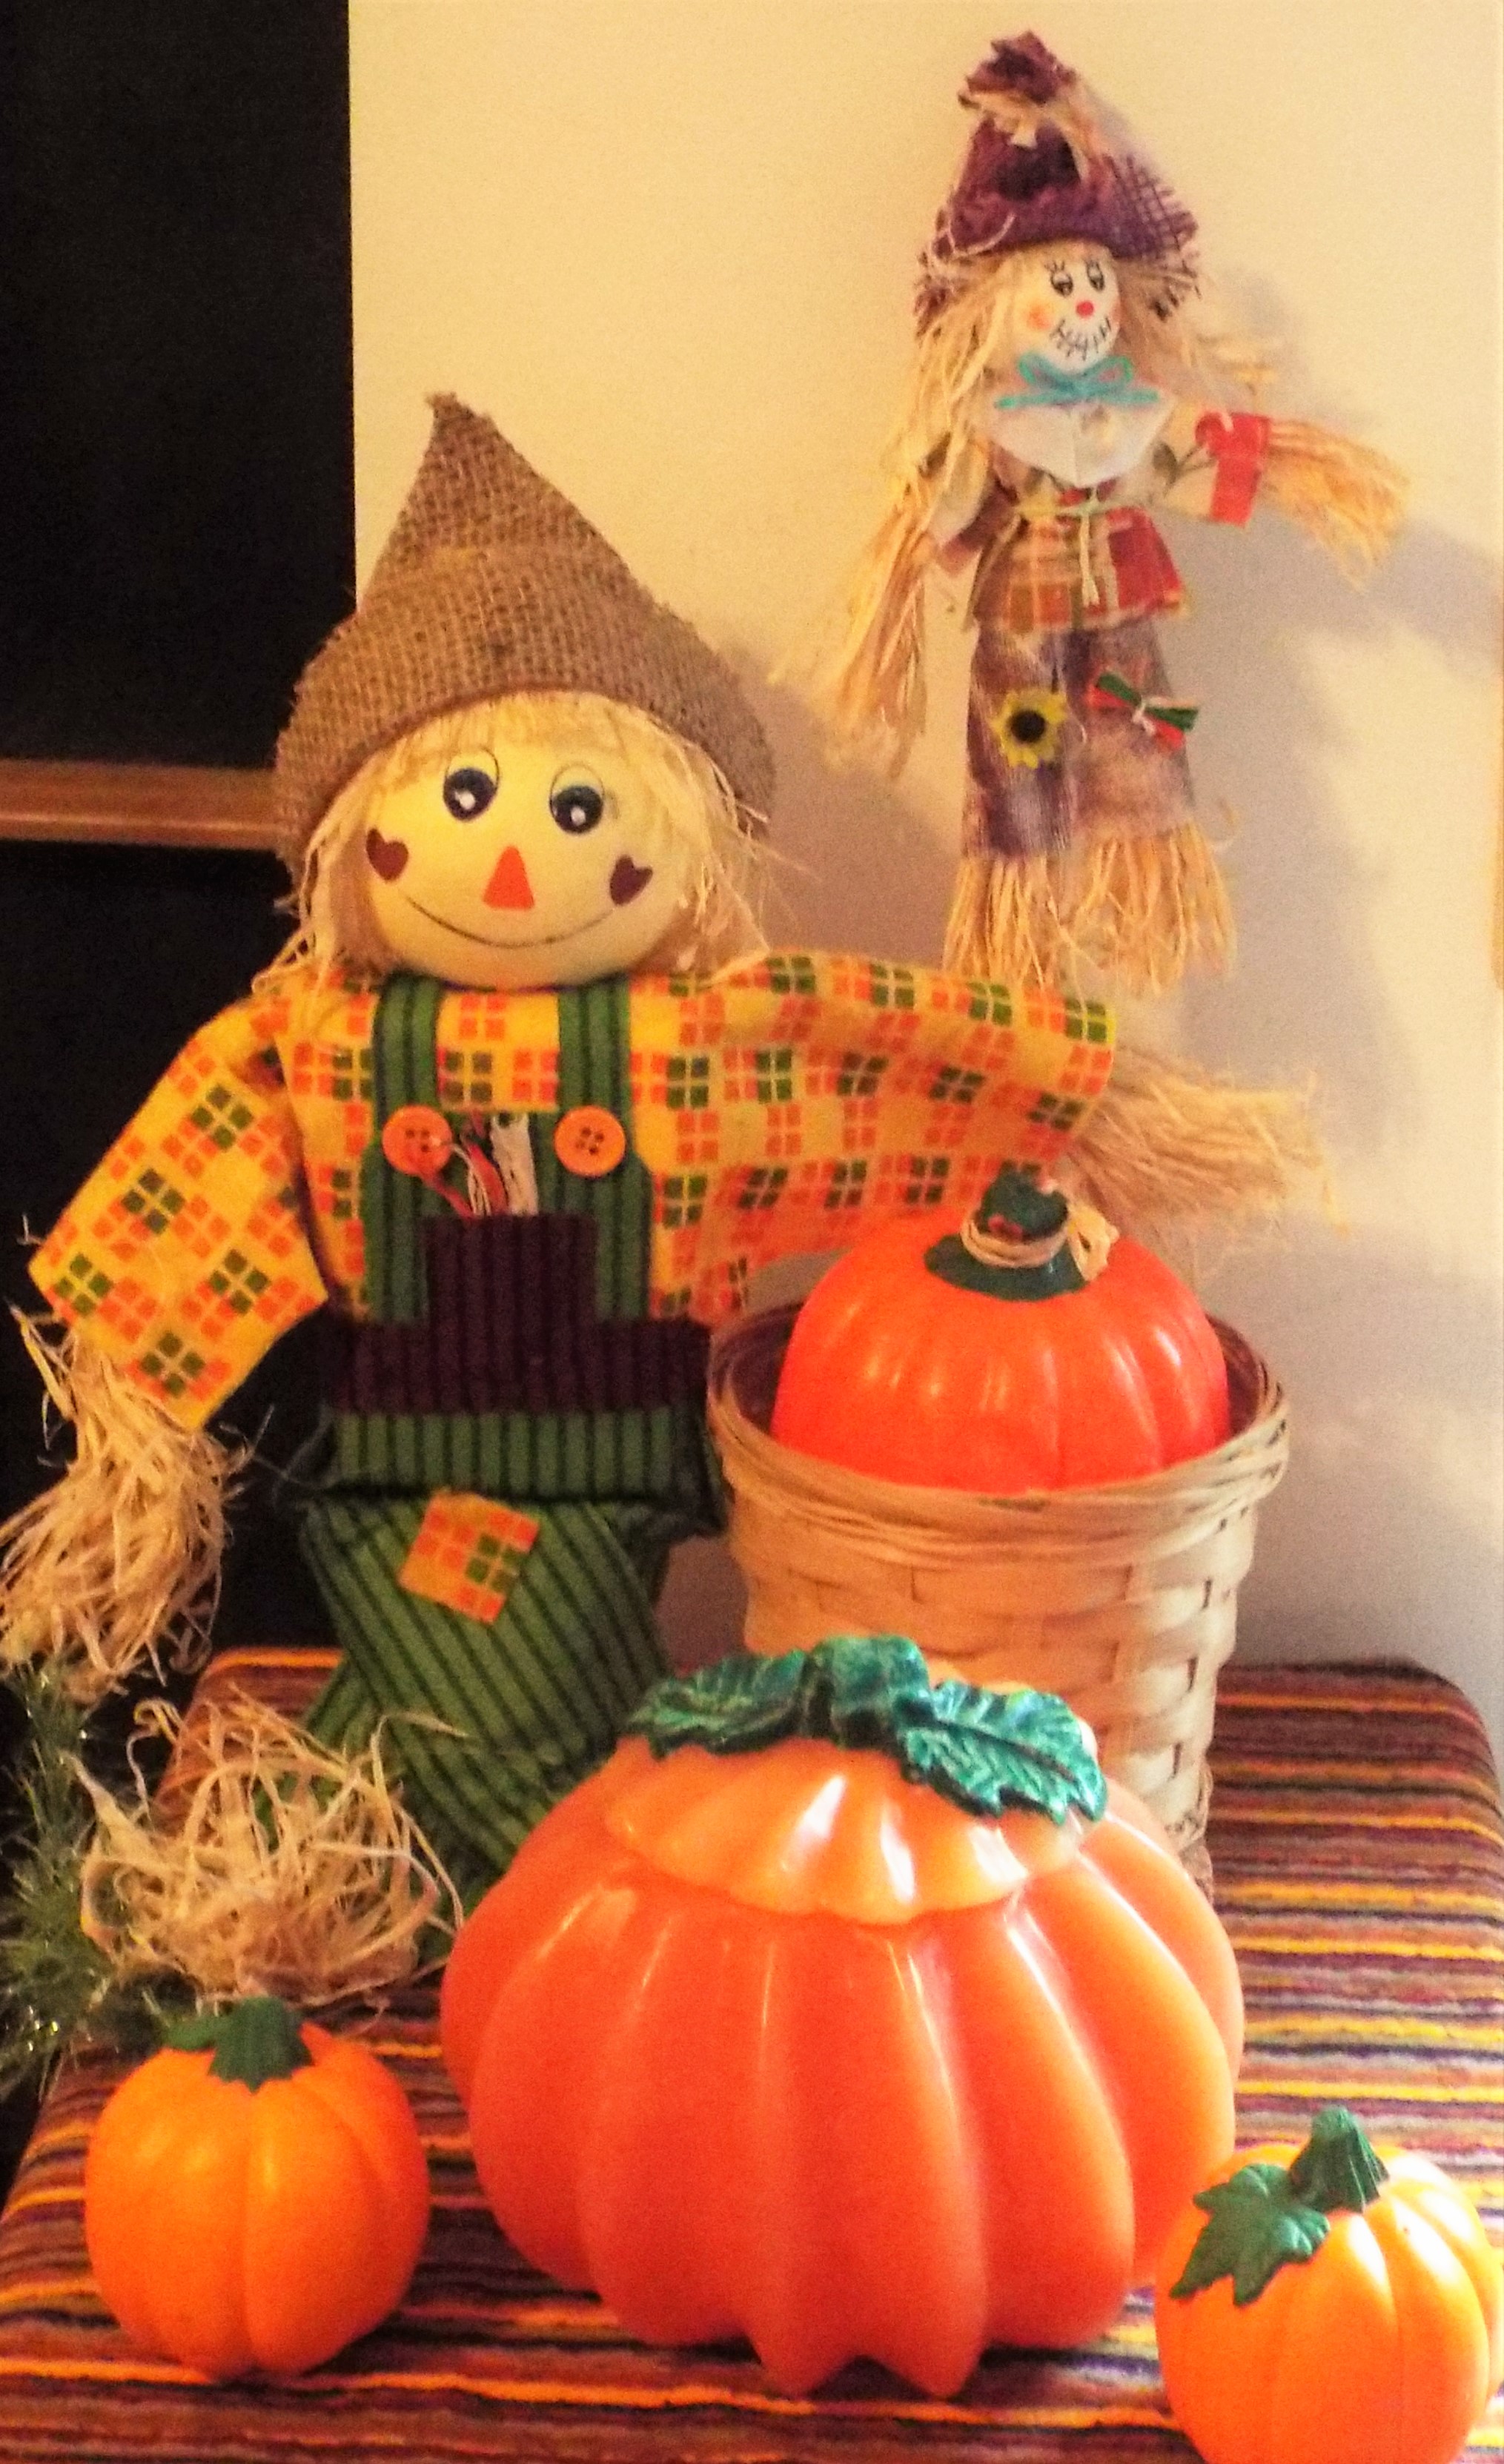
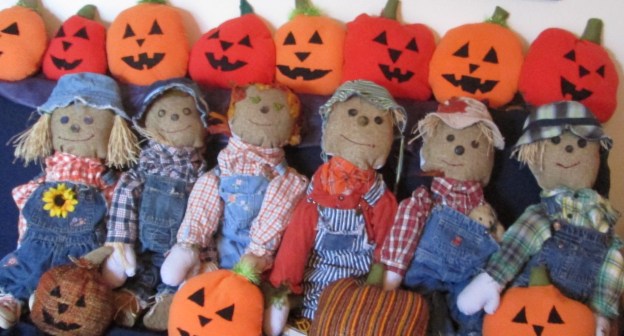
PUMPKINS AND SCARECROWS
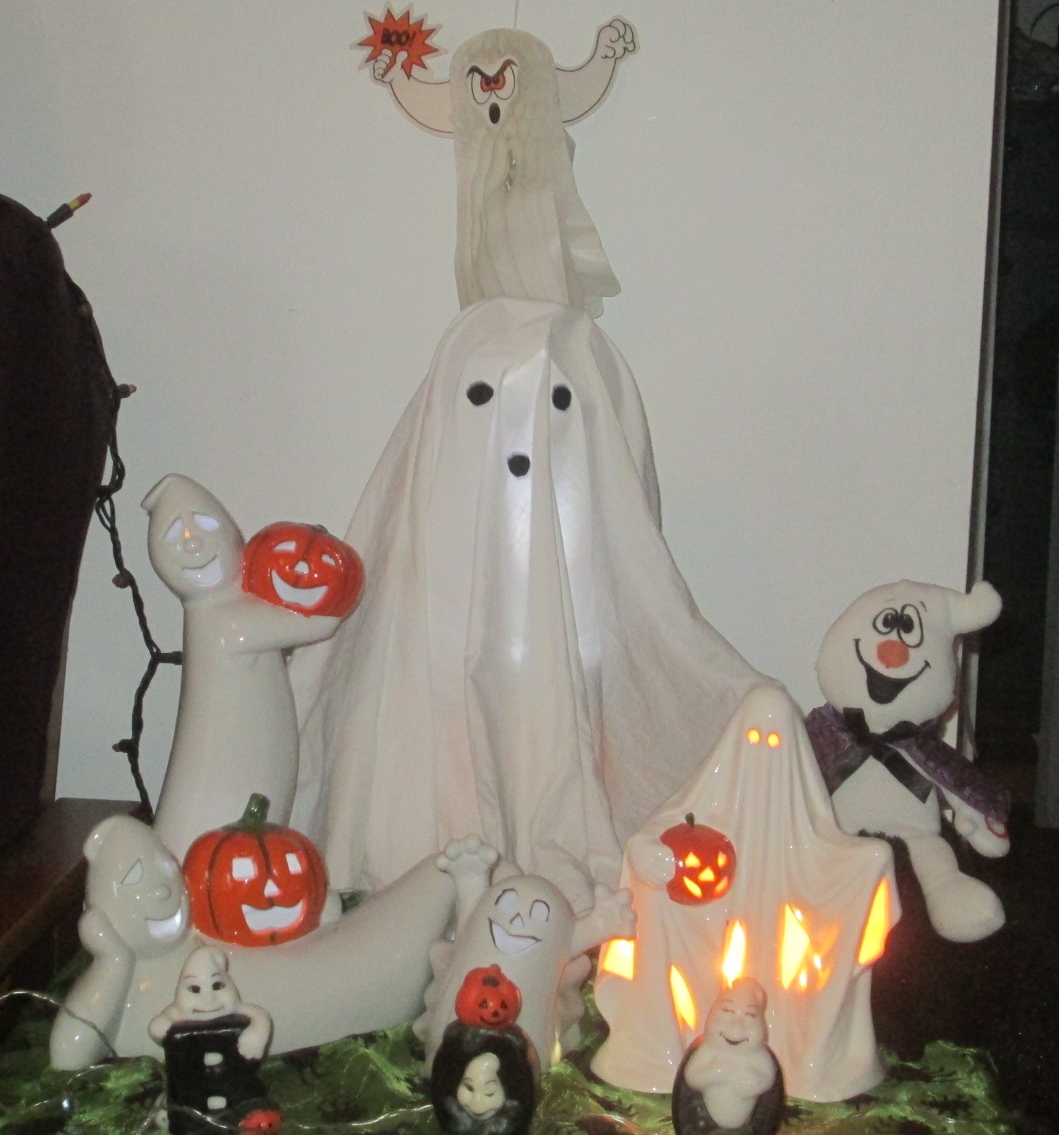
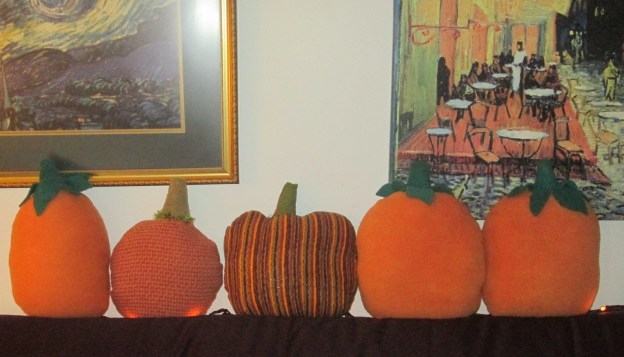
Our Halloween decorations included many items that can be used throughout the fall season. The ghosts and skeletons have been exorcised until next Halloween, but the pumpkins and scarecrows now form the basis of our fall decor. With Roy’s handmade pumpkin pillows on the couch, we simply turned the faces to the wall for a quick and easy change-up.

LEAF ART
This craft is a flashback from grammar school – still fun to do!!!
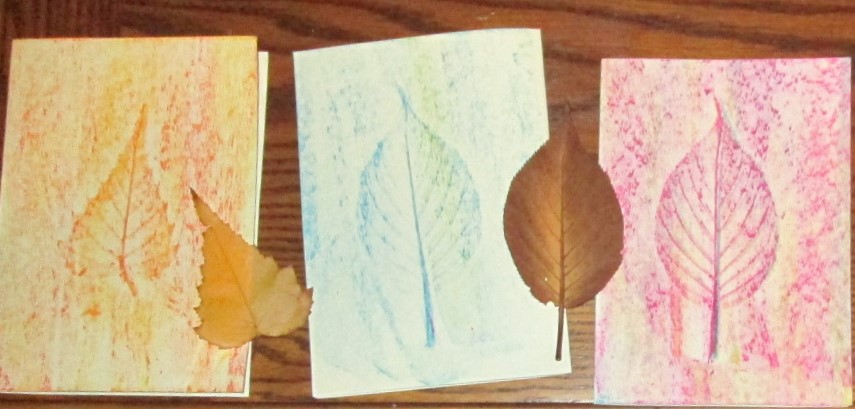

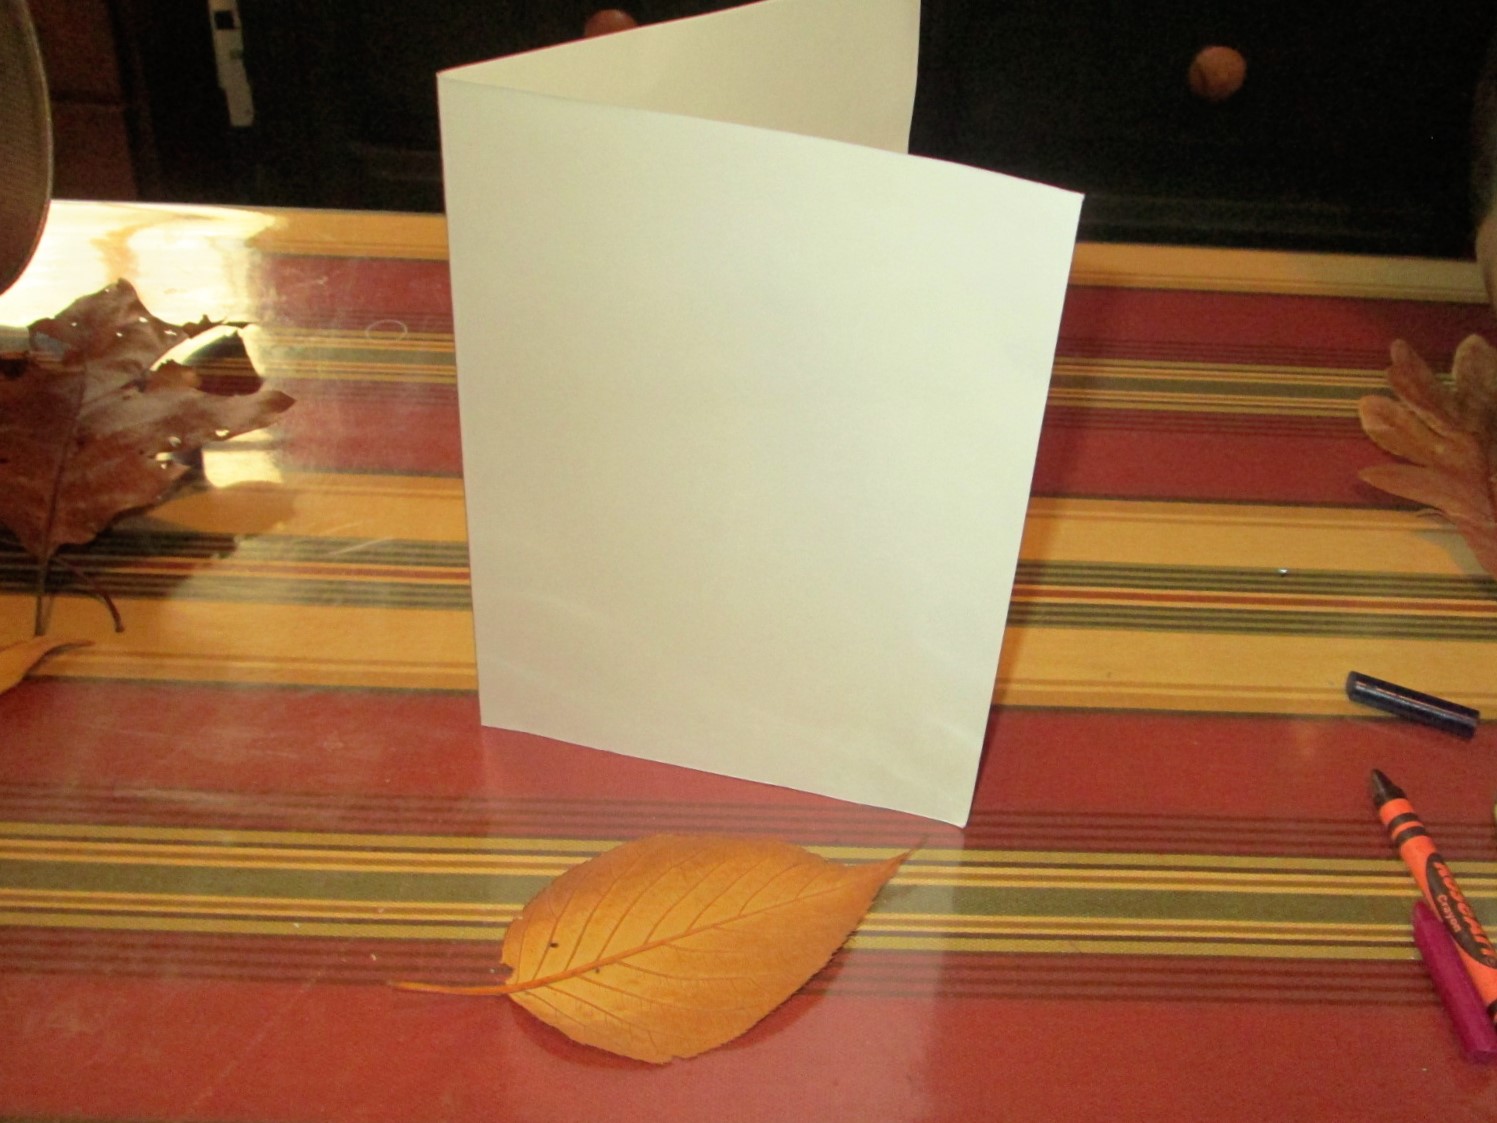
You will need:
Leaves, crayons, paper (see tips below), paper towels
To do:
- Place leaf vein side up on paper towel.
- Position paper over leaf where you would like the image to appear.
- With side of peeled crayon, gently rub paper over leaf.
This requires some trial and error. Make sure you have extra paper so you can experiment.
Tips:
- Pick out different shapes, sizes and varieties of leaves.
- Use paper that is not too thick. Printer and construction papers work well, but thicker paper, like cardstock, will be less effective. Test out your paper before starting your project.
- Leaves with prominent stems and veins are great for doing these rubbings.
- Experiment with different color crayon combinations.
- Good use for broken crayons.
Scan your completed designs for multiple uses. Print the images onto cardstock for personalized greeting cards. Frame your creation for seasonal decor. Think outside the box, pick up some t-shirt transfer paper, and your creation becomes a fun t-shirt!
Check out this link for info on designing t-shirts with your artwork:
http://www.ehow.com/how_10039627_transfer-pictures-tshirt.htmlZZAS
TUNA PIZZA
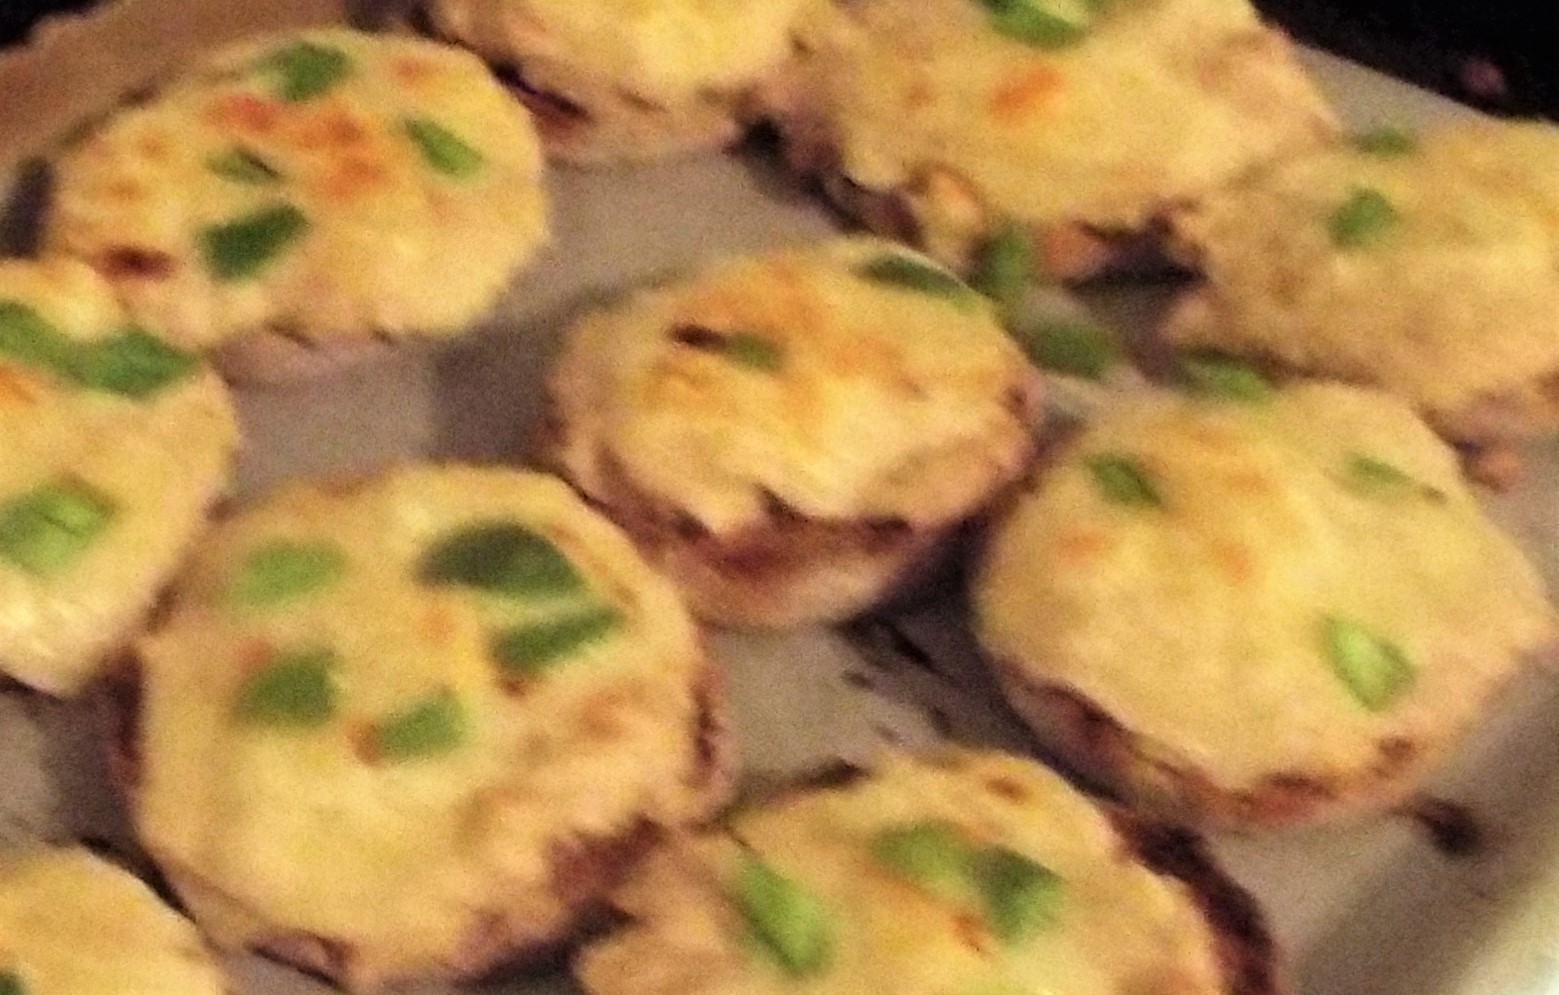
These tuna pizzas are quick, easy and delicious. Simply put your favorite tuna salad on an English muffin, add 1/2 slice of low-fat Swiss (or your favorite) cheese and veggies (if desired). We used chopped green peppers. Bake at 350 degrees for 8 minutes, then broil for 2-3 minutes until golden brown. Keep an eye on them so they don’t burn. These come out of the oven very hot – let cool slightly before eating.
We used 4 cans of tuna for 6 English muffins.
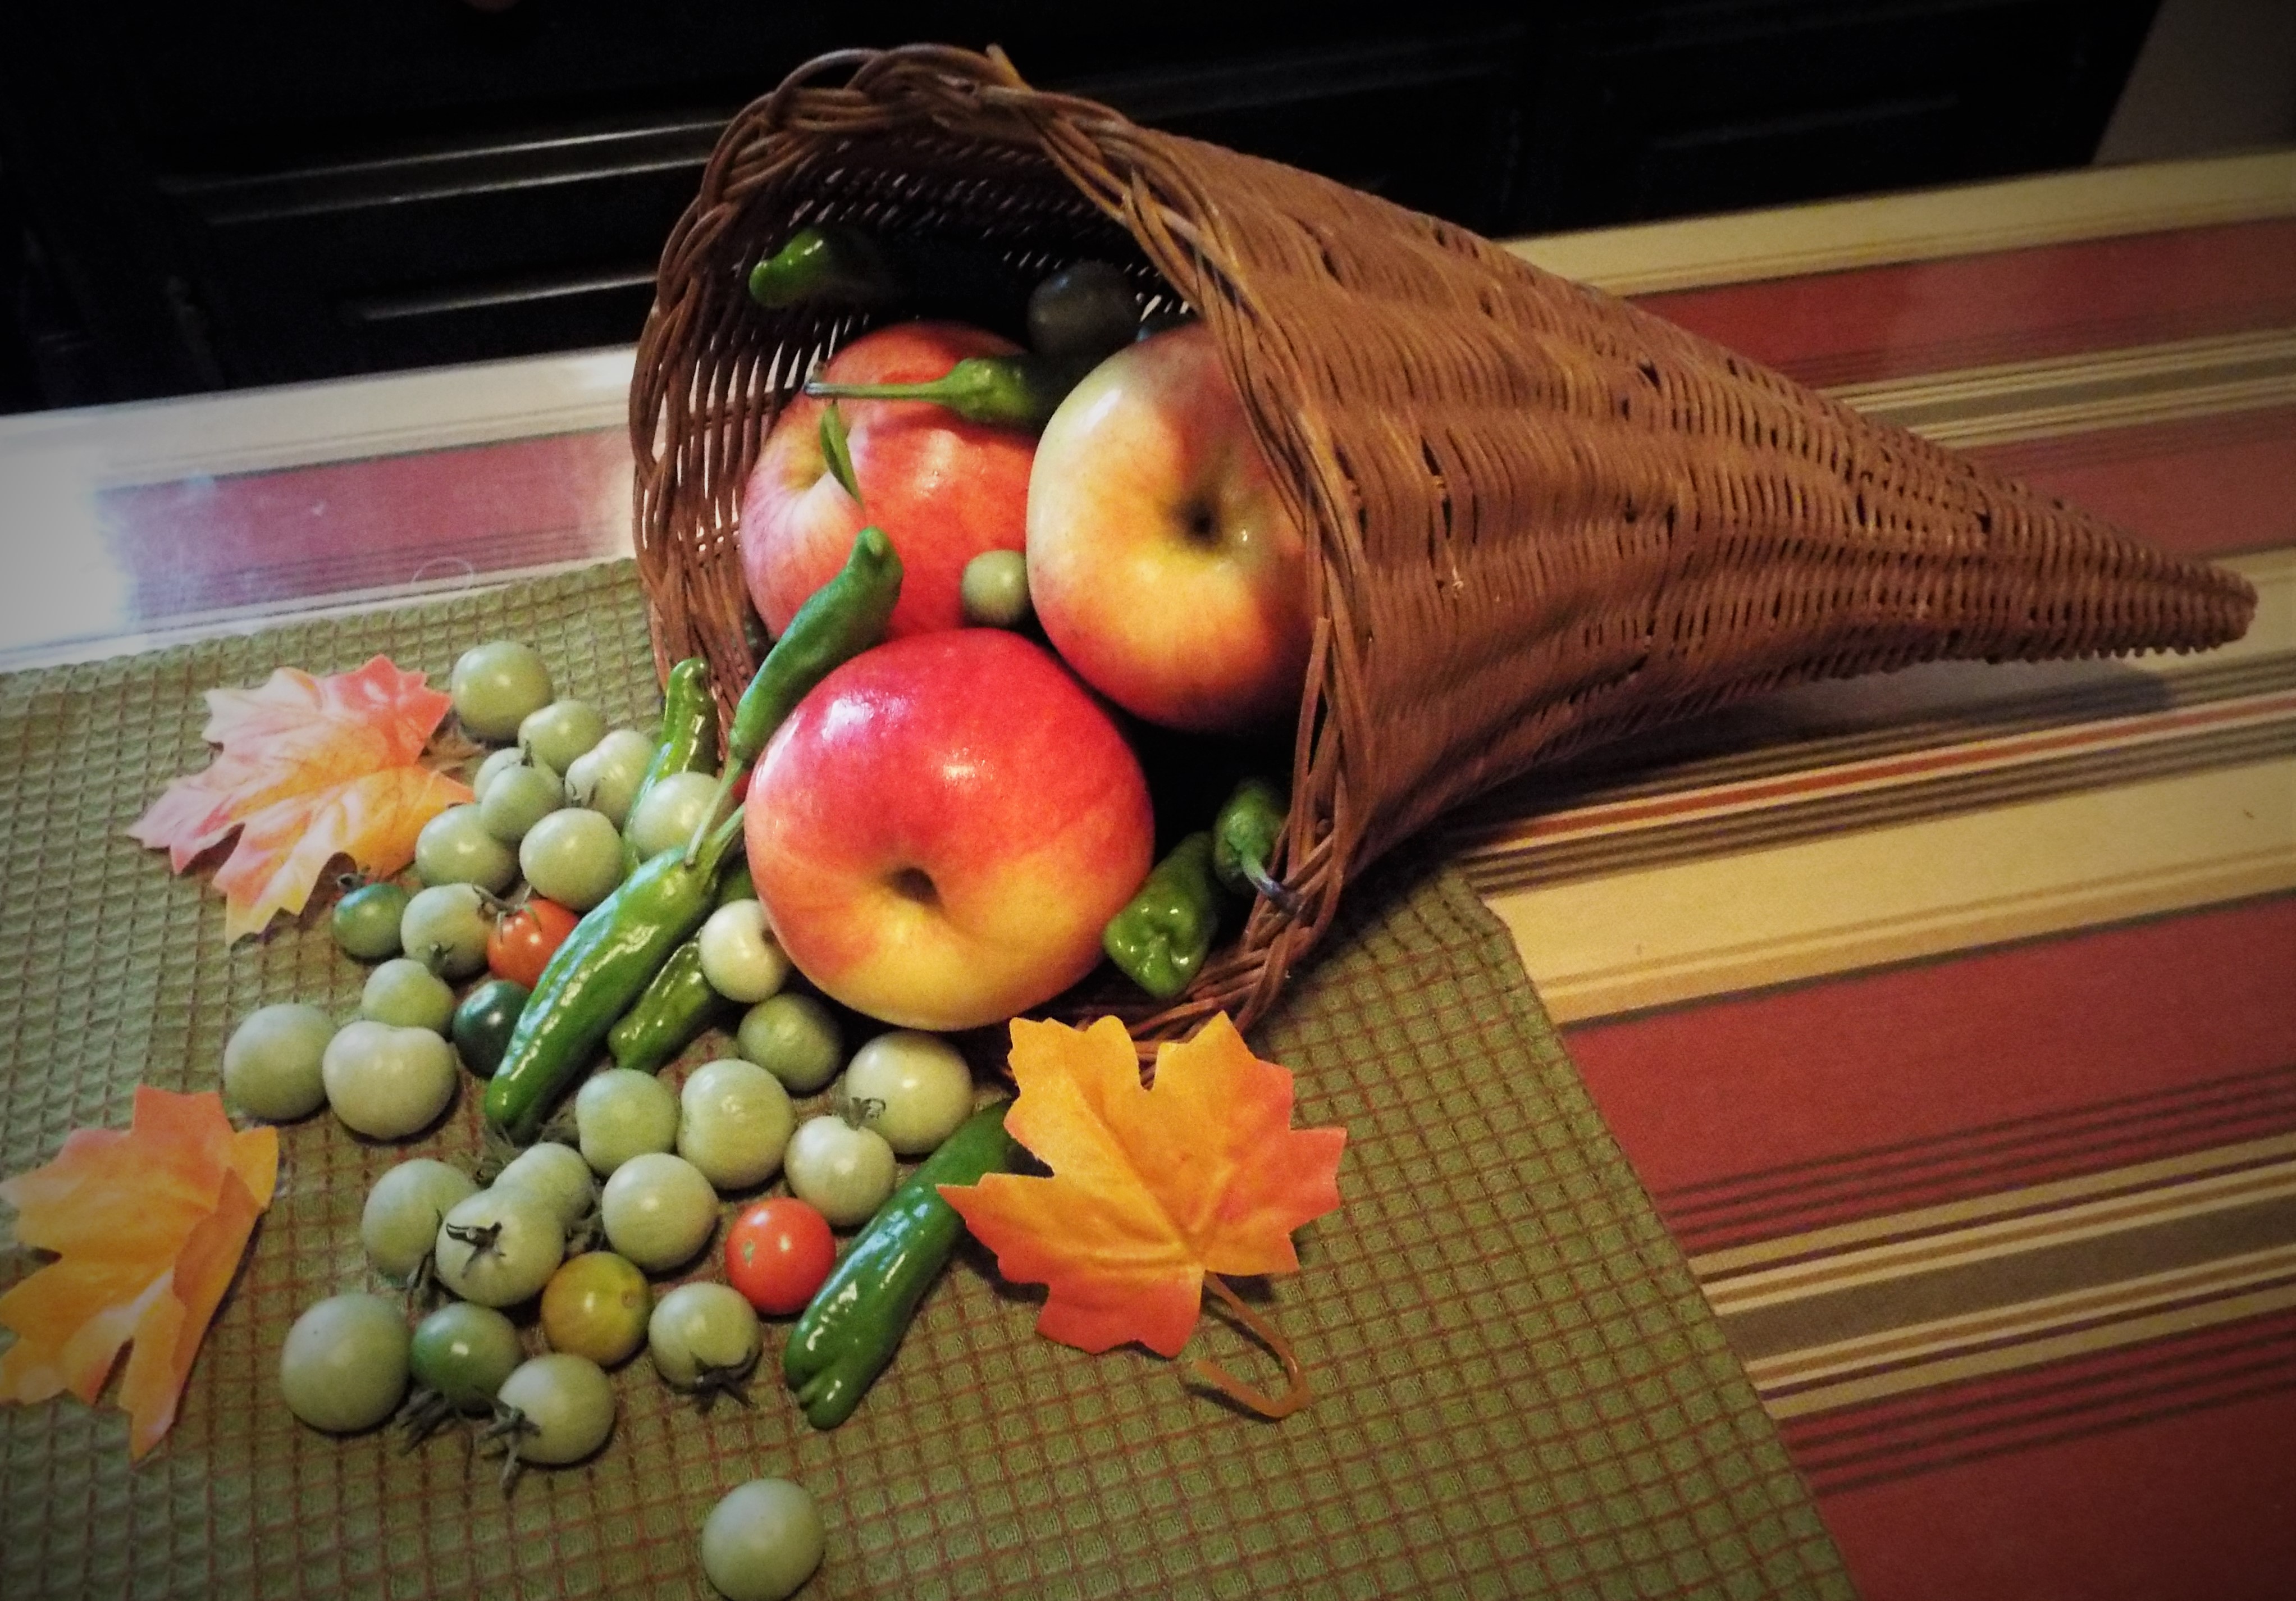
GARDEN UPDATE

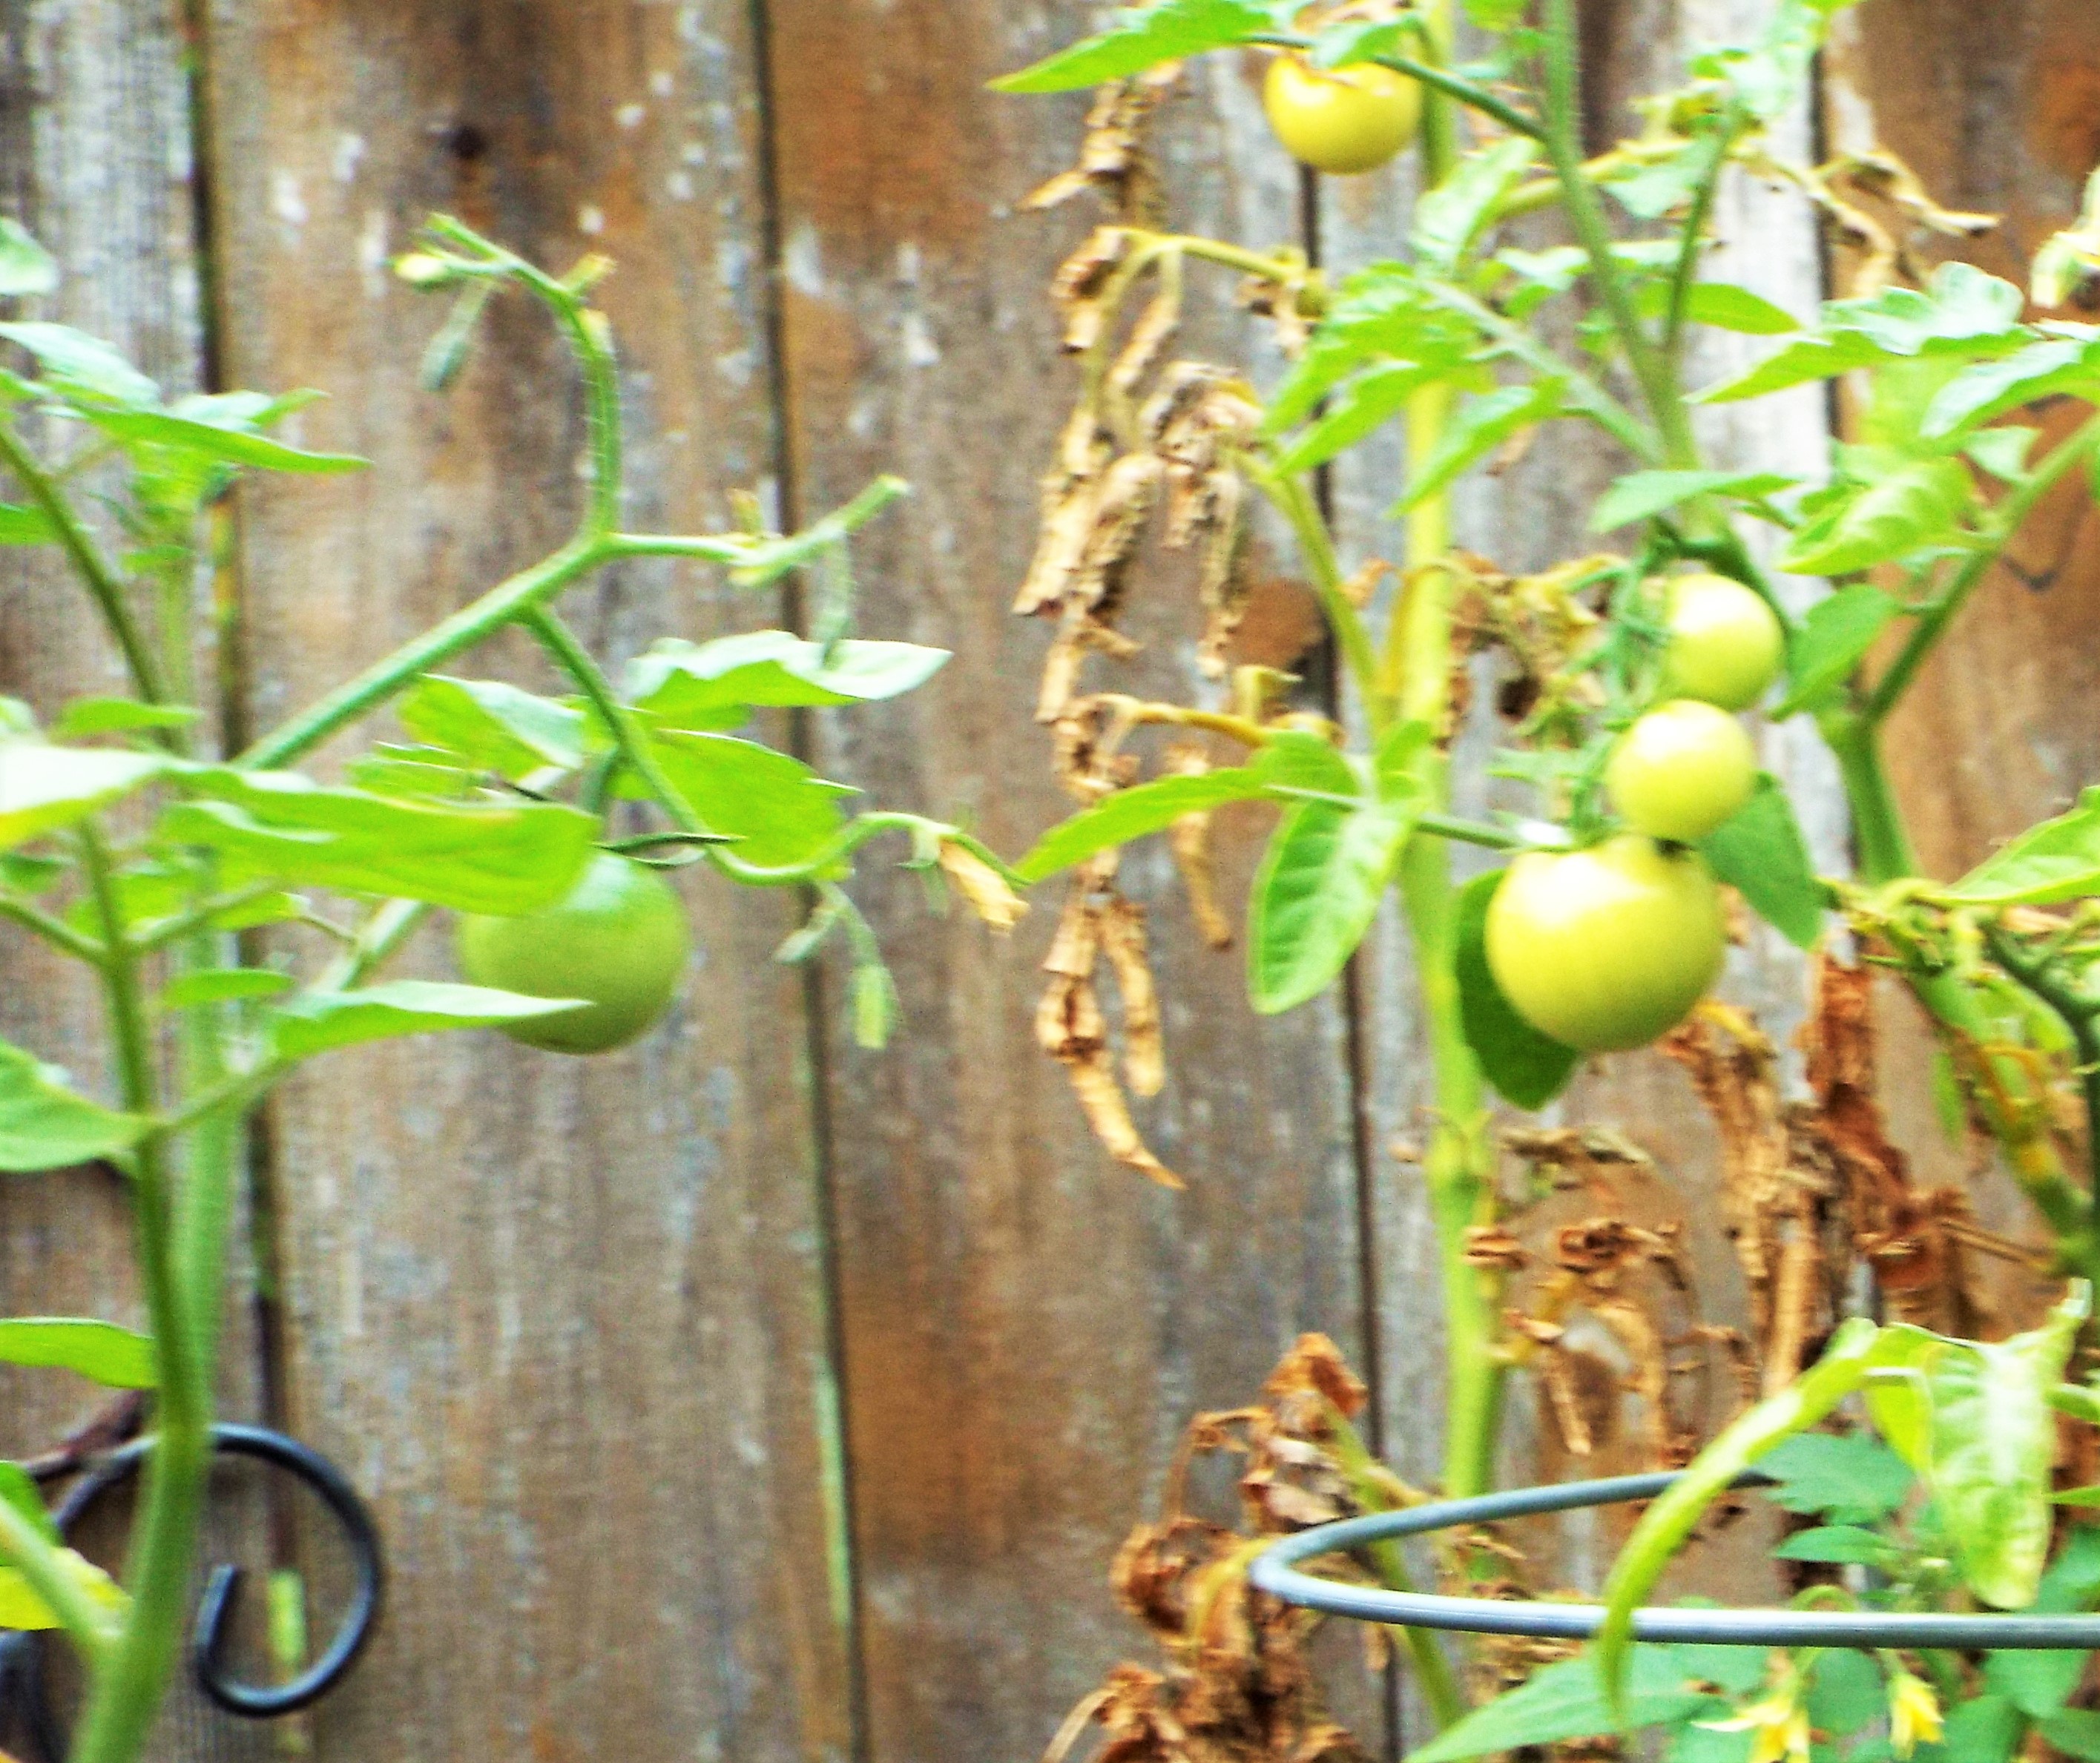
The unseasonably warm weather continues and has made the garden last longer than we had anticipated. We are still harvesting peppers and tomatoes in November!
VEG ART
HOLIDAYS COLLIDE!!!
Our Christmas cactus, which we received as a gift from Kevin’s mom, Irene, more than five years ago, is blooming in one of our Jack-O-Lantern pots.

JOKE OF THE WEEK
If money really did grow on trees, fall would be everyone’s favorite season!
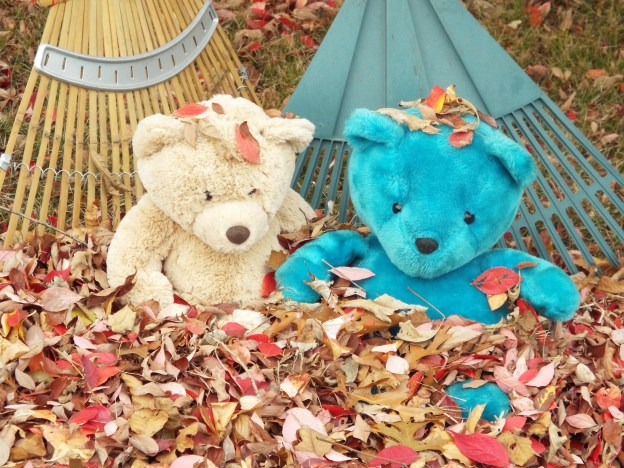
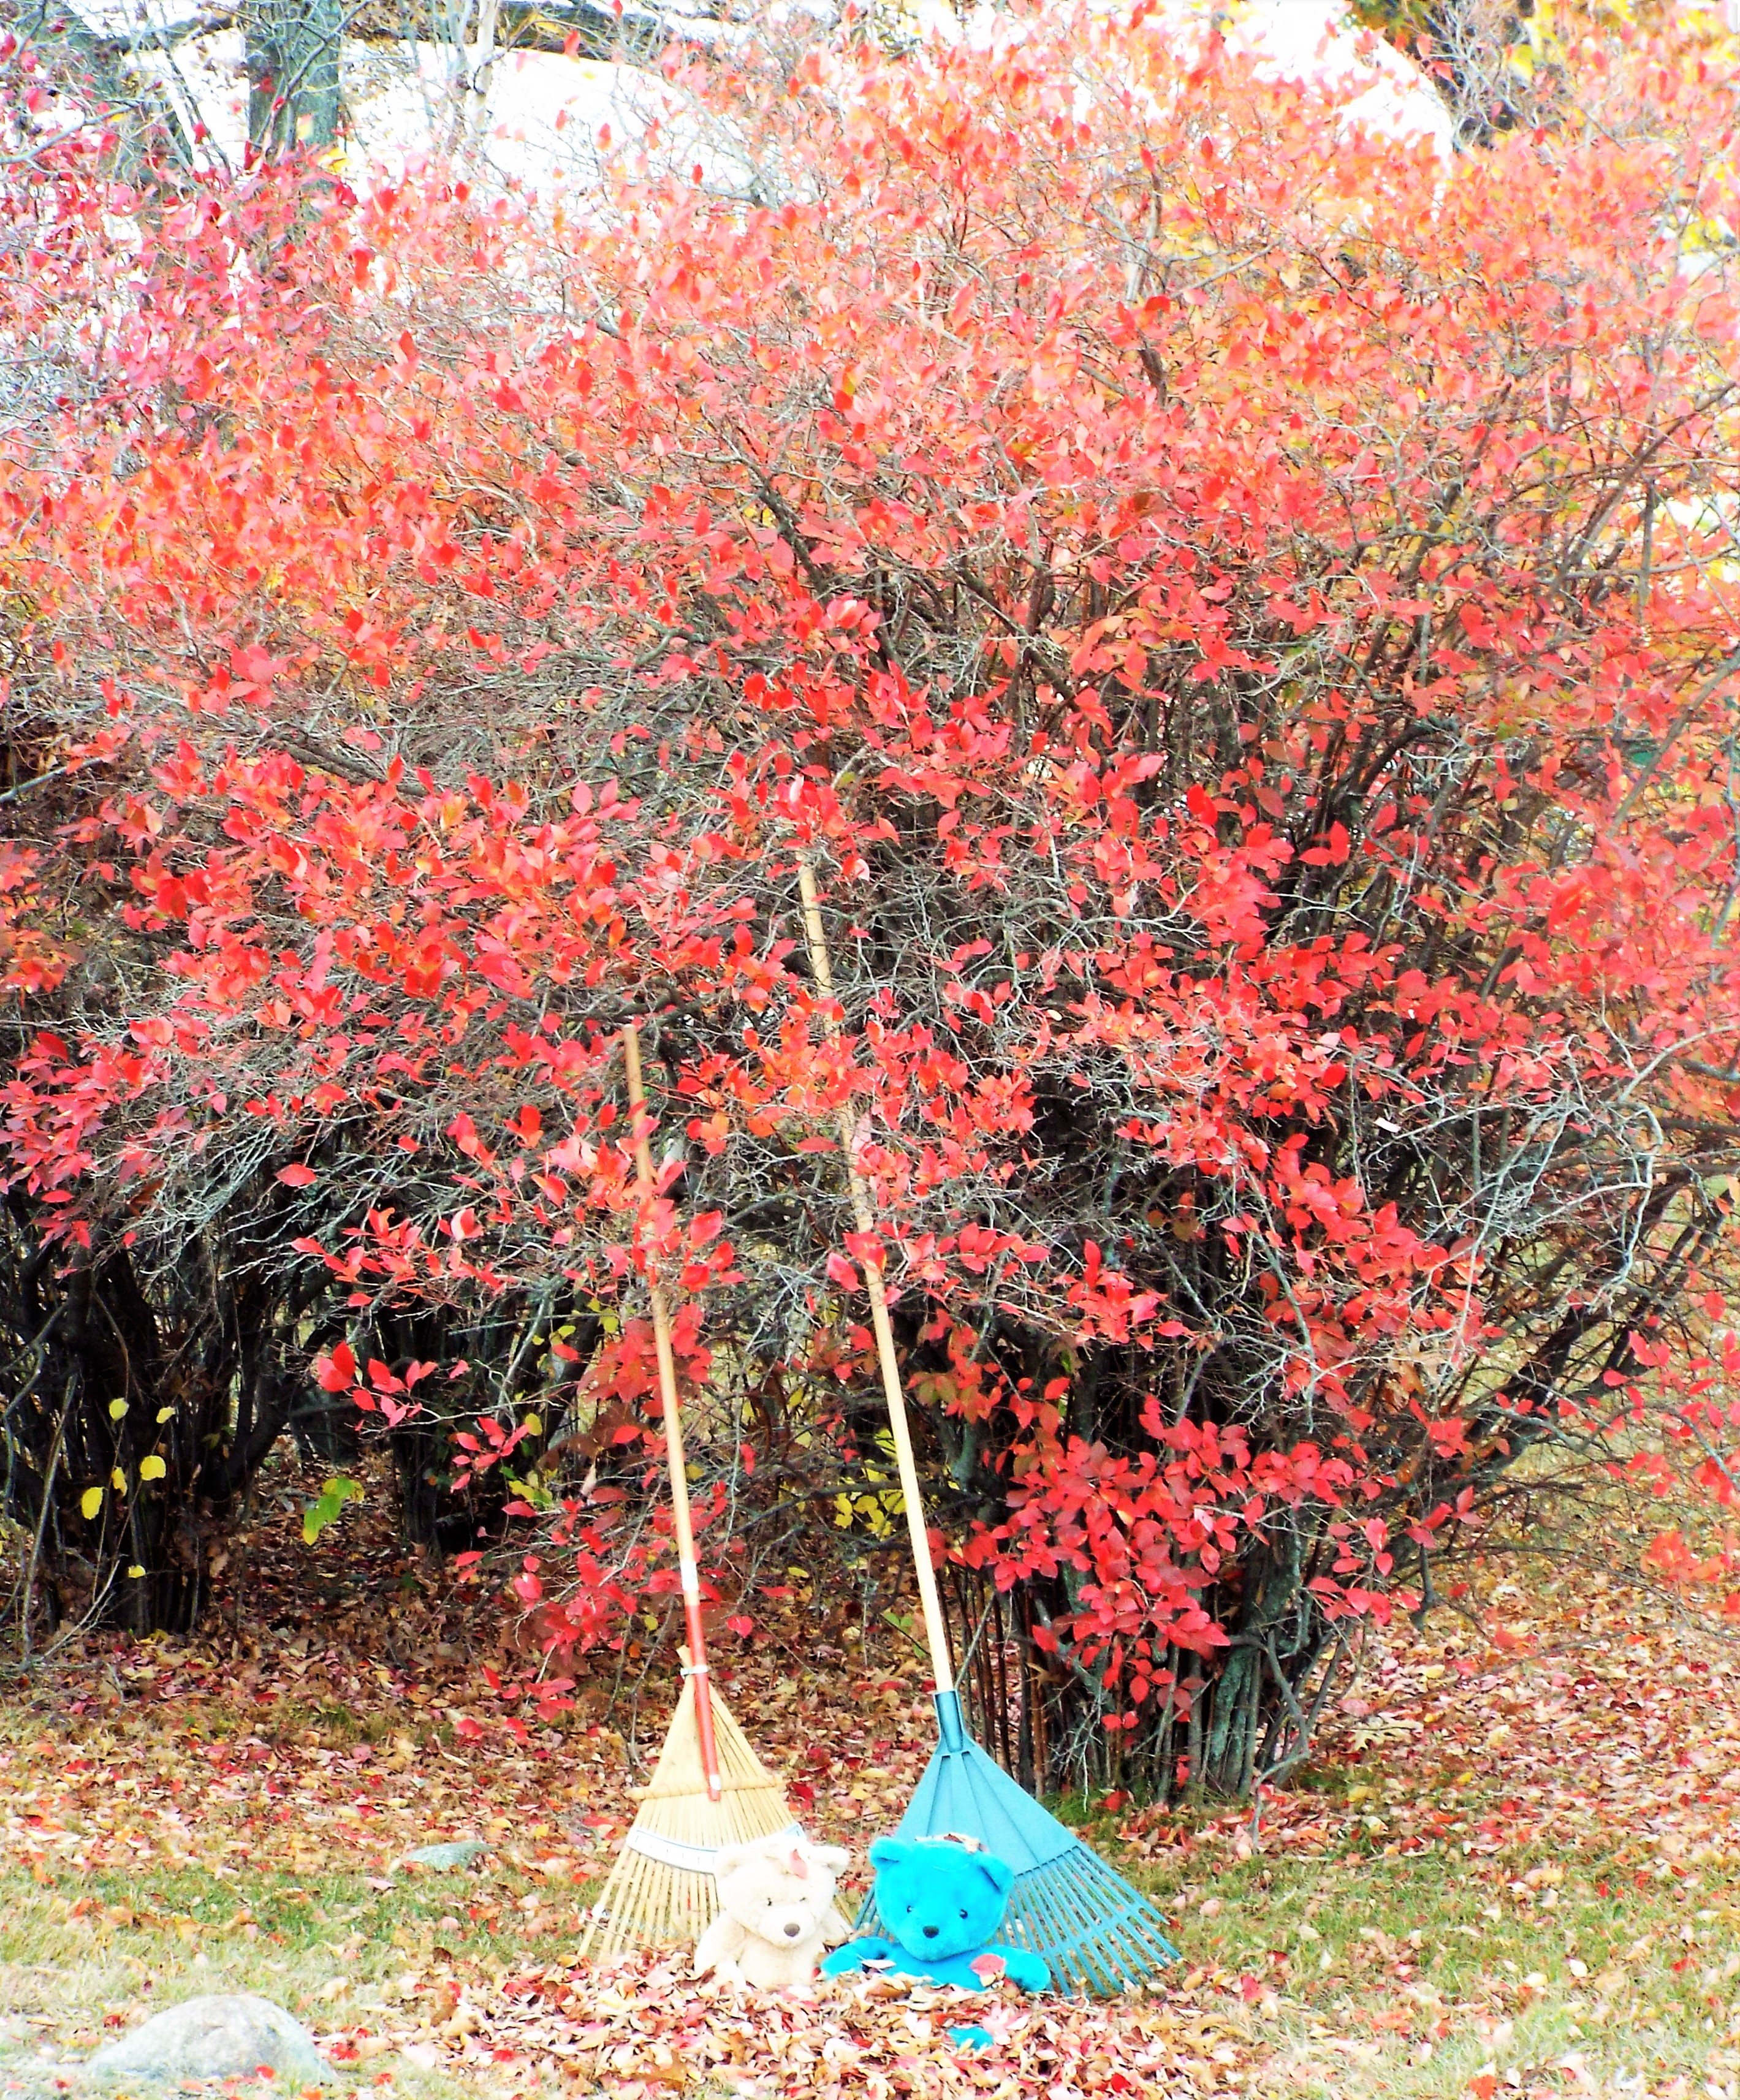
THE BEARS
The bears wanted to help rake the leaves under this beautiful tree, but their (matching) rakes were too big, so they decided to play! (Who can blame them!?)
ENJOY!
Roy and Kevin

 Decorating tip: The Lighted Stacked Jack-O-Lanterns shown here is a cute display that is easy to create. You can make this for under $10.00. We had 3 pumpkins but needed a forth. We also needed a set of lights. We went to Target and bought the pumpkin for $1.00 and a set of lights for about $5.00. Start with four plastic pumpkins that are the same size. The ones here are 8 inches. Using a utility knife, cut the bottoms out of the 3 top pumpkins. The very bottom of these pumpkins are usually thicker plastic, so cut along the edge where it is thinner and easier to cut. Stack them together with the uncut one on the bottom and string lights through them from the top. Our’s shown are just stacked, but you may want to attach them together with duct tape in the back. The light shines through the plastic and gives the room a great glow!