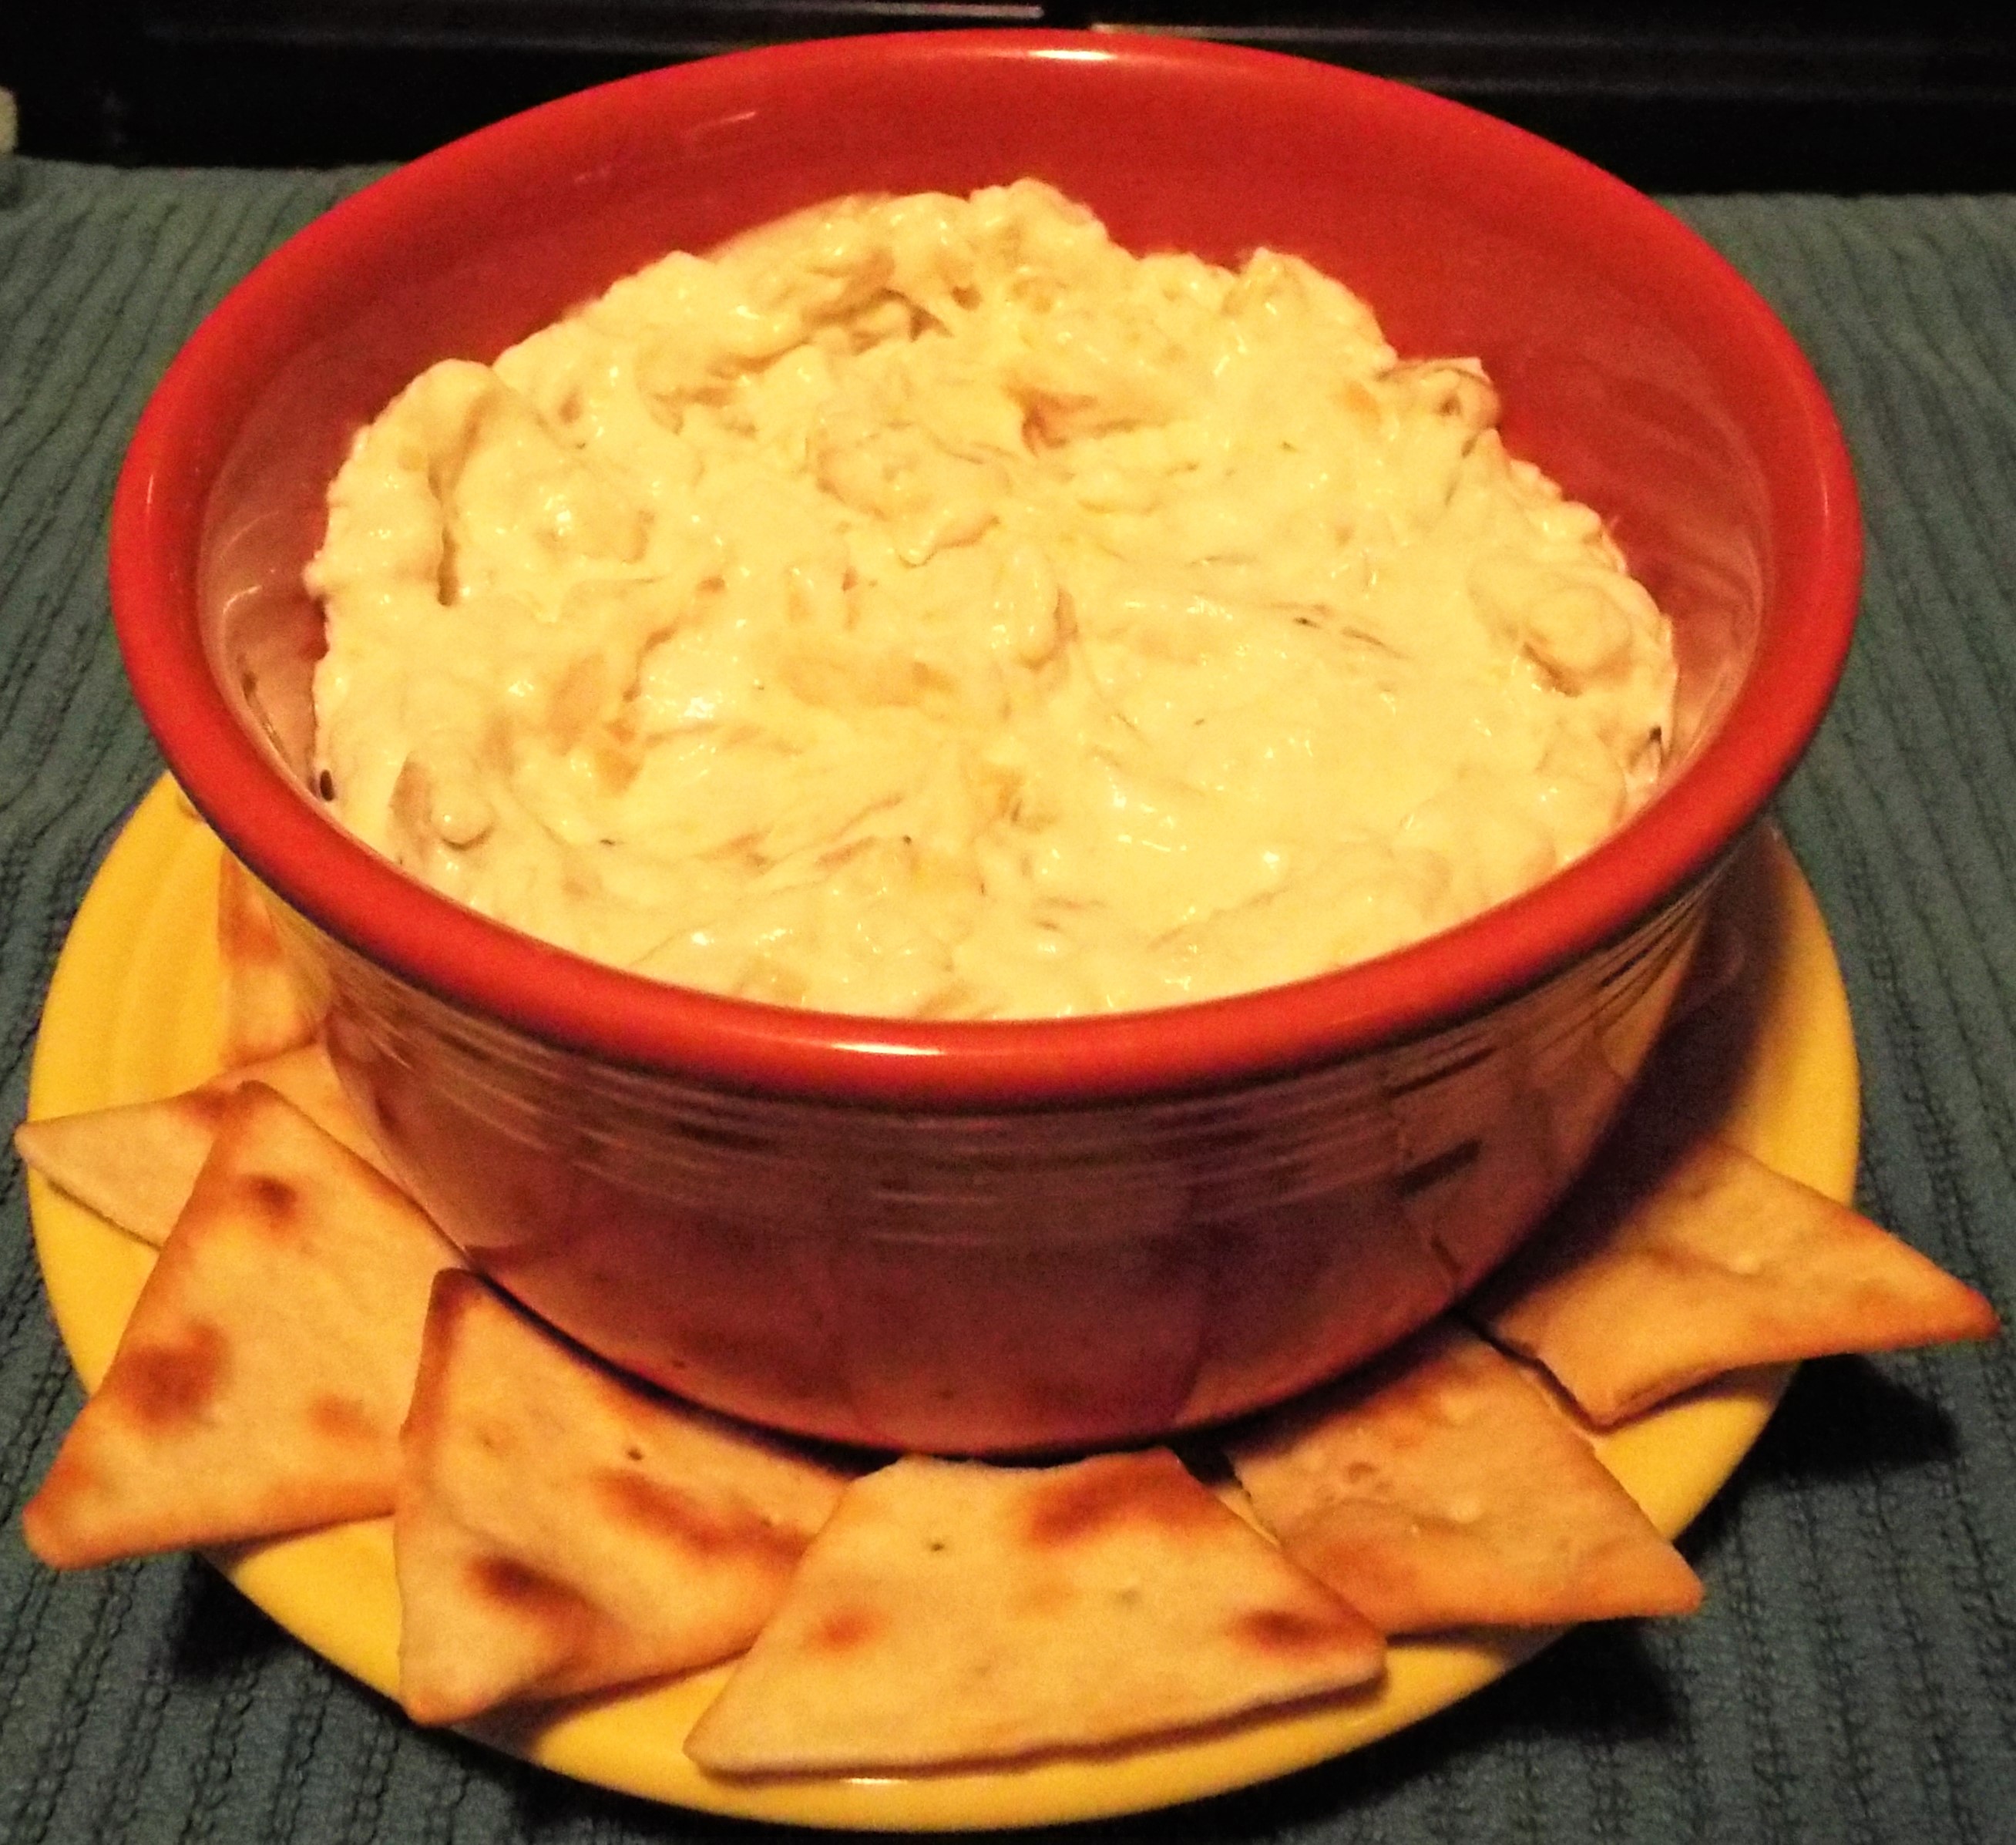
The northeast is bracing for bitter cold weather. Our hope is that you all find warmth with family and friends this St. Valentine’s Day weekend. Plus, it’s a great excuse to eat some chocolate! This week, we share our take on some delicious chocolate truffles, some ideas for using last week’s woven heart baskets, a plant update, and of course, the bears!
EASY TRUFFLES
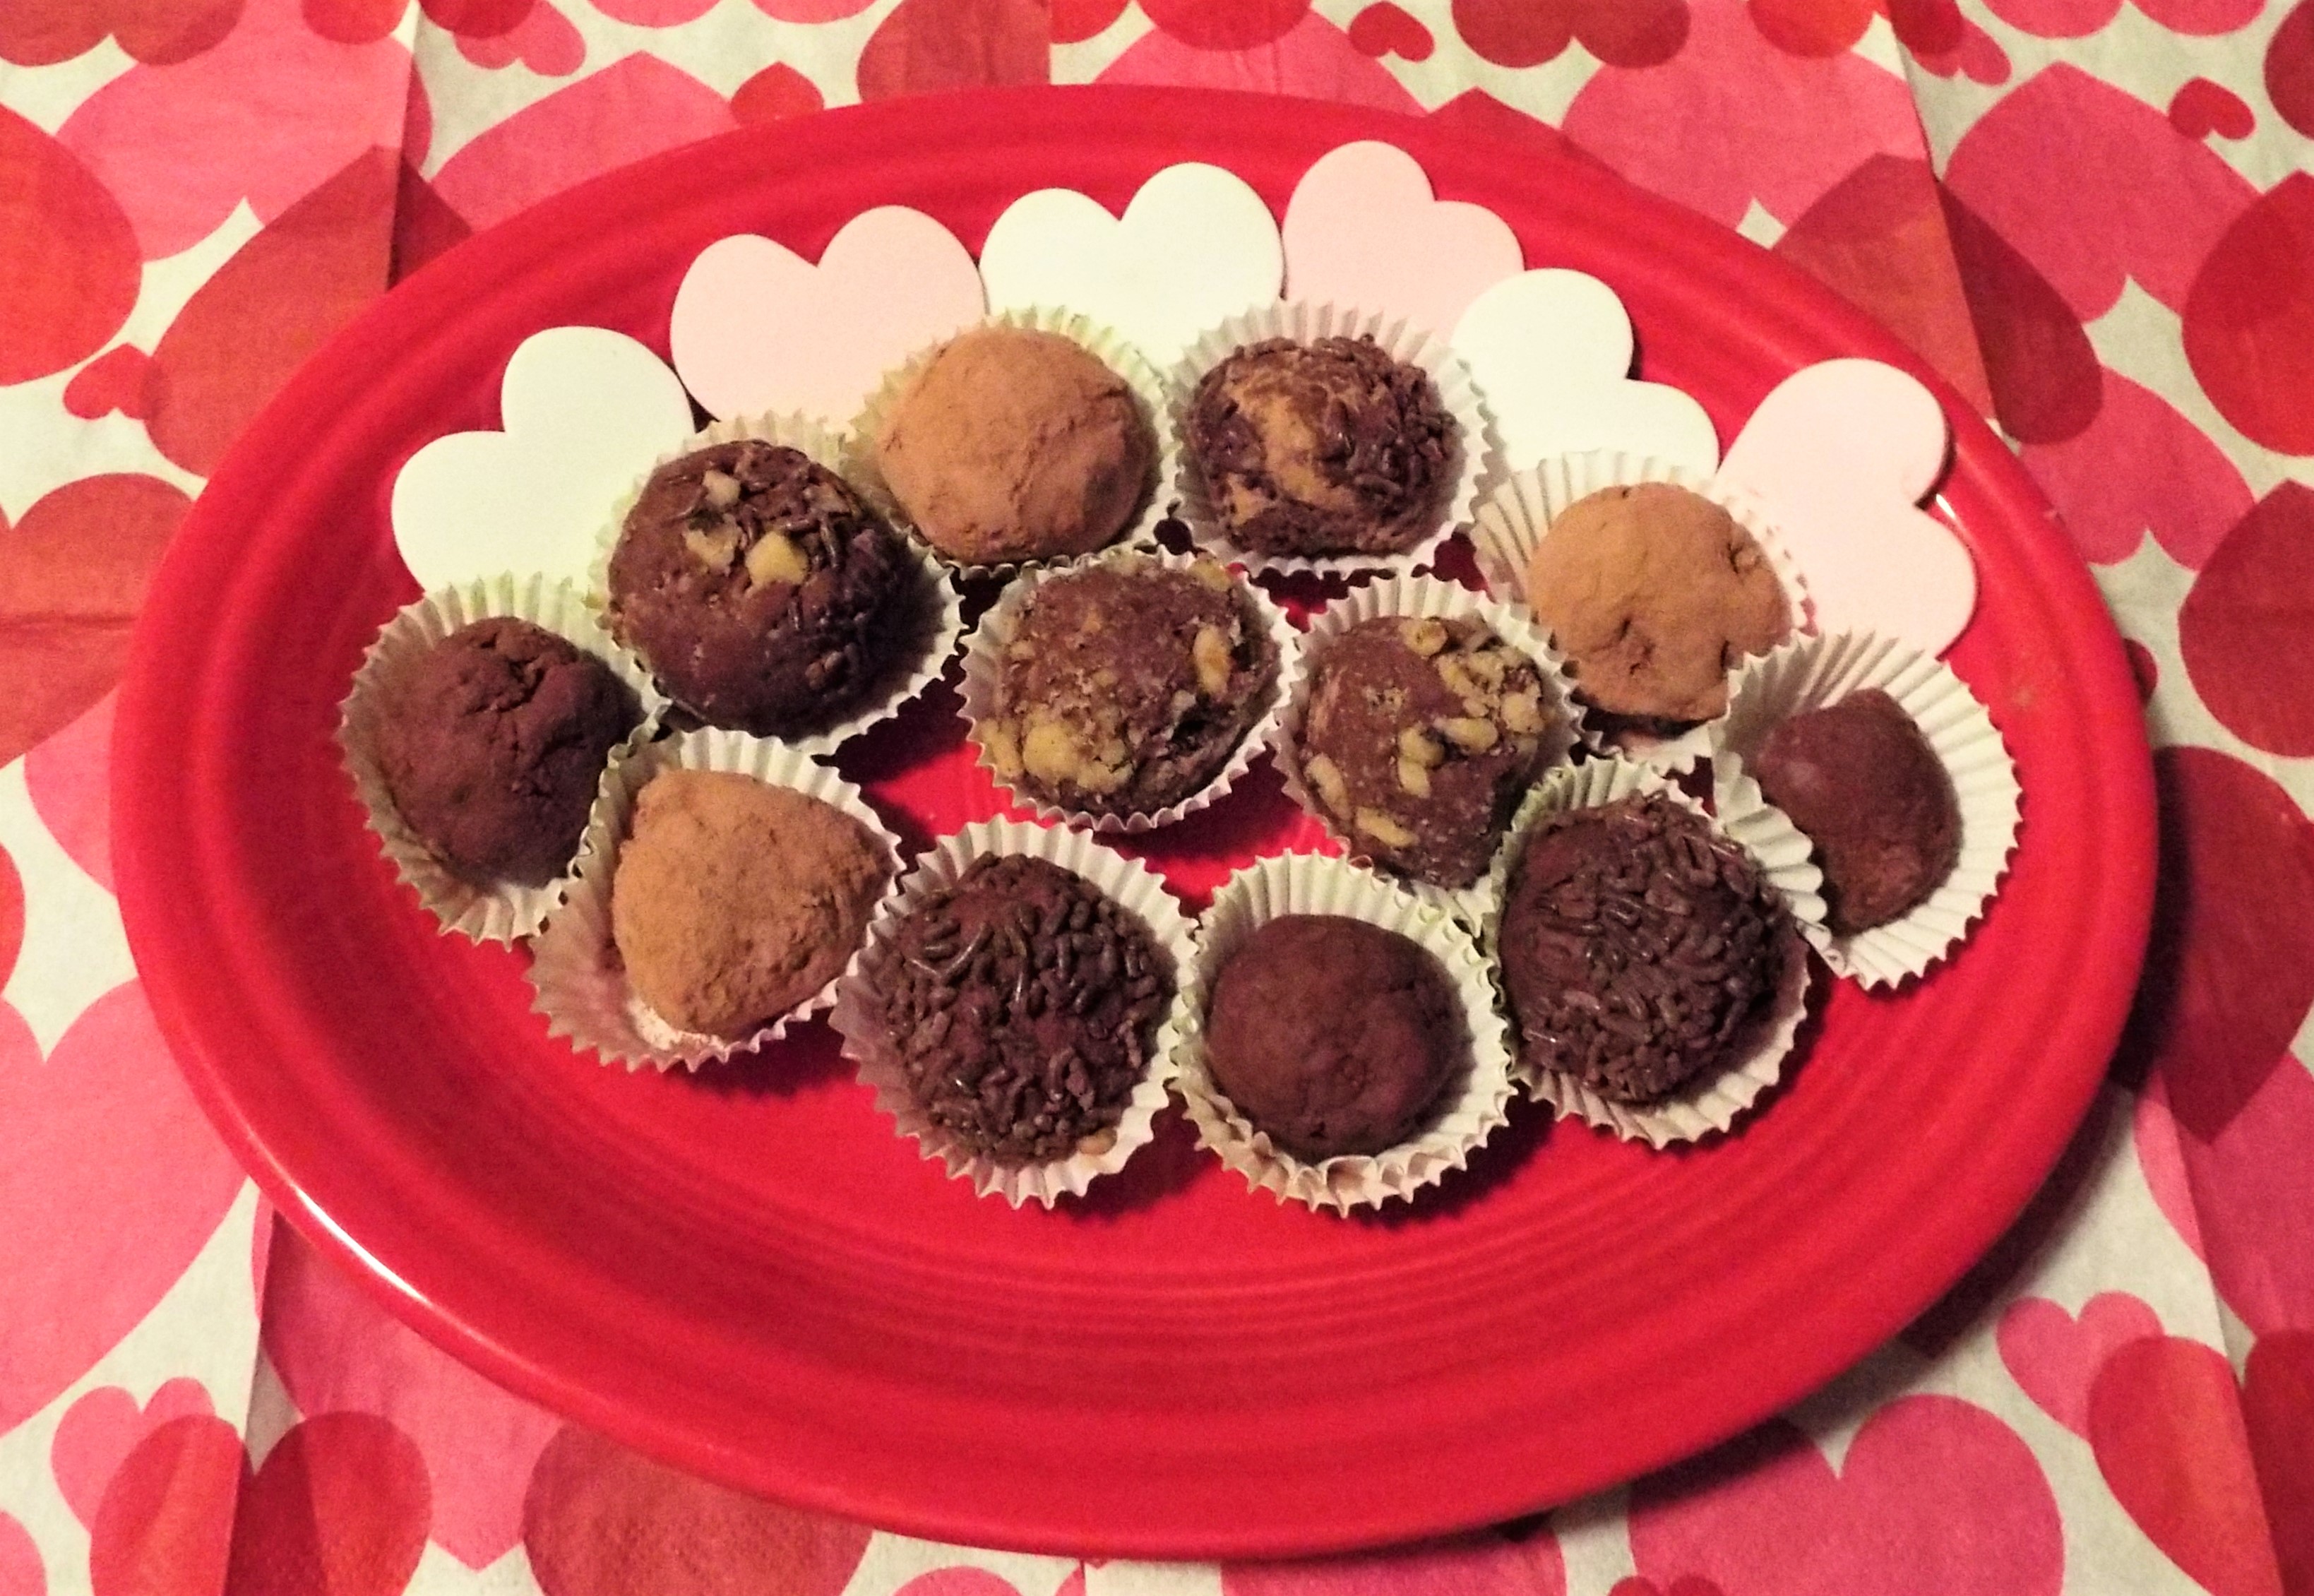
Ingredients:
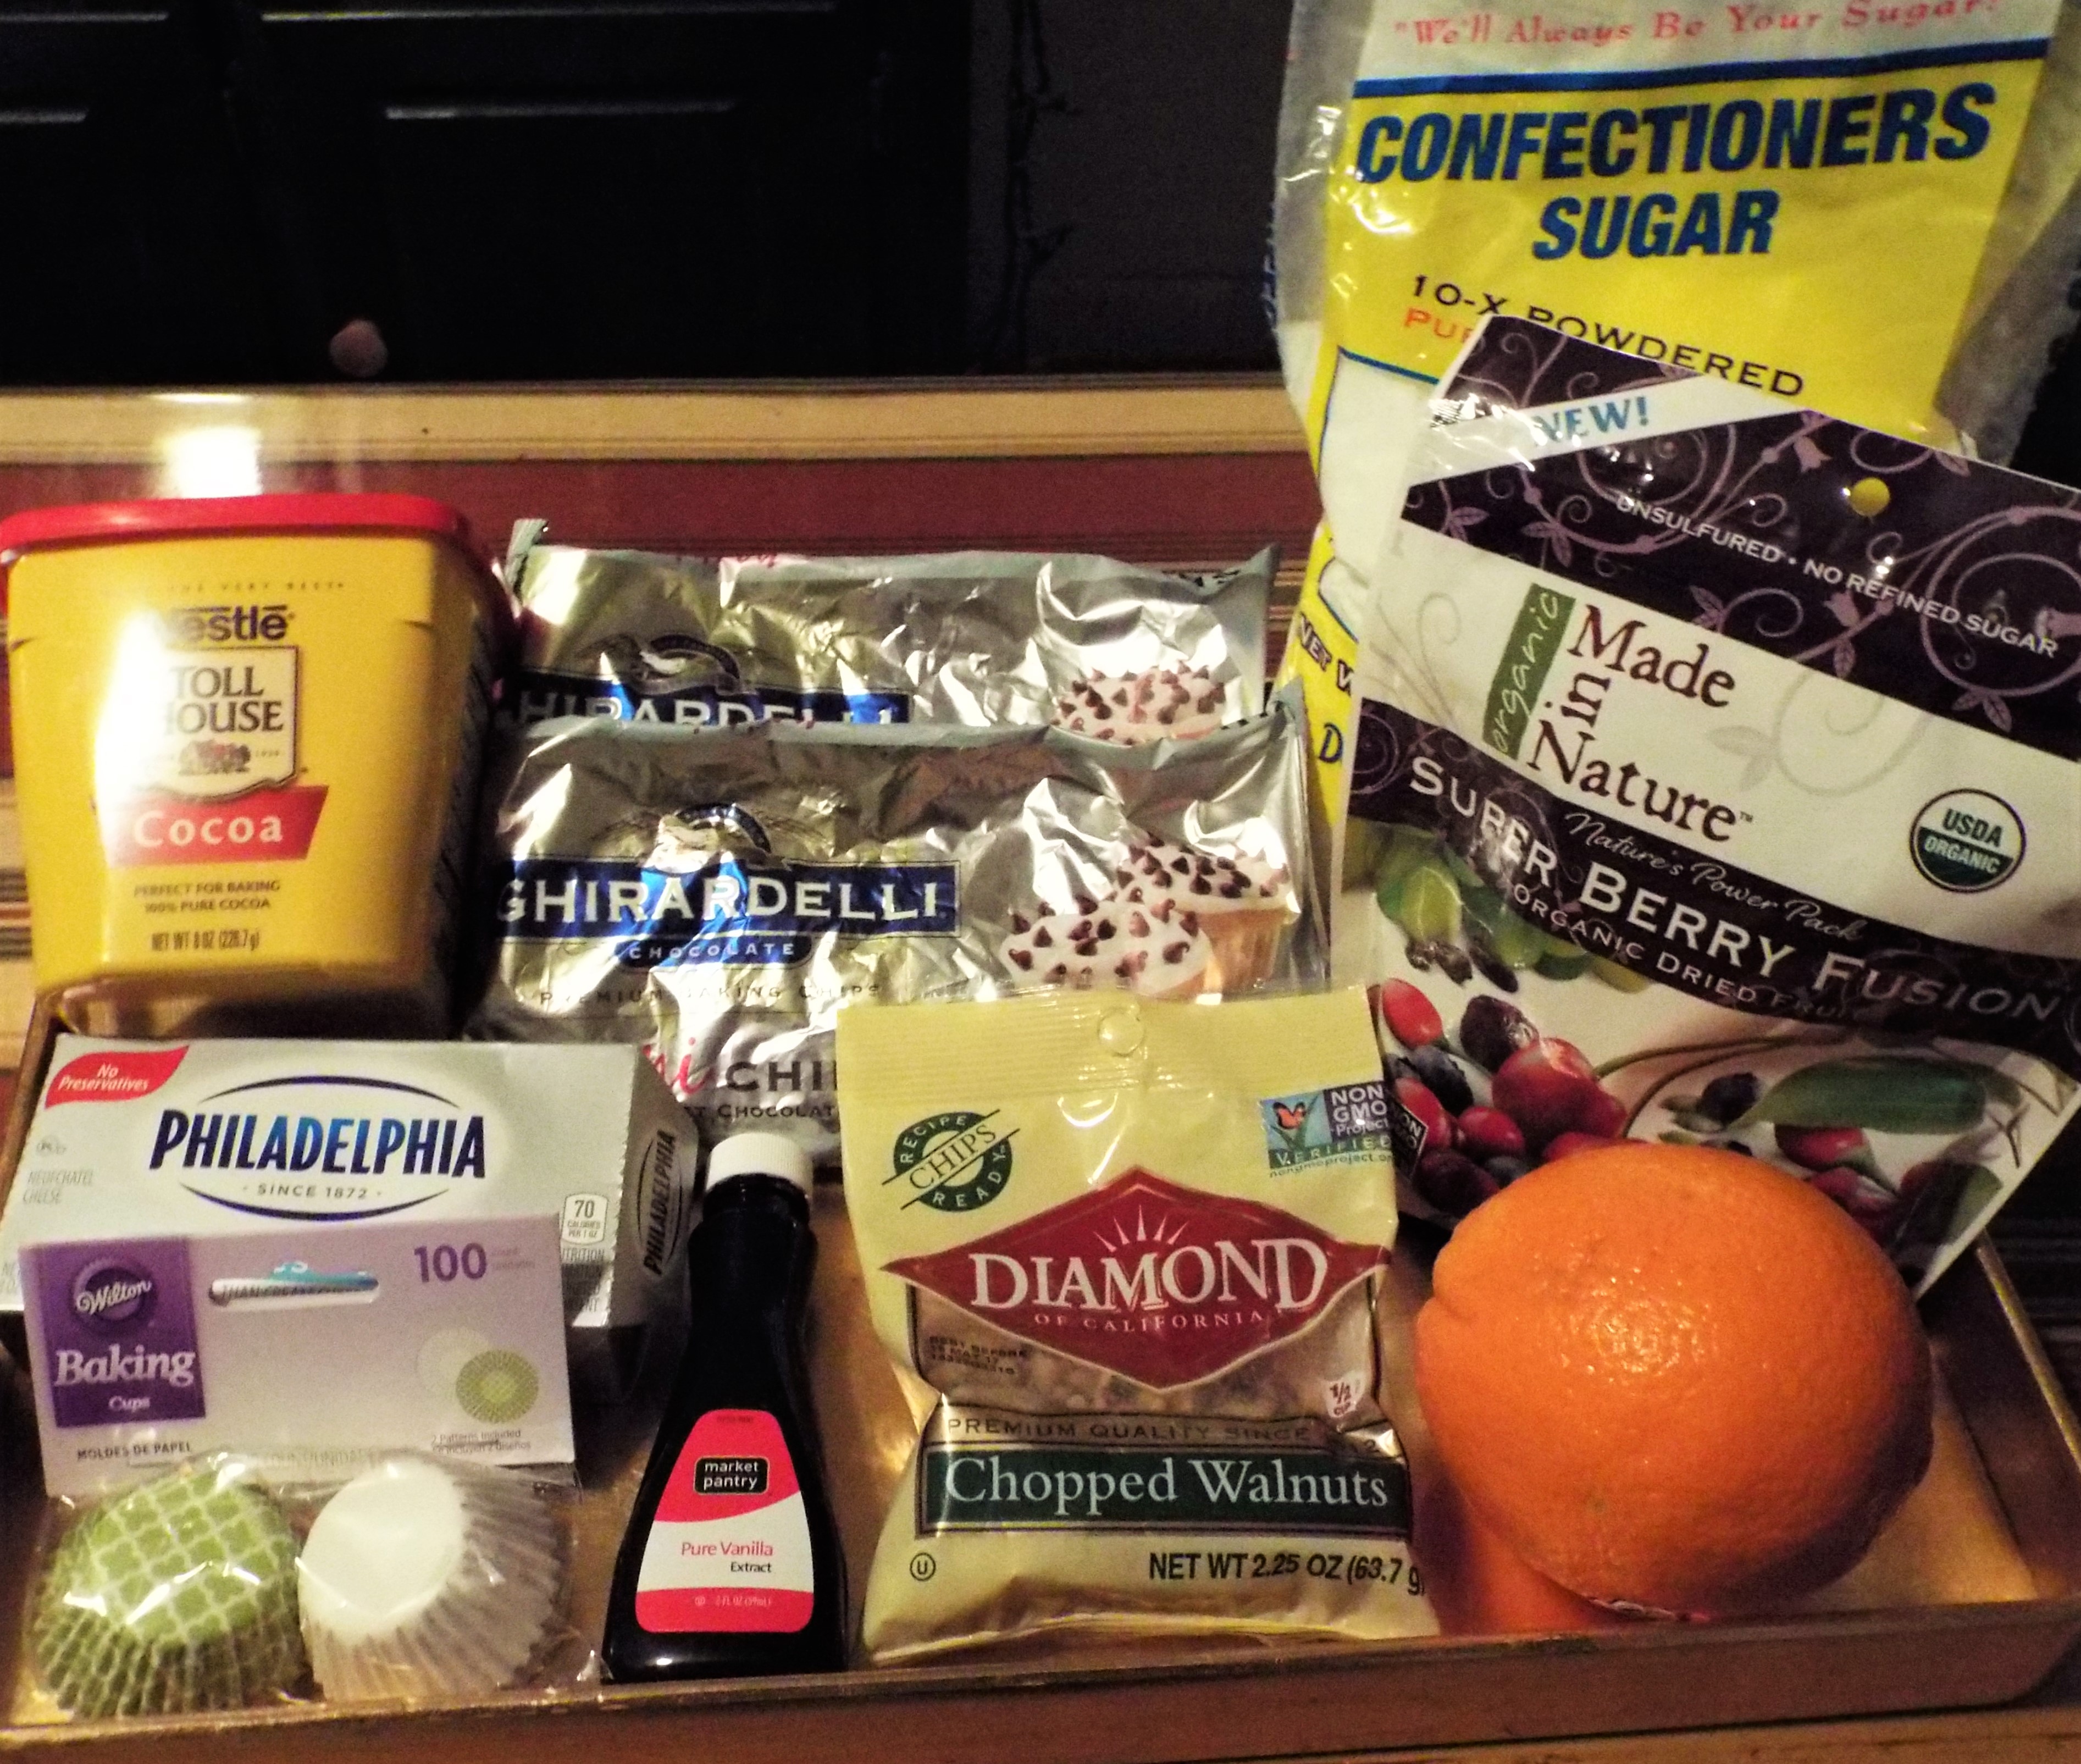
- one 8 oz. package light cream cheese, softened
- three cups confectioners sugar, sifted
- three cups semi-sweet chocolate chips, melted
- 1 1/2 teaspoons vanilla
- cocoa powder, chopped walnuts, coconut, dried fruit sprinkles
How to make:
- Beat the cream cheese until smooth.
- Gradually beat in confectioners sugar.
- Stir in melted chocolate and vanilla.
- Refrigerate 1 hour.
- Form into one inch balls.
- Roll in toppings of your choice.
Varieties for truffles are almost endless. Chocolate and orange go great together, so replace the vanilla with same amount of orange juice and 1/2 teaspoon of orange zest. We also stuffed truffles with dried fruit – tastes like a decadent “Chunky Bar”.
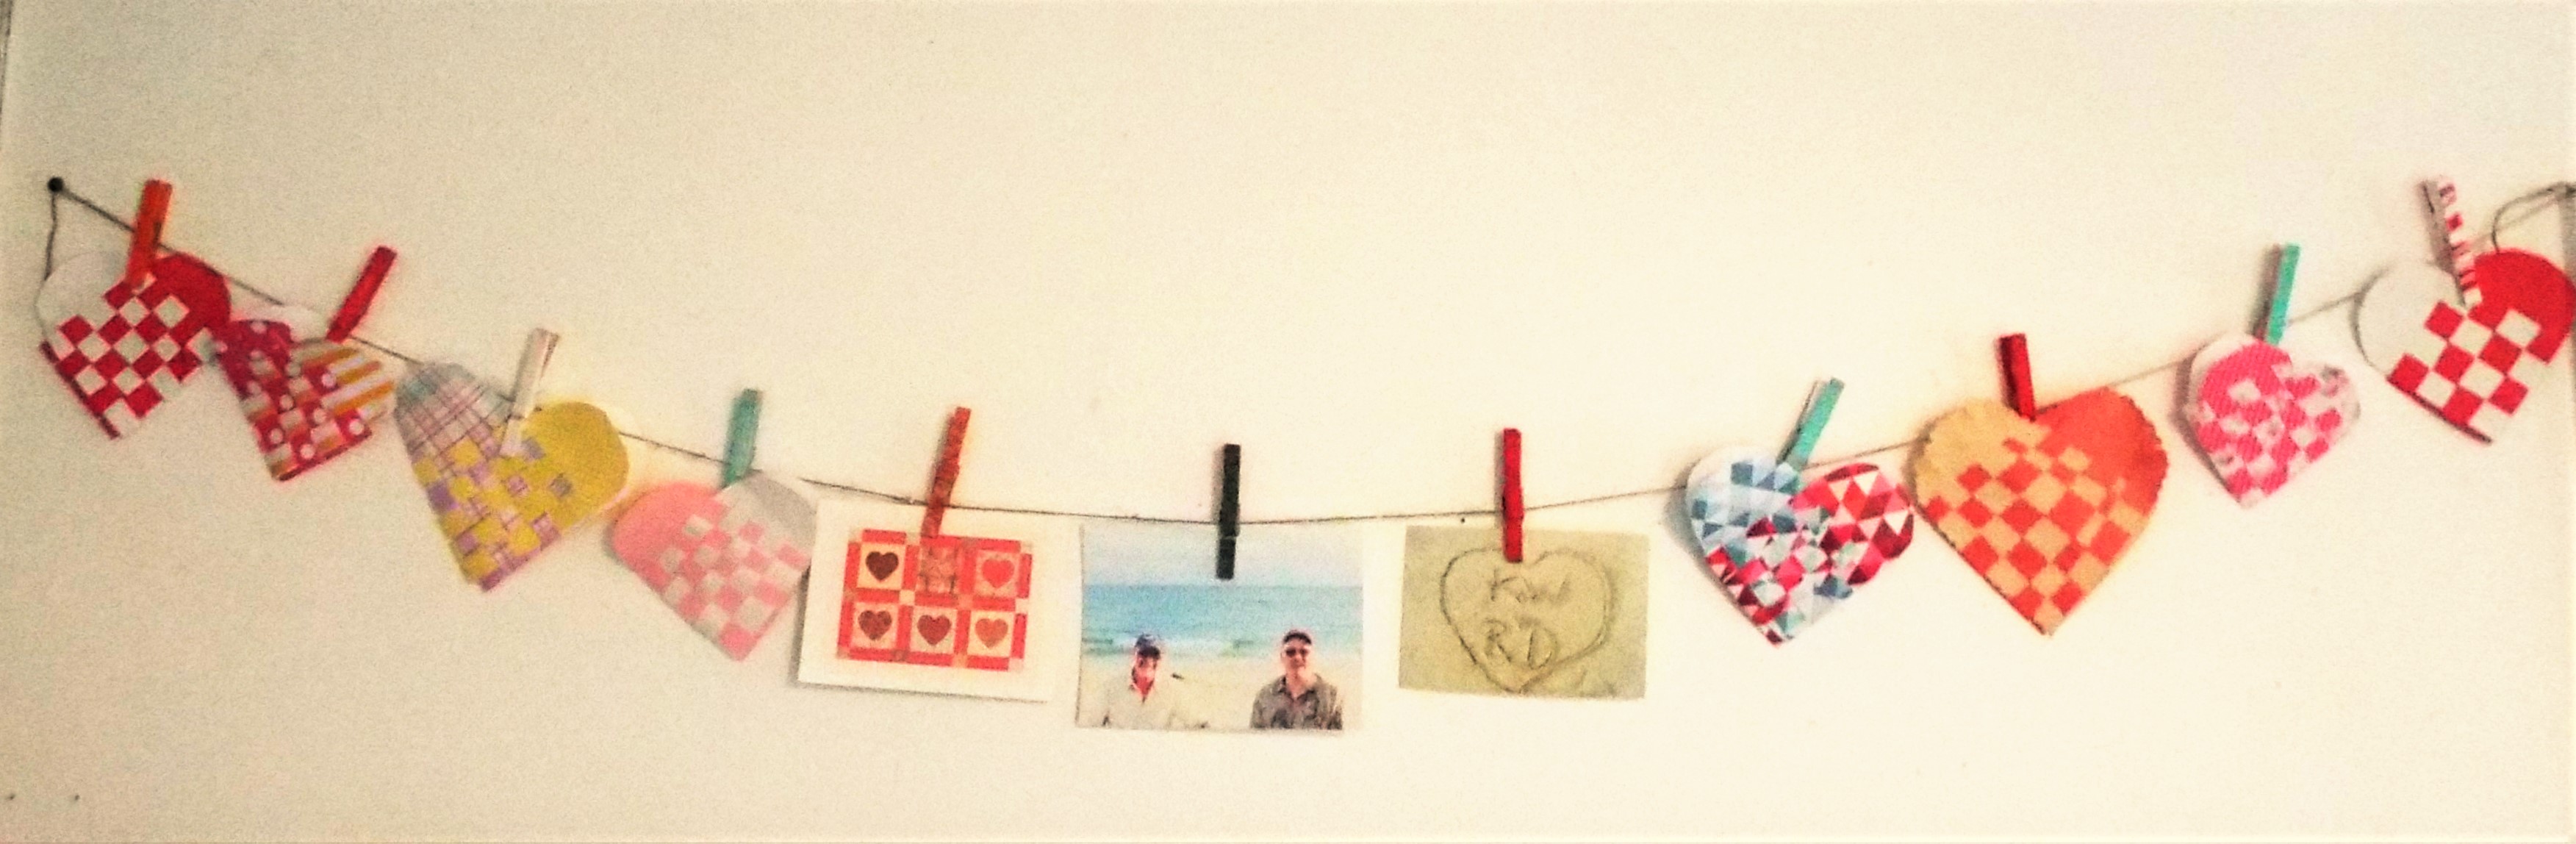
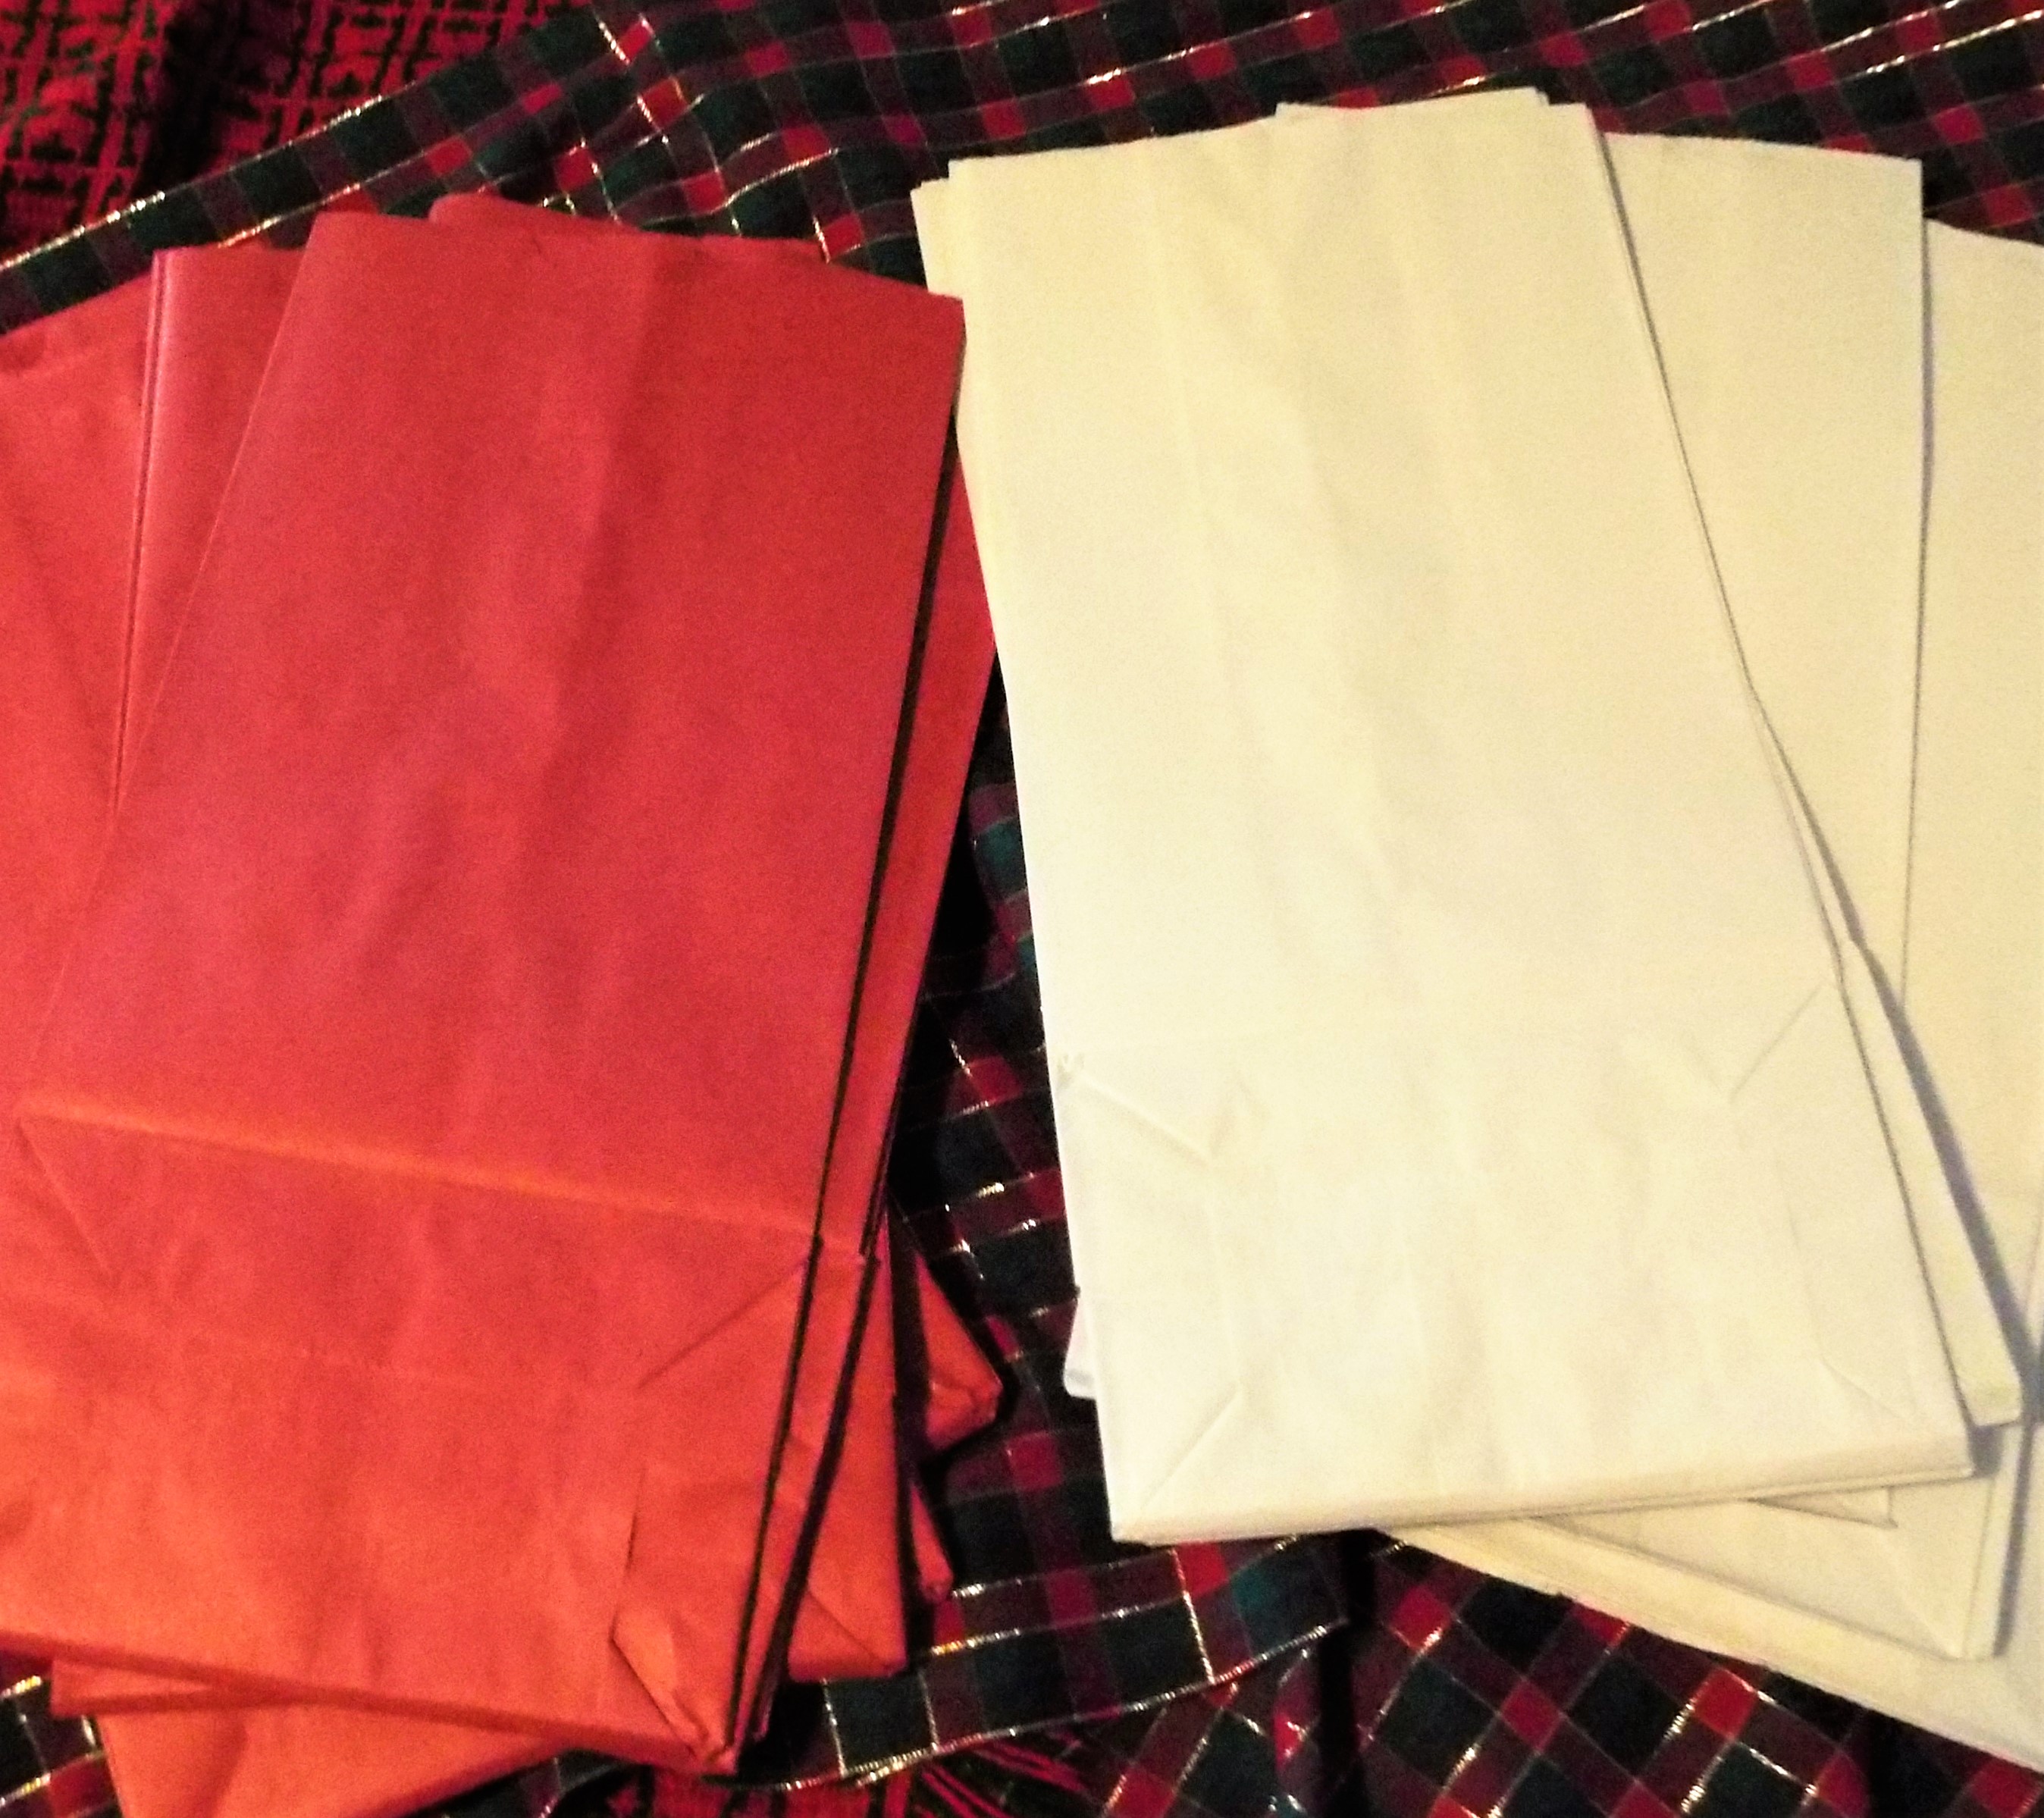
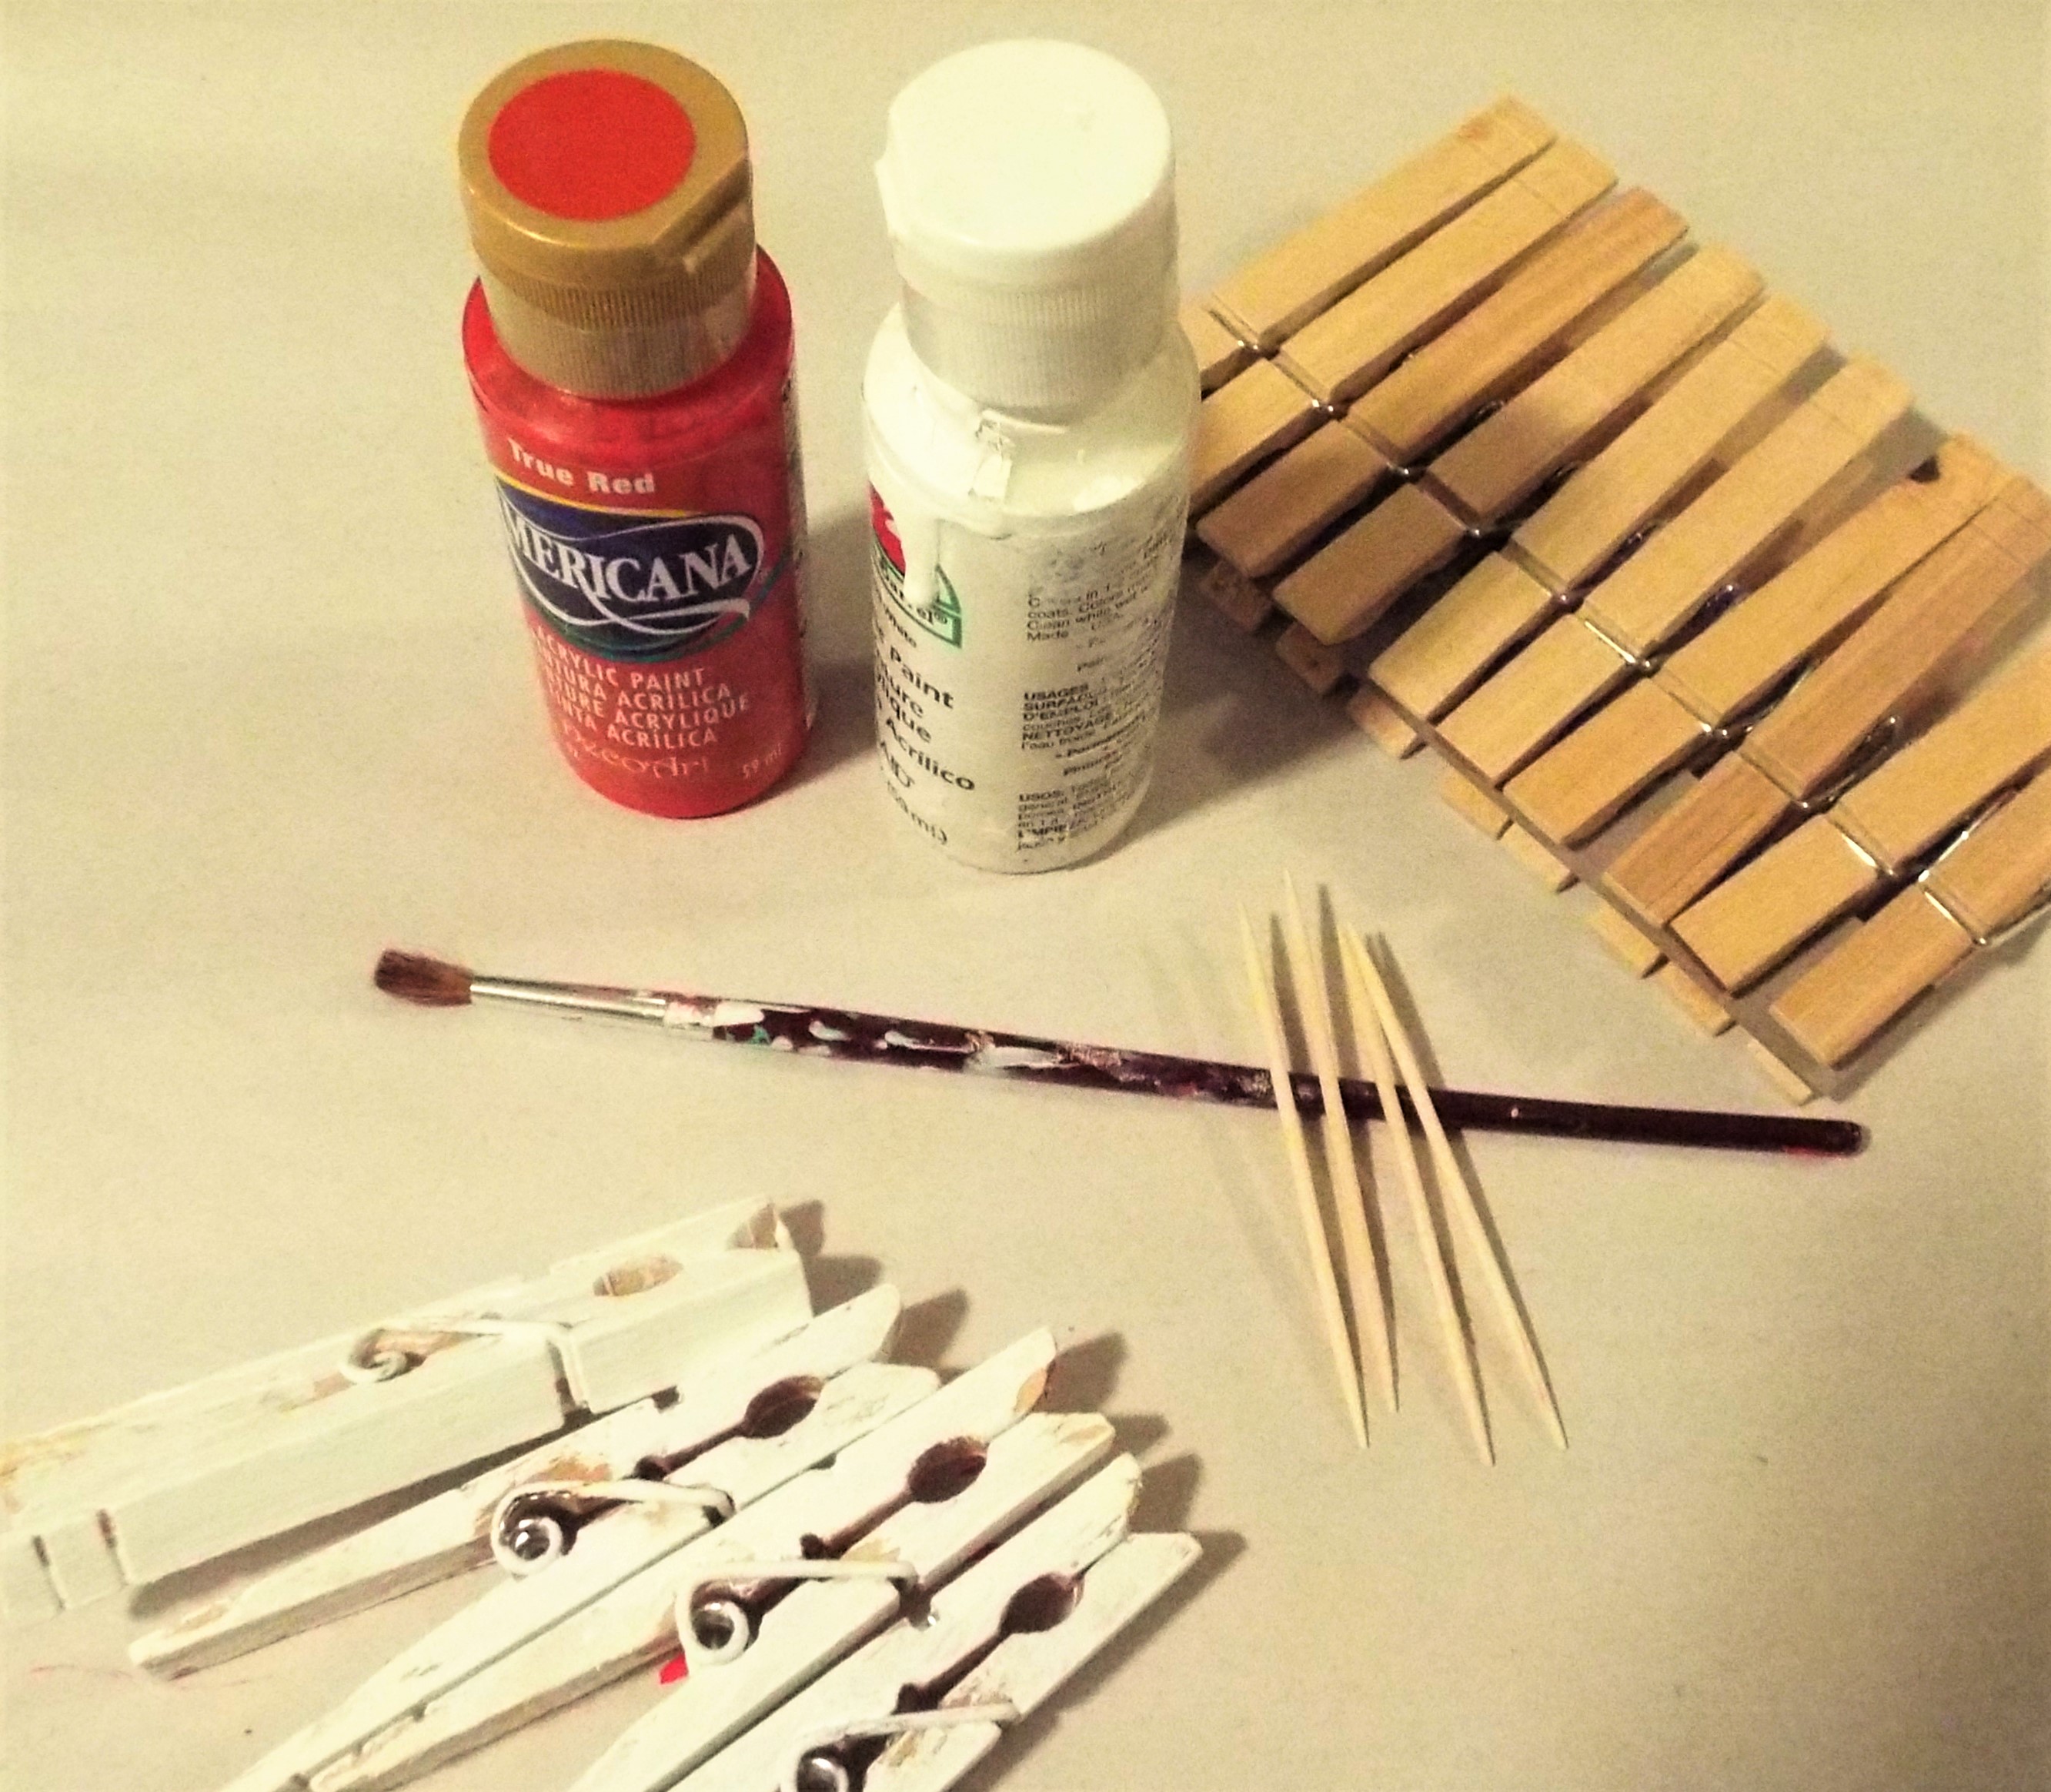
WOVEN PAPER HEARTS
Last week, we introduced this easy paper craft. Here are a couple of ways we used these hearts for St. Valentine’s Day this year.
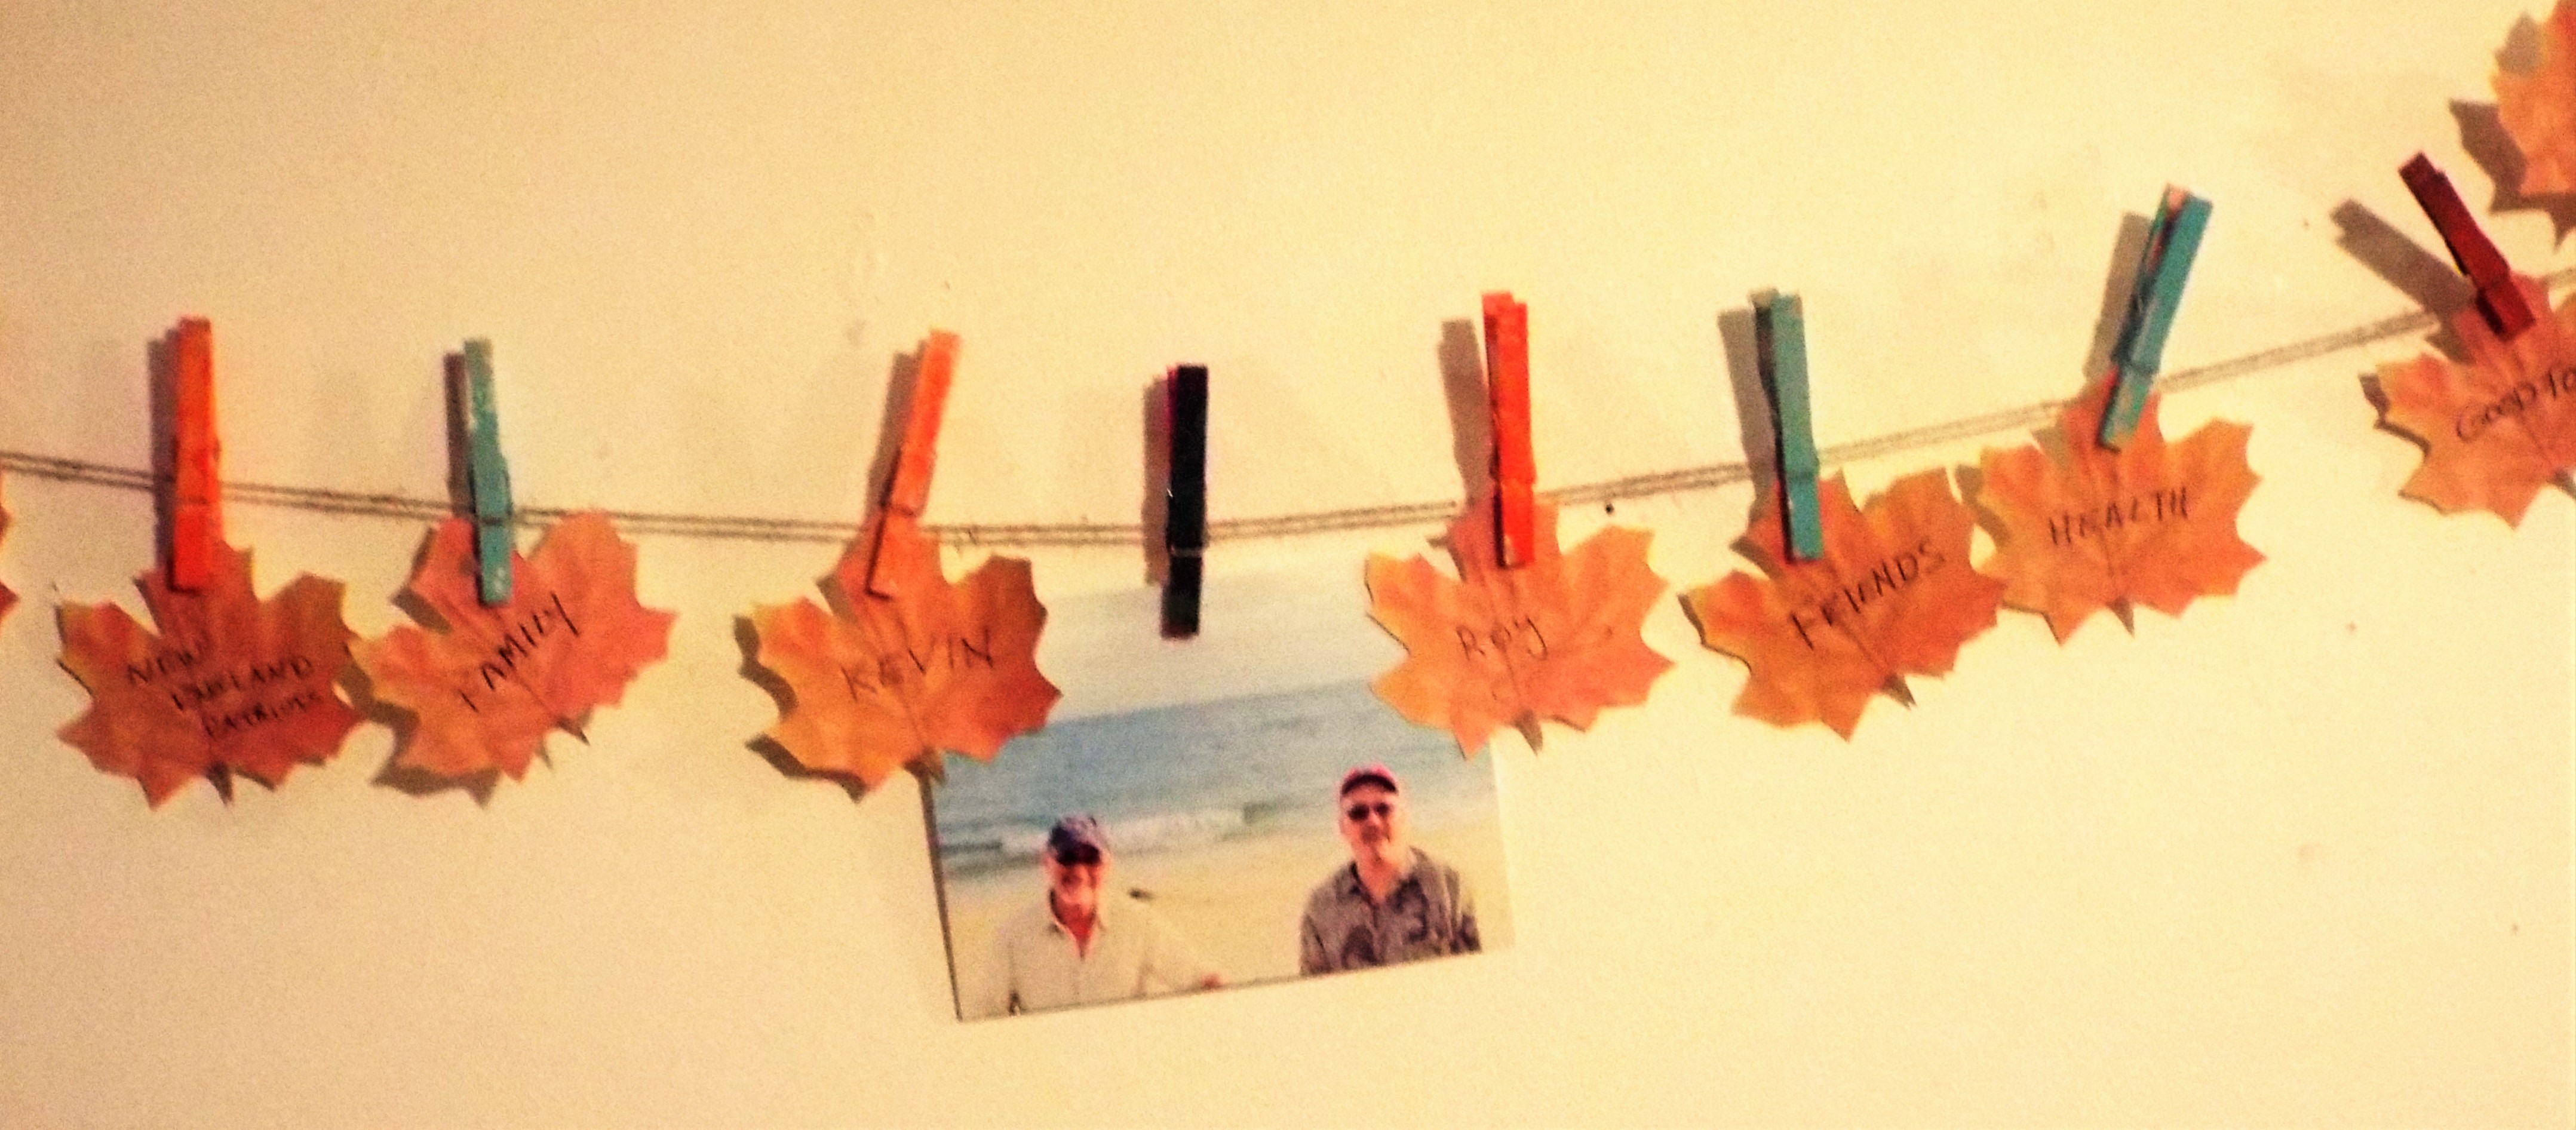
Decorative Banner
Displayed “clothesline style” with photos and cards, attached to twine with painted clothes pins, they add great dimension to a holiday banner. We used a variety of different papers to make the hearts for a fun display.
Gifts

The woven hearts were mass-mailed to great-nieces and great-nephews filled with stickers, candy, hair clips and toy cars. We placed the filled hearts in treat bags secured with painted clothes pins adorned with heart stickers.

Here is the link for how to create these paper baskets.
http://www.enchantedlearning.com/crafts/Heartbasket.shtml
For more St. Valentine’s Day ideas, check out last year’s post:
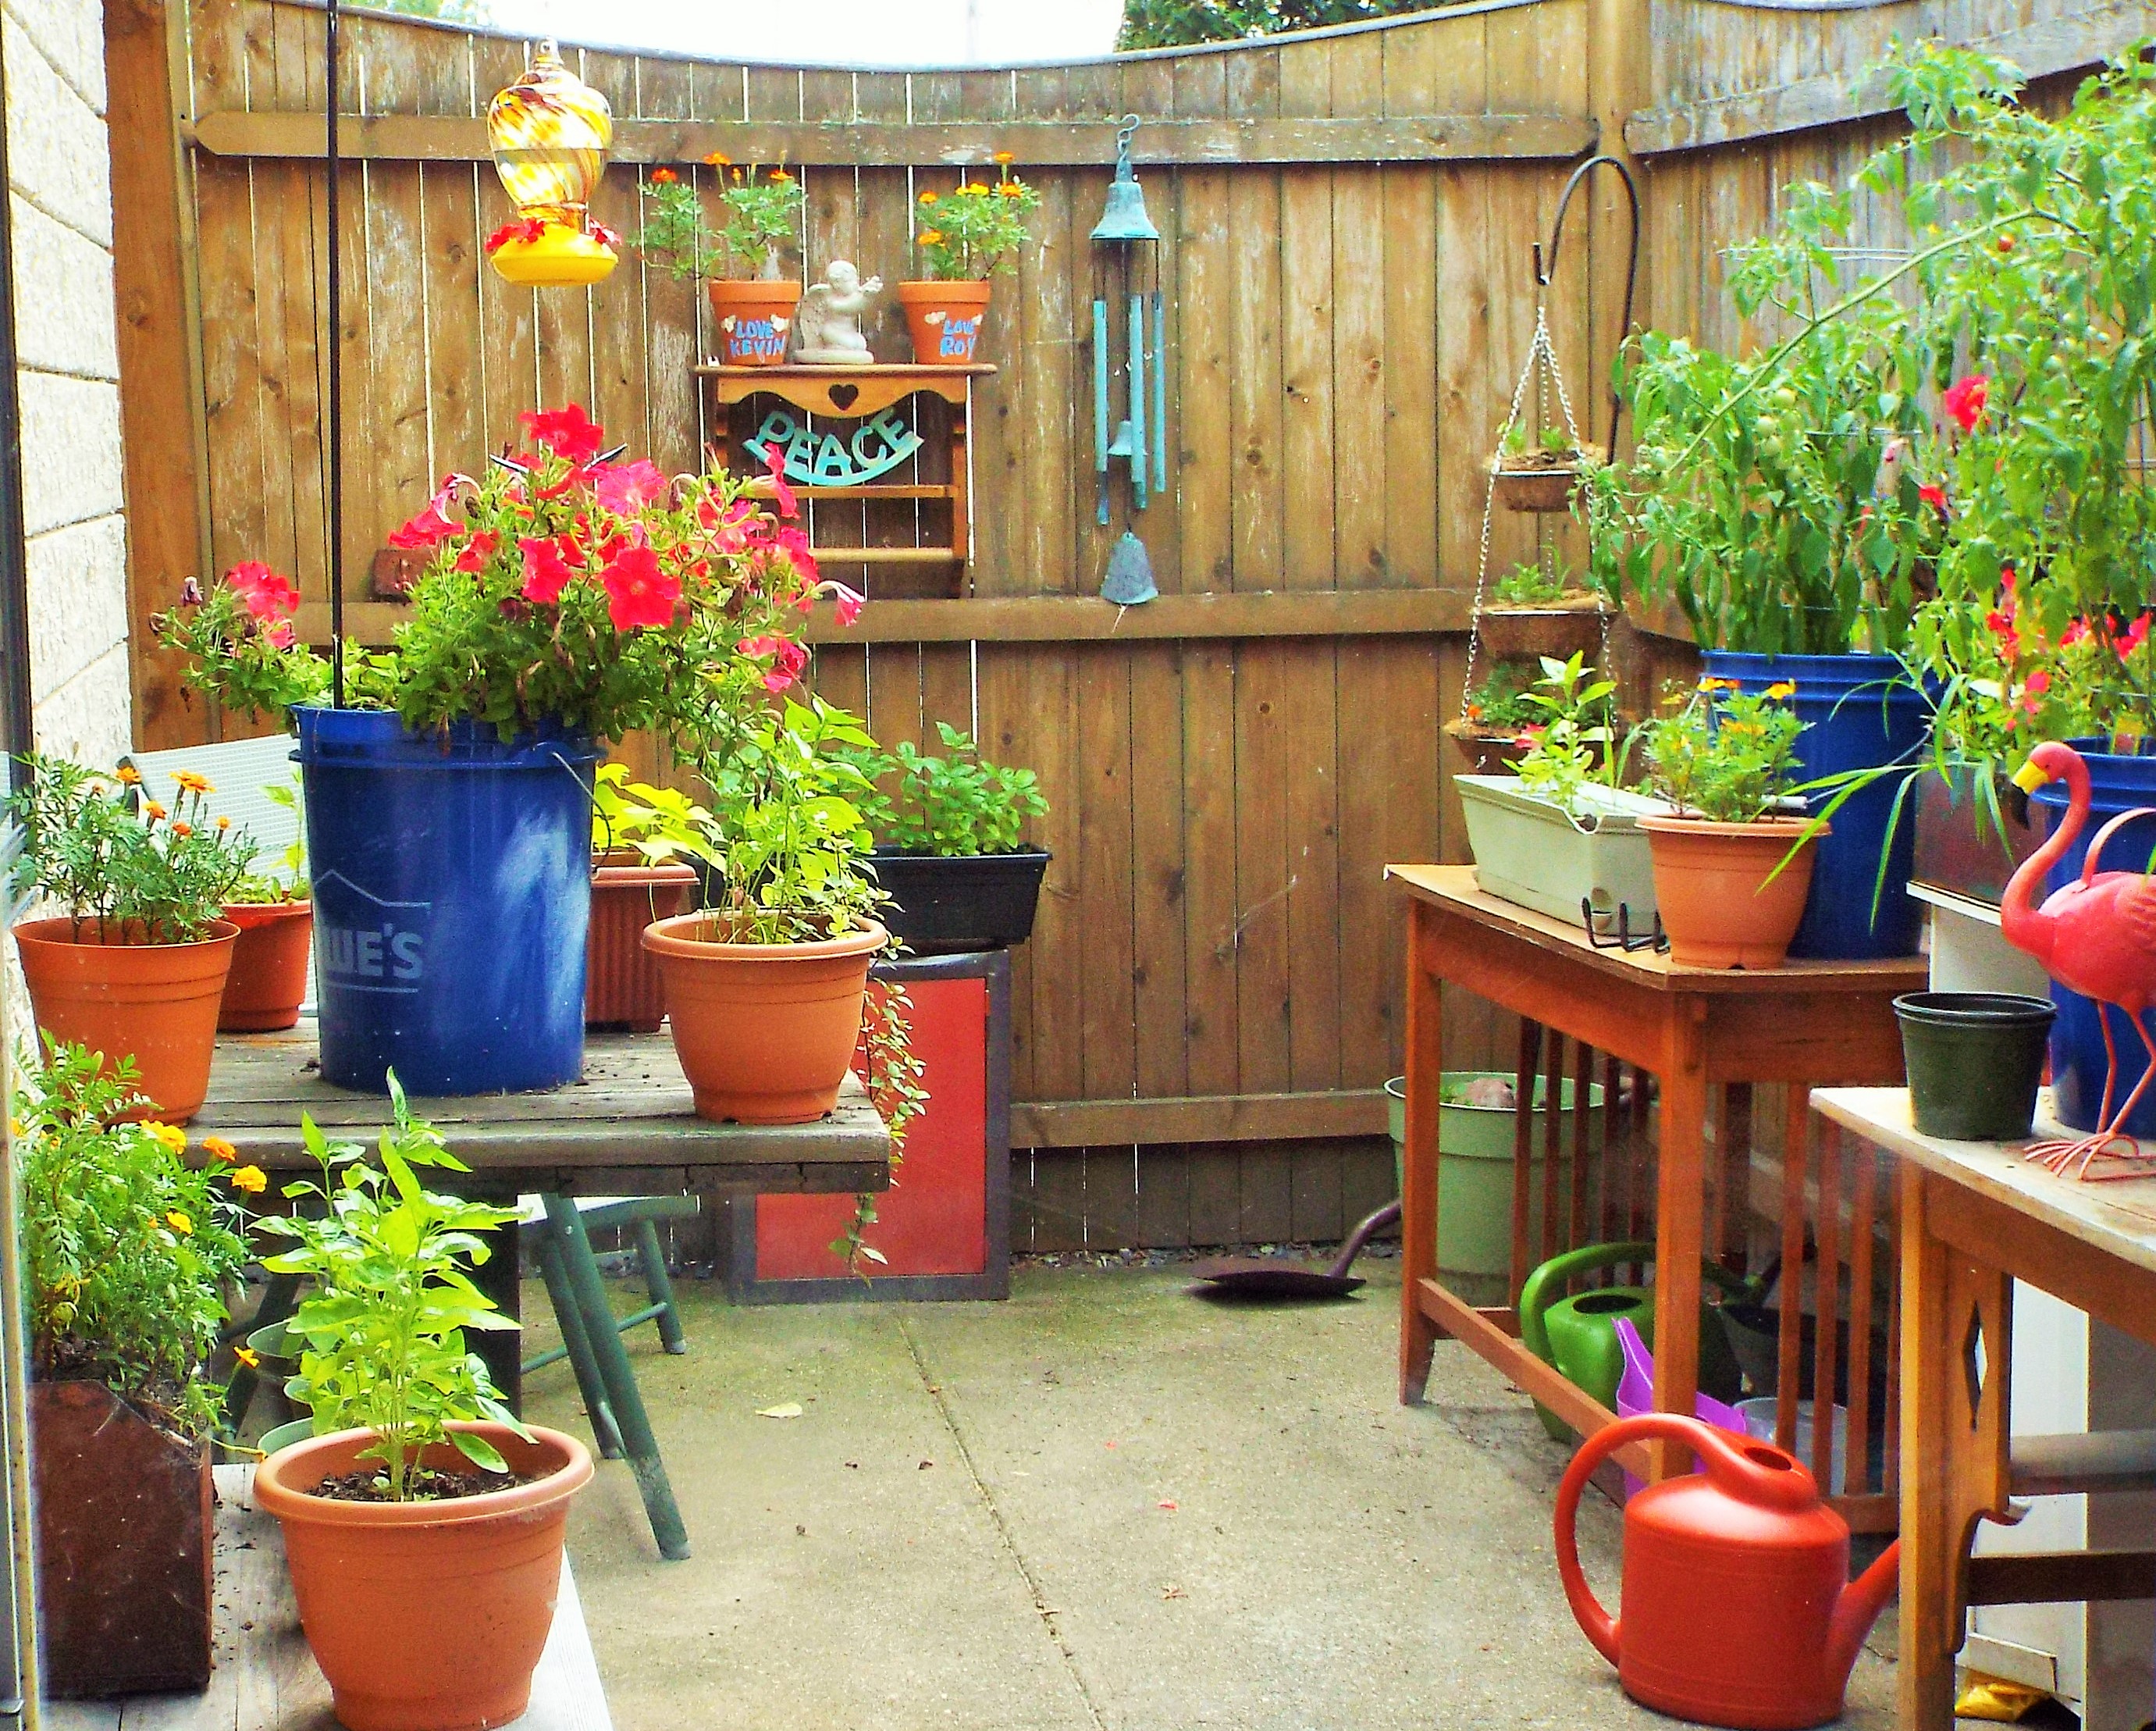
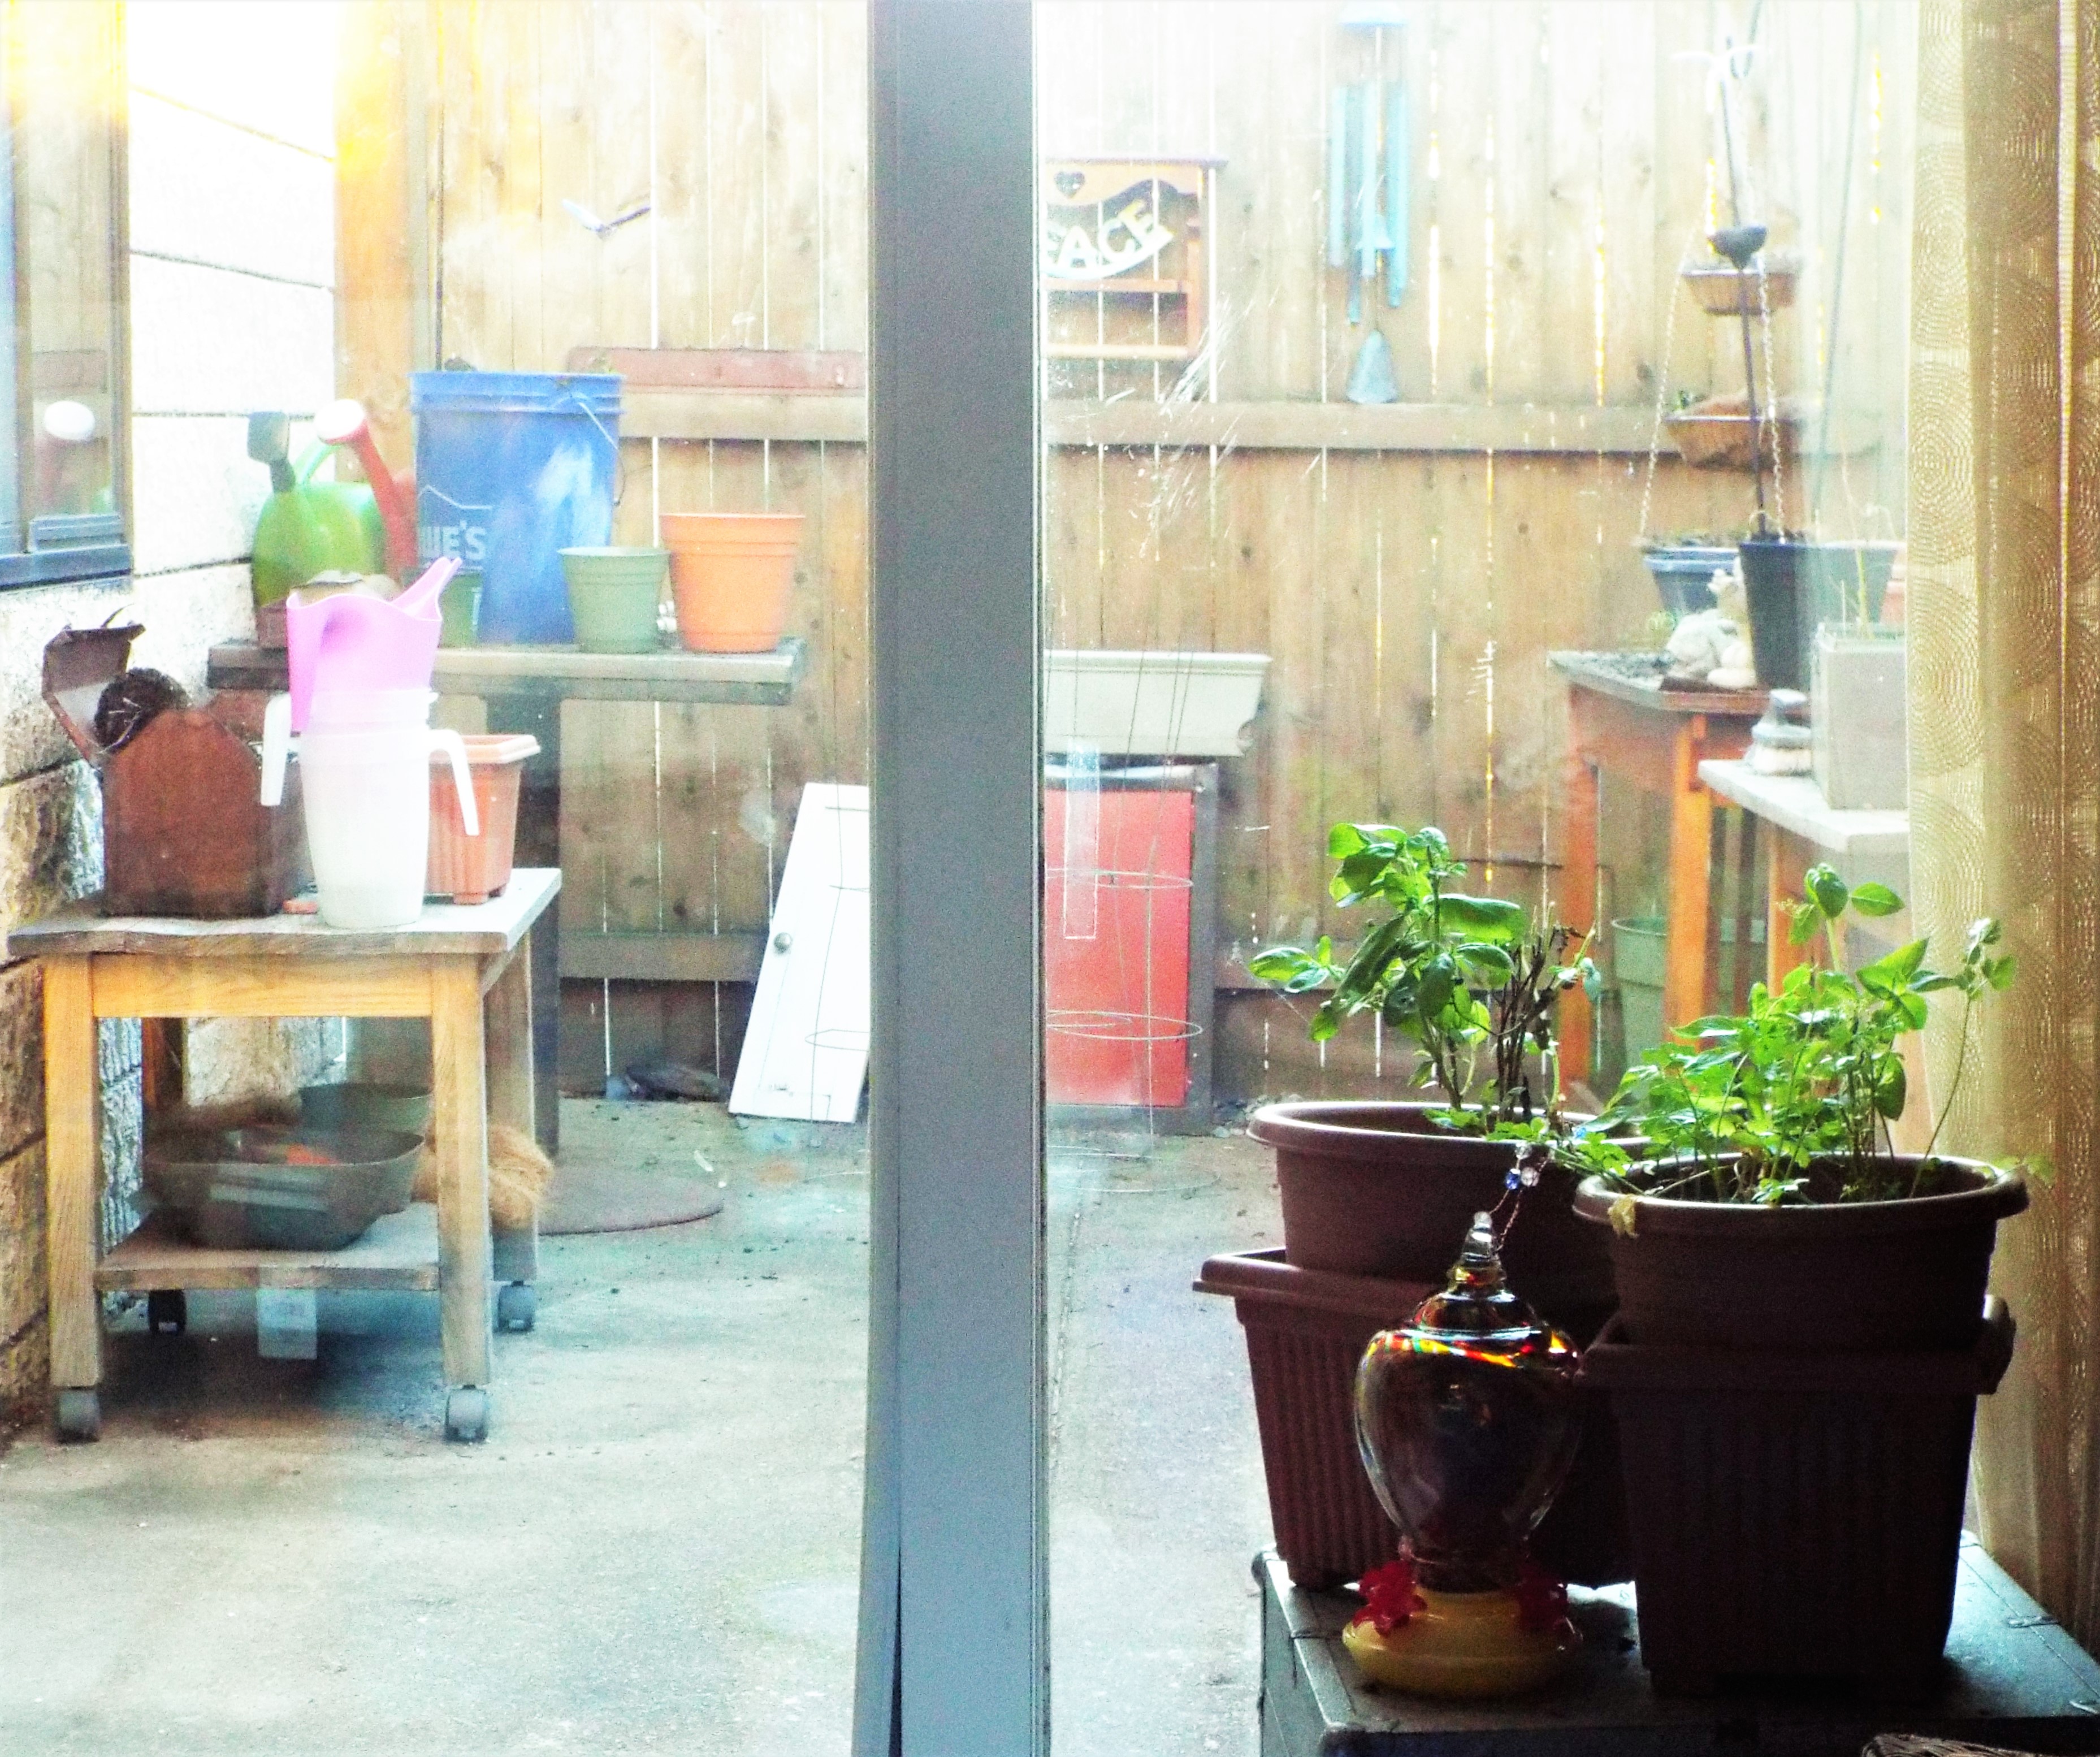
PLANT UPDATE
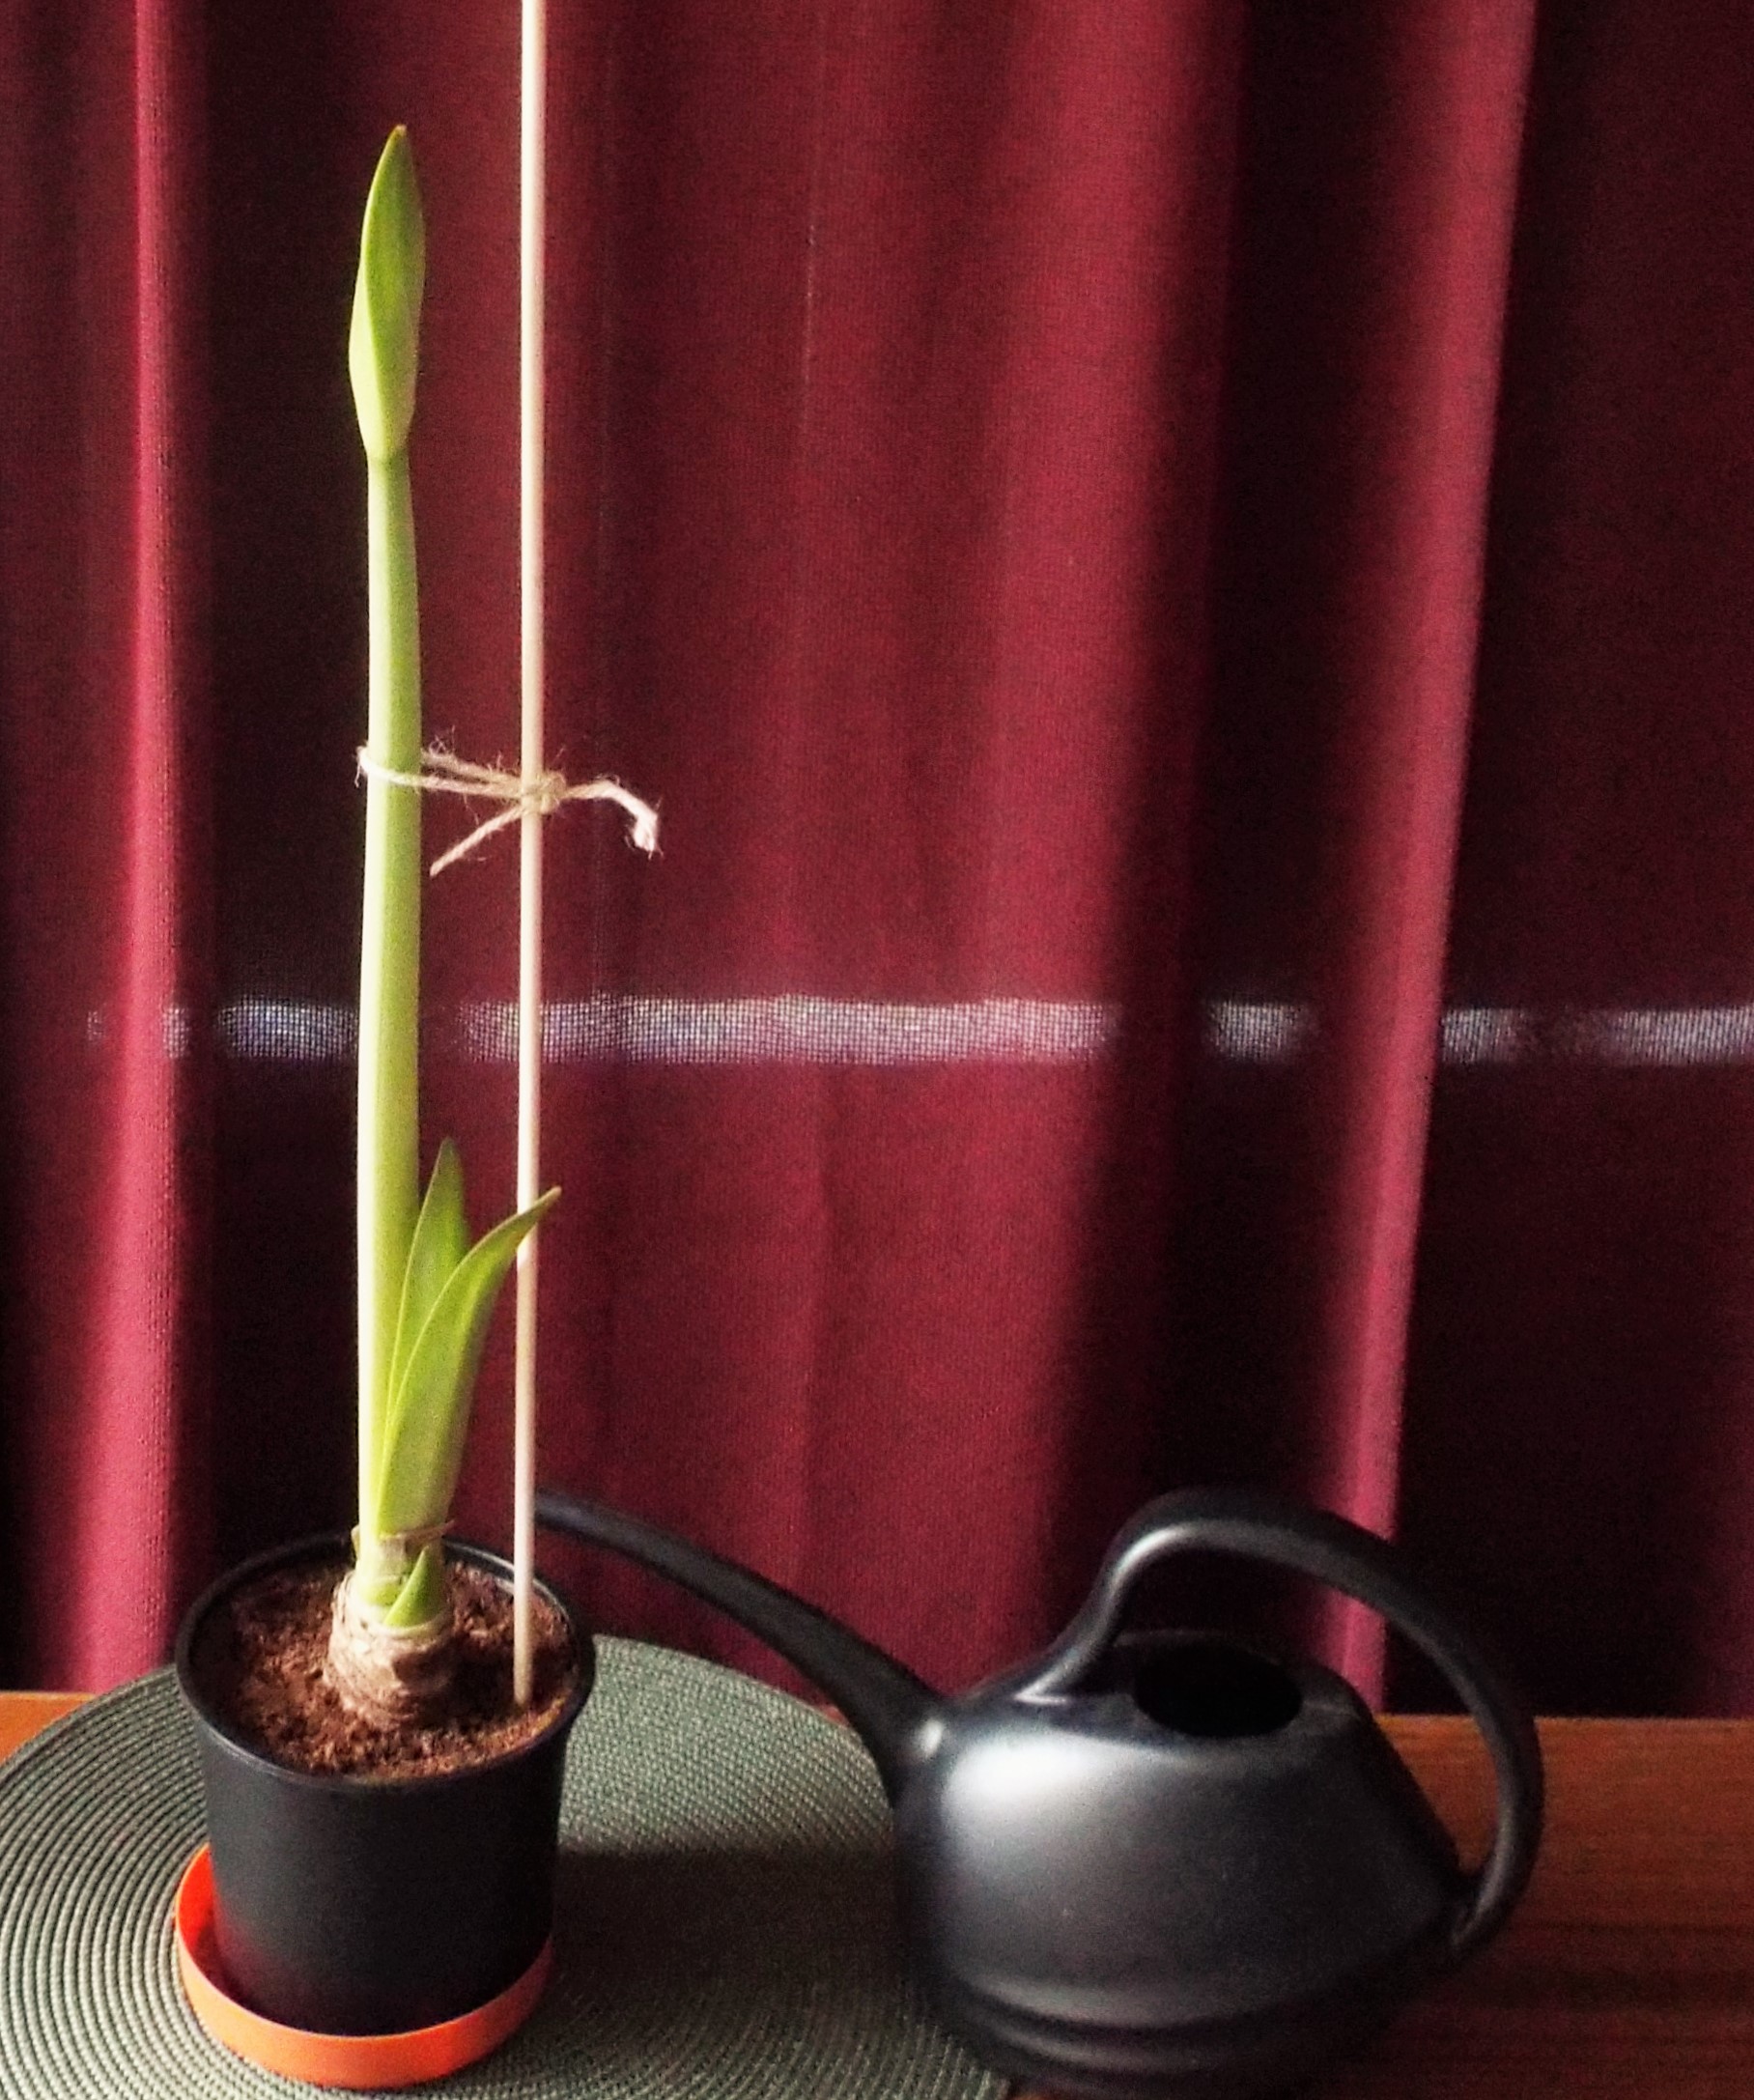
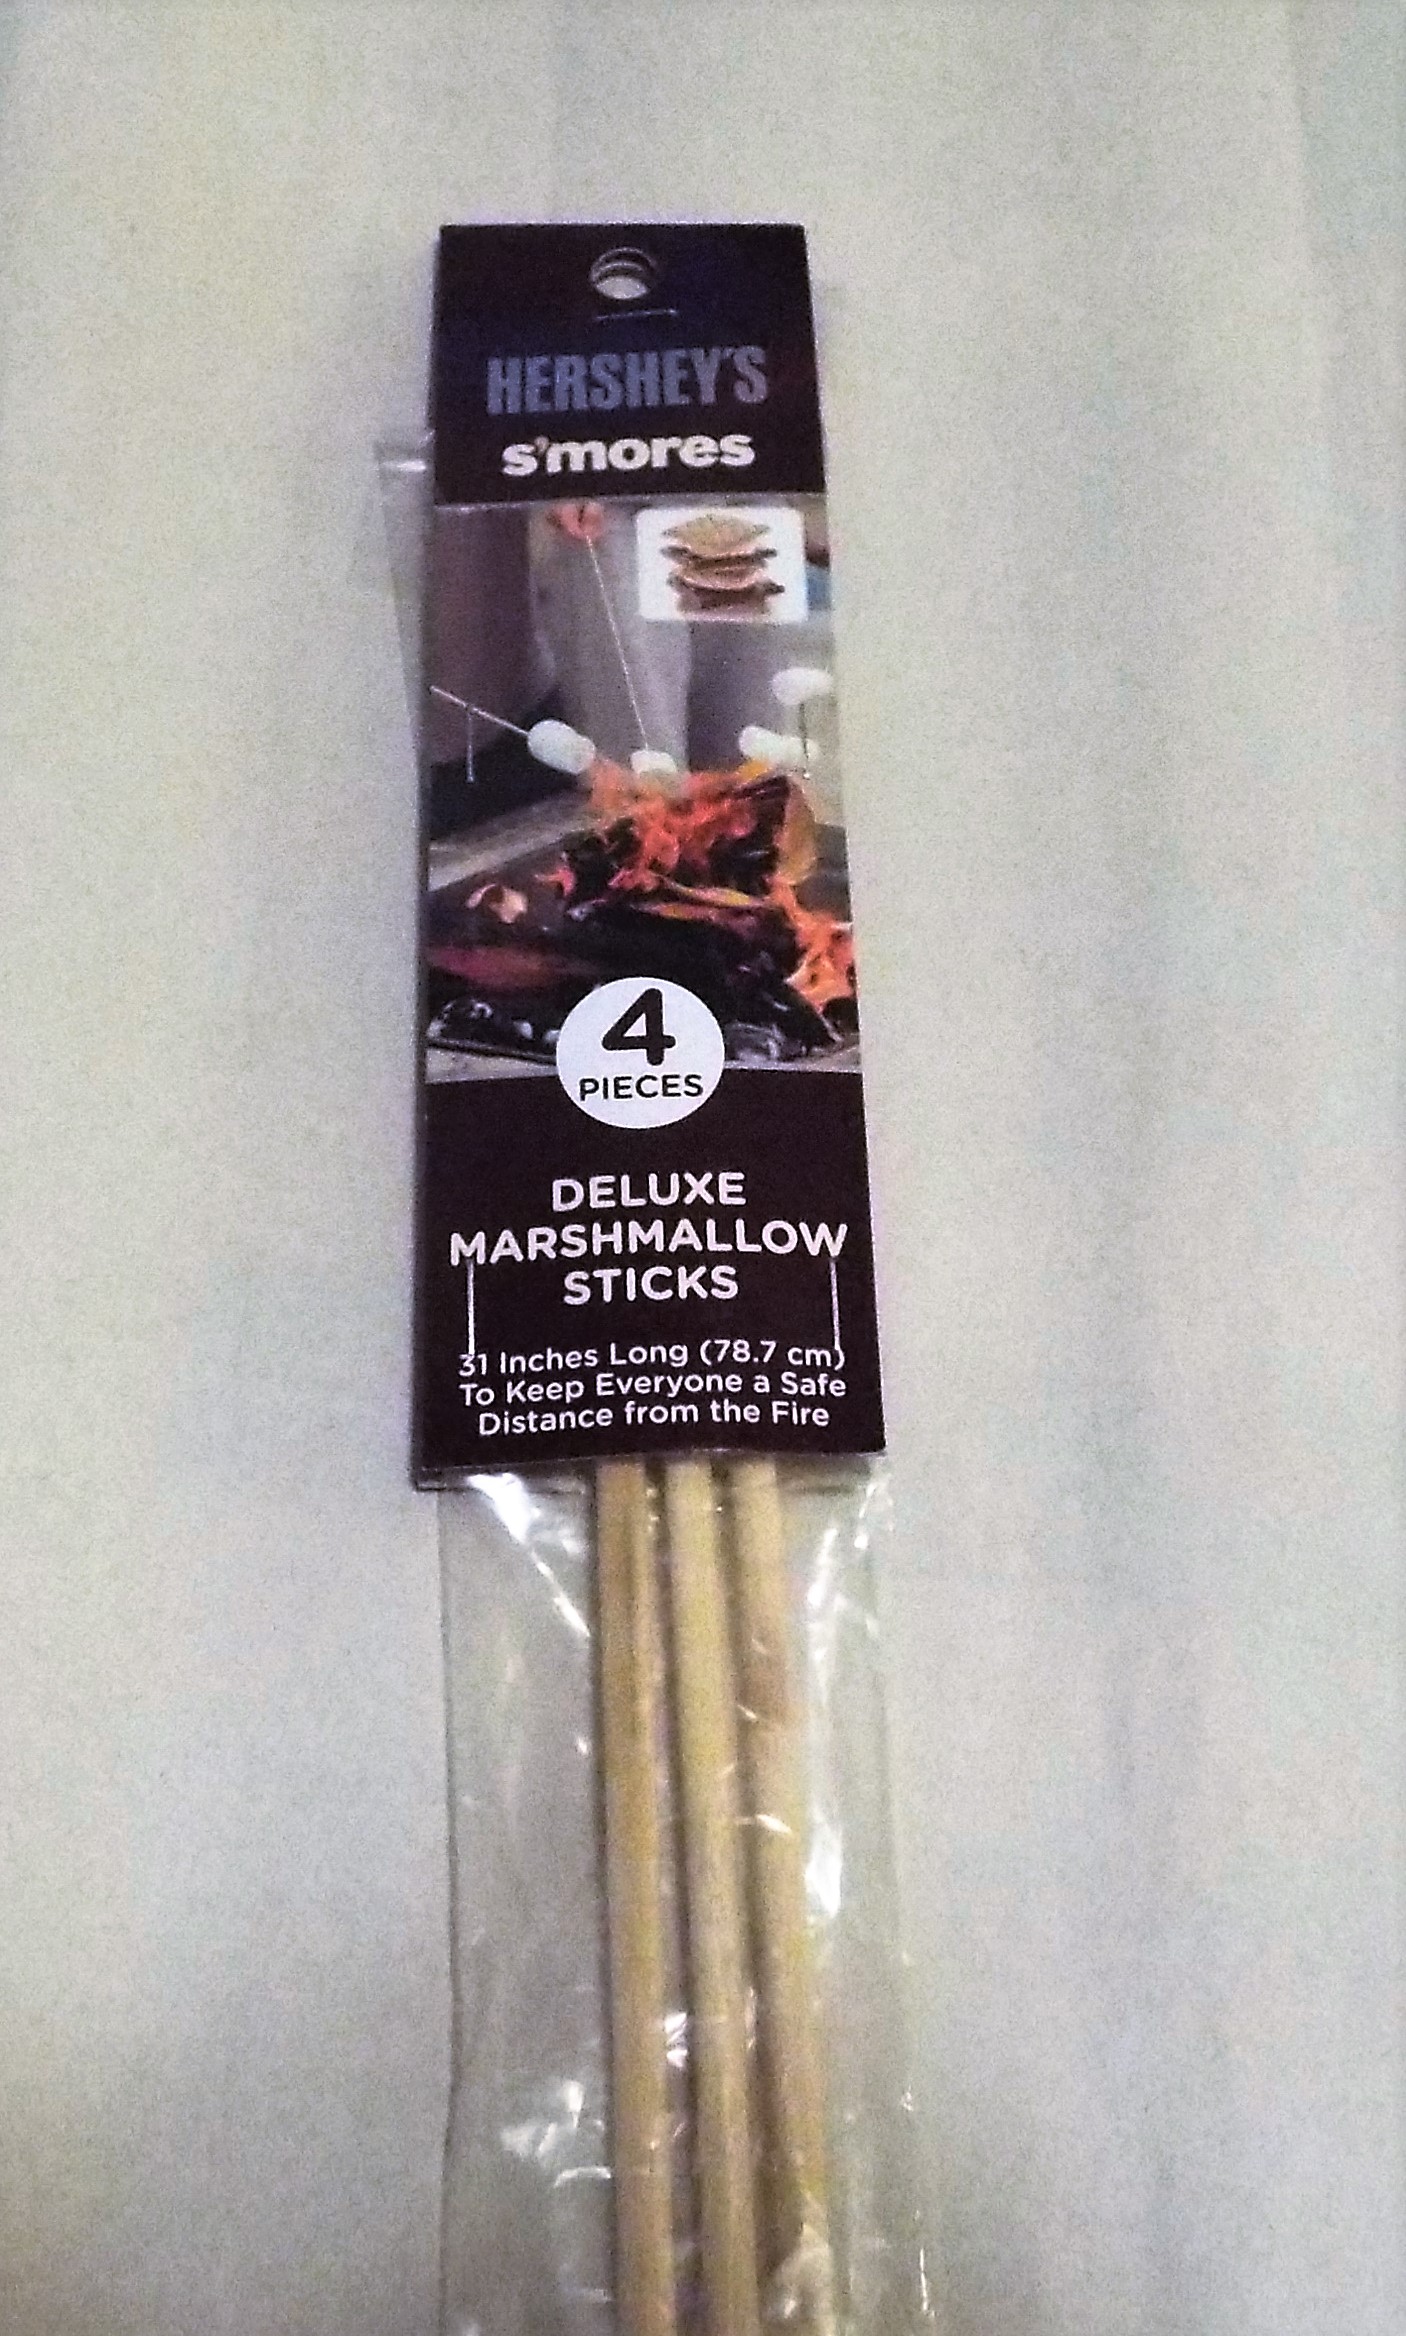
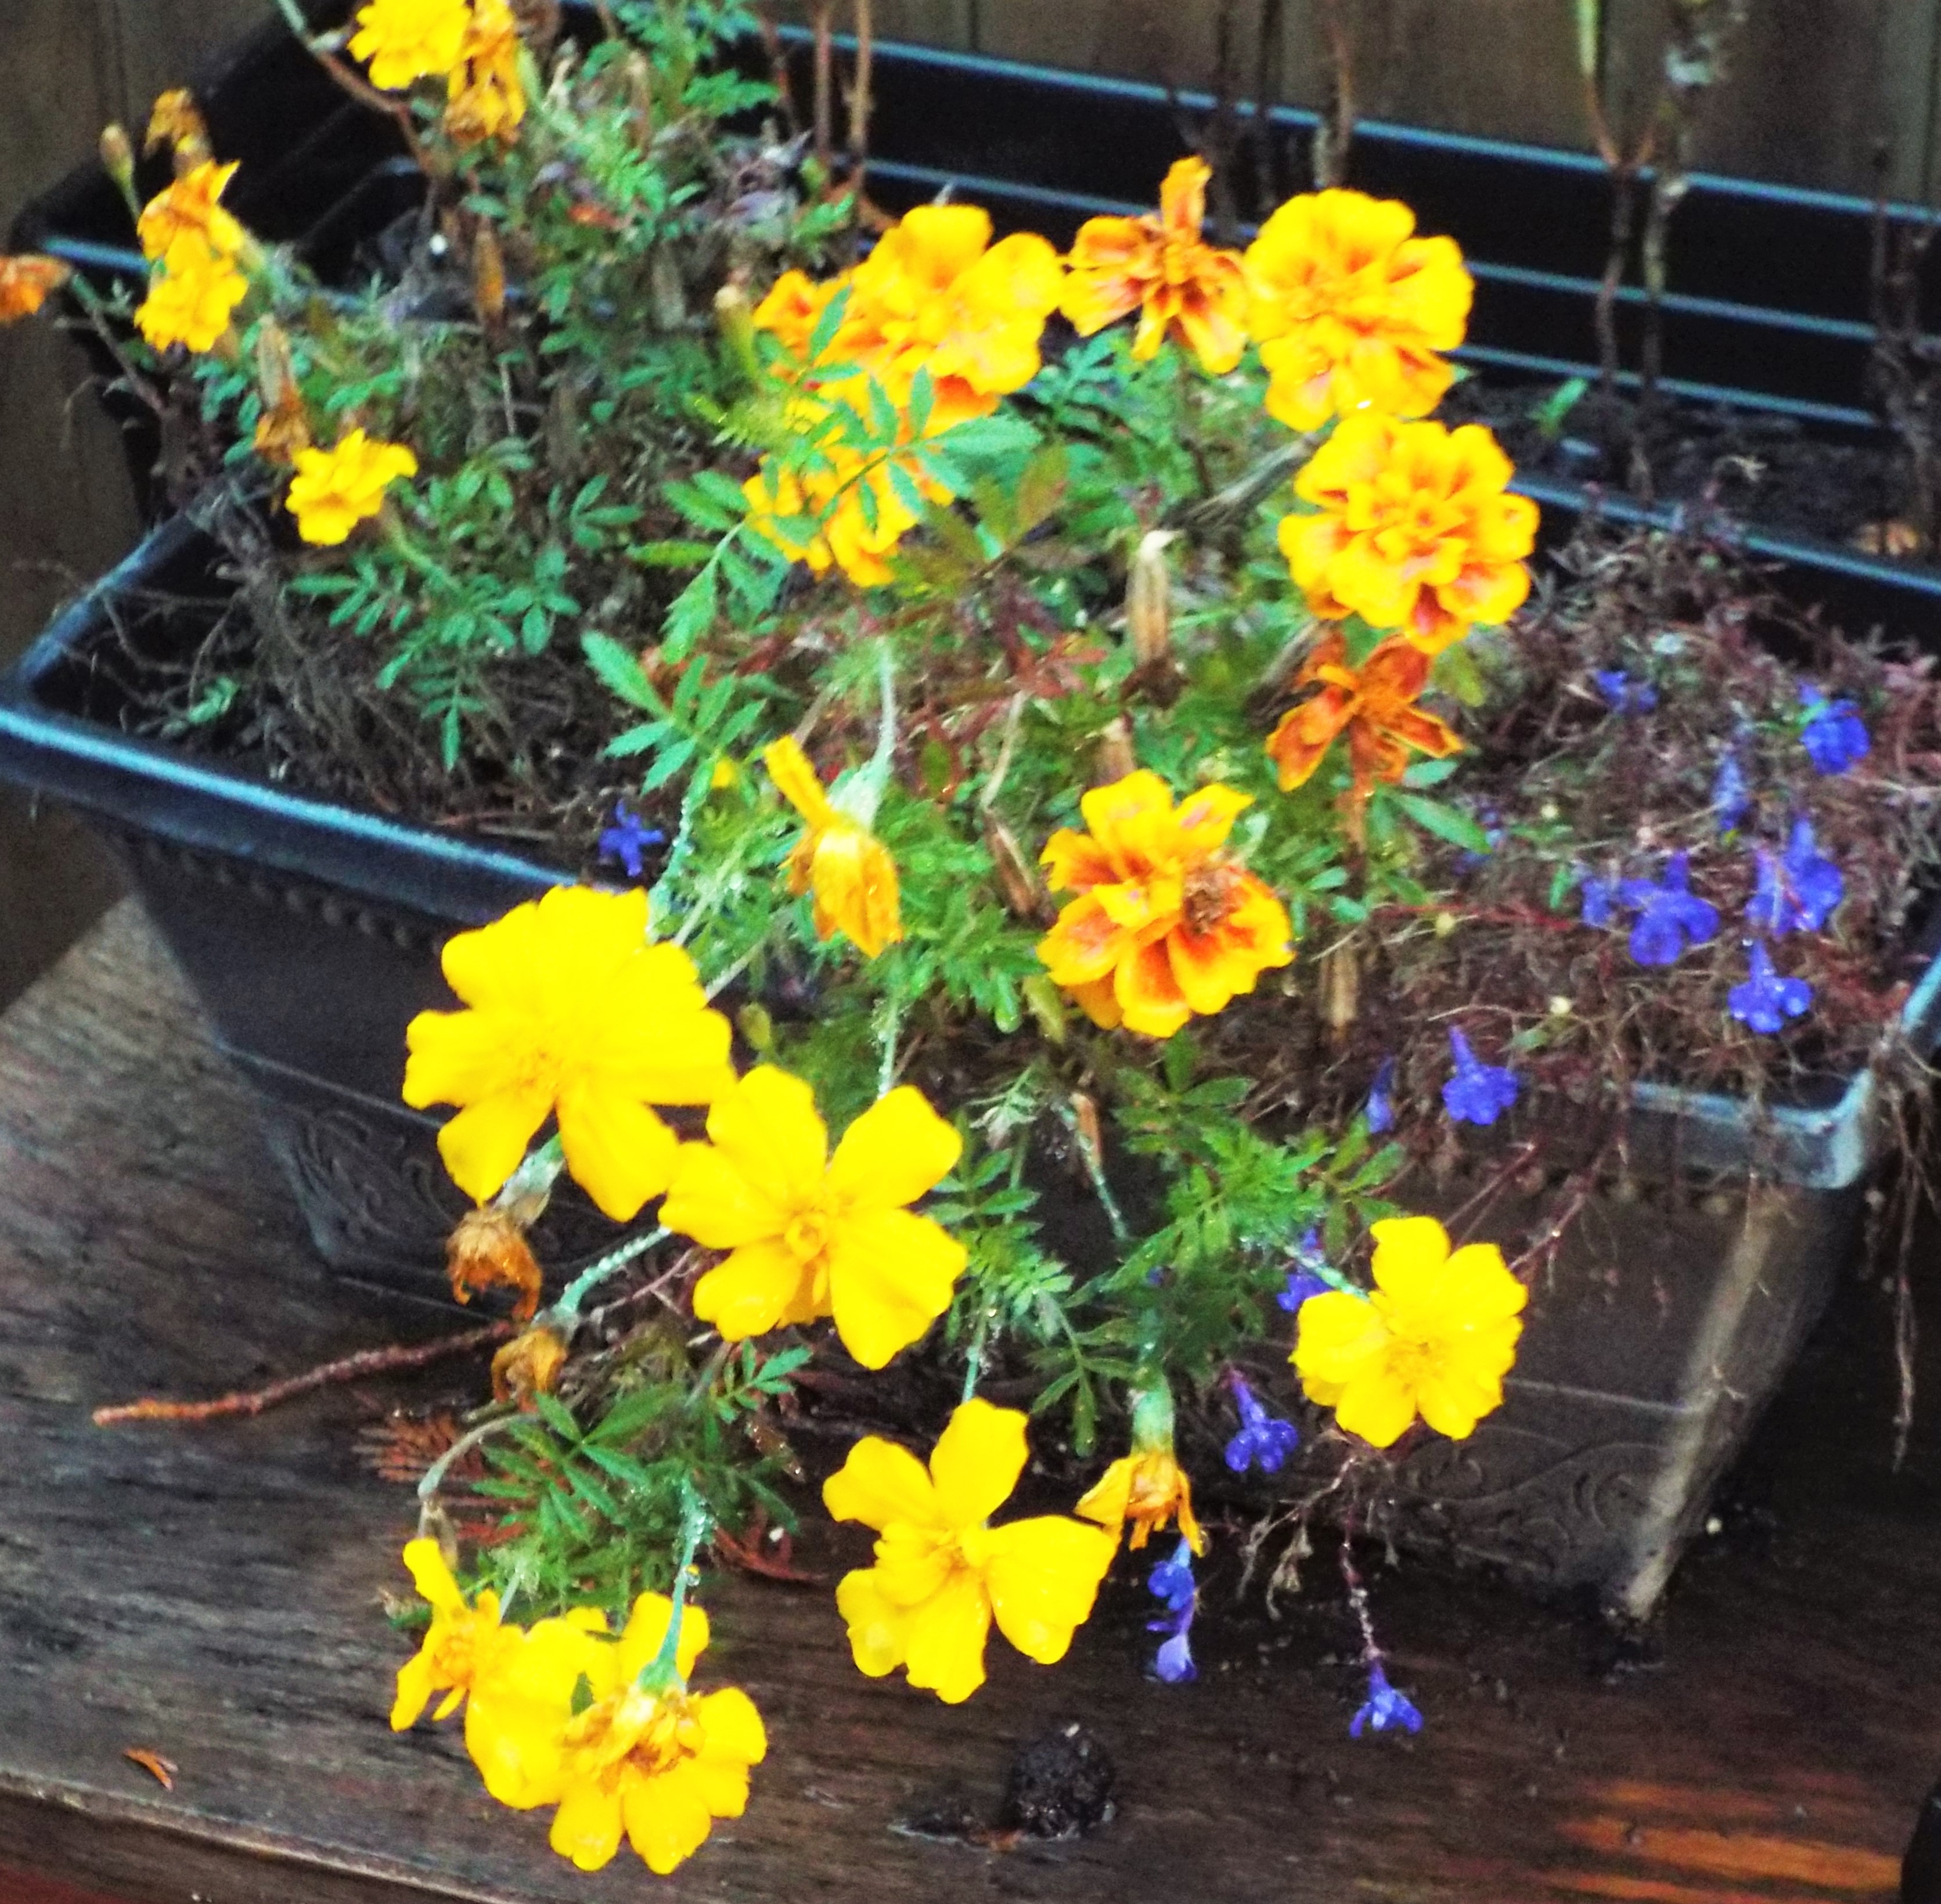
Our Amaryllis is growing like crazy, and now requires a stake for support. A saleswoman at a big-box store gave us a great, money-saving idea on what to use for stakes. She suggested we buy marshmallow s’mores sticks, which cost 19 cents for a package of four. These wooden sticks are 31 inches long, easy to cut and they work great for a light-weight stalk! Helpful tip!
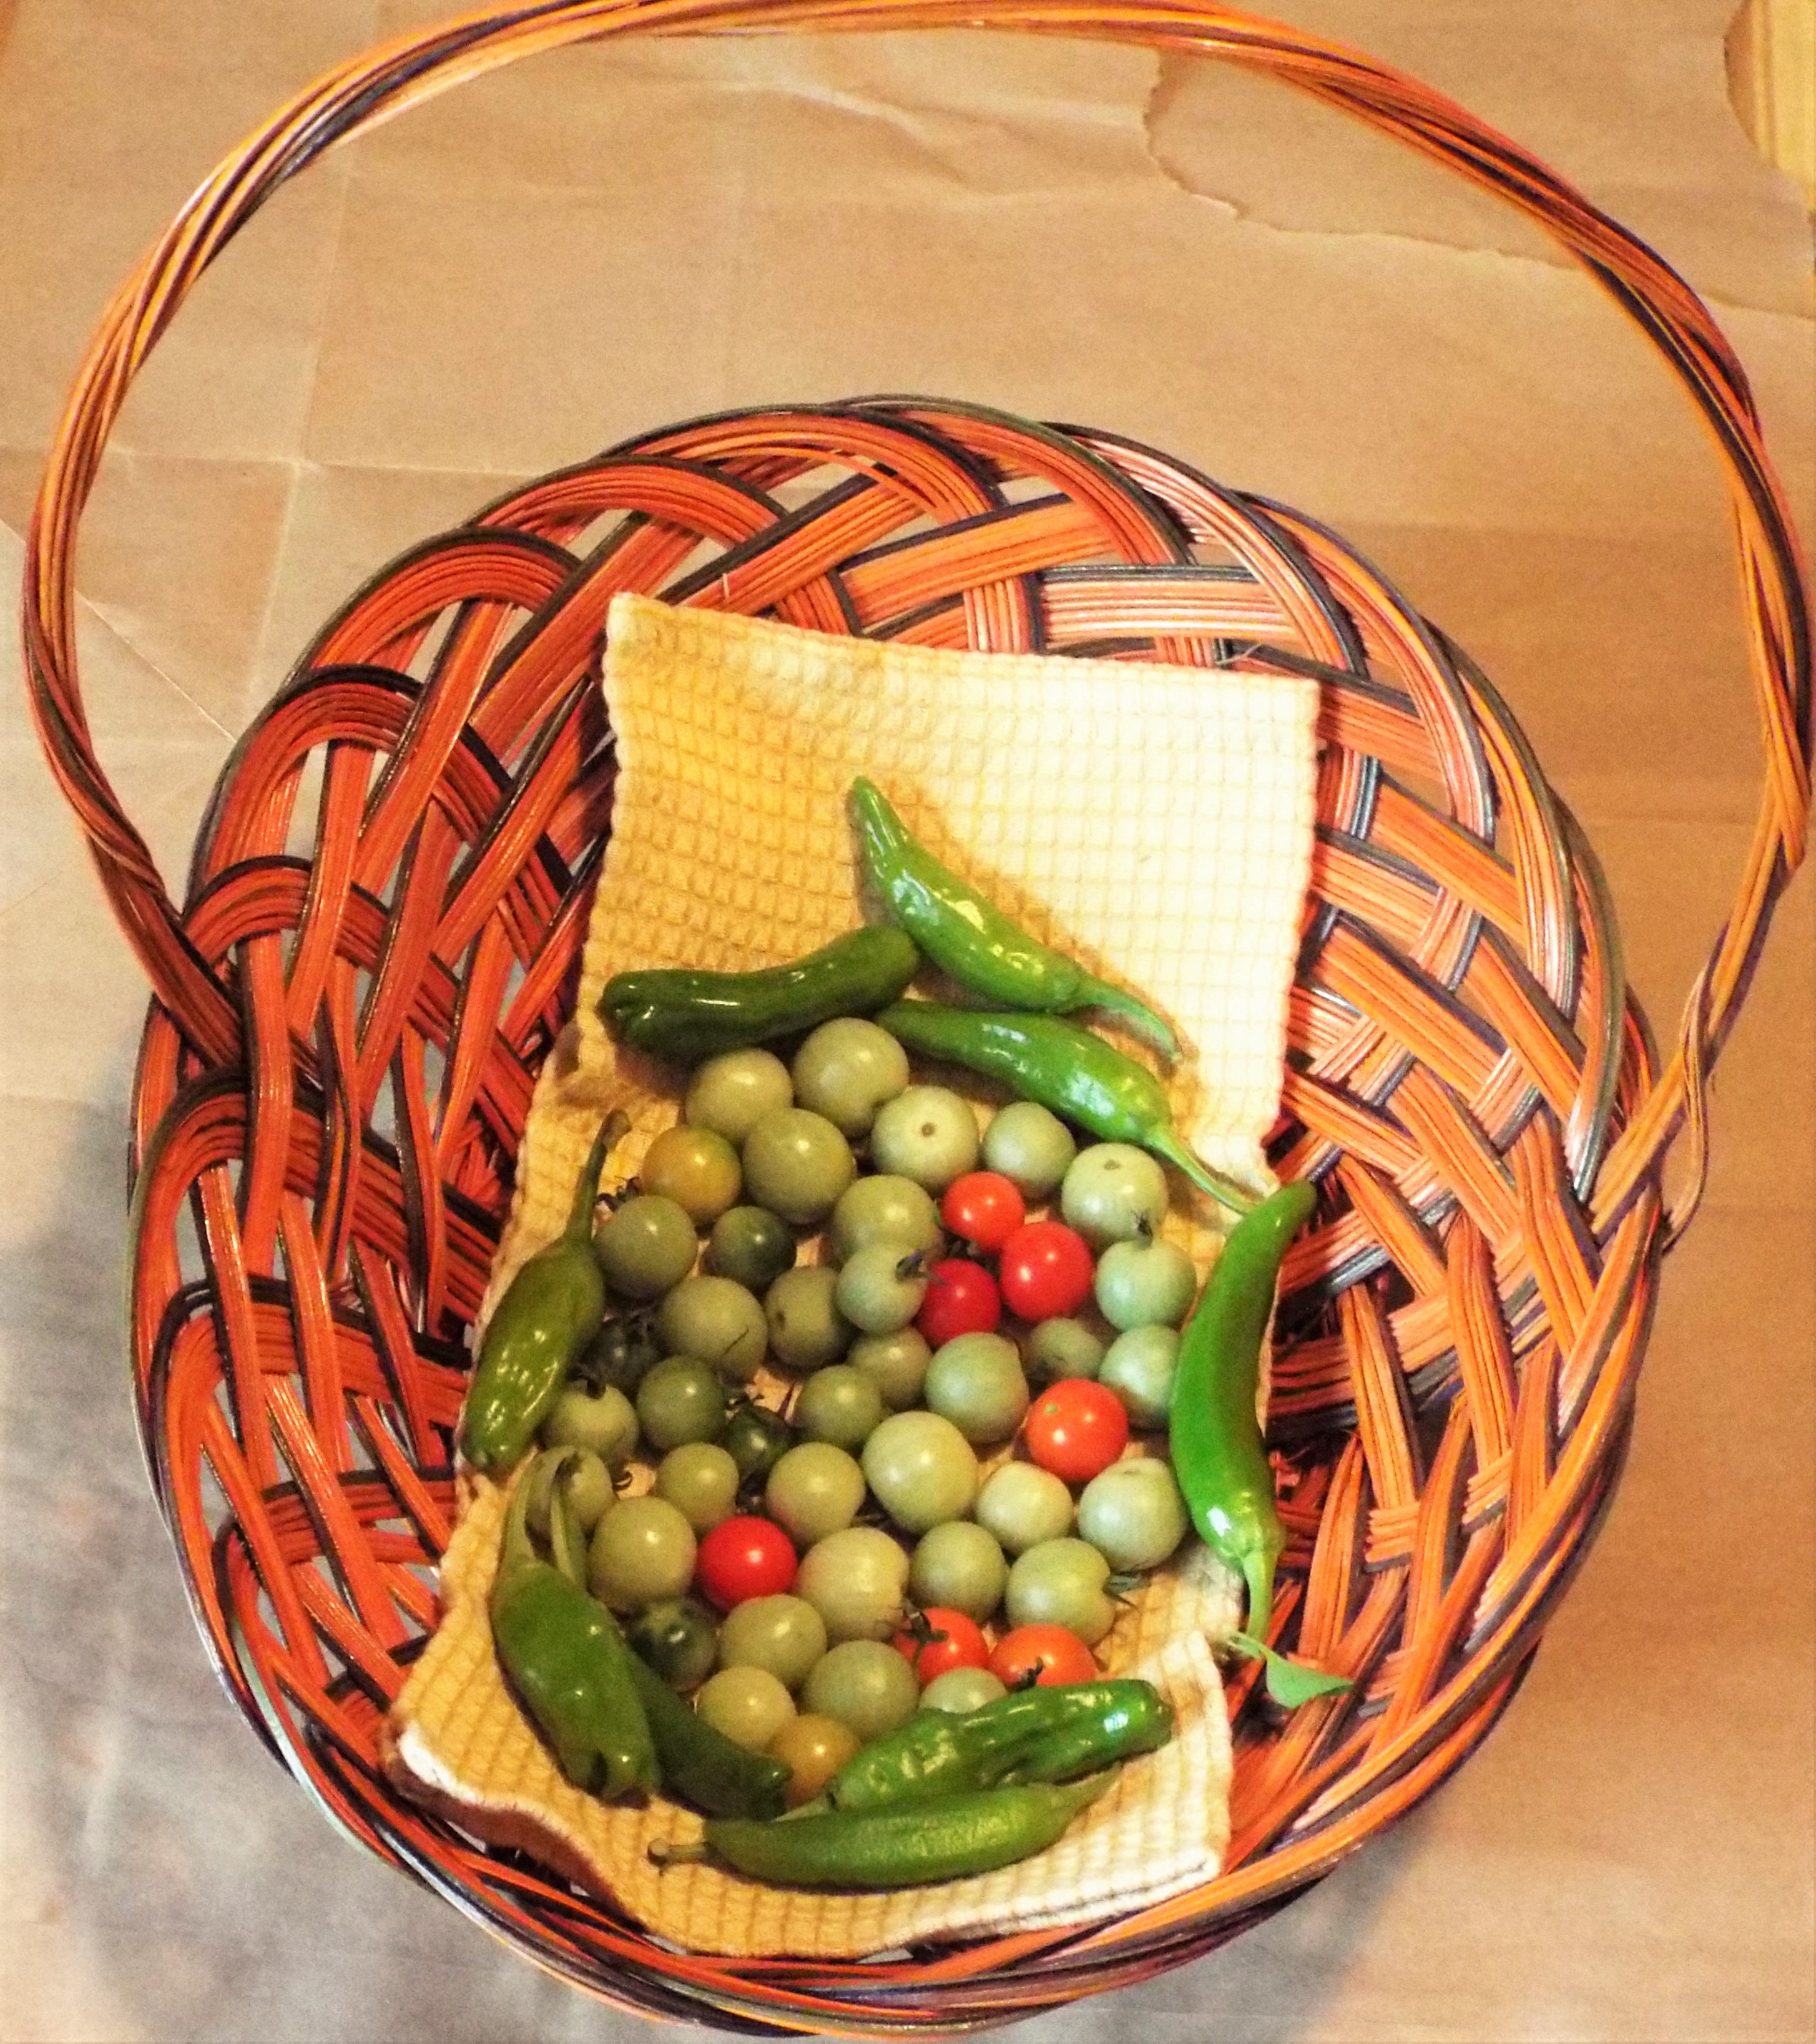
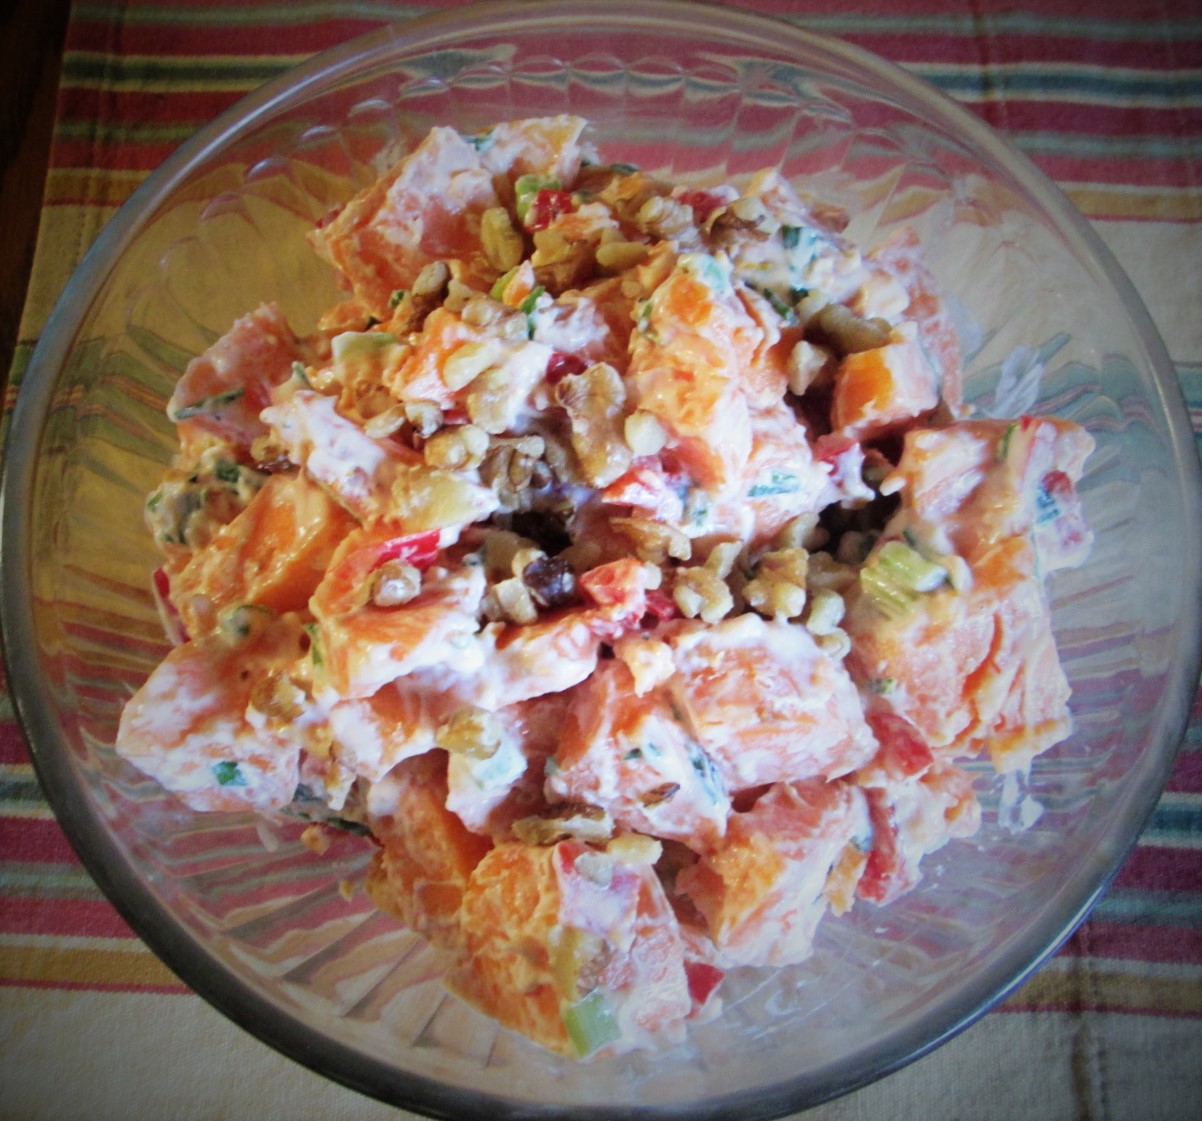
FOOD ART
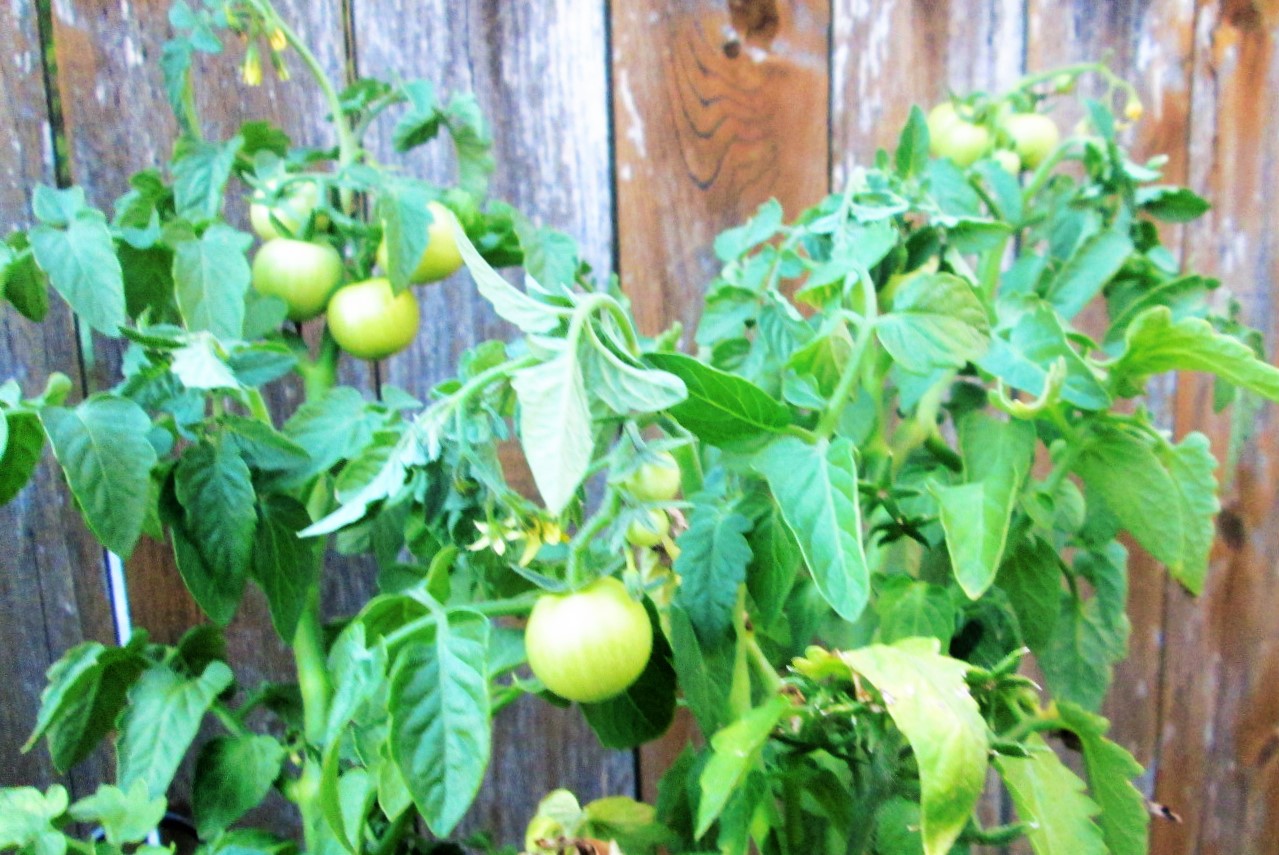
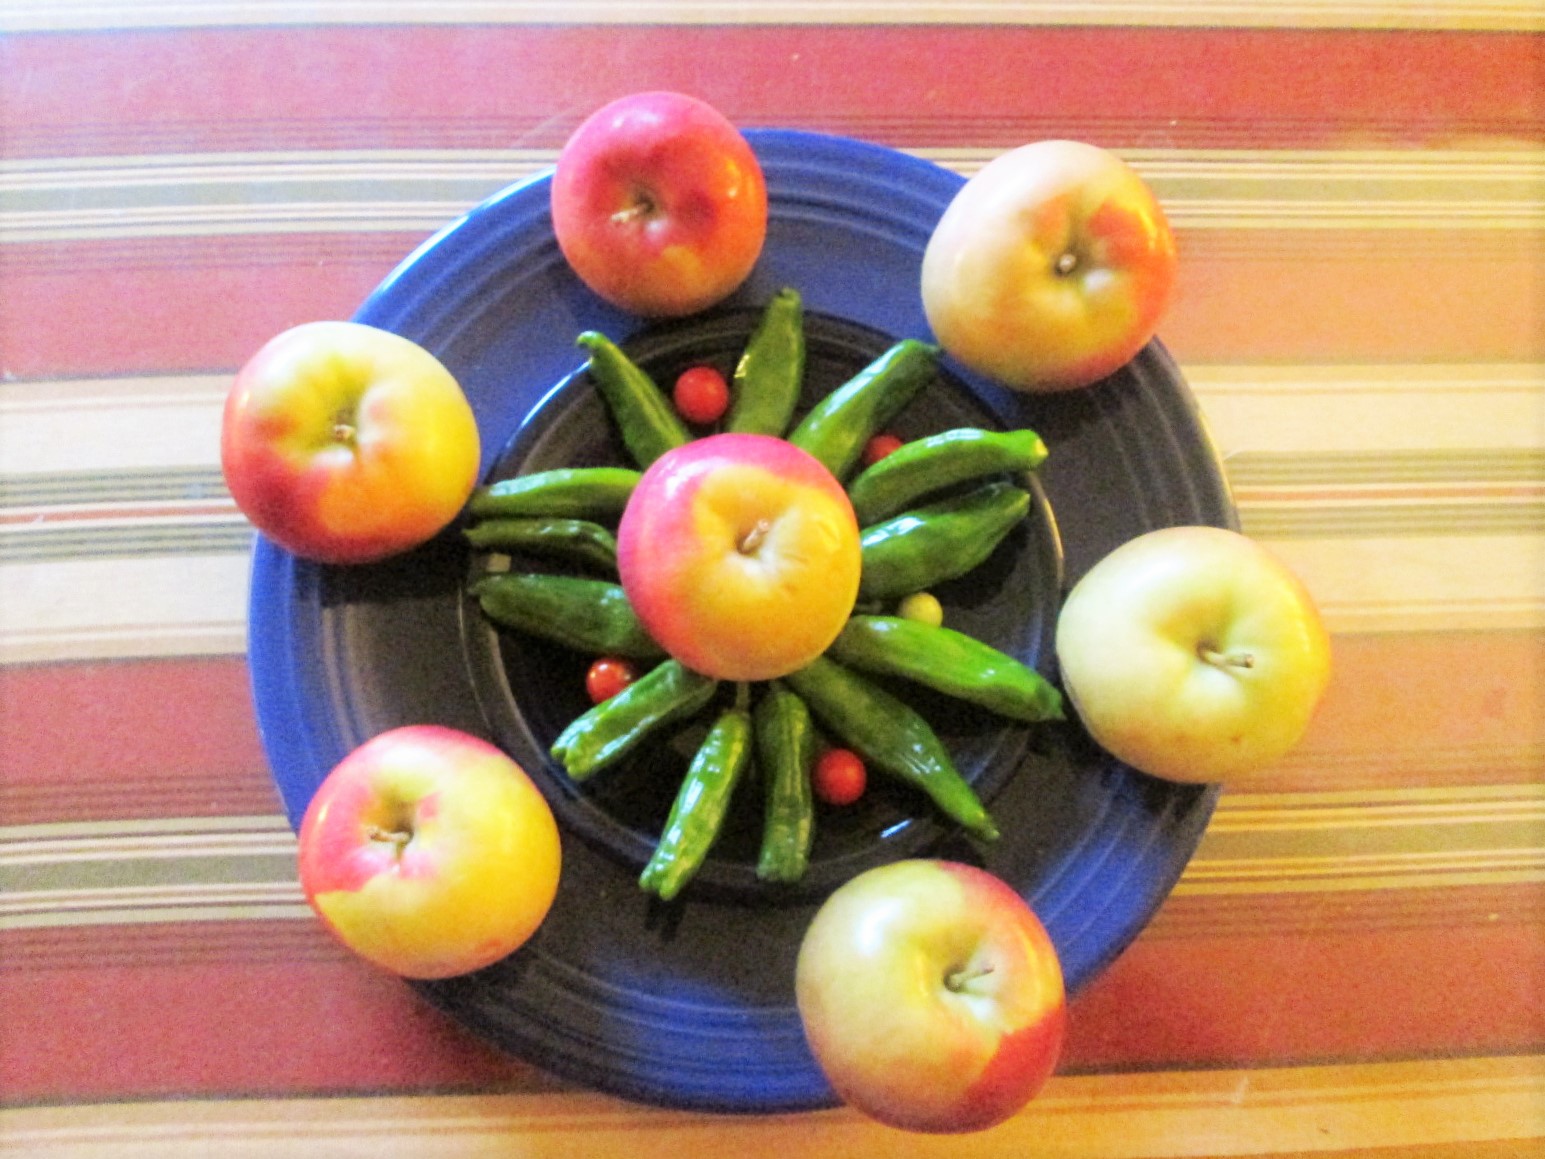
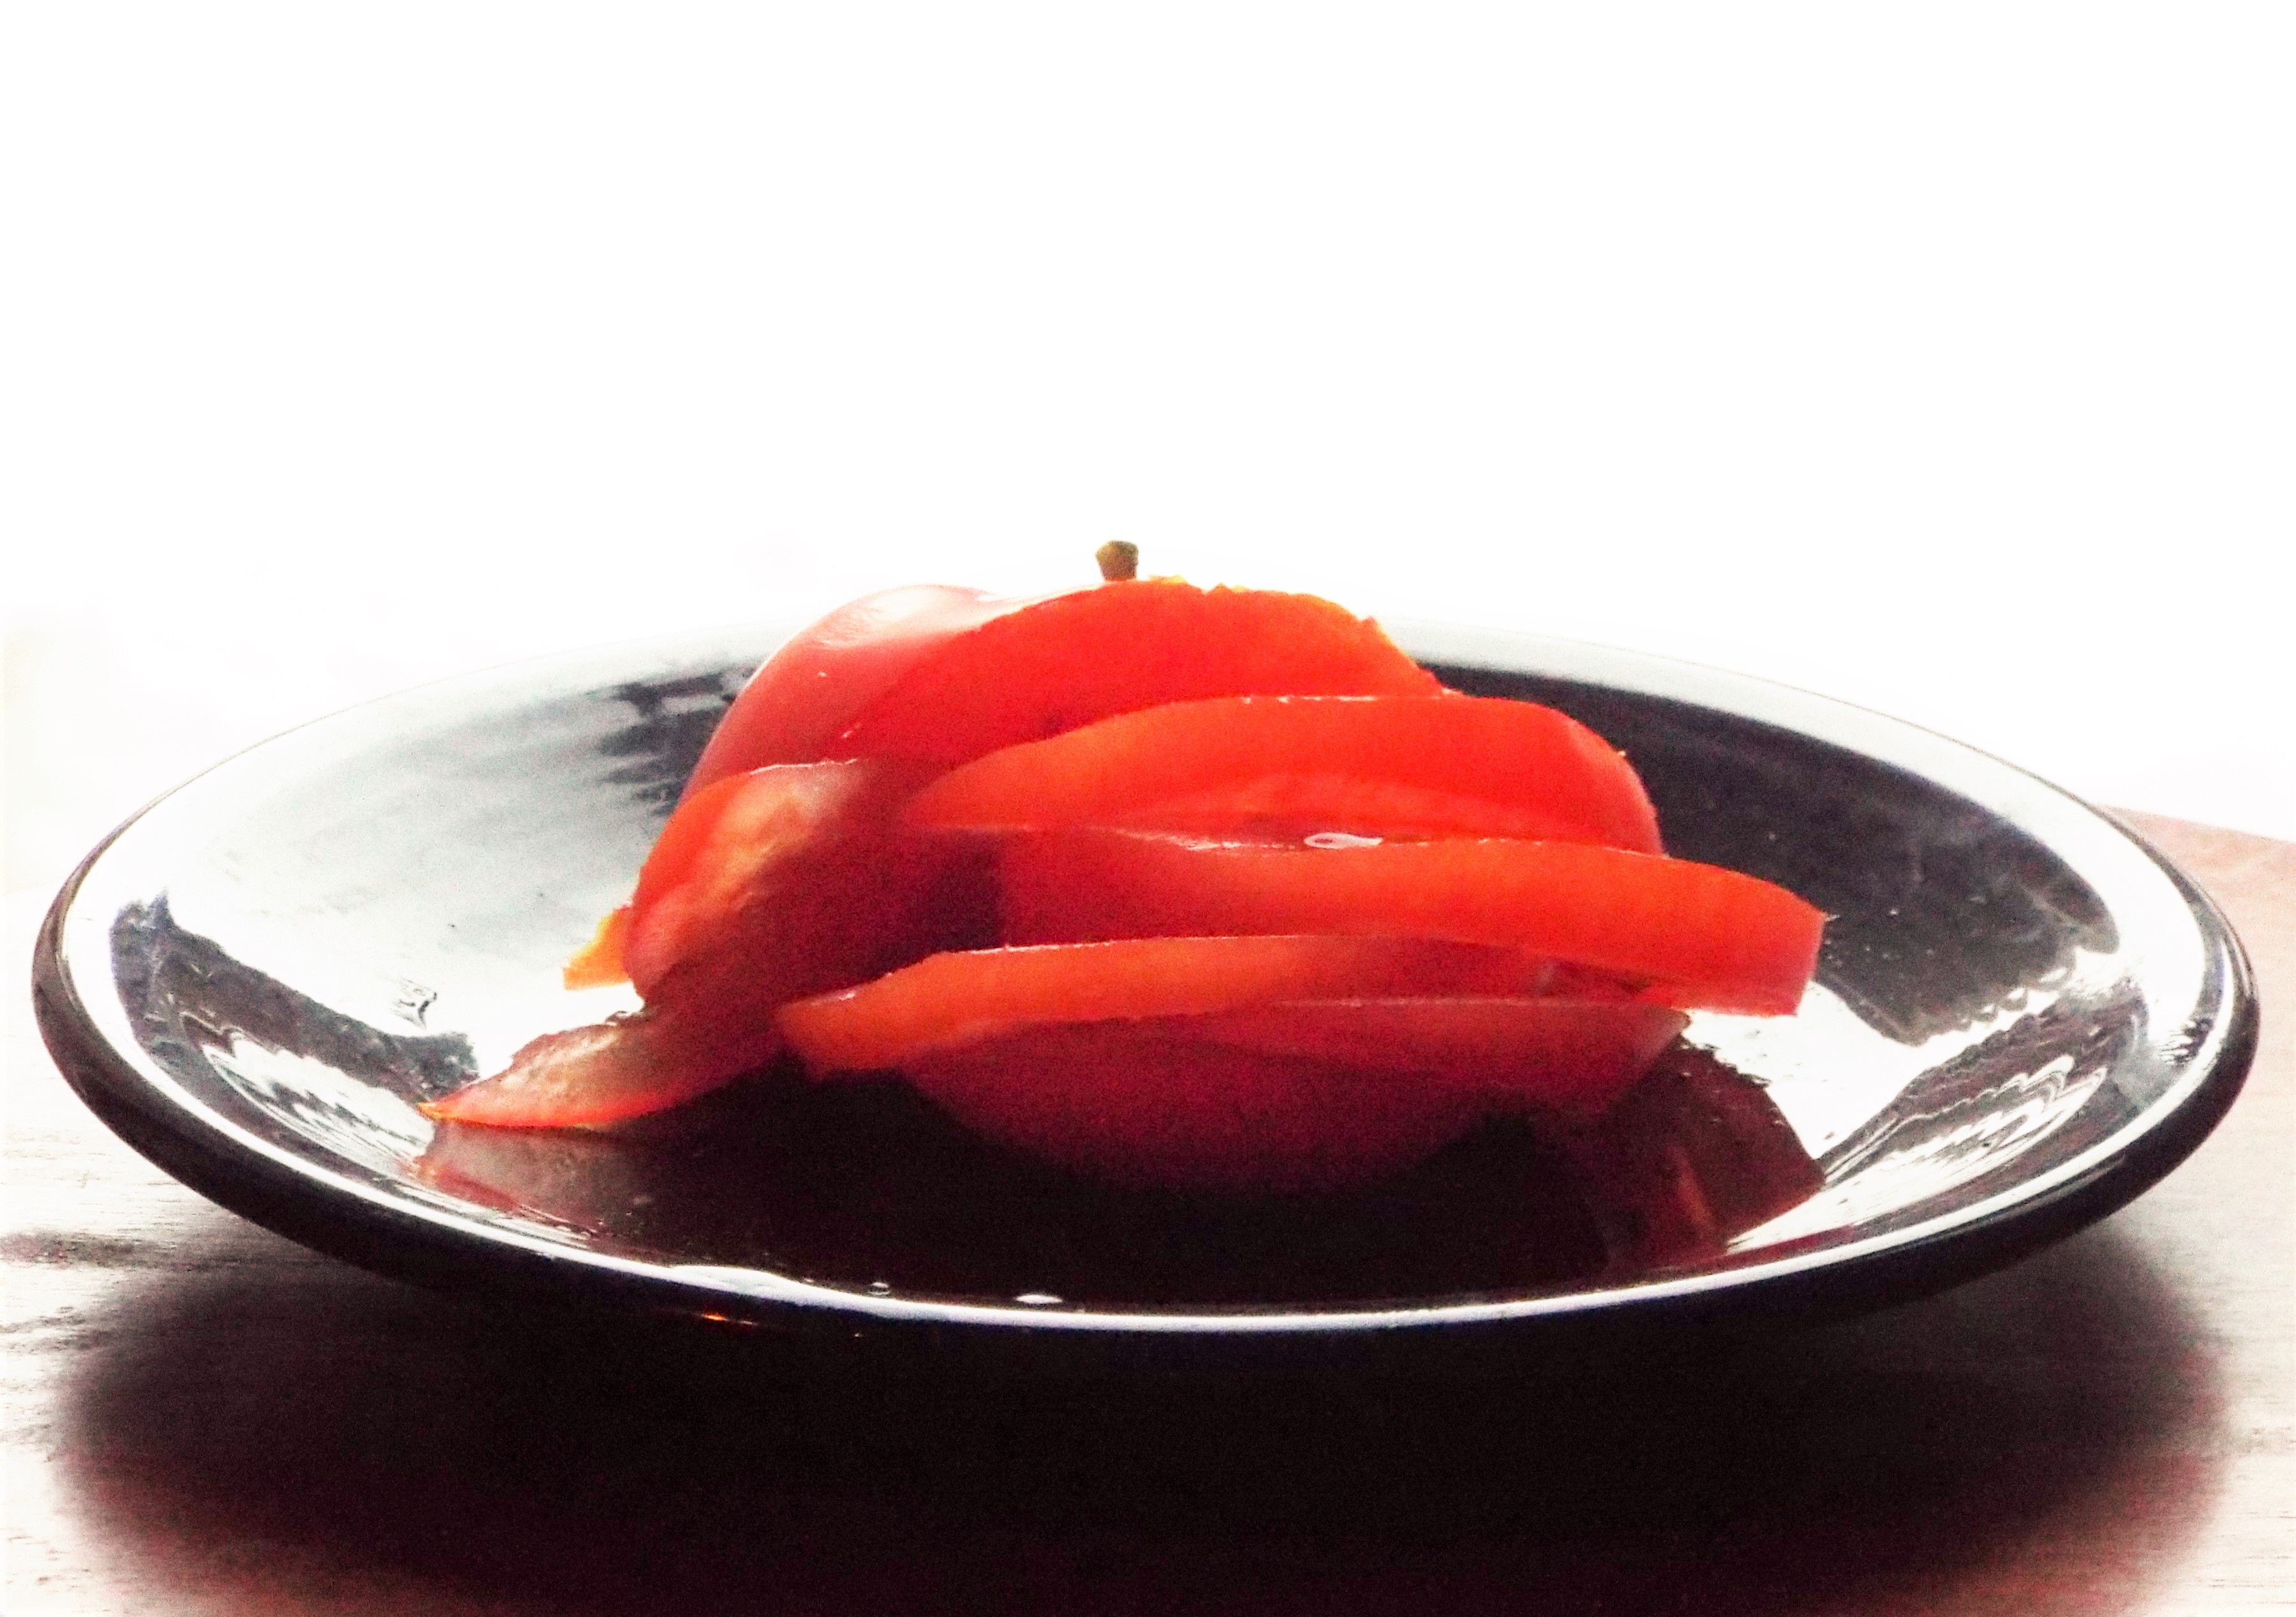
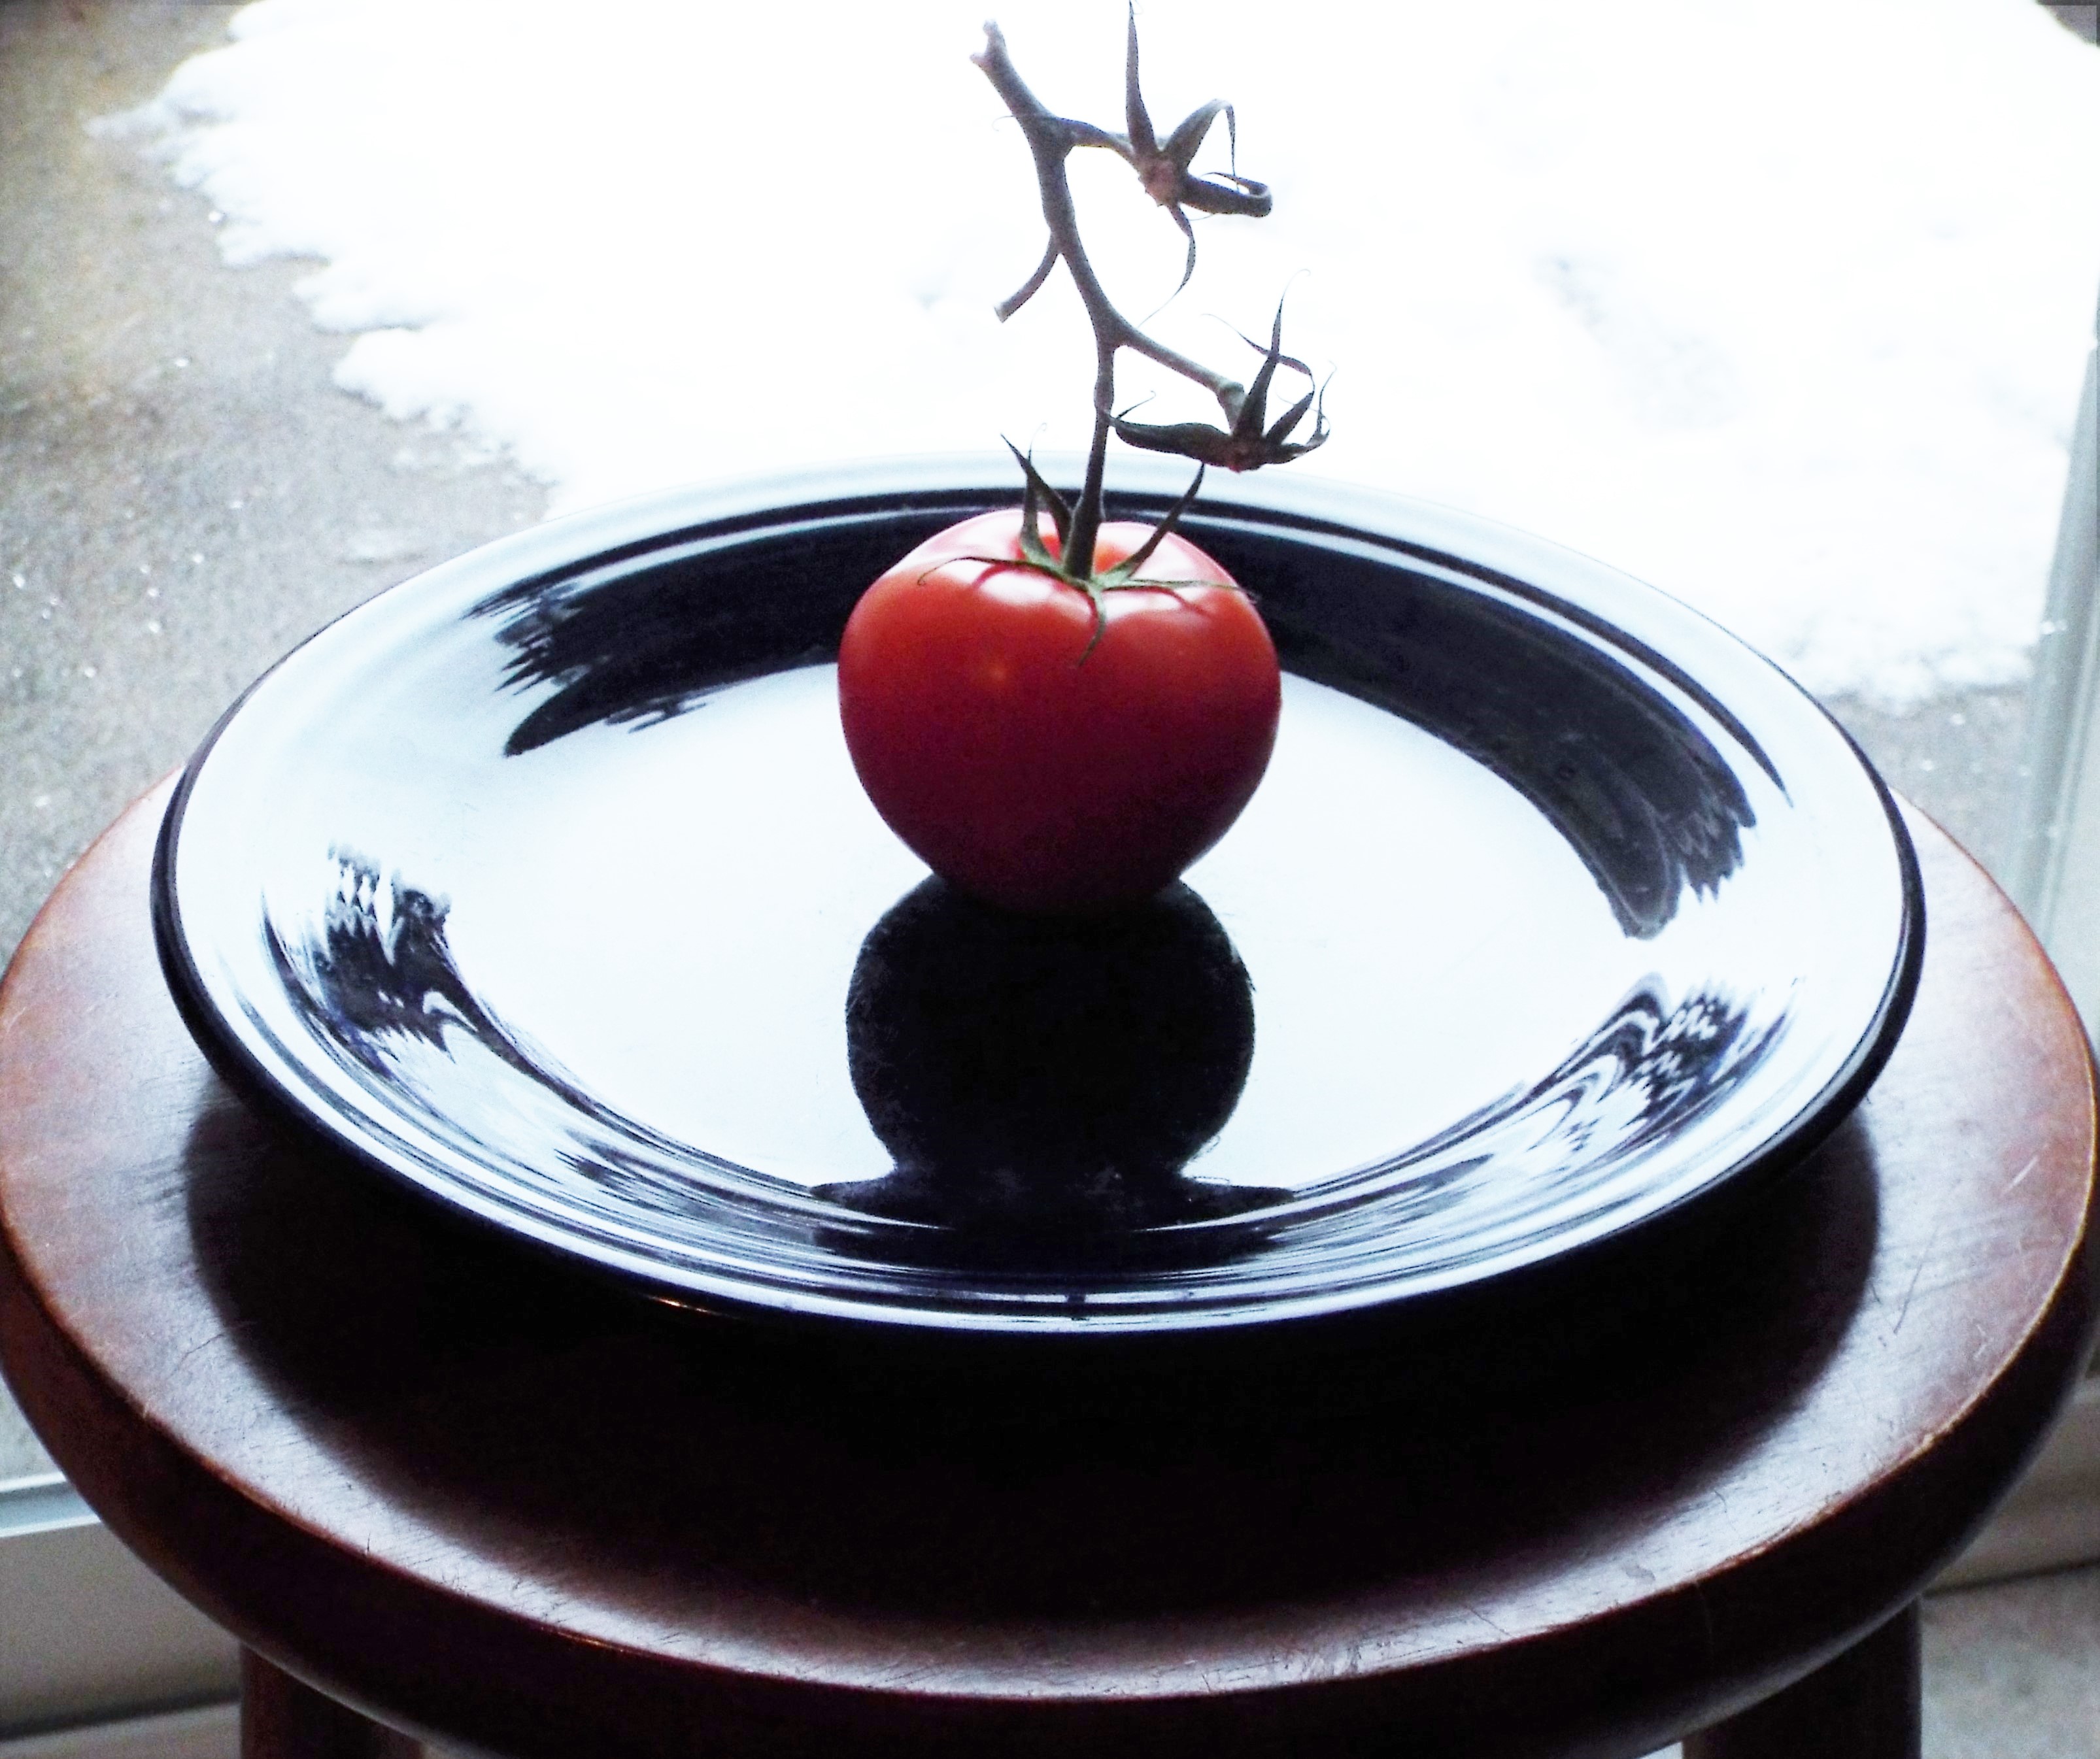
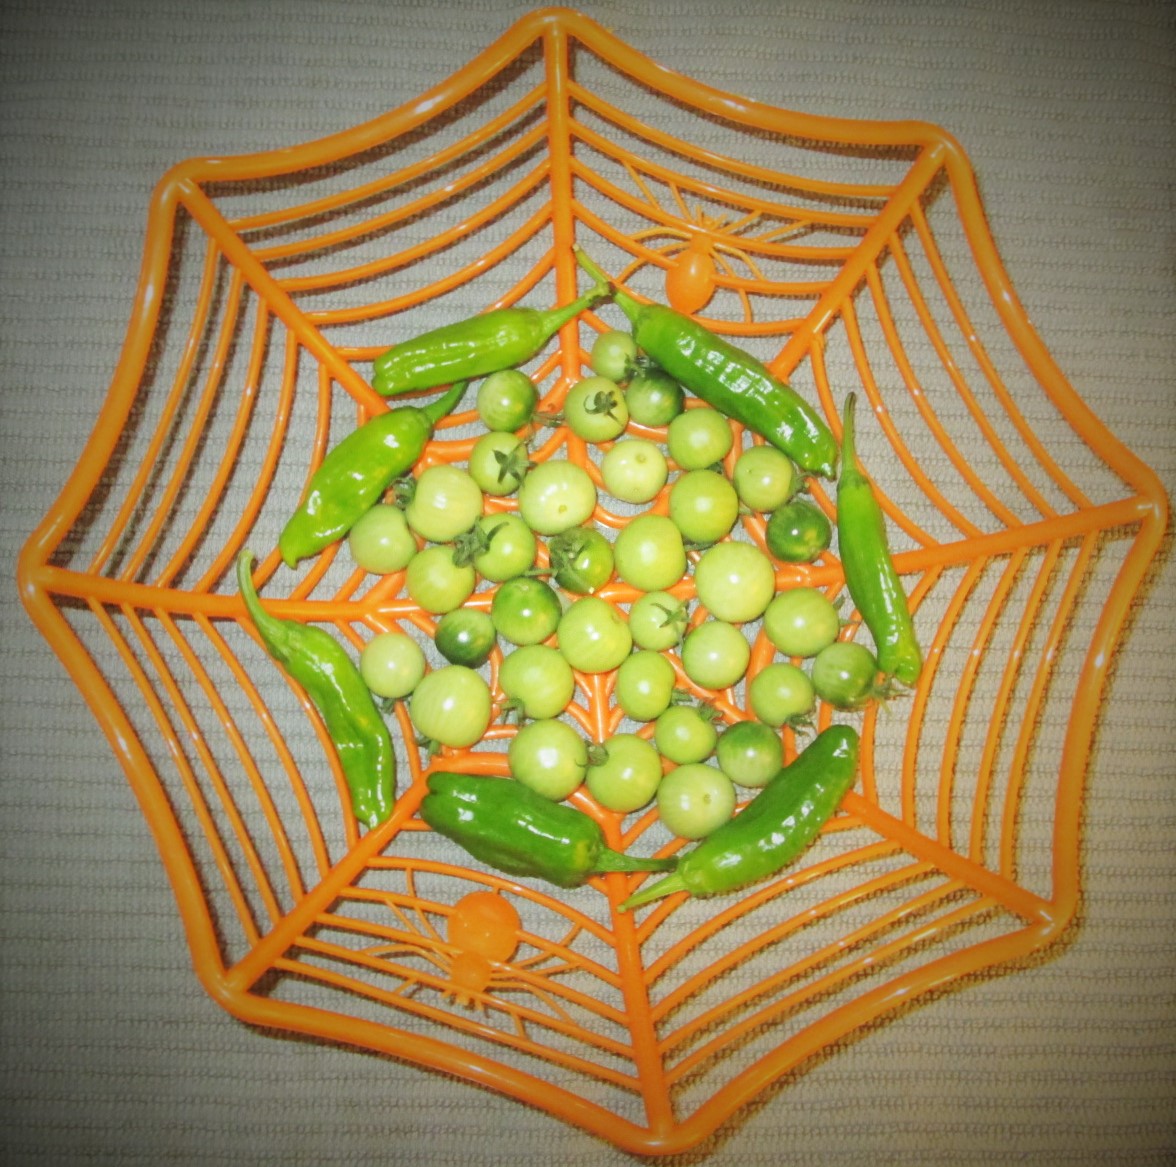
Last week’s tomato. Tomatoes are sometimes called love apples! Great for St. Valentine’s Day!
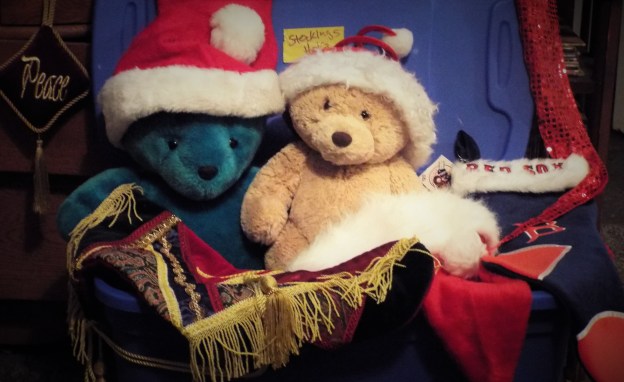
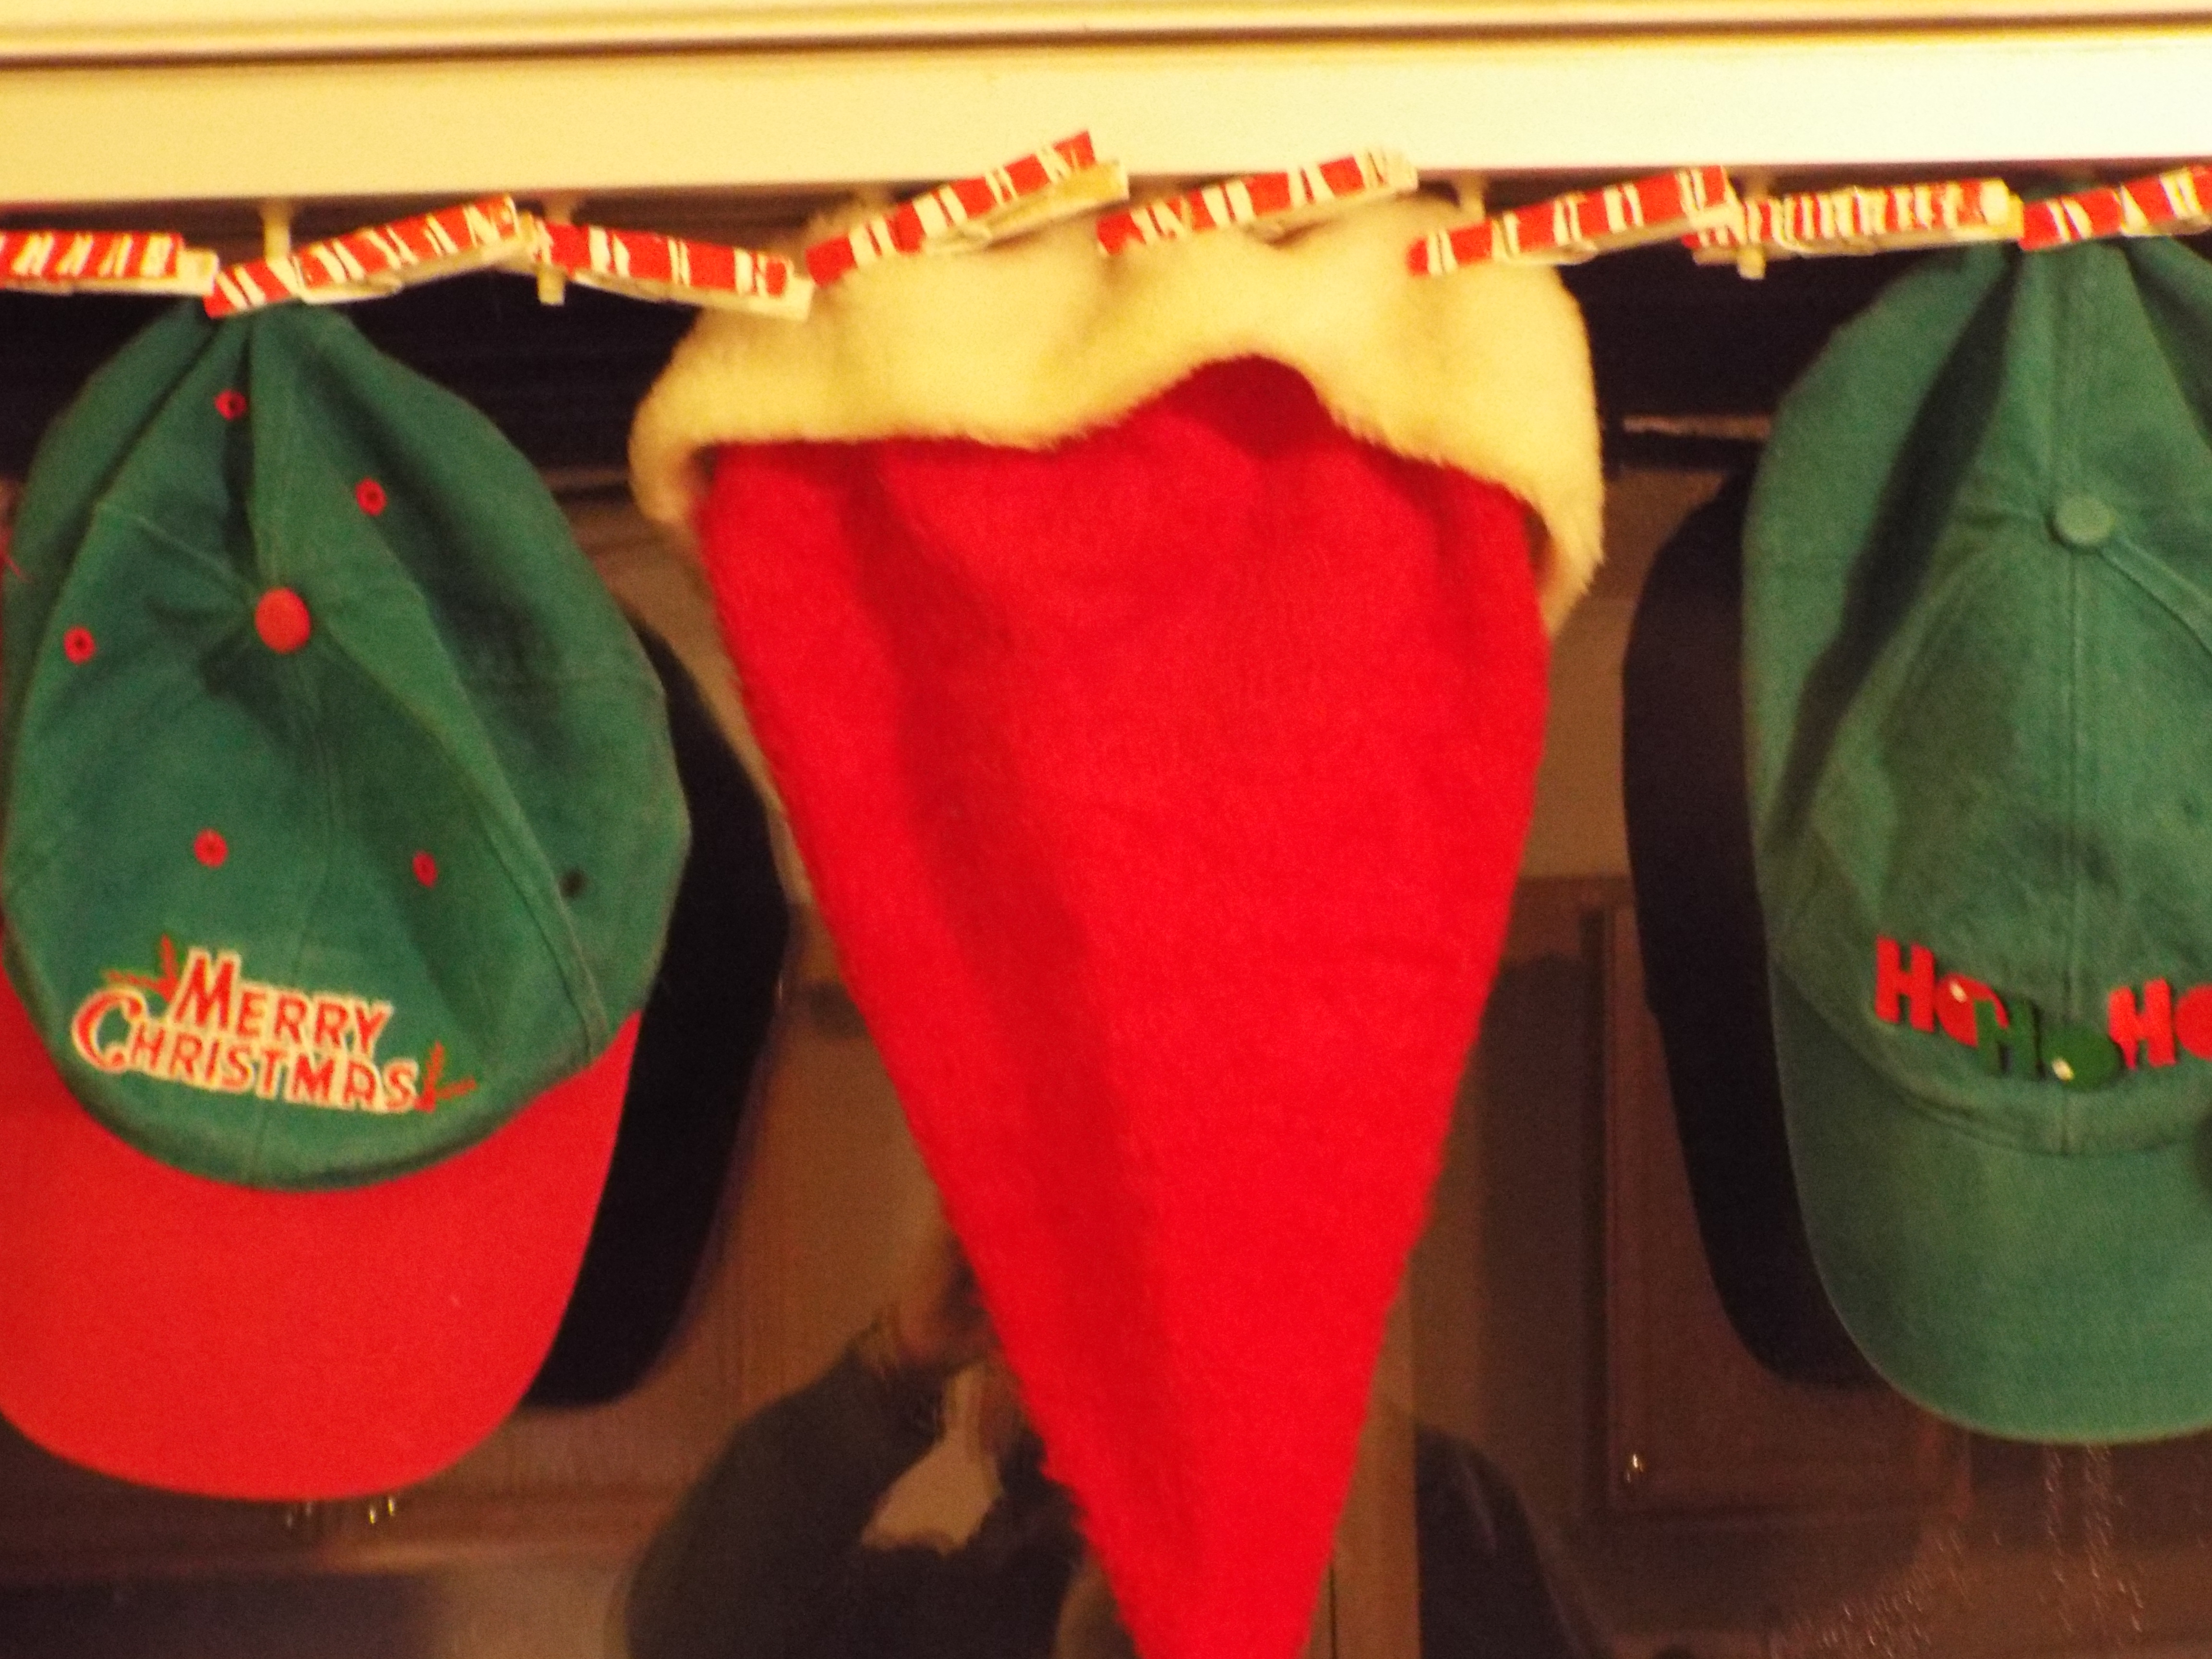
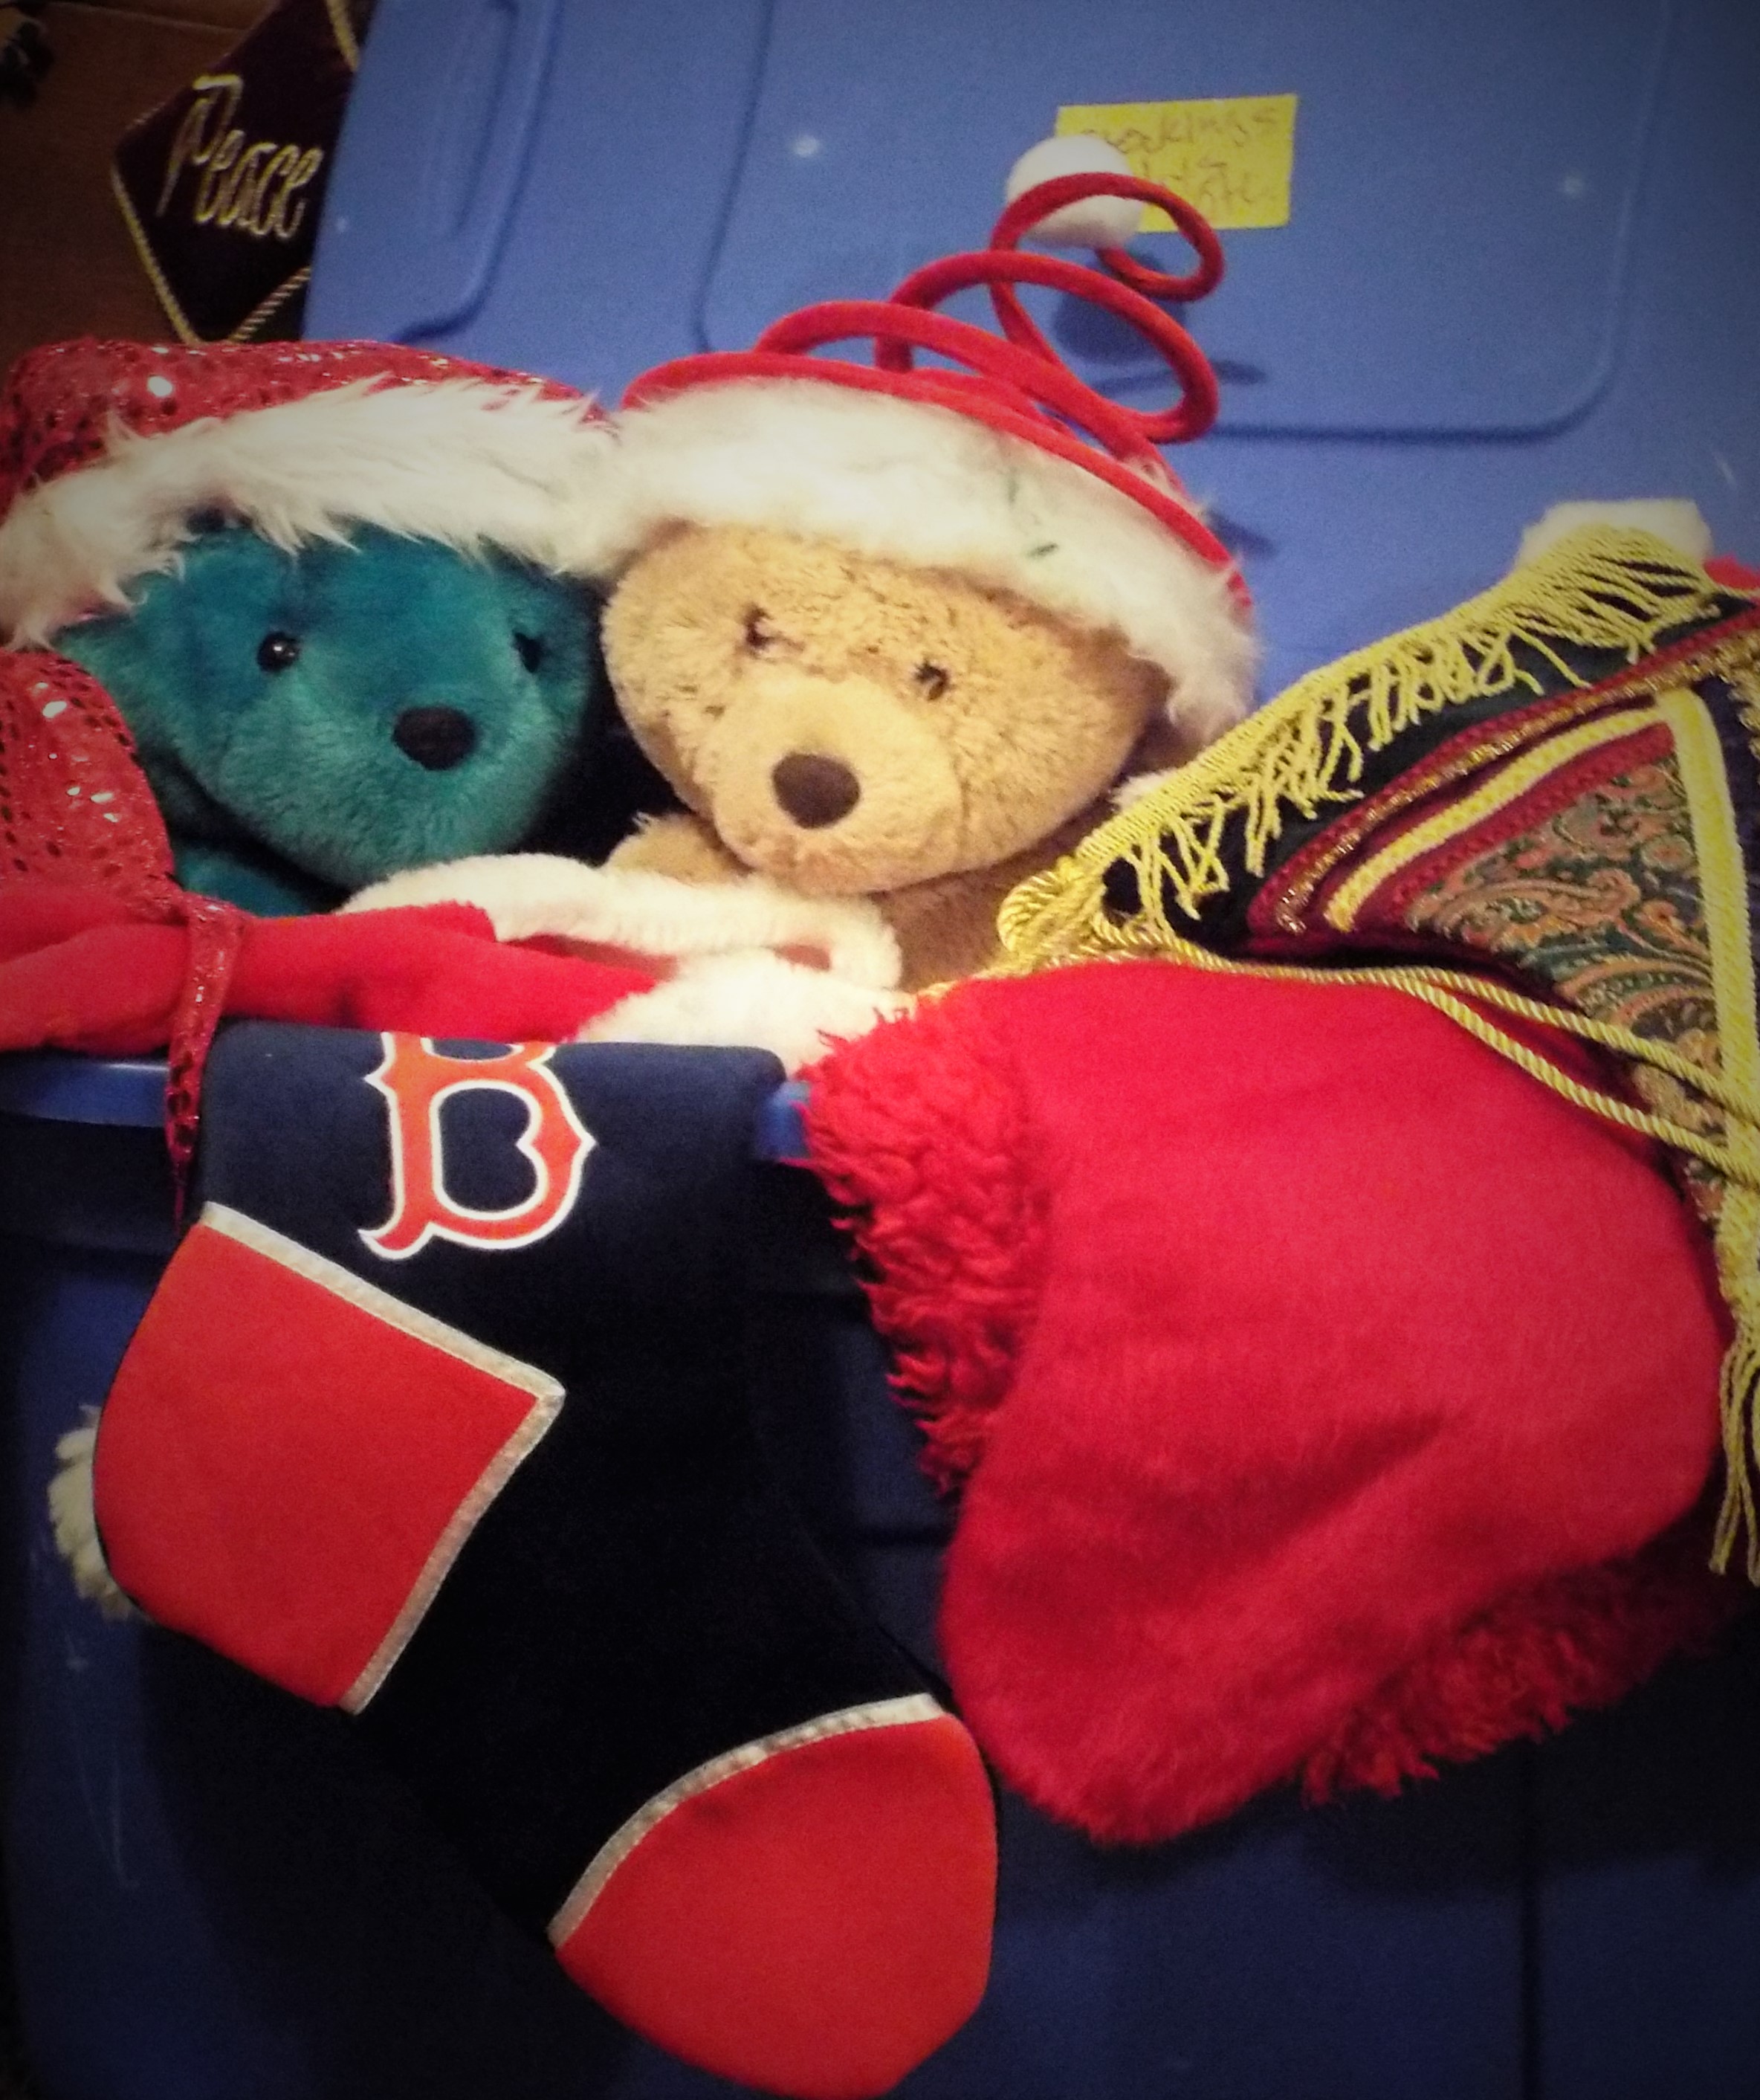
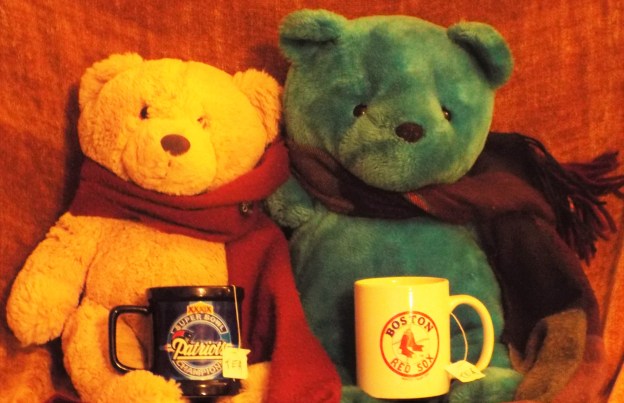
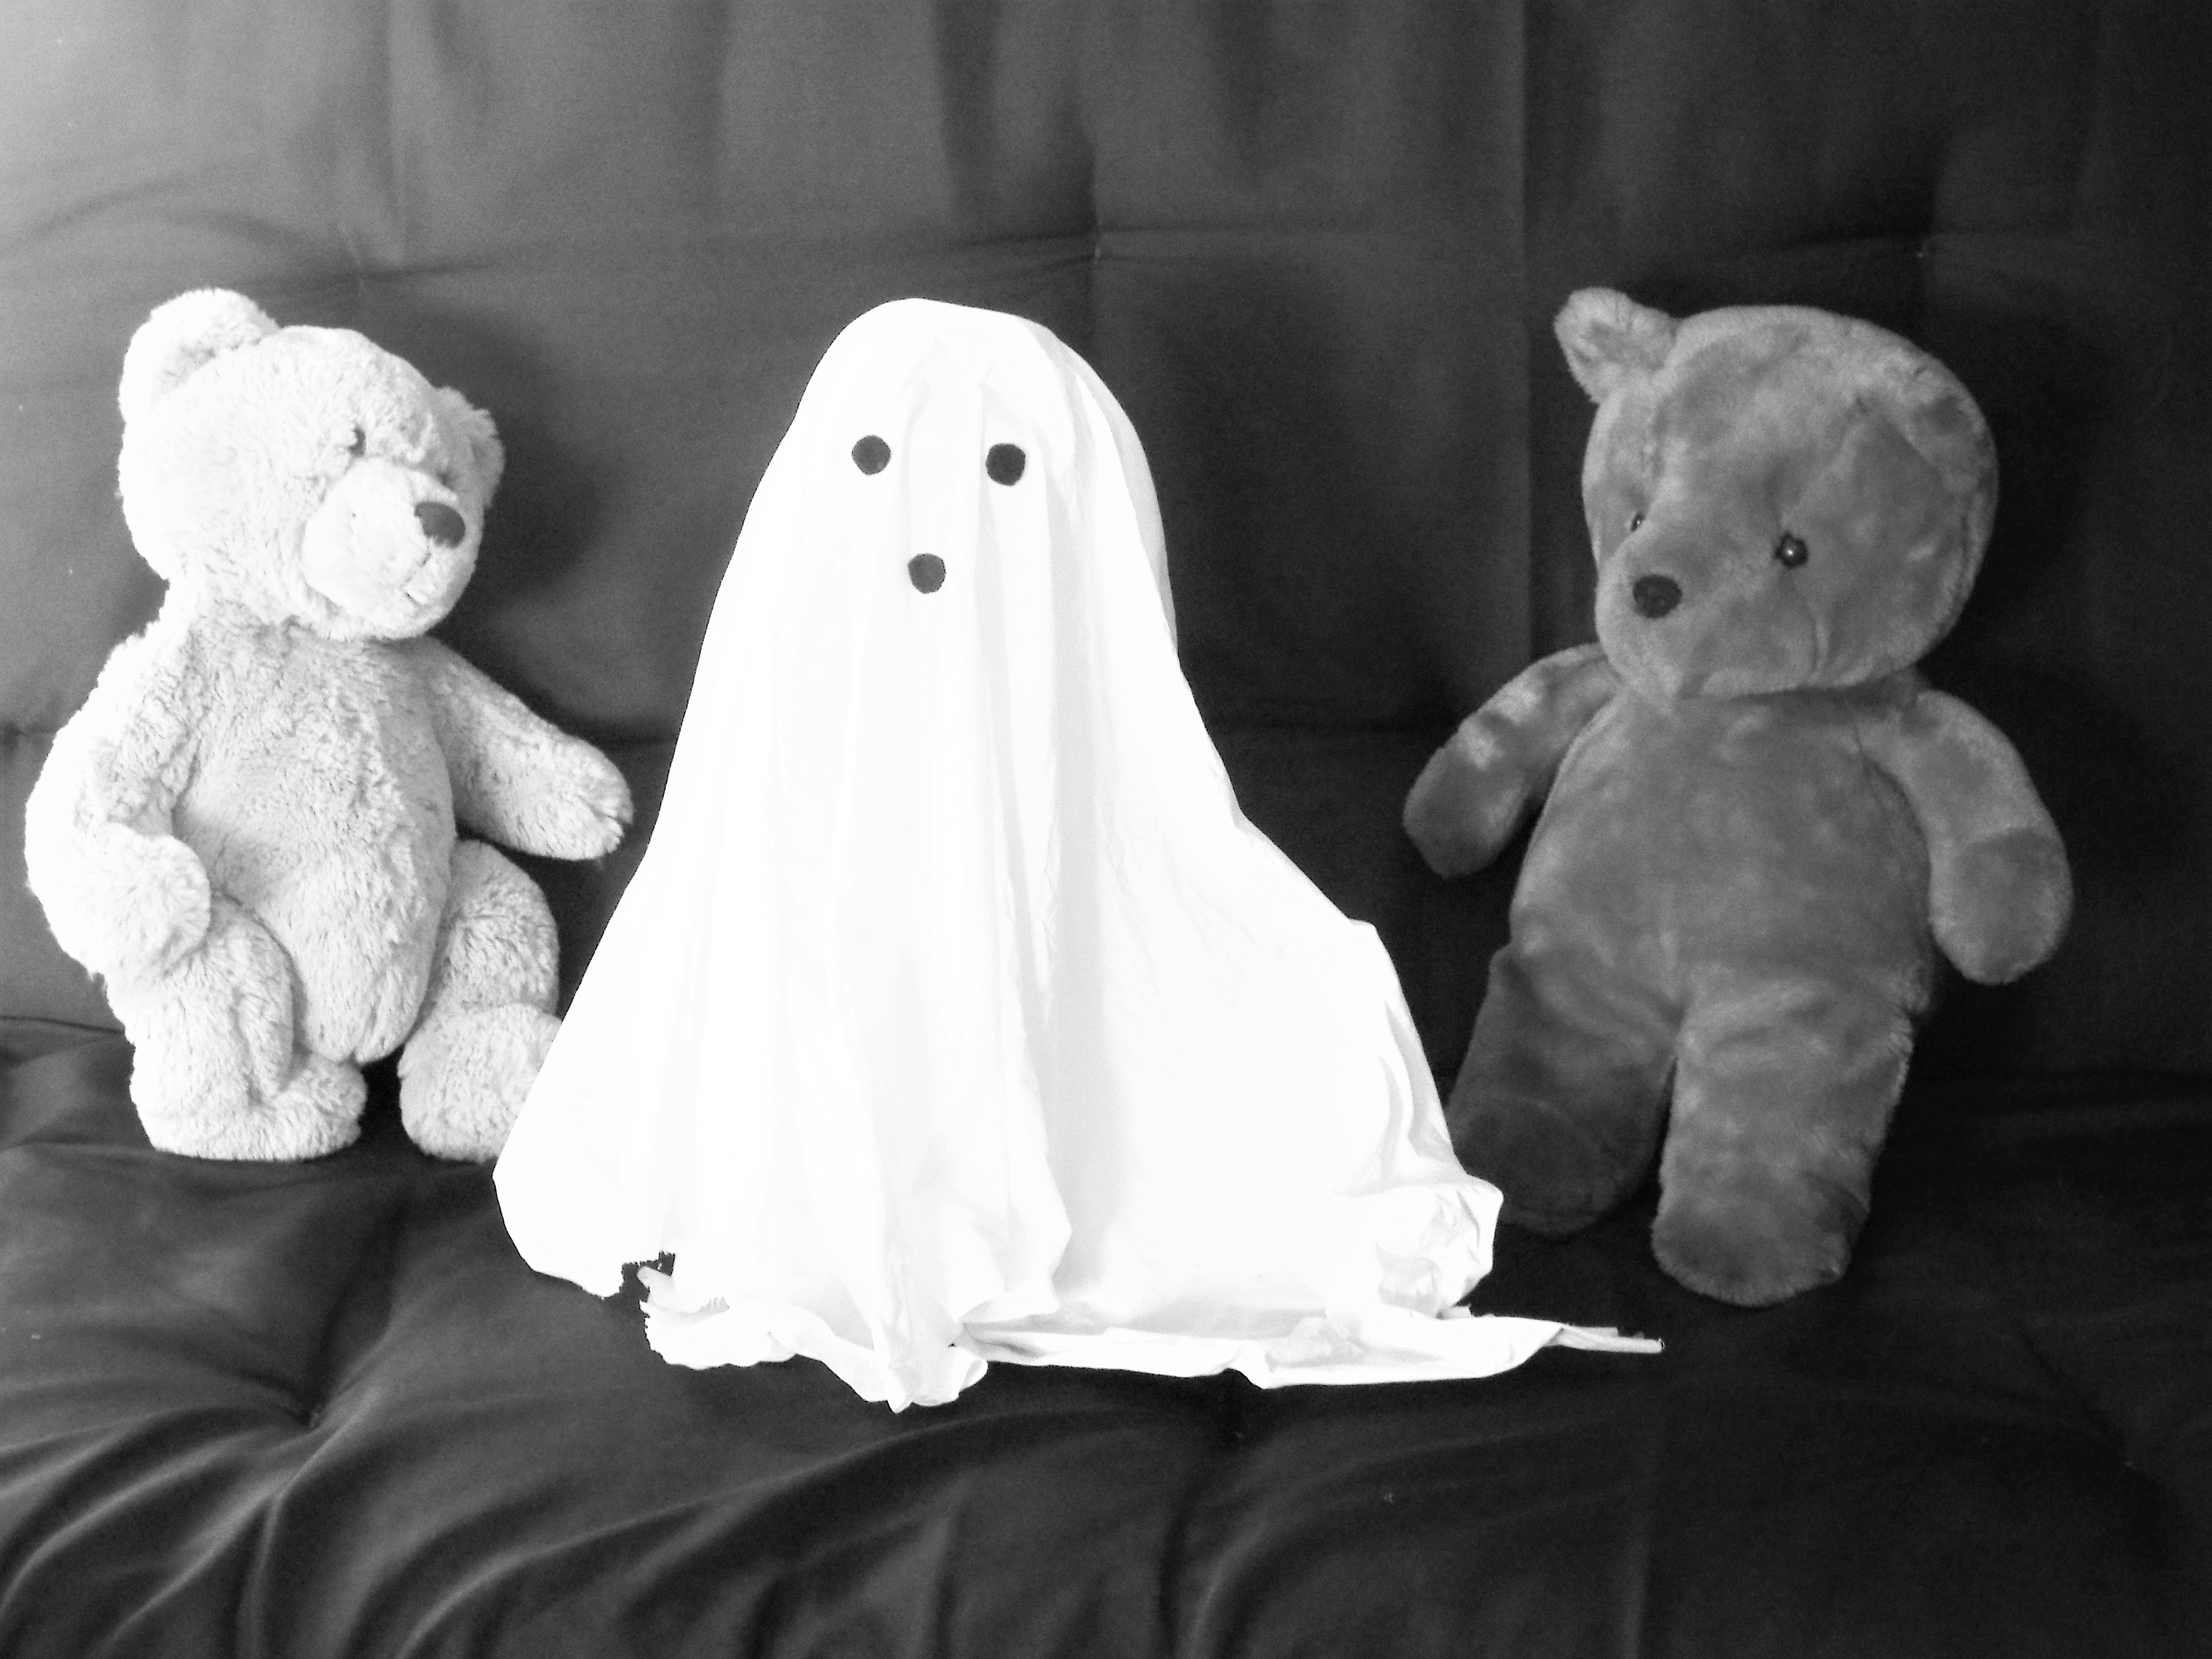
THE BEARS
The bears show their “light side” by playing with a strand of heart-shaped lights!

QUOTE OF THE WEEK:
“In dreams and in love, there are no impossibilities!” – Janos Arany
Enjoy!
Roy and Kevin


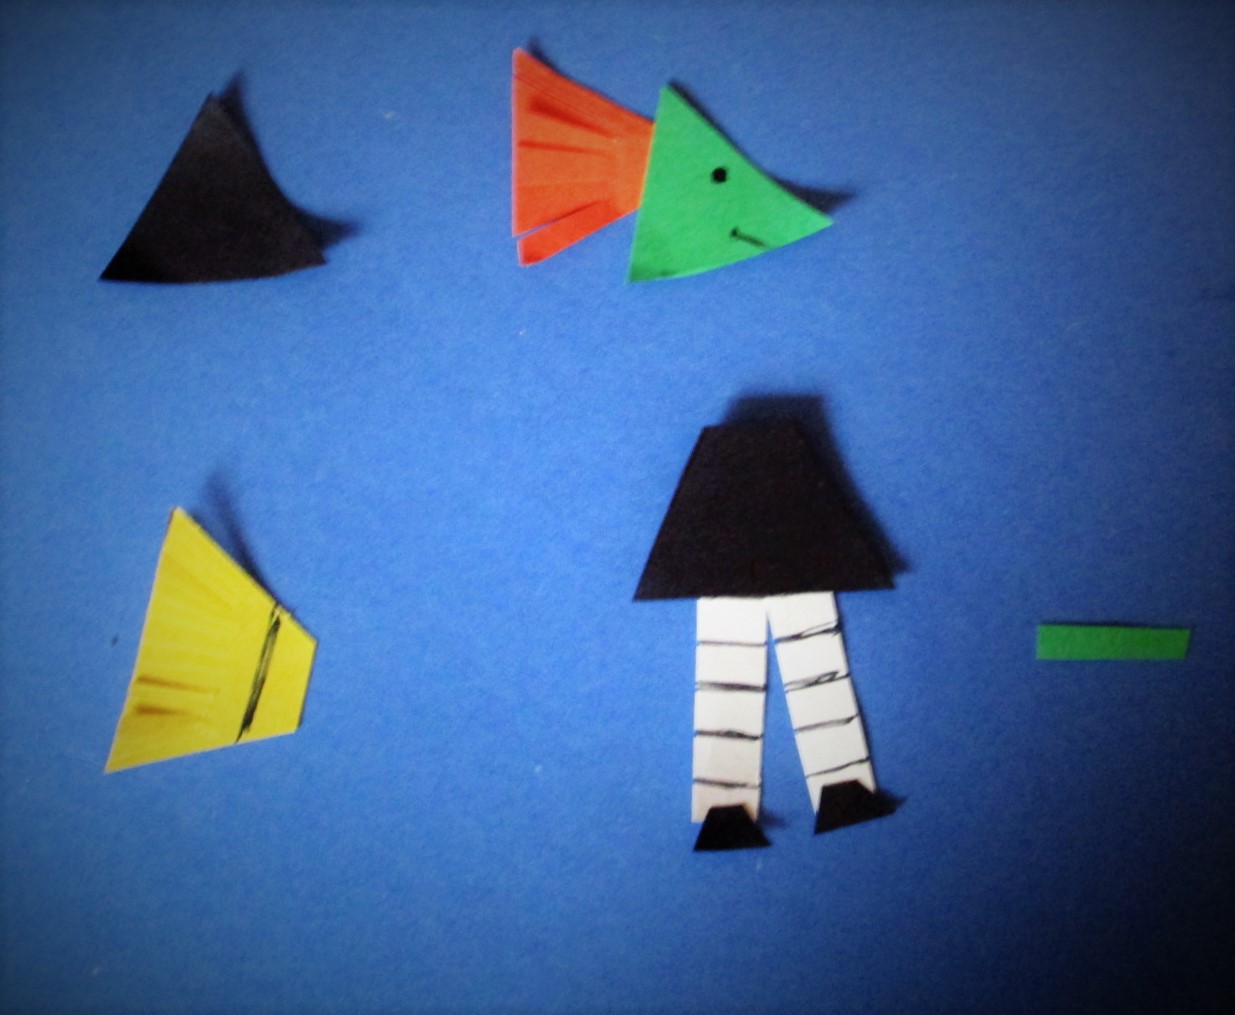
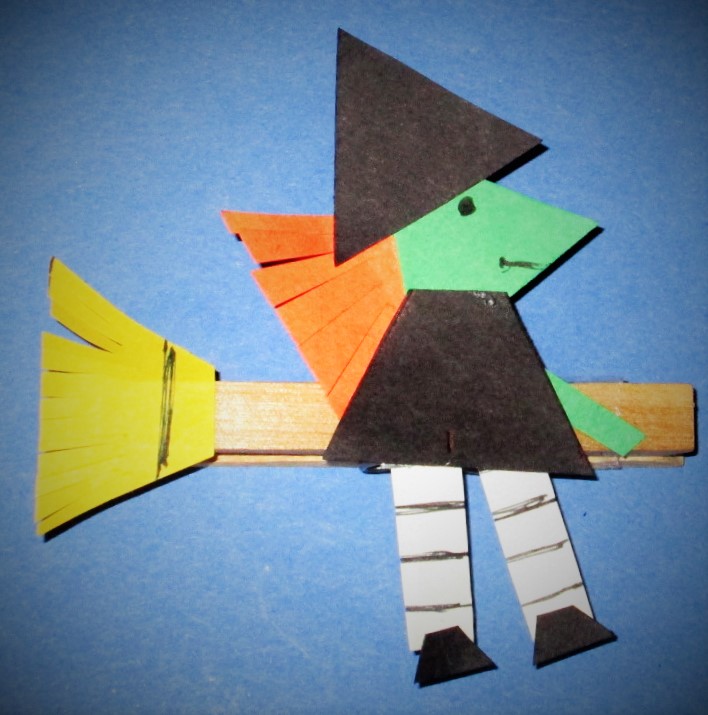
 ilateral triangles: