Monthly Archives: September 2016

Pine Cones 102 – Not So Itsy-Bitsy Spider!

No living thing is ugly in this world. Even a tarantula considers itself beautiful.”

– Munia Khan (poet) Source: Goodreads

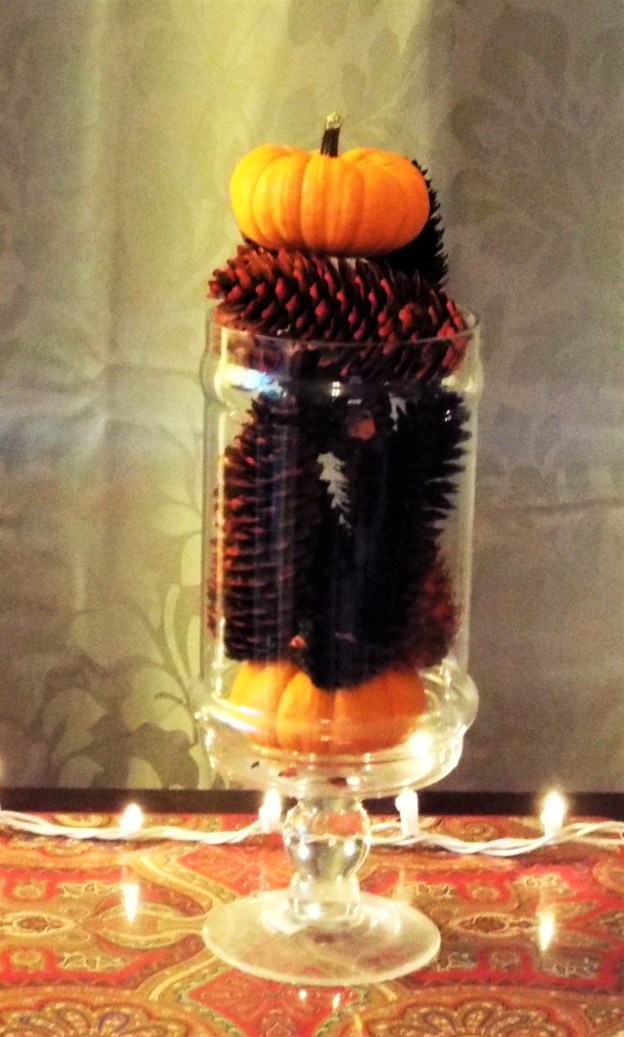
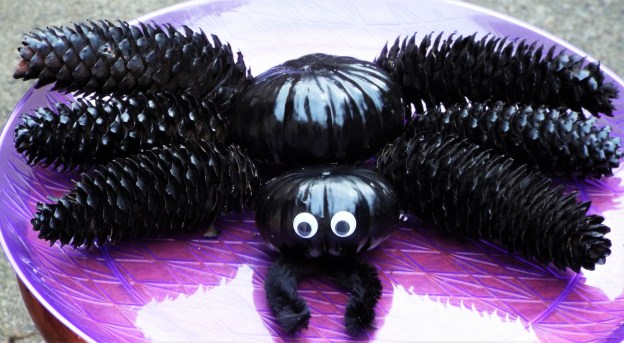
For our second mini-blog, we created a spider out of pine cones and mini pumpkins. A fun project to do with your kids. Perfect for Halloween!

You will need:

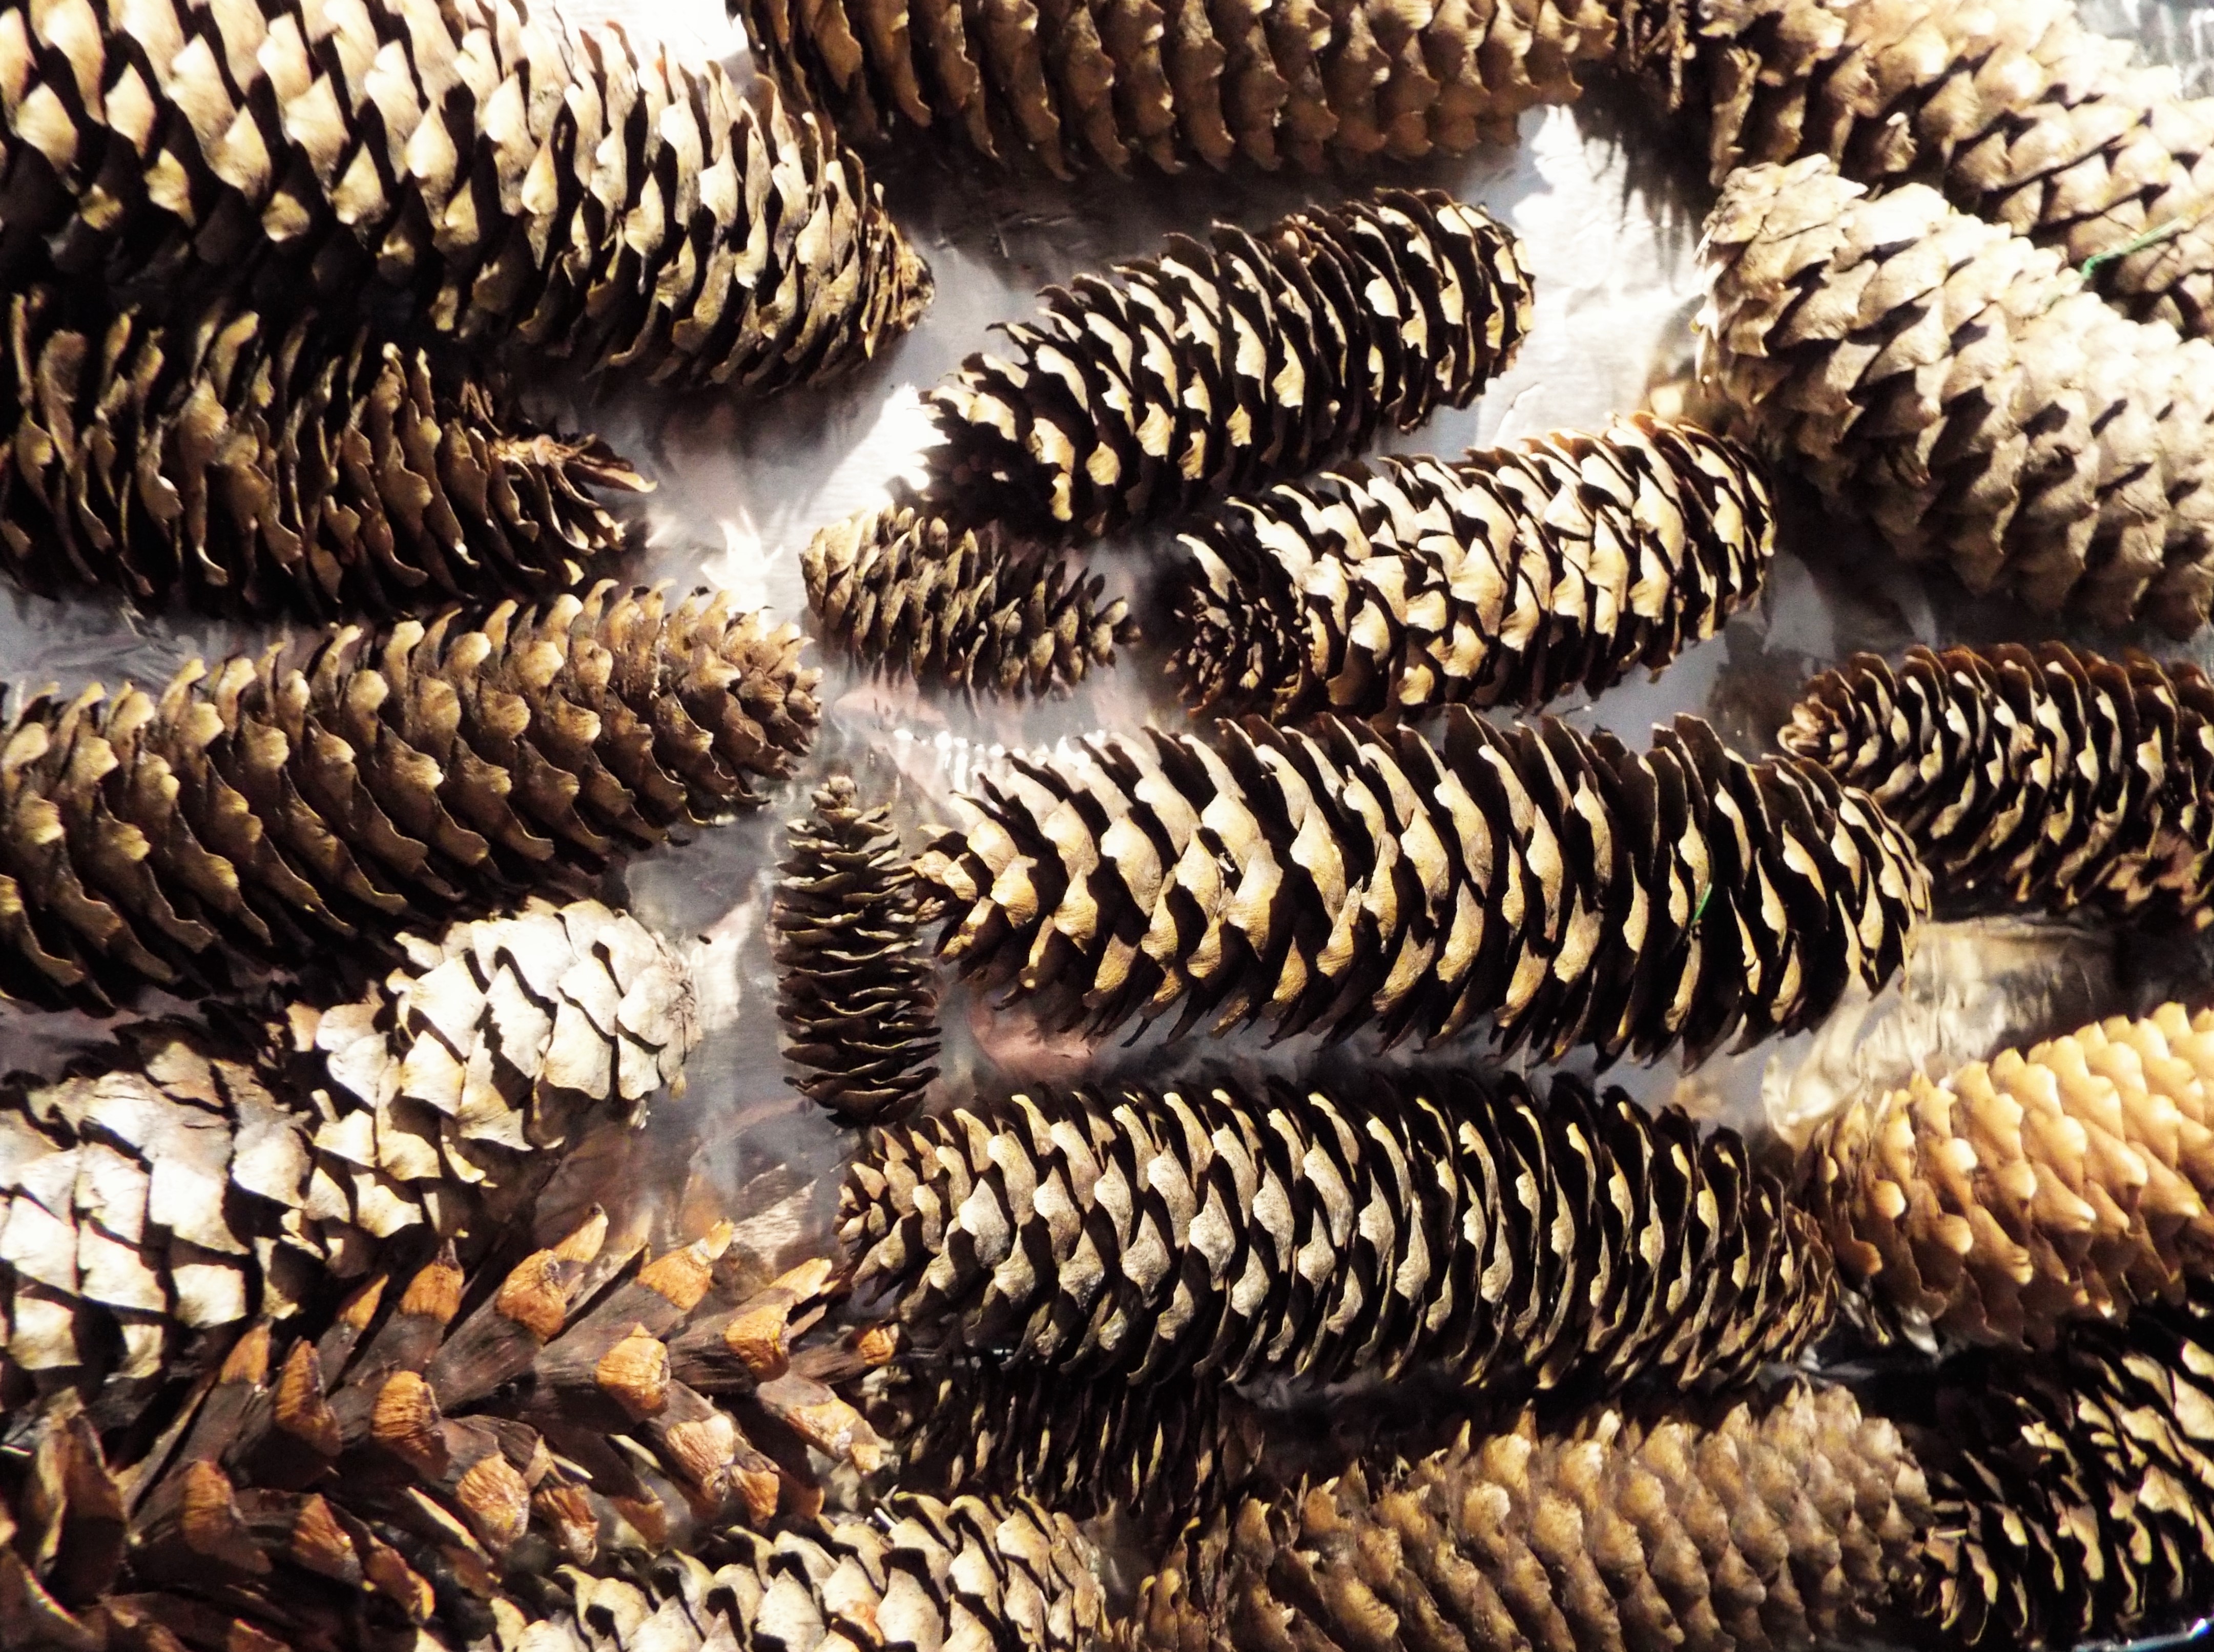
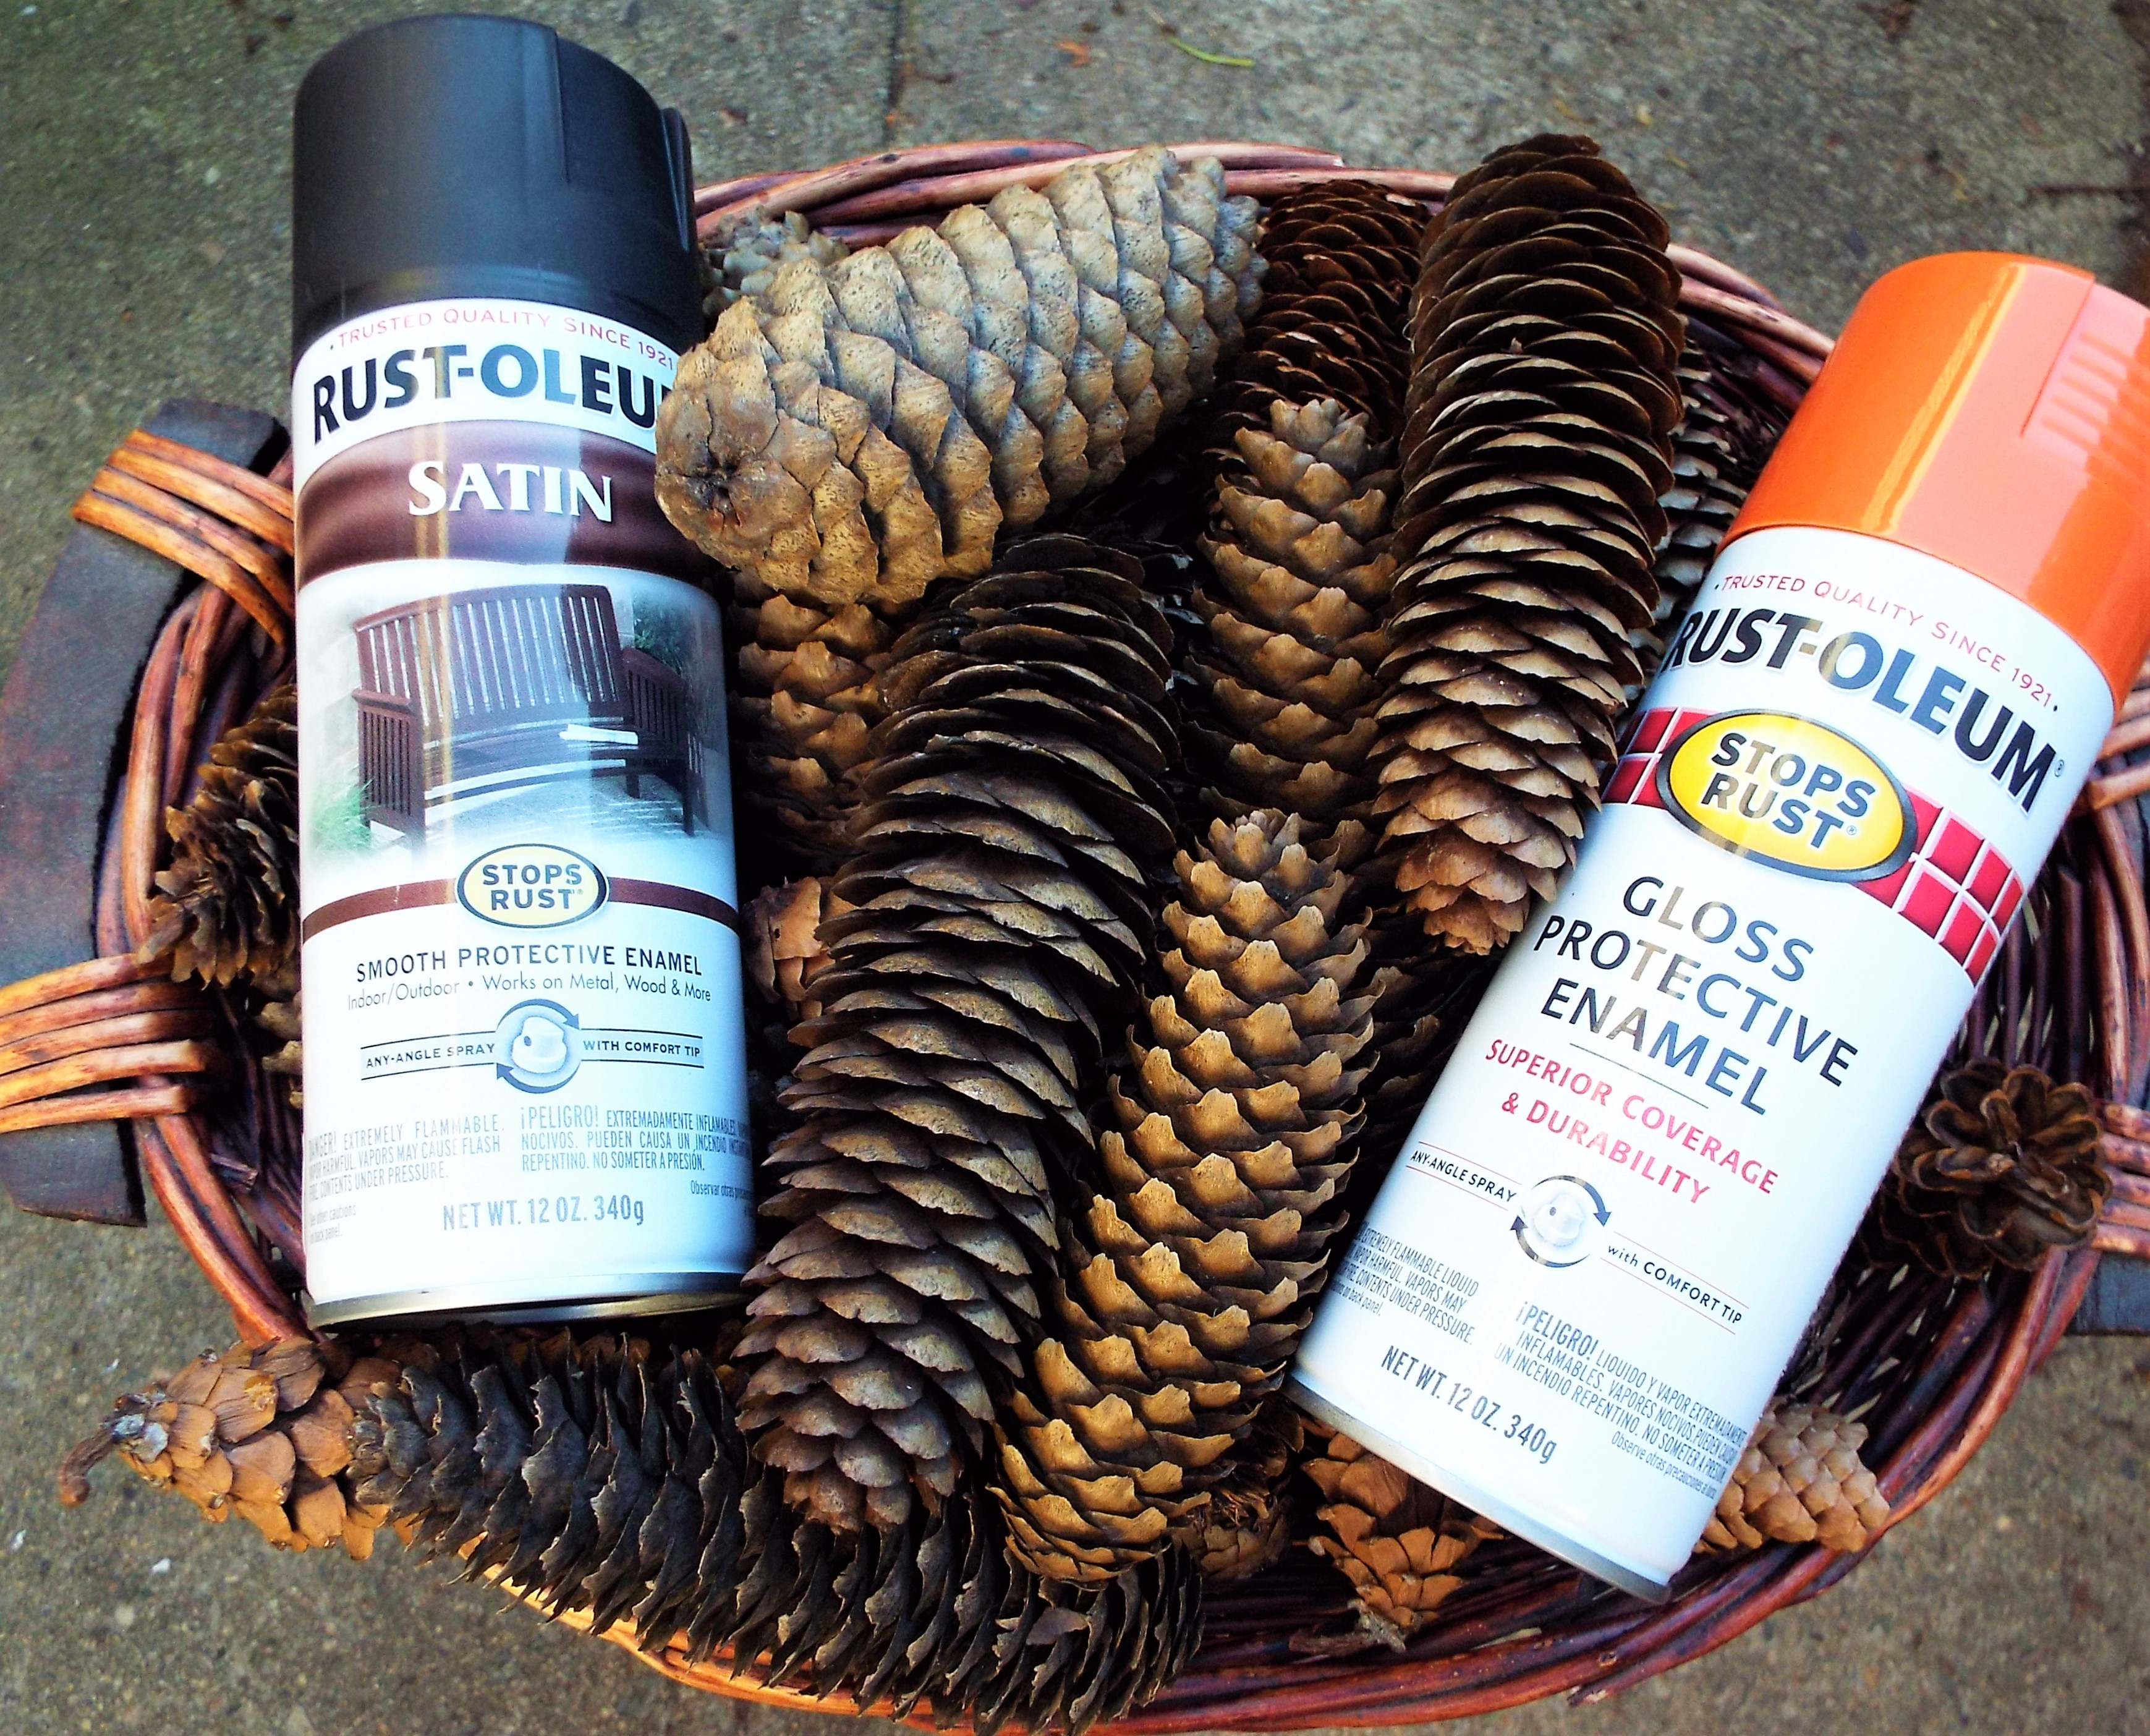
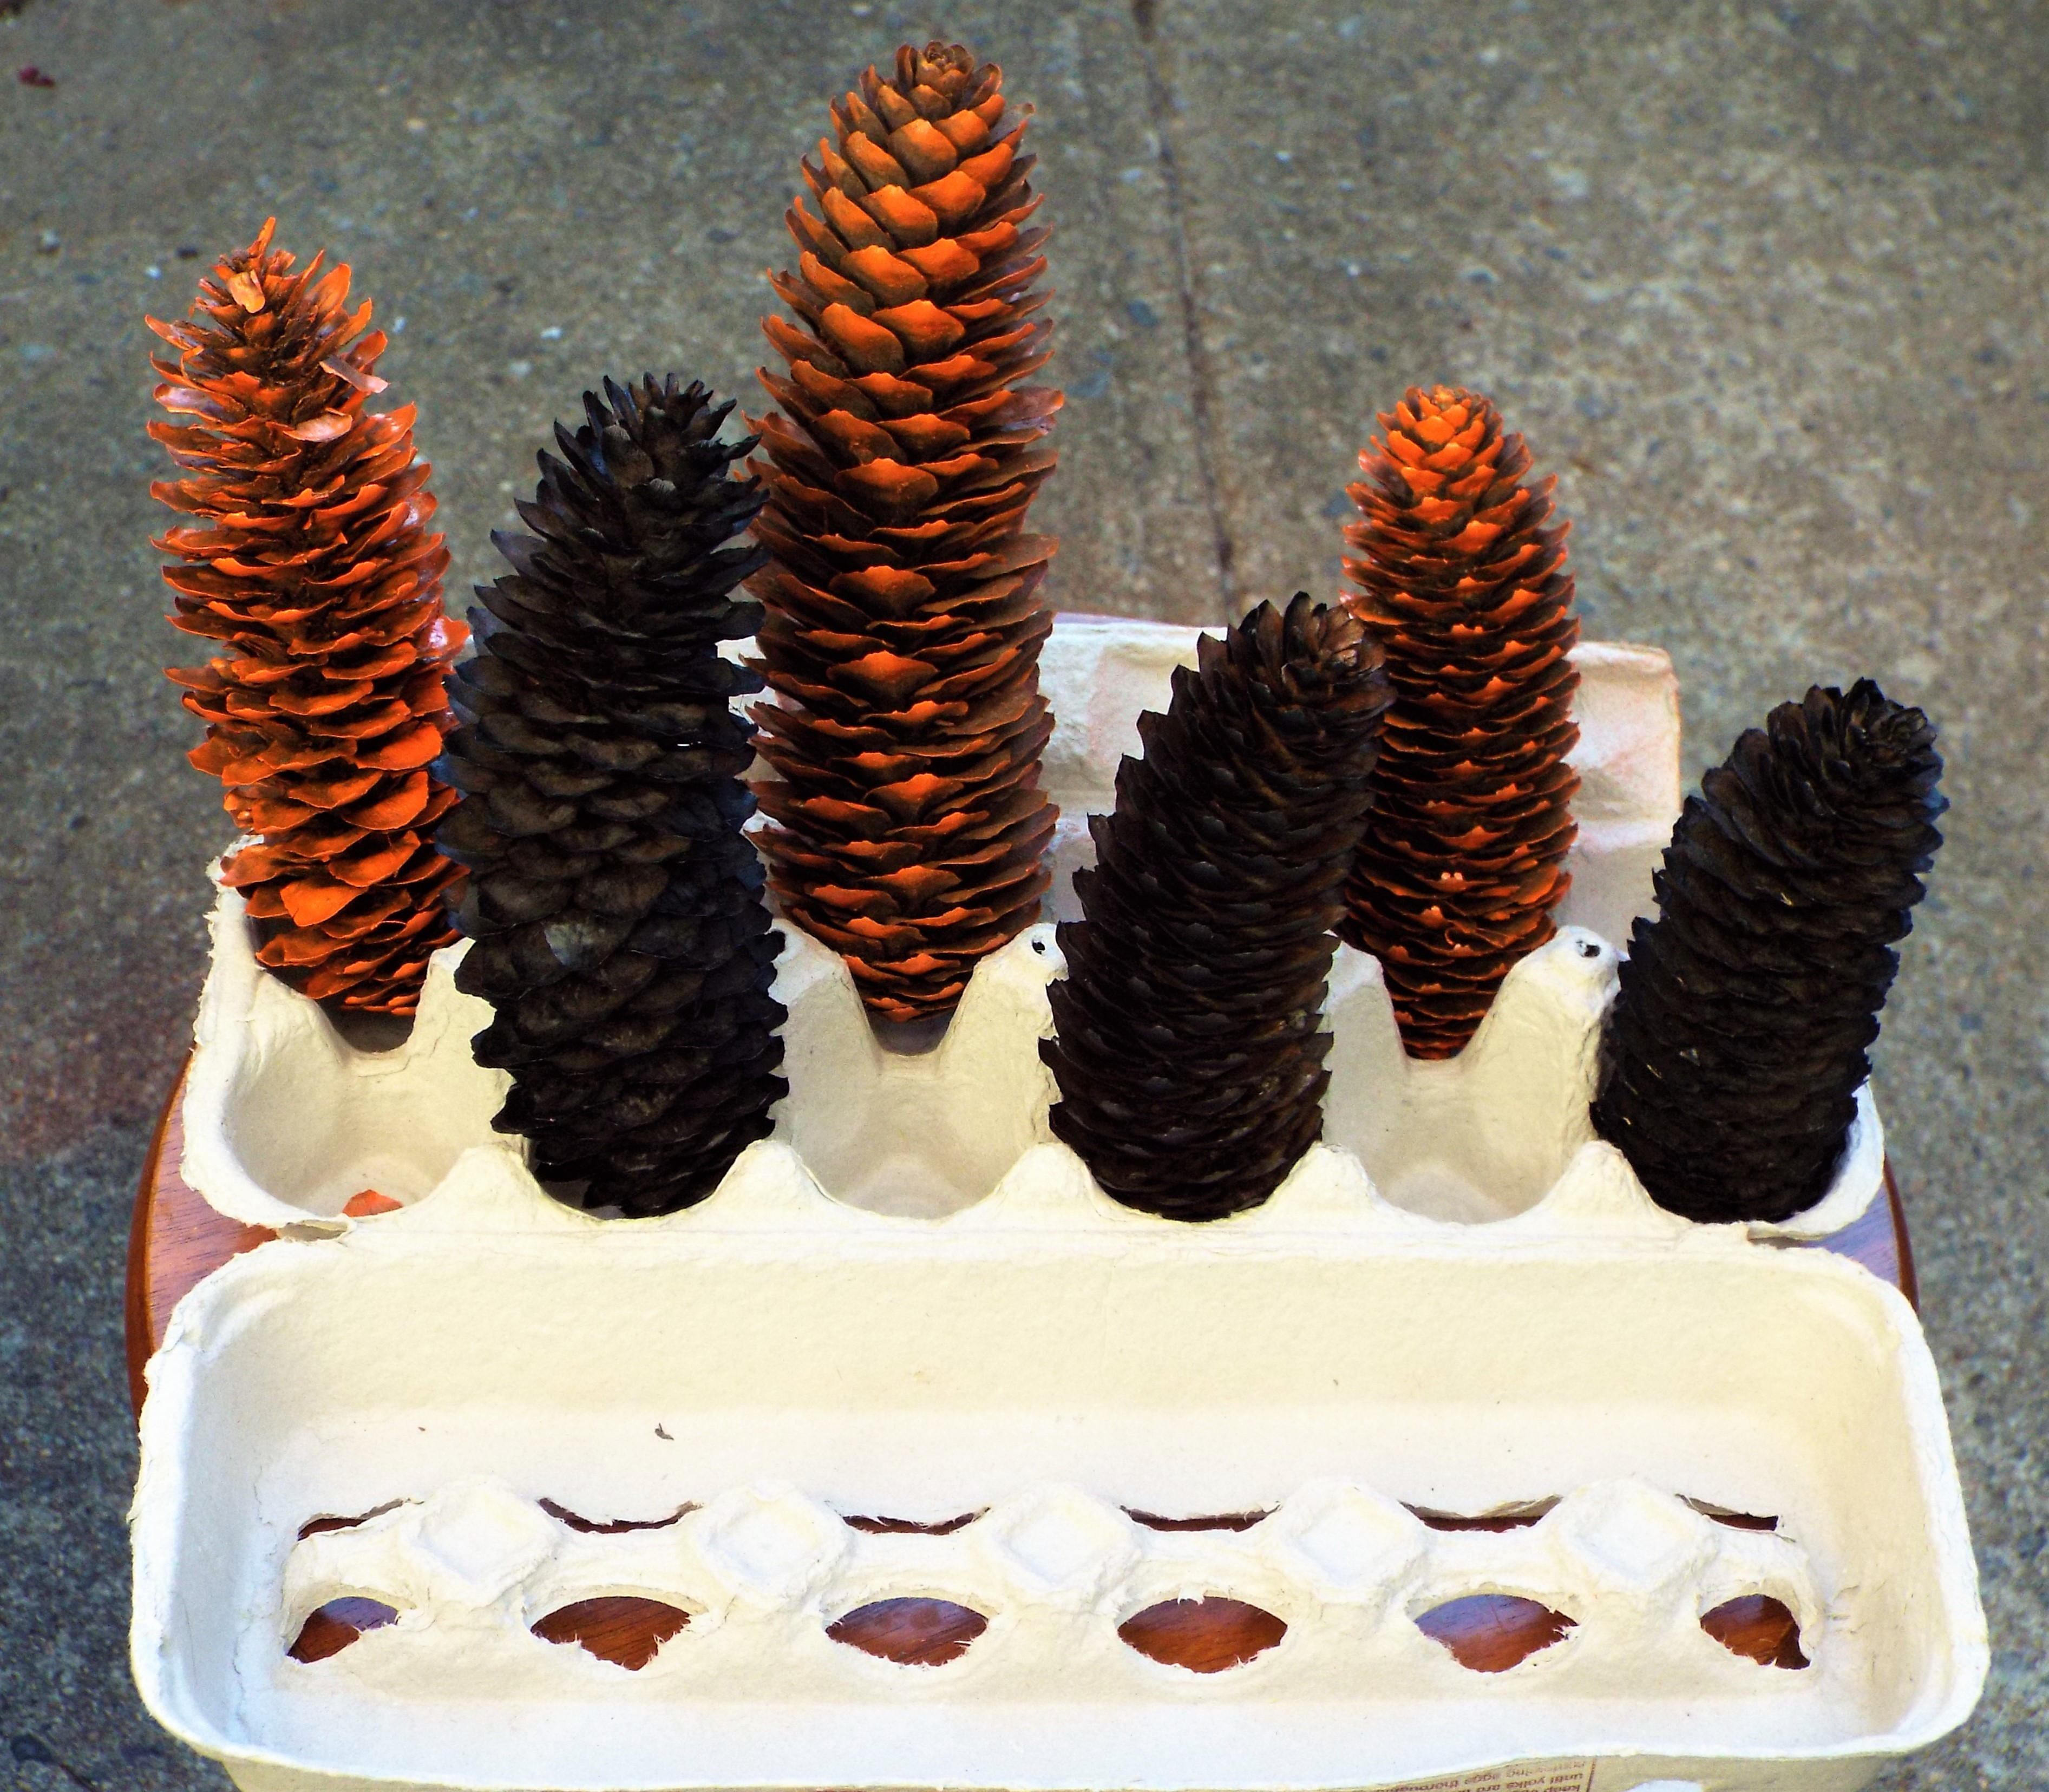
  • Six 5-inch pine cones
  • One 3-inch mini pumpkin
  • One 4-inch mini pumpkin
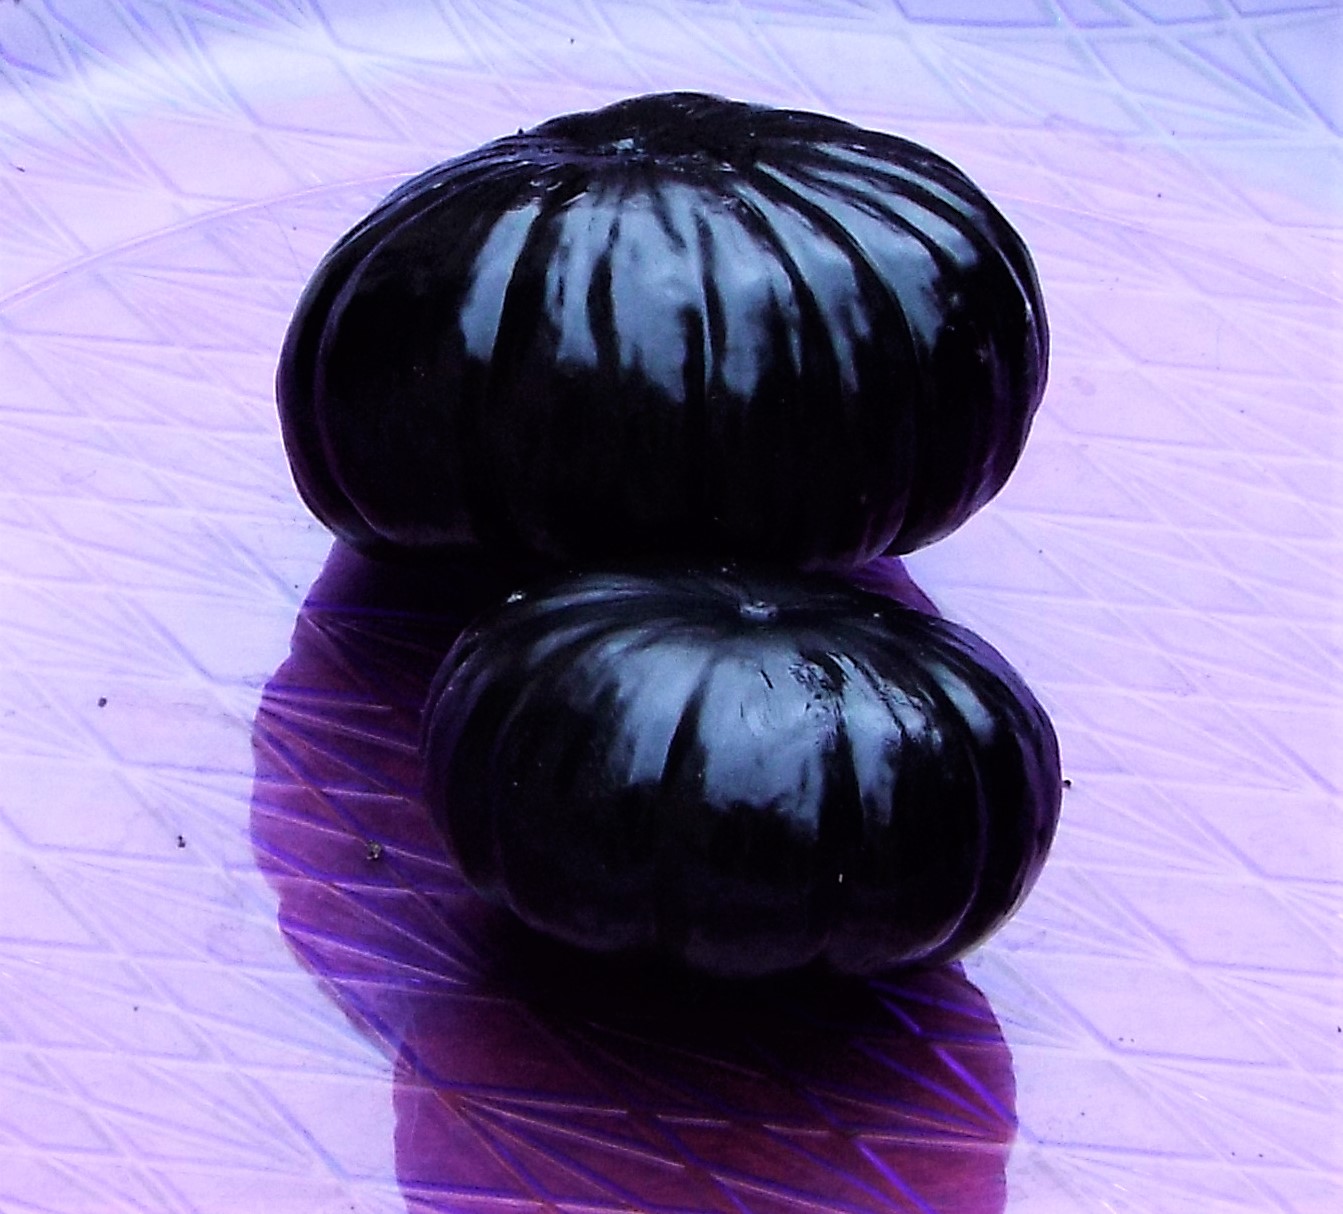
  • Black spray paint (Satin finish)
  • 1 black chenille stem (we used Jumbo Fuzzy Sticks from Target) cut to 5 inches
  • Craft glue
  • Two 1/2-inch googly eyes
  • One 14-inch platter

How to create your spider:

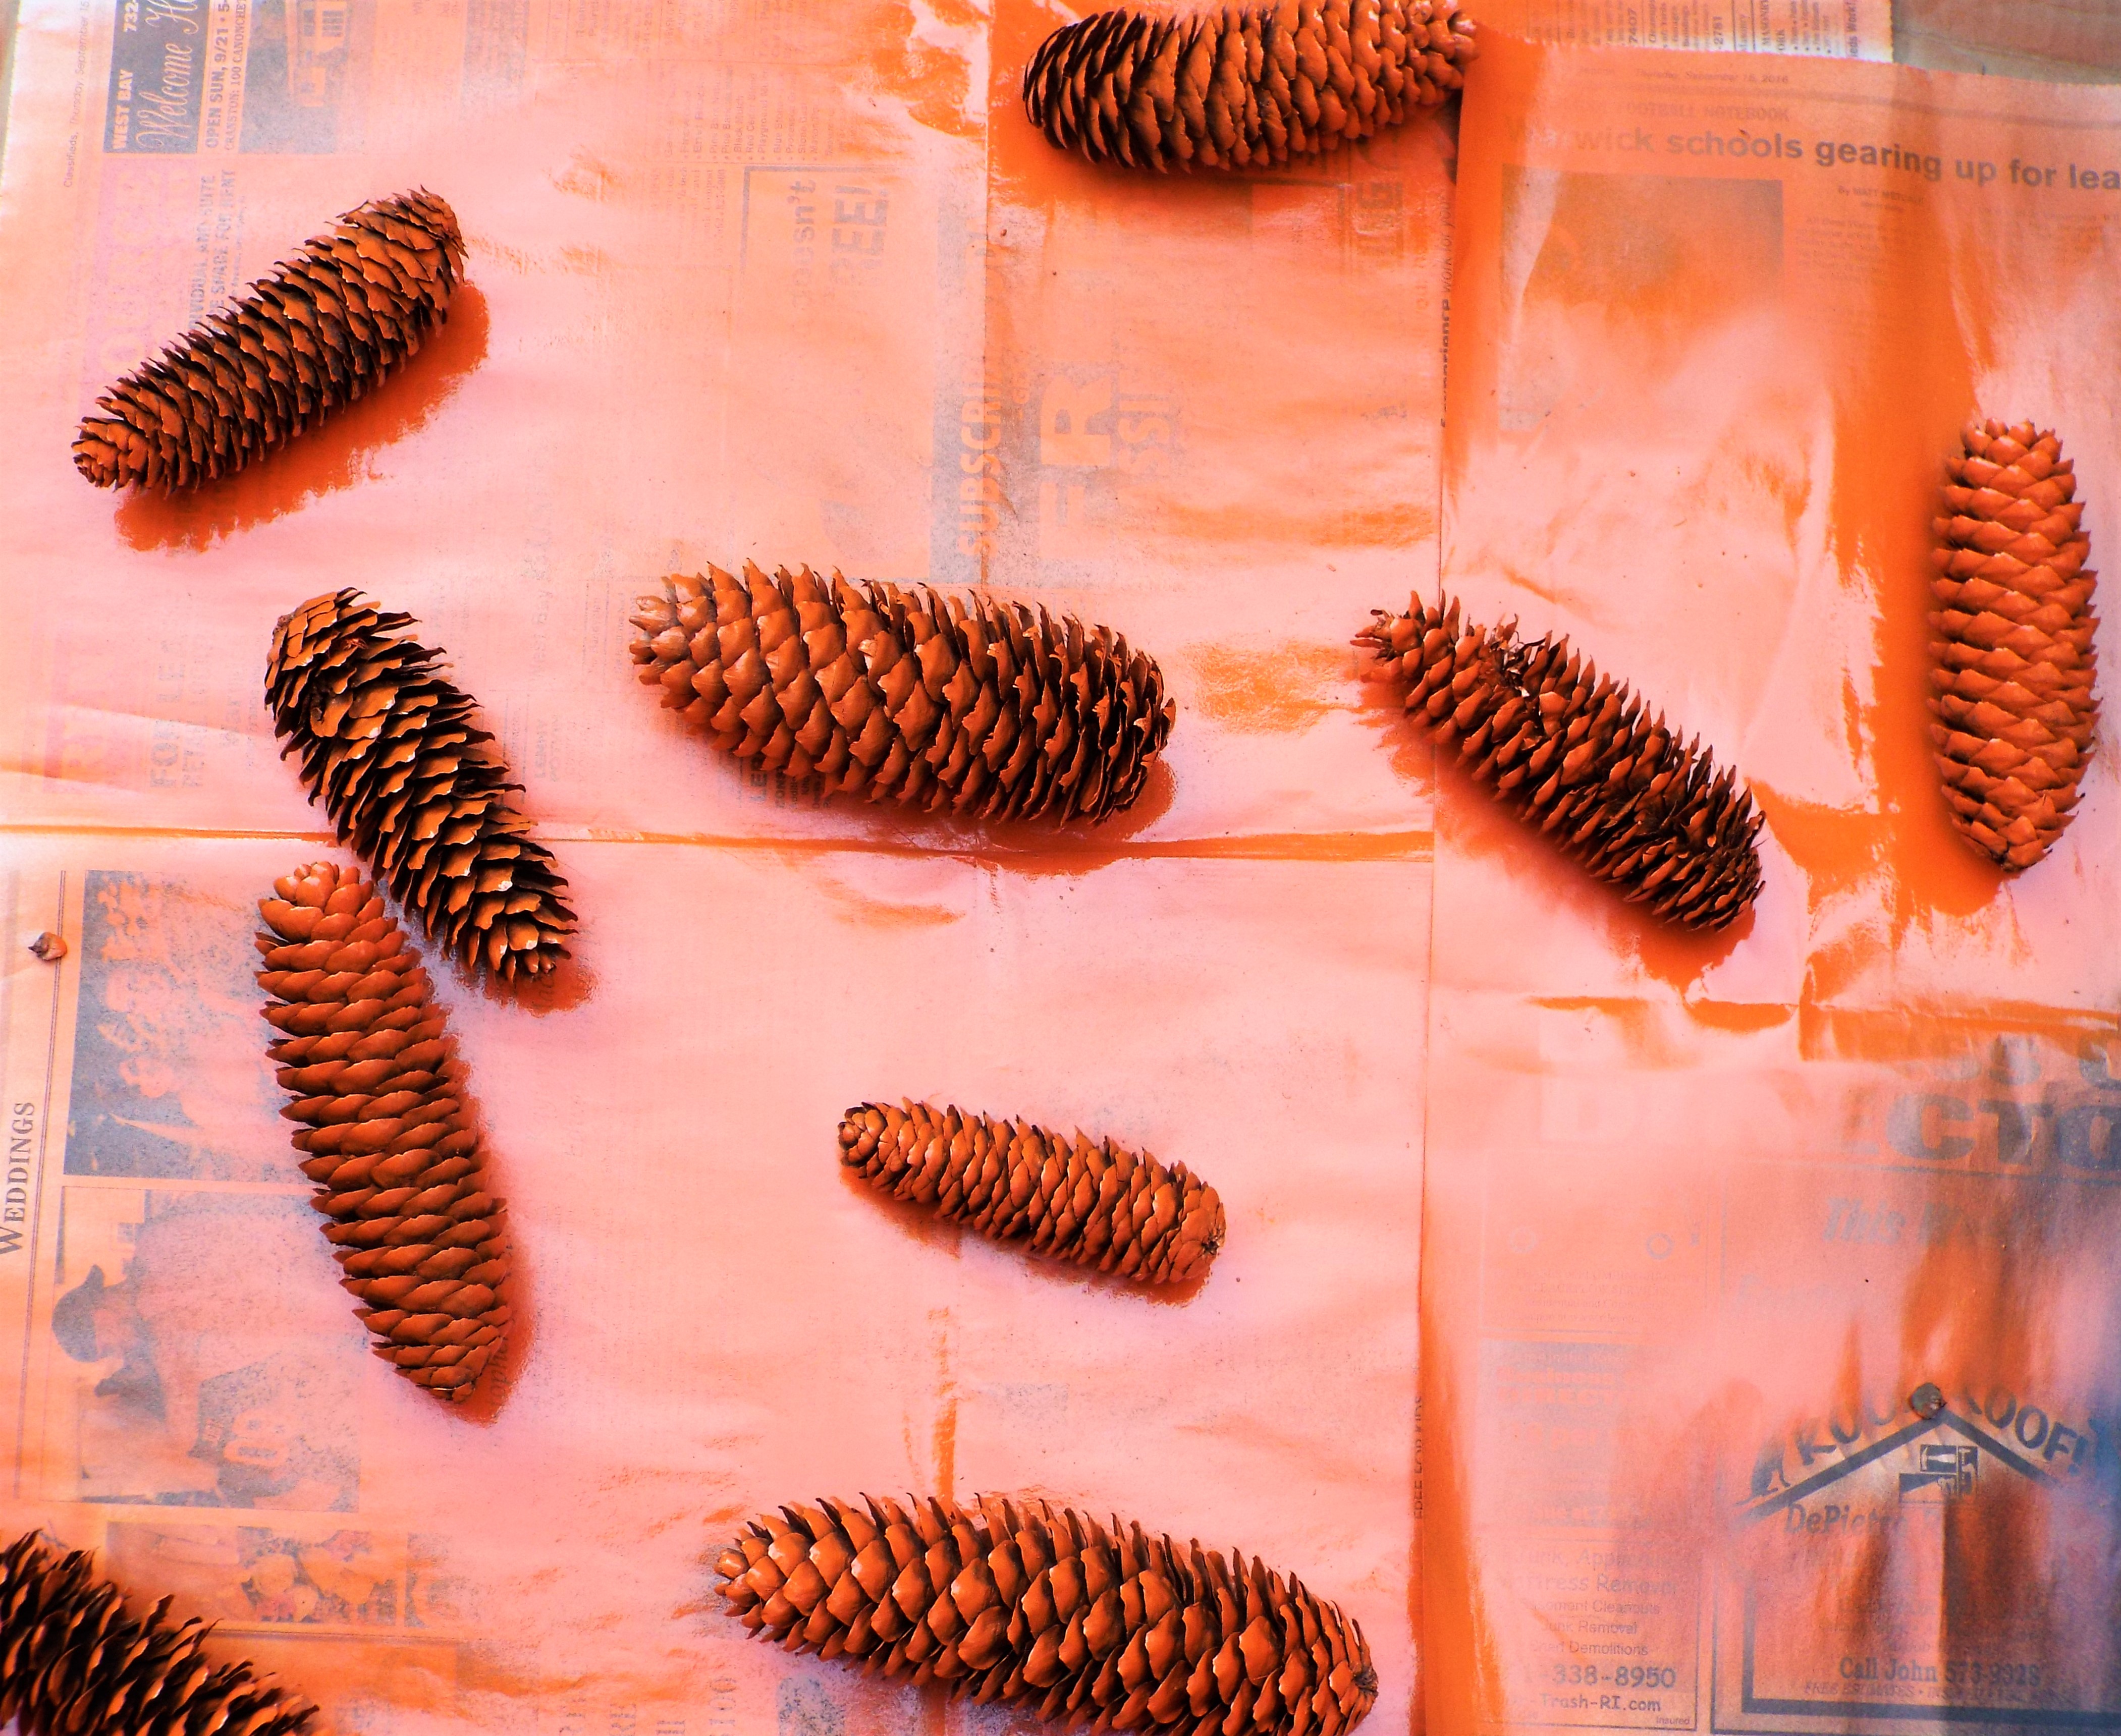
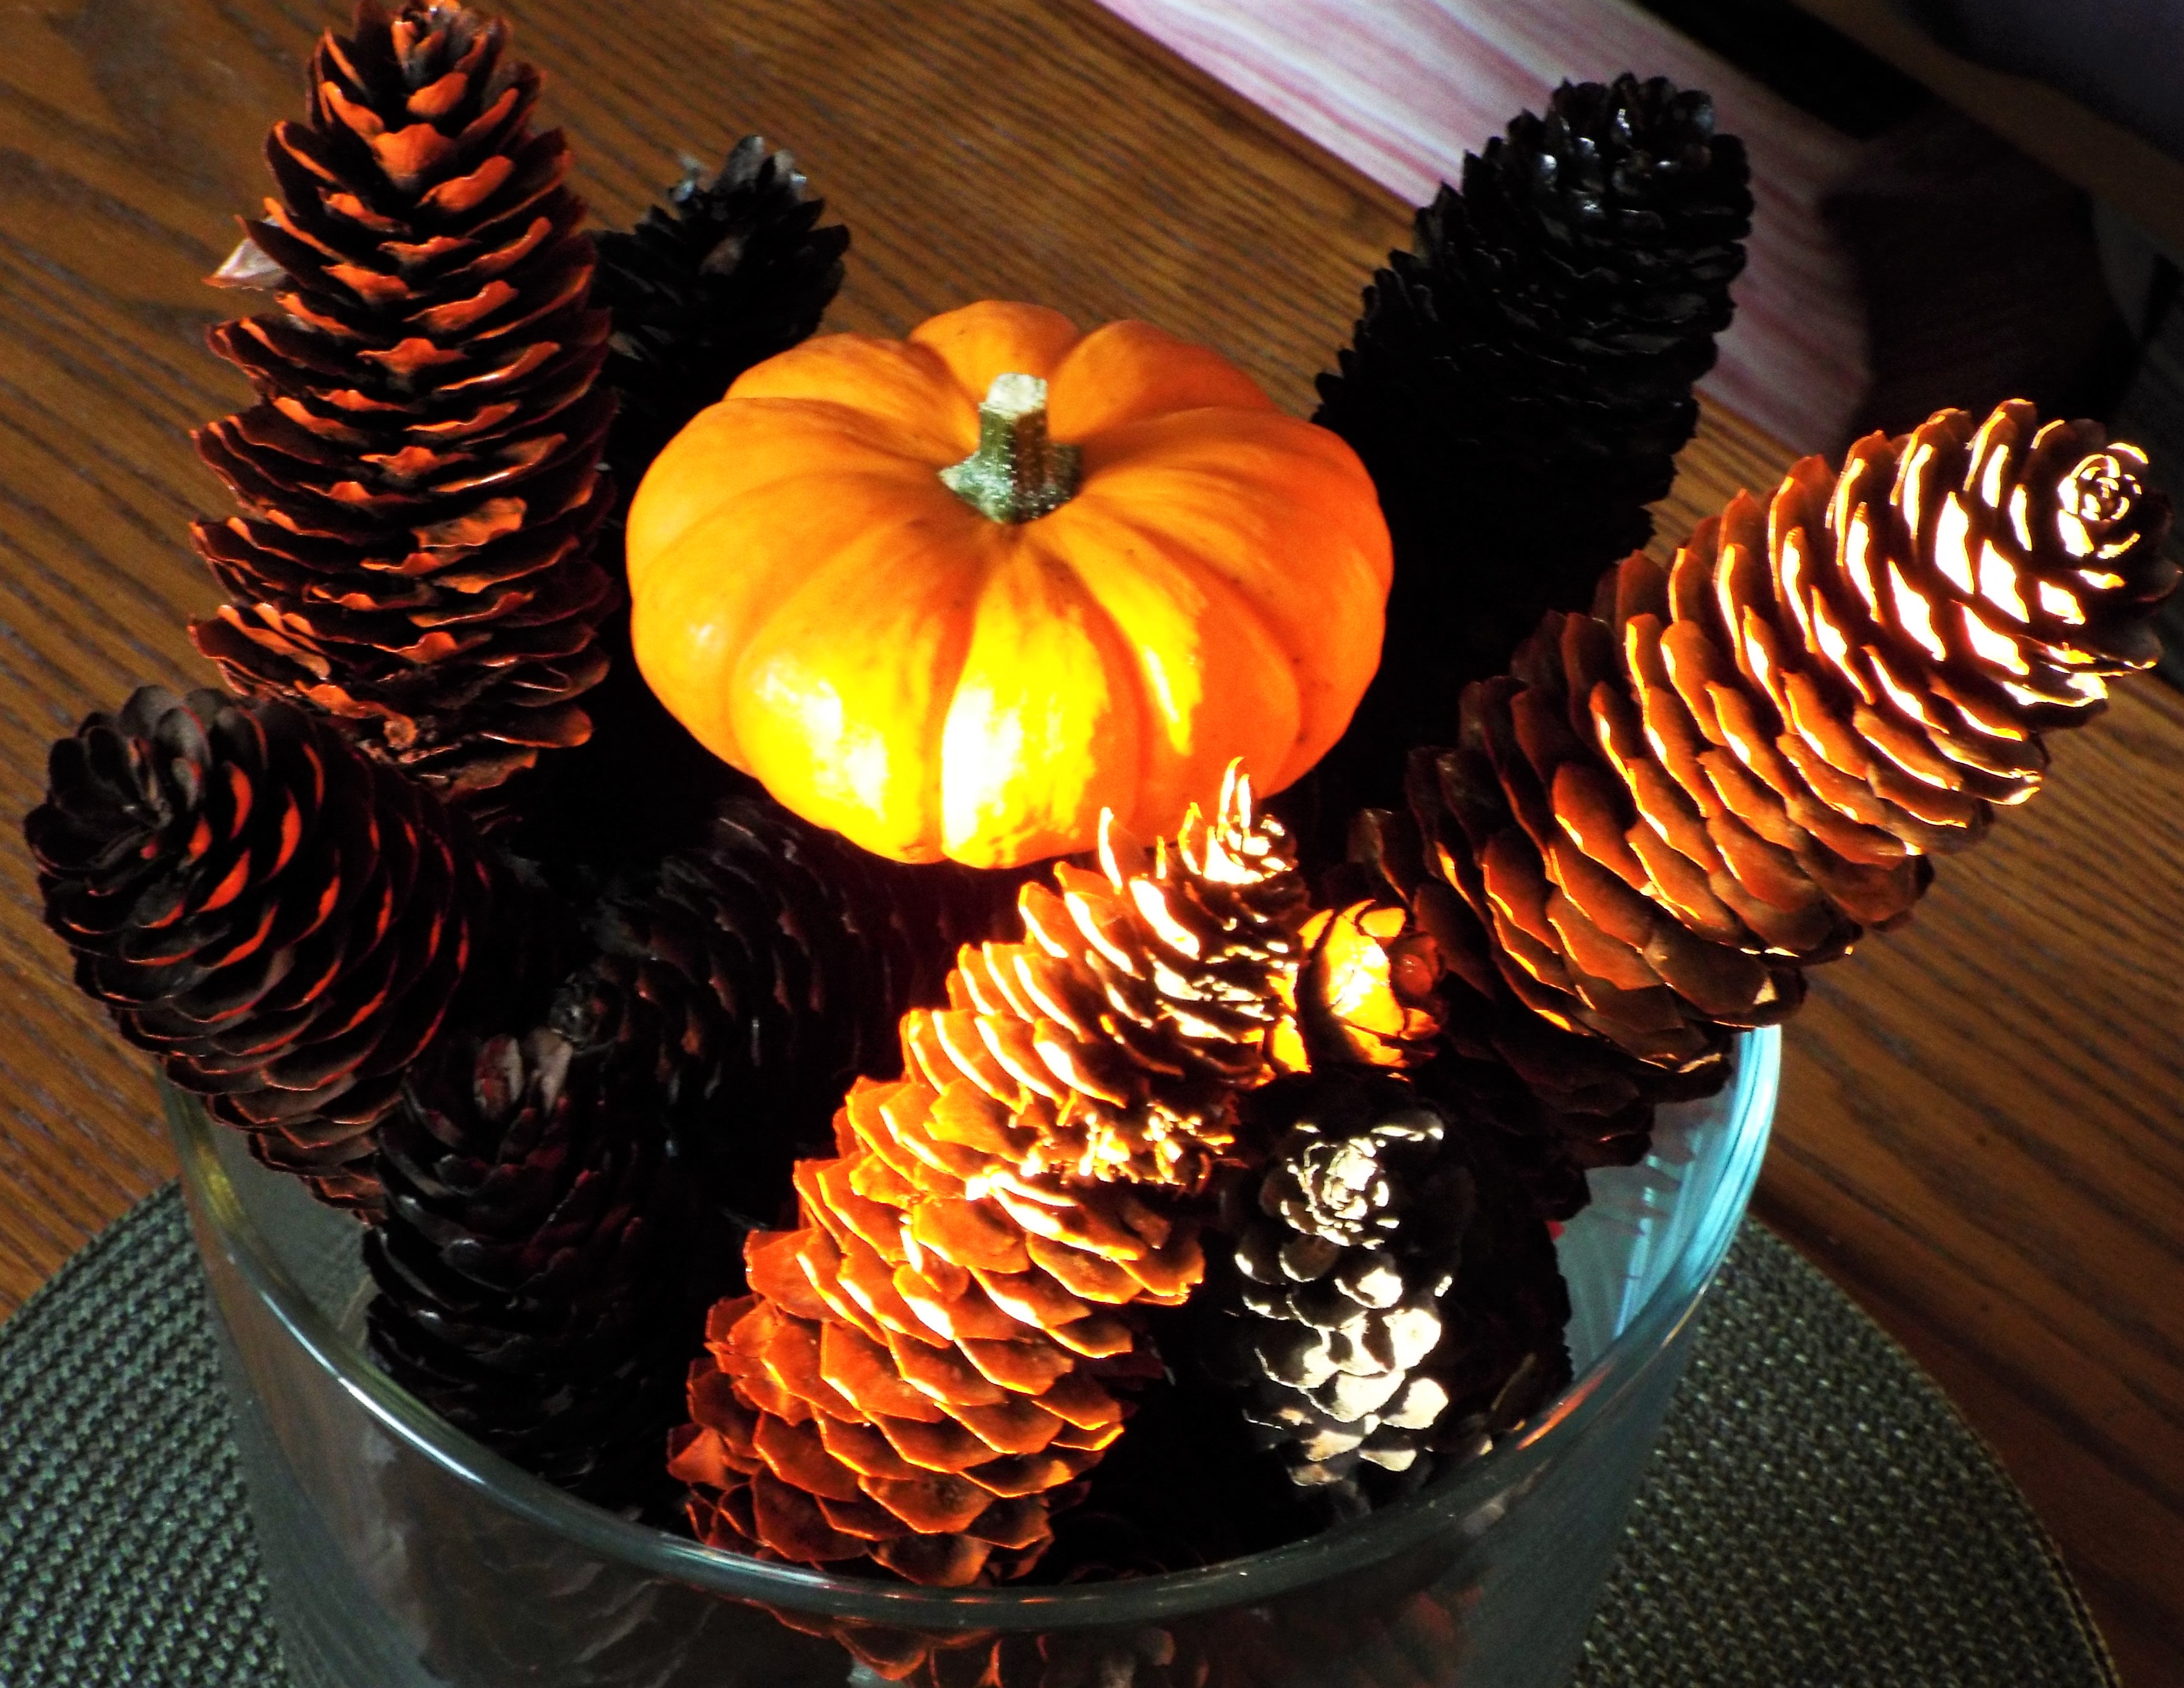
  • In a ventilated area, spray paint pumpkins and pine cones thoroughly. Use newspapers to protect surfaces.
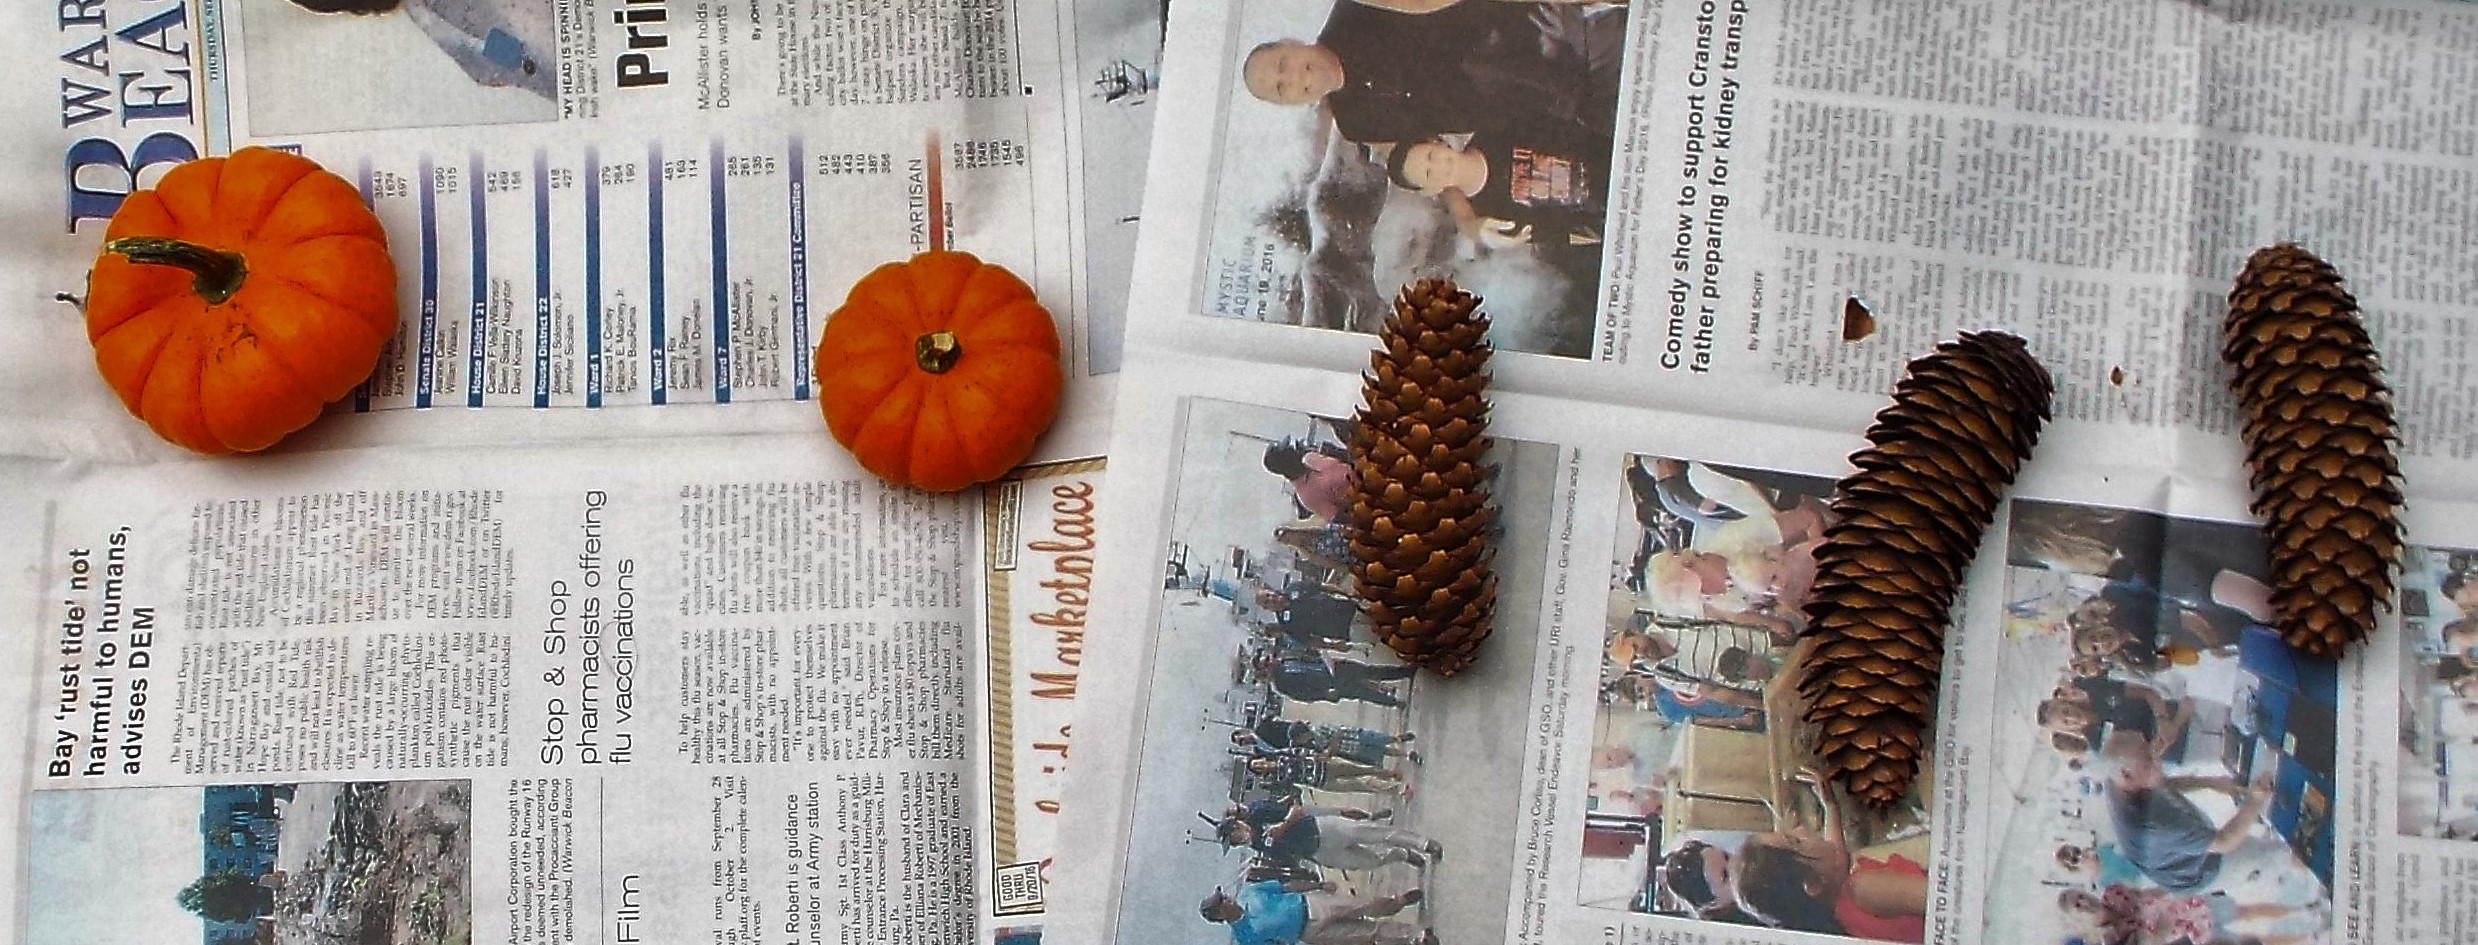
dscf4298-3 dscf4300-3

  • Allow to dry.
  • Place 3-inch pumpkin upside down below and in front of the 4-inch pumpkin on the platter or whatever you choose as a base.

dscf4331-2

  • Add googly eyes with craft glue. (Some come with adhesive backs, use those if you have them.)

dscf4335-2

  • Decide which pine cones go where. We used larger pine cones as the back legs.
  • Place 3 legs on each side.
  • Bend chenille stem to create feelers and position under spider head.

dscf4321-2

Watch the bugs (and some people) disappear in fear!

Hint 1: This display is temporary because we will be using the parts for future holiday decor. Stay tuned! For more permanence, attach spider parts to platter with double stick tape.

Hint 2: If paint comes off pumpkins during assembly, touch up with quick drying, matching acrylic paint.

Be creative with your spiders! Use colorful googly eyes, make a purple spider or whatever you favorite spider color is, add stickers and designs. We’d love to see pictures of your creations!

Enjoy!

Roy & Kevin


Advertisement

Pine Cones 101

” You can’t use up creativity. The more you use, the more you have.” – Maya Angelou     Source: Goodreads

dscf4219-2

For the first in our mini-blog holiday crafting series, we feature one of several pine cone entries, starting with a centerpiece made with painted pine cones. This is an easy, fun, affordable idea whether you use pine cones you find in nature or buy at your local craft store (don’t forget to use coupons!). Here is what we did. (Figured you were “pining” to know all about it!)

PREPPING THE PINE CONES

If you find your pine cones in nature, they will need a little prep to make them usable for crafting and decorating.

There are a couple of ways to prepare your pine cones. The method we used was to bake them in a pre-heated 200 degree oven for 1/2 hour, and allow them to dry for a couple of days.

For more about pine cones preparation, check out this link:

http://tipnut.com/how-to-prepare-preserve-pinecones/

PAINTING THE PINE CONES

dscf4245-2

  • We chose orange and black for this fall and Halloween craft.
  • The cones were spray painted in a well ventilated area. (Our patio fit the bill.)
  • A disassembled cardboard box covered with newspaper protected the concrete floor.
  • One side was painted, allowed to dry a half hour, before turning over and painting the other side.

dscf4231-2dscf4230-2

Stand pine cones up in saved egg cartons to allow for thorough drying.

dscf4239-2

Bonus Craft Tip: Save your egg cartons, they work well for paint projects and for storing small items such as beads and pins.

Plan ahead – avoid the fumes!

We prefer to use spray paints outdoors. If you are planning to spray paint pine cones, or anything for Halloween, Thanksgiving or Christmas, do so before outdoor temperatures get too cold. For best results, spray paints should be used in 50-90 degrees Fahrenheit.

EASY AUTUMN CENTERPIECES

Once our black and orange pine cones were ready, we created these centerpieces using a glass trifle bowl and vase. Pump it up with a couple of mini-pumpkins!

Pretty and simple!

Here are a couple of different versions:

dscf4288-2dscf4277dscf4264

More pine cone and holiday craft mini-blogs coming soon!

Enjoy!

Roy & Kevin


‘Tis the season for holiday crafting!!!

“Imagination is everything. It is the preview of life’s coming attractions.”                                – Albert Einstein Source: Goodreads

We love making holiday crafts, but always seem to be doing them last-minute. Never will forget finishing handmade family Christmas ornaments in the car one Christmas Eve! (Sometimes having a 2-hour drive is a good thing.) This year, we are starting our holiday crafting early and thought we’d do a few “mini-blogs”, short posts featuring some of our favorite holiday craft ideas.

This week, we offer some ideas to make the crafting process easier and less expensive. Here are a few things we do to get ready:

BRAINSTORM

Write down any and all ideas you may have for holiday crafting. At this point, no thought should be discarded! The next day, re-visit your master list and factor in time and price constraints to develop your final craft plans for the season. If you are crafting with a partner, toss ideas back and forth. Very often, you’ll come up with good ideas which evolve into even better ones when two or more people are working together.

FIND INSPIRATION

Crafting ideas can come from anywhere. Check out crafting websites, borrow books and magazines from the library, watch craft segments on television, take a walk in your local park, or look at the decorations in stores and see if you can create your own versions.

HAVE A REALISTIC PLAN

Do you want to make things for every holiday that’s coming, or maybe just for one holiday? Do you have time to do what you would like to do? Keep your schedule in mind and be realistic about what you can accomplish. If you are following instructions, read them thoroughly before starting your craft.

GATHER MATERIALS

dscf4205-2

Before you start work on your creations, gather what you need in one spot and make sure you have everything you need. Check lists work great!

NATURAL MATERIALS

dscf4213-2

If your projects involve working with materials you’ve gathered in nature, do your research about how to clean them.

We have several large pine trees on our property and gathered a bunch of pine cones for this year’s first craft project. They needed to be prepared before using. The website below offers how-to’s if you are working with fresh pine cones. Check out our next mini-blog for some pine cone craft ideas that will take you from Halloween through New Year’s!

http://tipnut.com/how-to-prepare-preserve-pinecones/

COUPONS

dscf4212-2

Don’t forget that money-saving coupons for craft stores are available on-line or in your local newspaper. This time of year, the stores are battling for your craft dollar, so there are some great coupons. Take a look before you shop. We ask that you do not shop at Hobby Lobby – their corporate philosophy is not socially responsible.

HAVE FUN!!!

Remember to have fun and enjoy the process!

Enjoy

Roy & Kevin

September’s Bounty!!!

This week’s blog highlights a new (for us) kitchen gadget, a classic tomato salad, a garden update, and of course, the bears! Plus, we are announcing an exciting venture for the holidays!

SPIRALIZER

We just bought a spiralizer, a cool gadget that makes noodles out of vegetables.

DSCF4091 (2)

Our new Oxo spiralizer is easy to operate and clean. If you get one, read the instructions and handle with care because the blades are sharp.

The first time we used it was with a combination of zucchini and yellow squash. We sautéed our “noodles”  with olive oil, salt and pepper. Next, an English cucumber got spiralized. We tossed the cucumber noodles with vinaigrette and served it cold.

Both dishes were delicious! We highly recommend this kitchen tool. It is easy to use and makes healthy eating fun!

DSCF4083 (2)DSCF4097 (2)

CAPRESE SALAD

DSCF4098 (2)

In Rhode Island, it has been a GREAT year for native tomatoes! They are delicious with a sprinkle of sea salt or in salads, but with our basil plant thriving, this year’s tomatoes called for Caprese salad.

Caprese salad is made with tomatoes, basil, extra virgin olive oil, fresh mozzarella cheese, balsamic vinegar (hint: warm vinegar for a few minutes – it will thicken and sweeten), sea salt and ground pepper to taste.

GARDEN UPDATE

“I’ve always felt that having a garden is like having a good and loyal friend.”                                  C.Z. Guest – Actress/designer (Source: Quote Garden)

Sea grass we planted years ago has returned. The bee looks bee-fuddled!

dscf4138-2 dscf4142-2

BONUS PHOTO:

We had a visitor on the top of our patio fence. (This grasshopper is much smaller than it appears here, thank goodness!)

dscf4118-2

VEG ART

This year’s edibles – a great crop!

Another version of the picture at the top of the blog with our 2 types of peppers, tomatoes, oregano, basil, sage, rosemary, and thyme. (Surprisingly, the parsley didn’t make it!)

dscf4159-2

JOKE OF THE WEEK:  “Gardeners know all the dirt.” (Source Bing.com /images)

THE BEARS

The Bears feel like stars, because this week, on September 9th, they celebrate Teddy Bear Day!

dscf4166-2

ANNOUNCING: HOLIDAY CRAFTING MINIBLOGS

IMG_2671 (2)IMG_2803 (3)

It is never too early to begin holiday crafting. This fall and winter, in addition to our regular posts, look for our weekly holiday crafting mini-blogs. These mini-blogs will offer some of our favorite craft and decorating ideas for the upcoming holiday season.

Check out the blogs which feature the decorations shown above:

https://funclesarts.com/2014/10/29/halloween-blog-3-the-final-chapter/

https://funclesarts.com/2014/12/06/the-christmas-season-is-here/


Enjoy!

Roy & Kevin