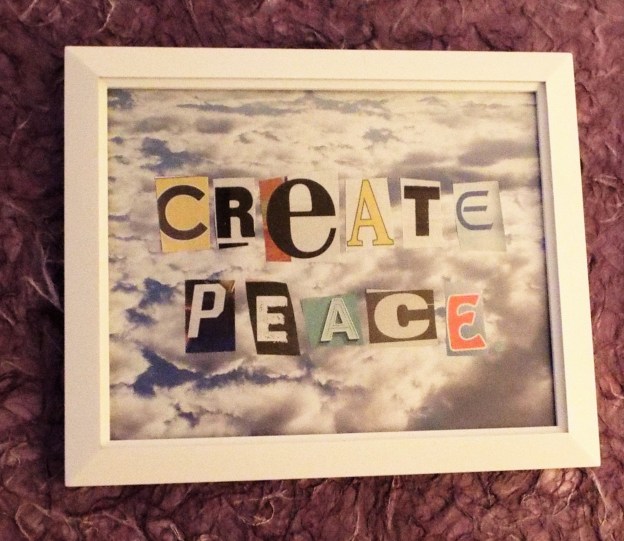
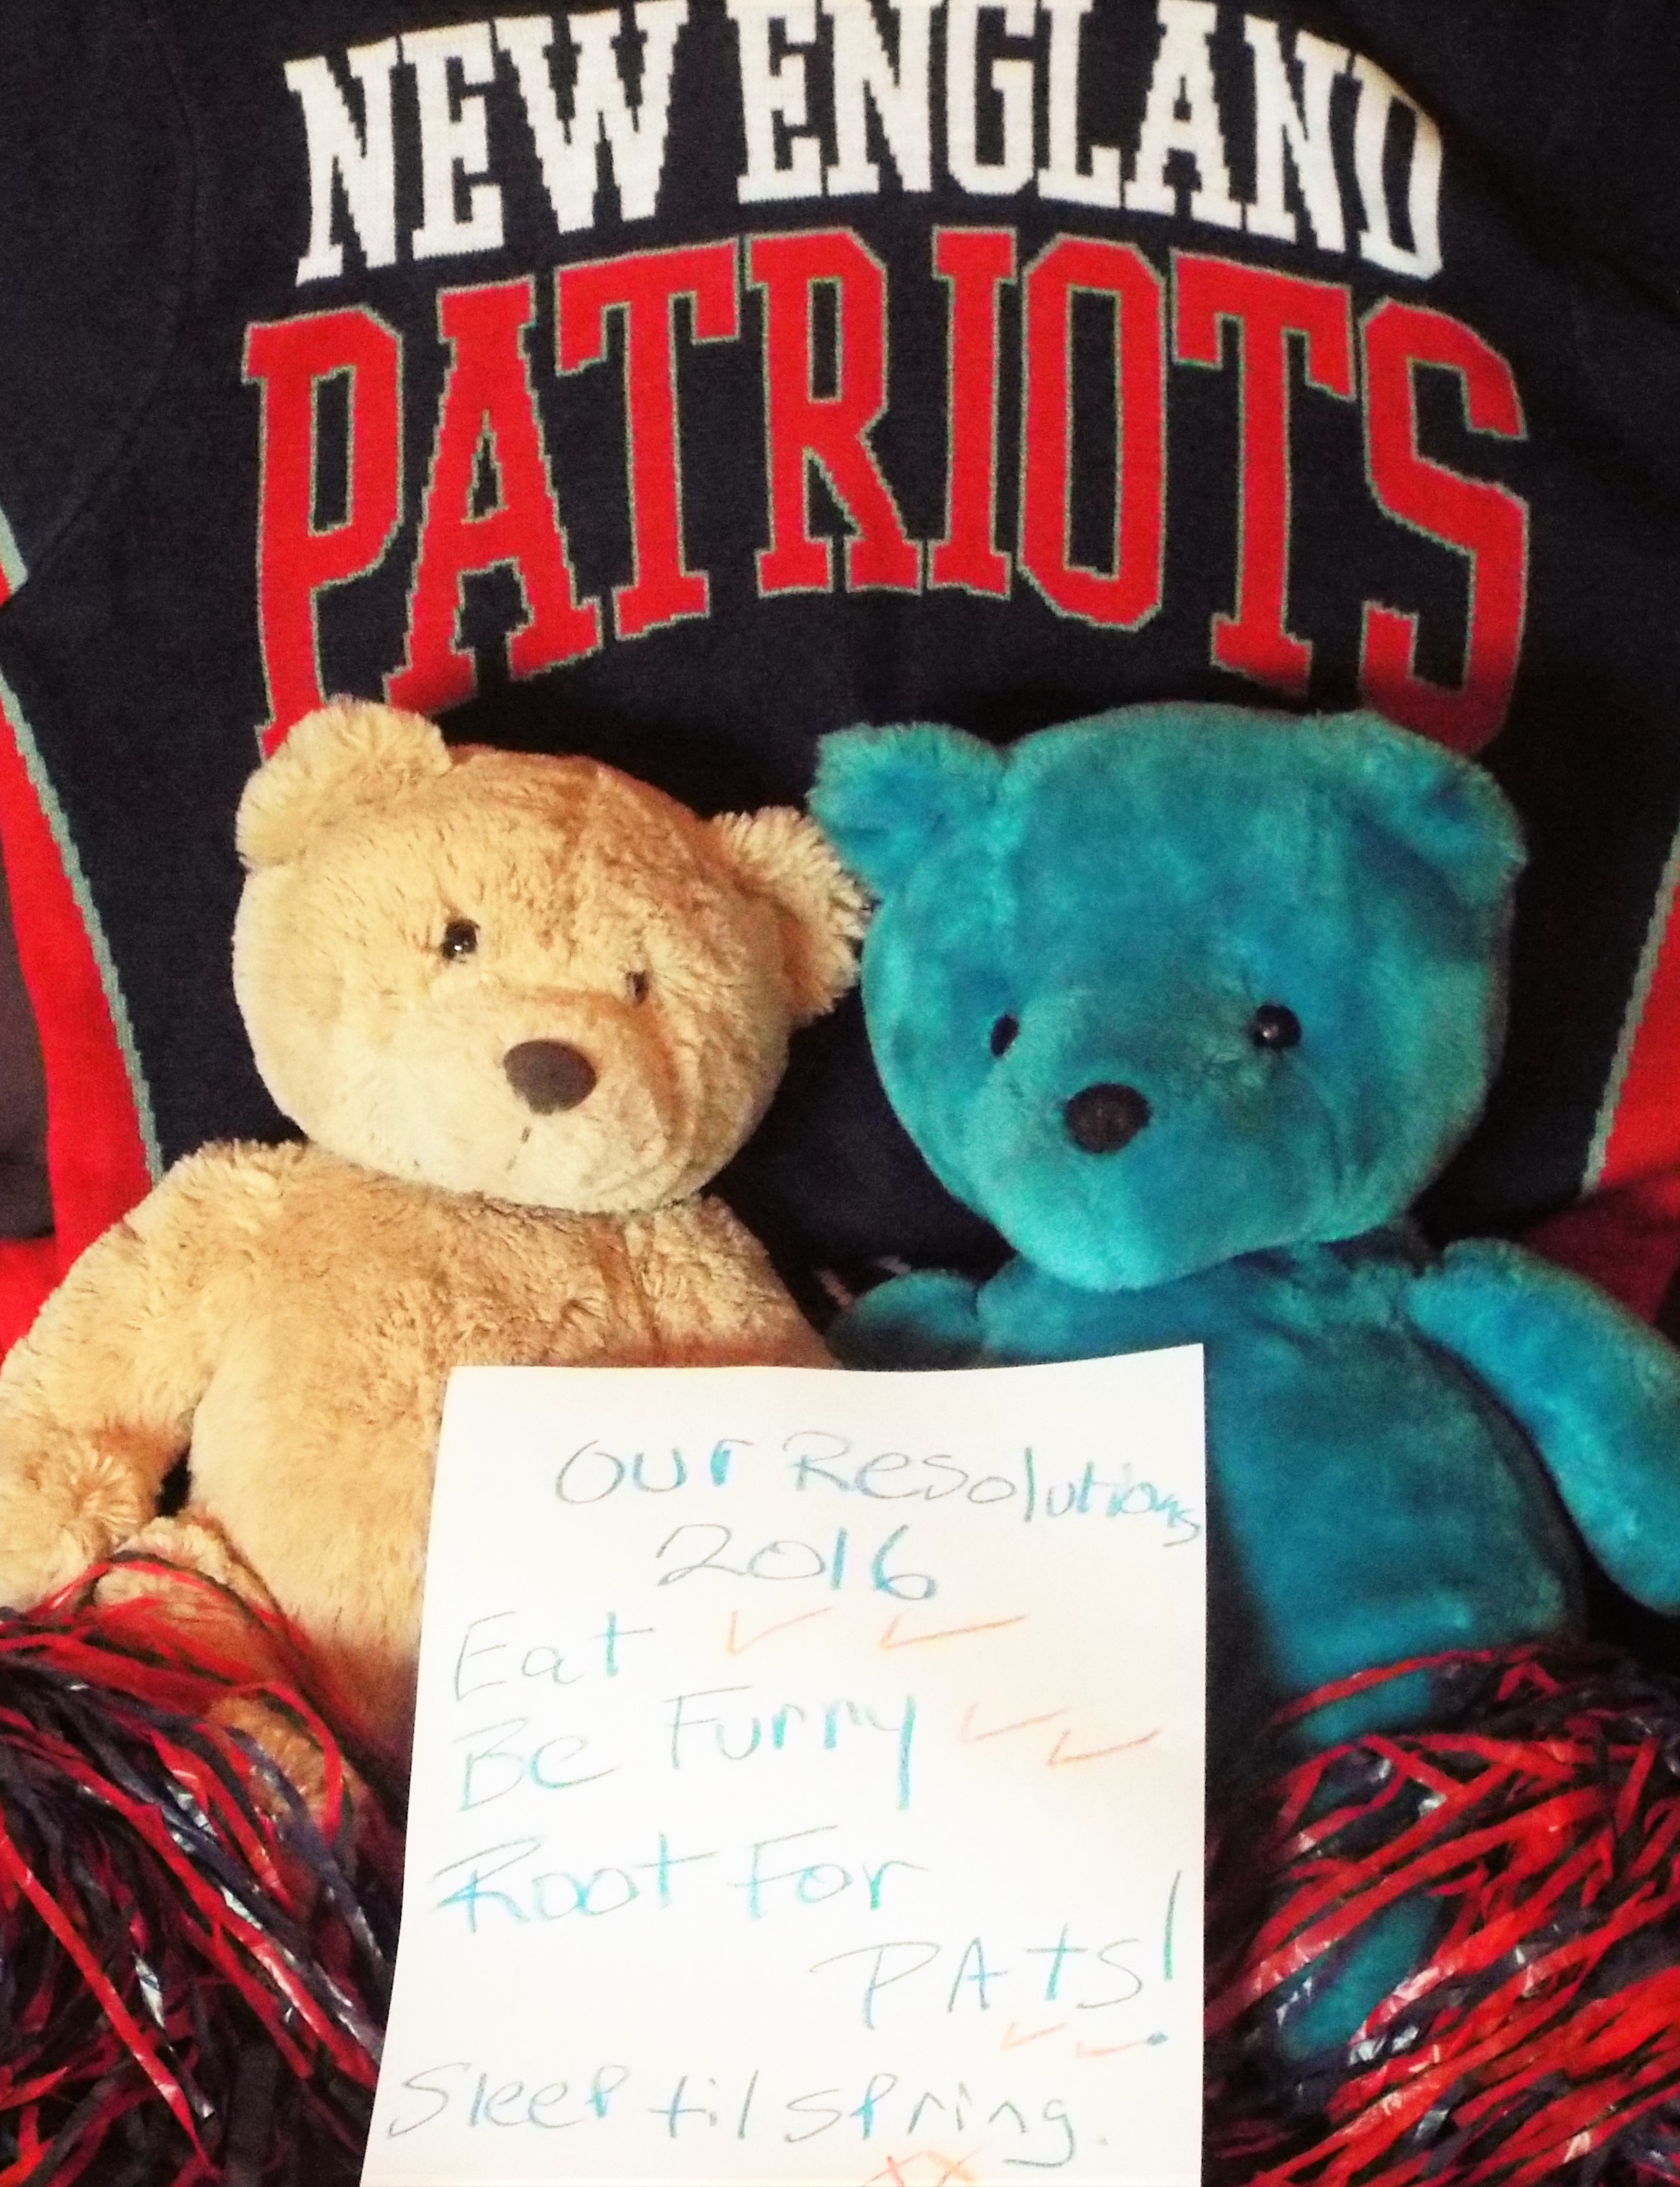
A year ago today, we decided to start a holiday blog and do one post a week from mid-October through New Year’s Day. Once the ball got rolling, we didn’t want to stop. The blog has been a lot of fun to do and it has inspired us to be more creative. Thank you to everyone who has followed and contributed to our the blog. We’re looking forward to another crafty and tasty holiday season and a fun 2016!
PAPER
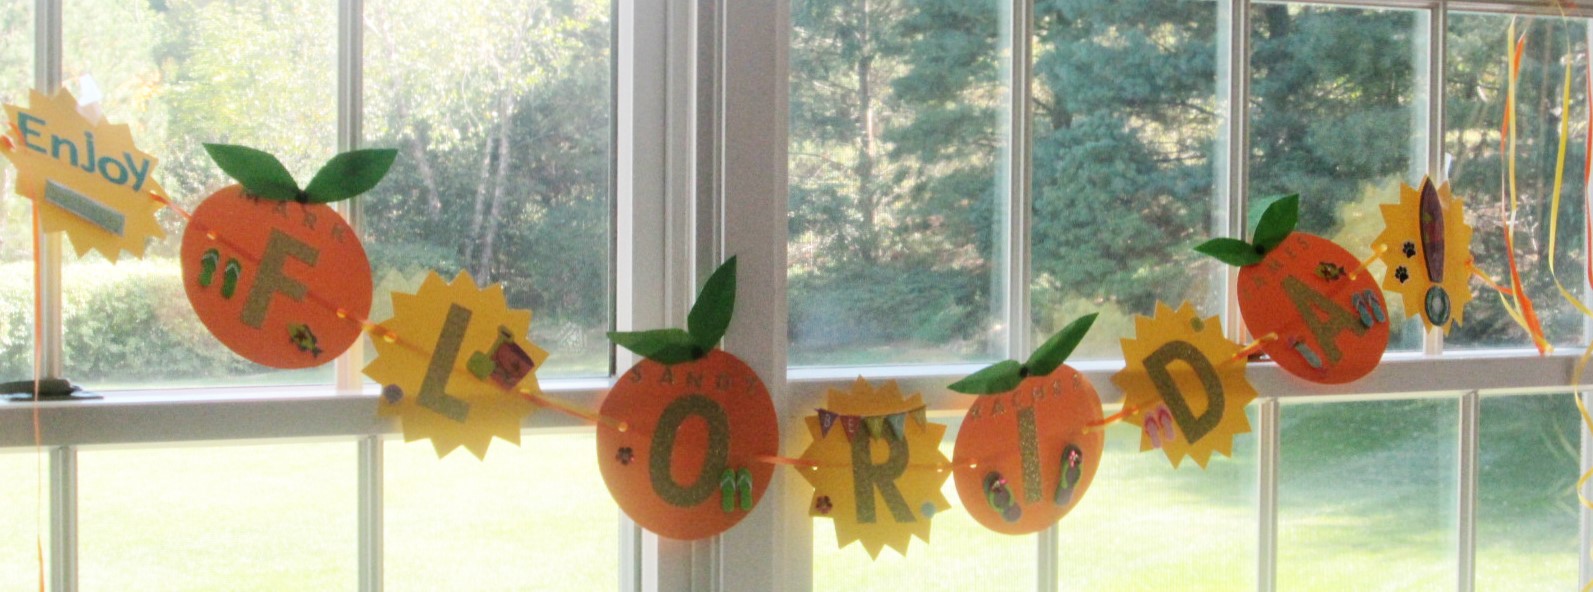
For wedding anniversaries, the traditional gift for the first year is paper. With that tradition in mind (sorta), we share two crafts made from paper. The first paper project is a clip-on Halloween witch made from construction paper and a clothespin. The second project is a banner we made for Kevin’s brother’s family, wishing them luck on their upcoming move to Florida. Additionally, we offer a recipe for broccoli rabe, a garden update and, of course, the bears!
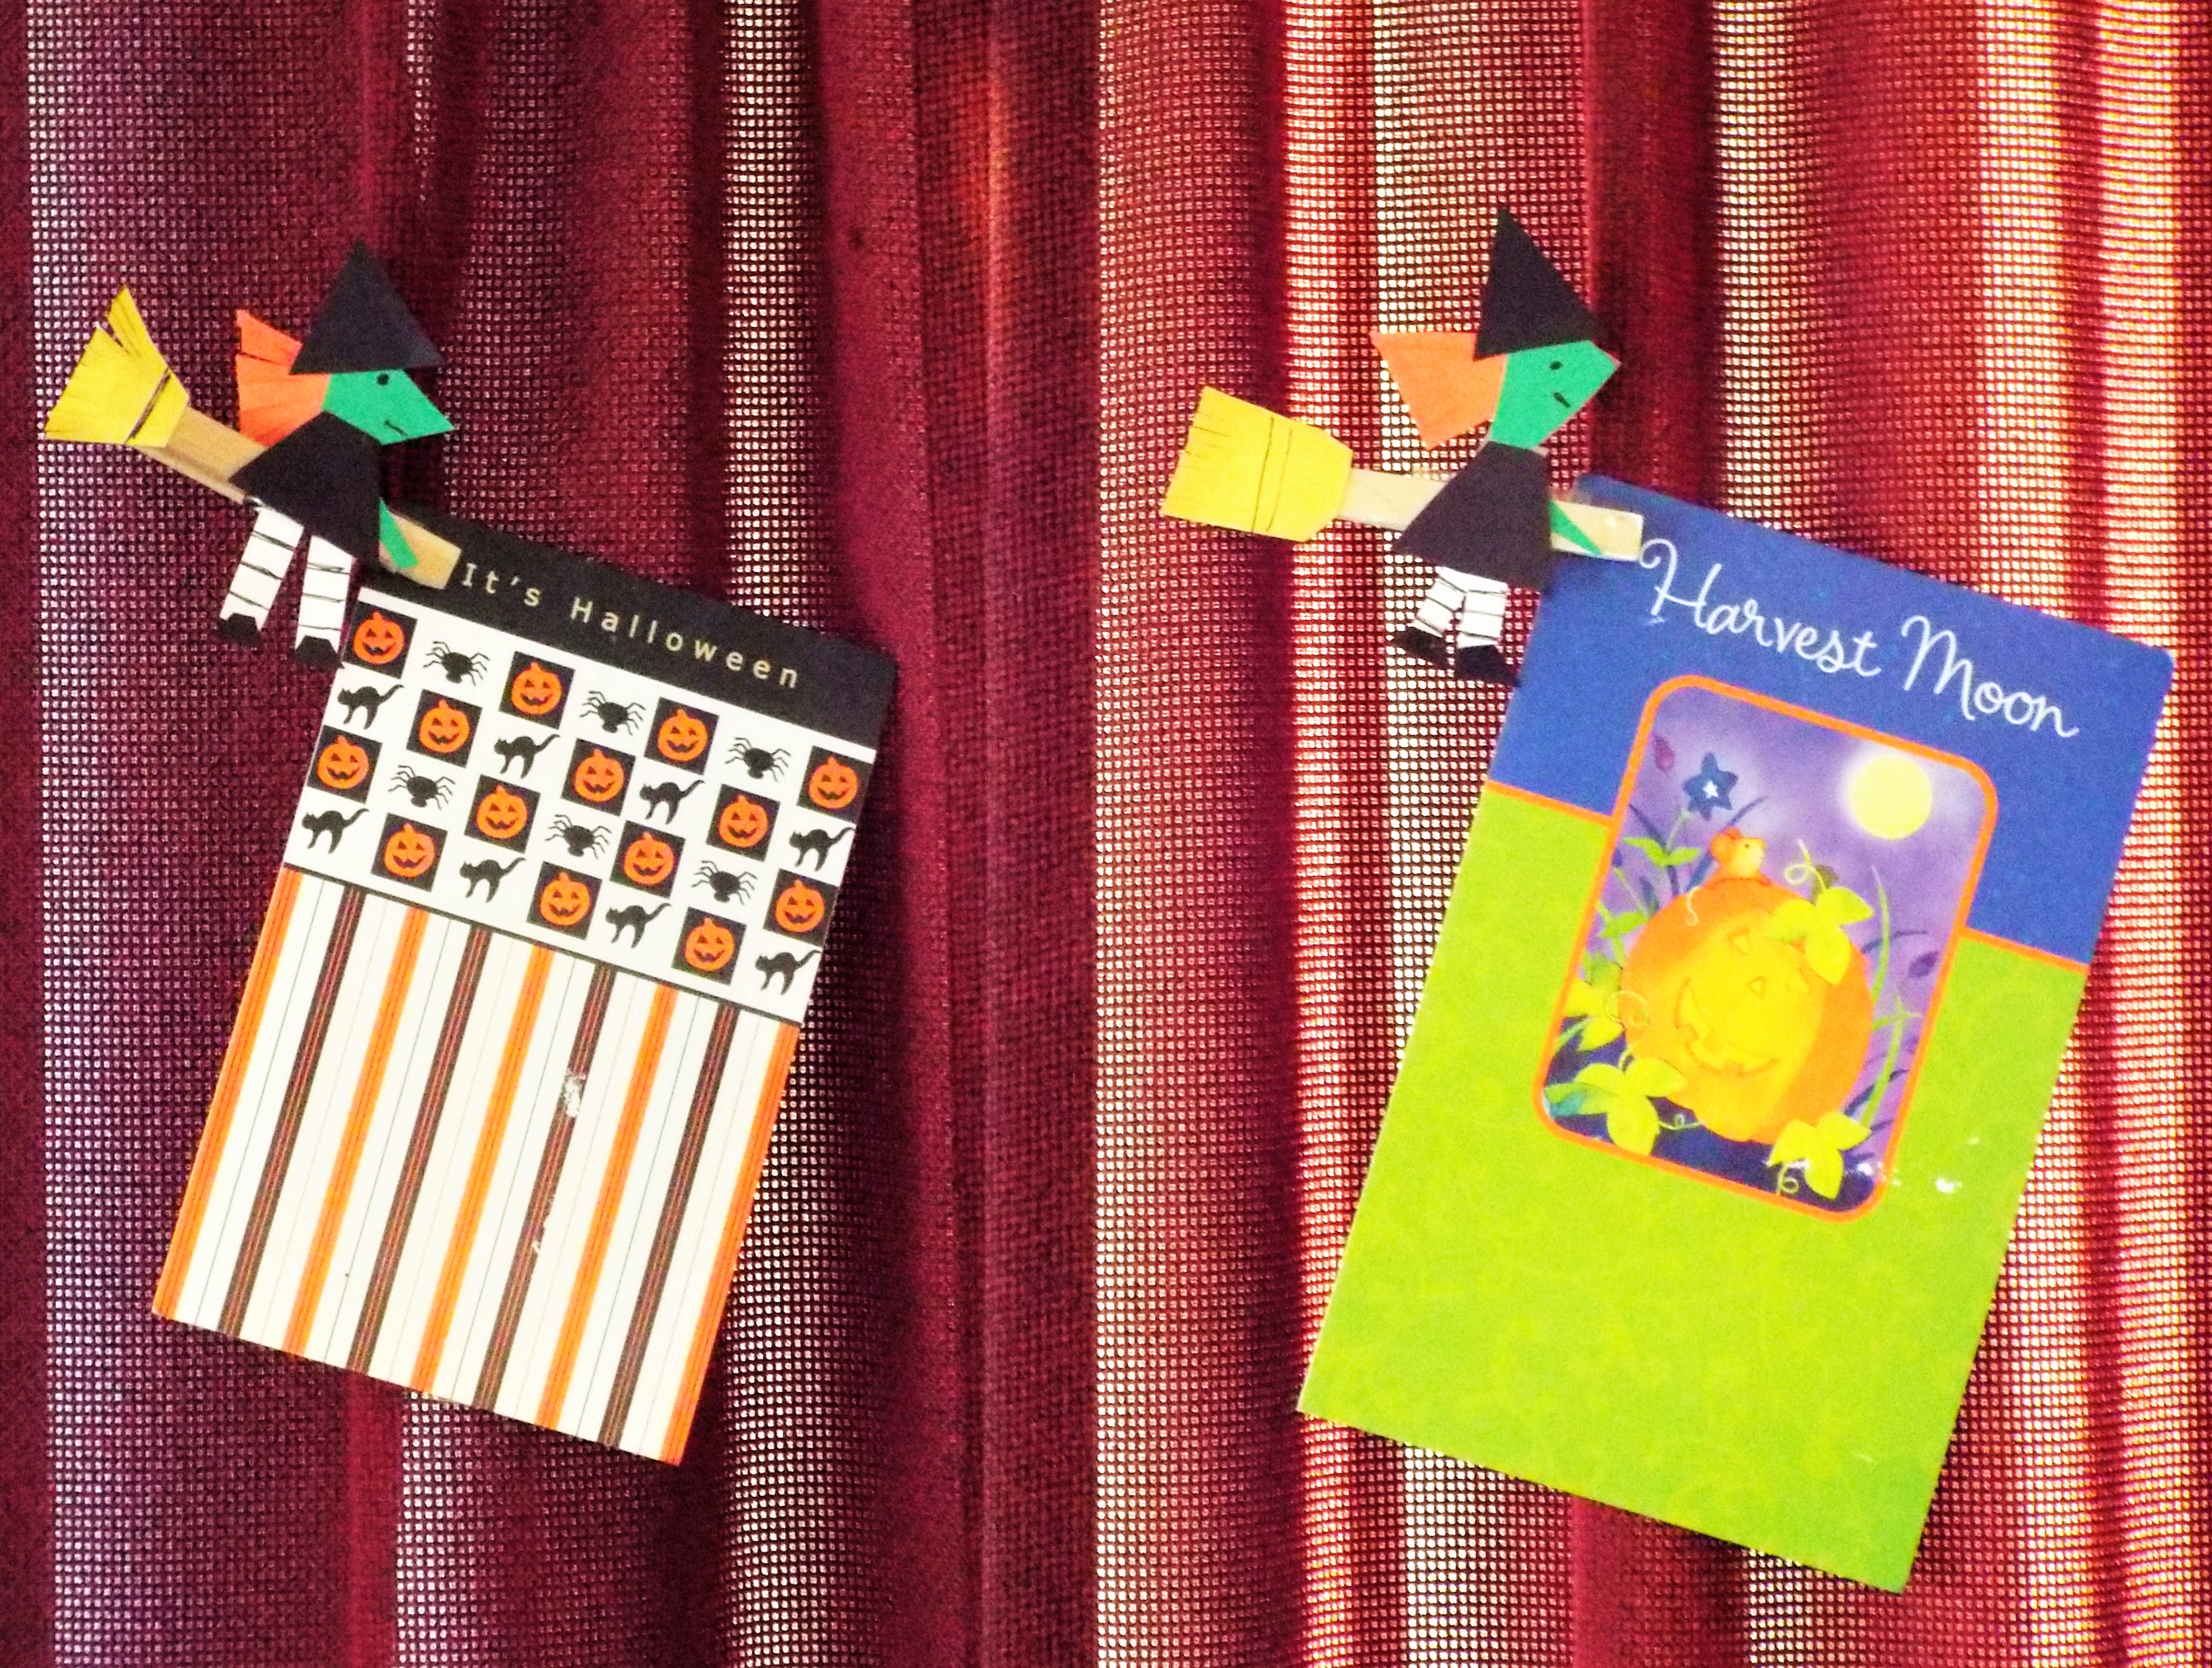
WITCH CRAFT
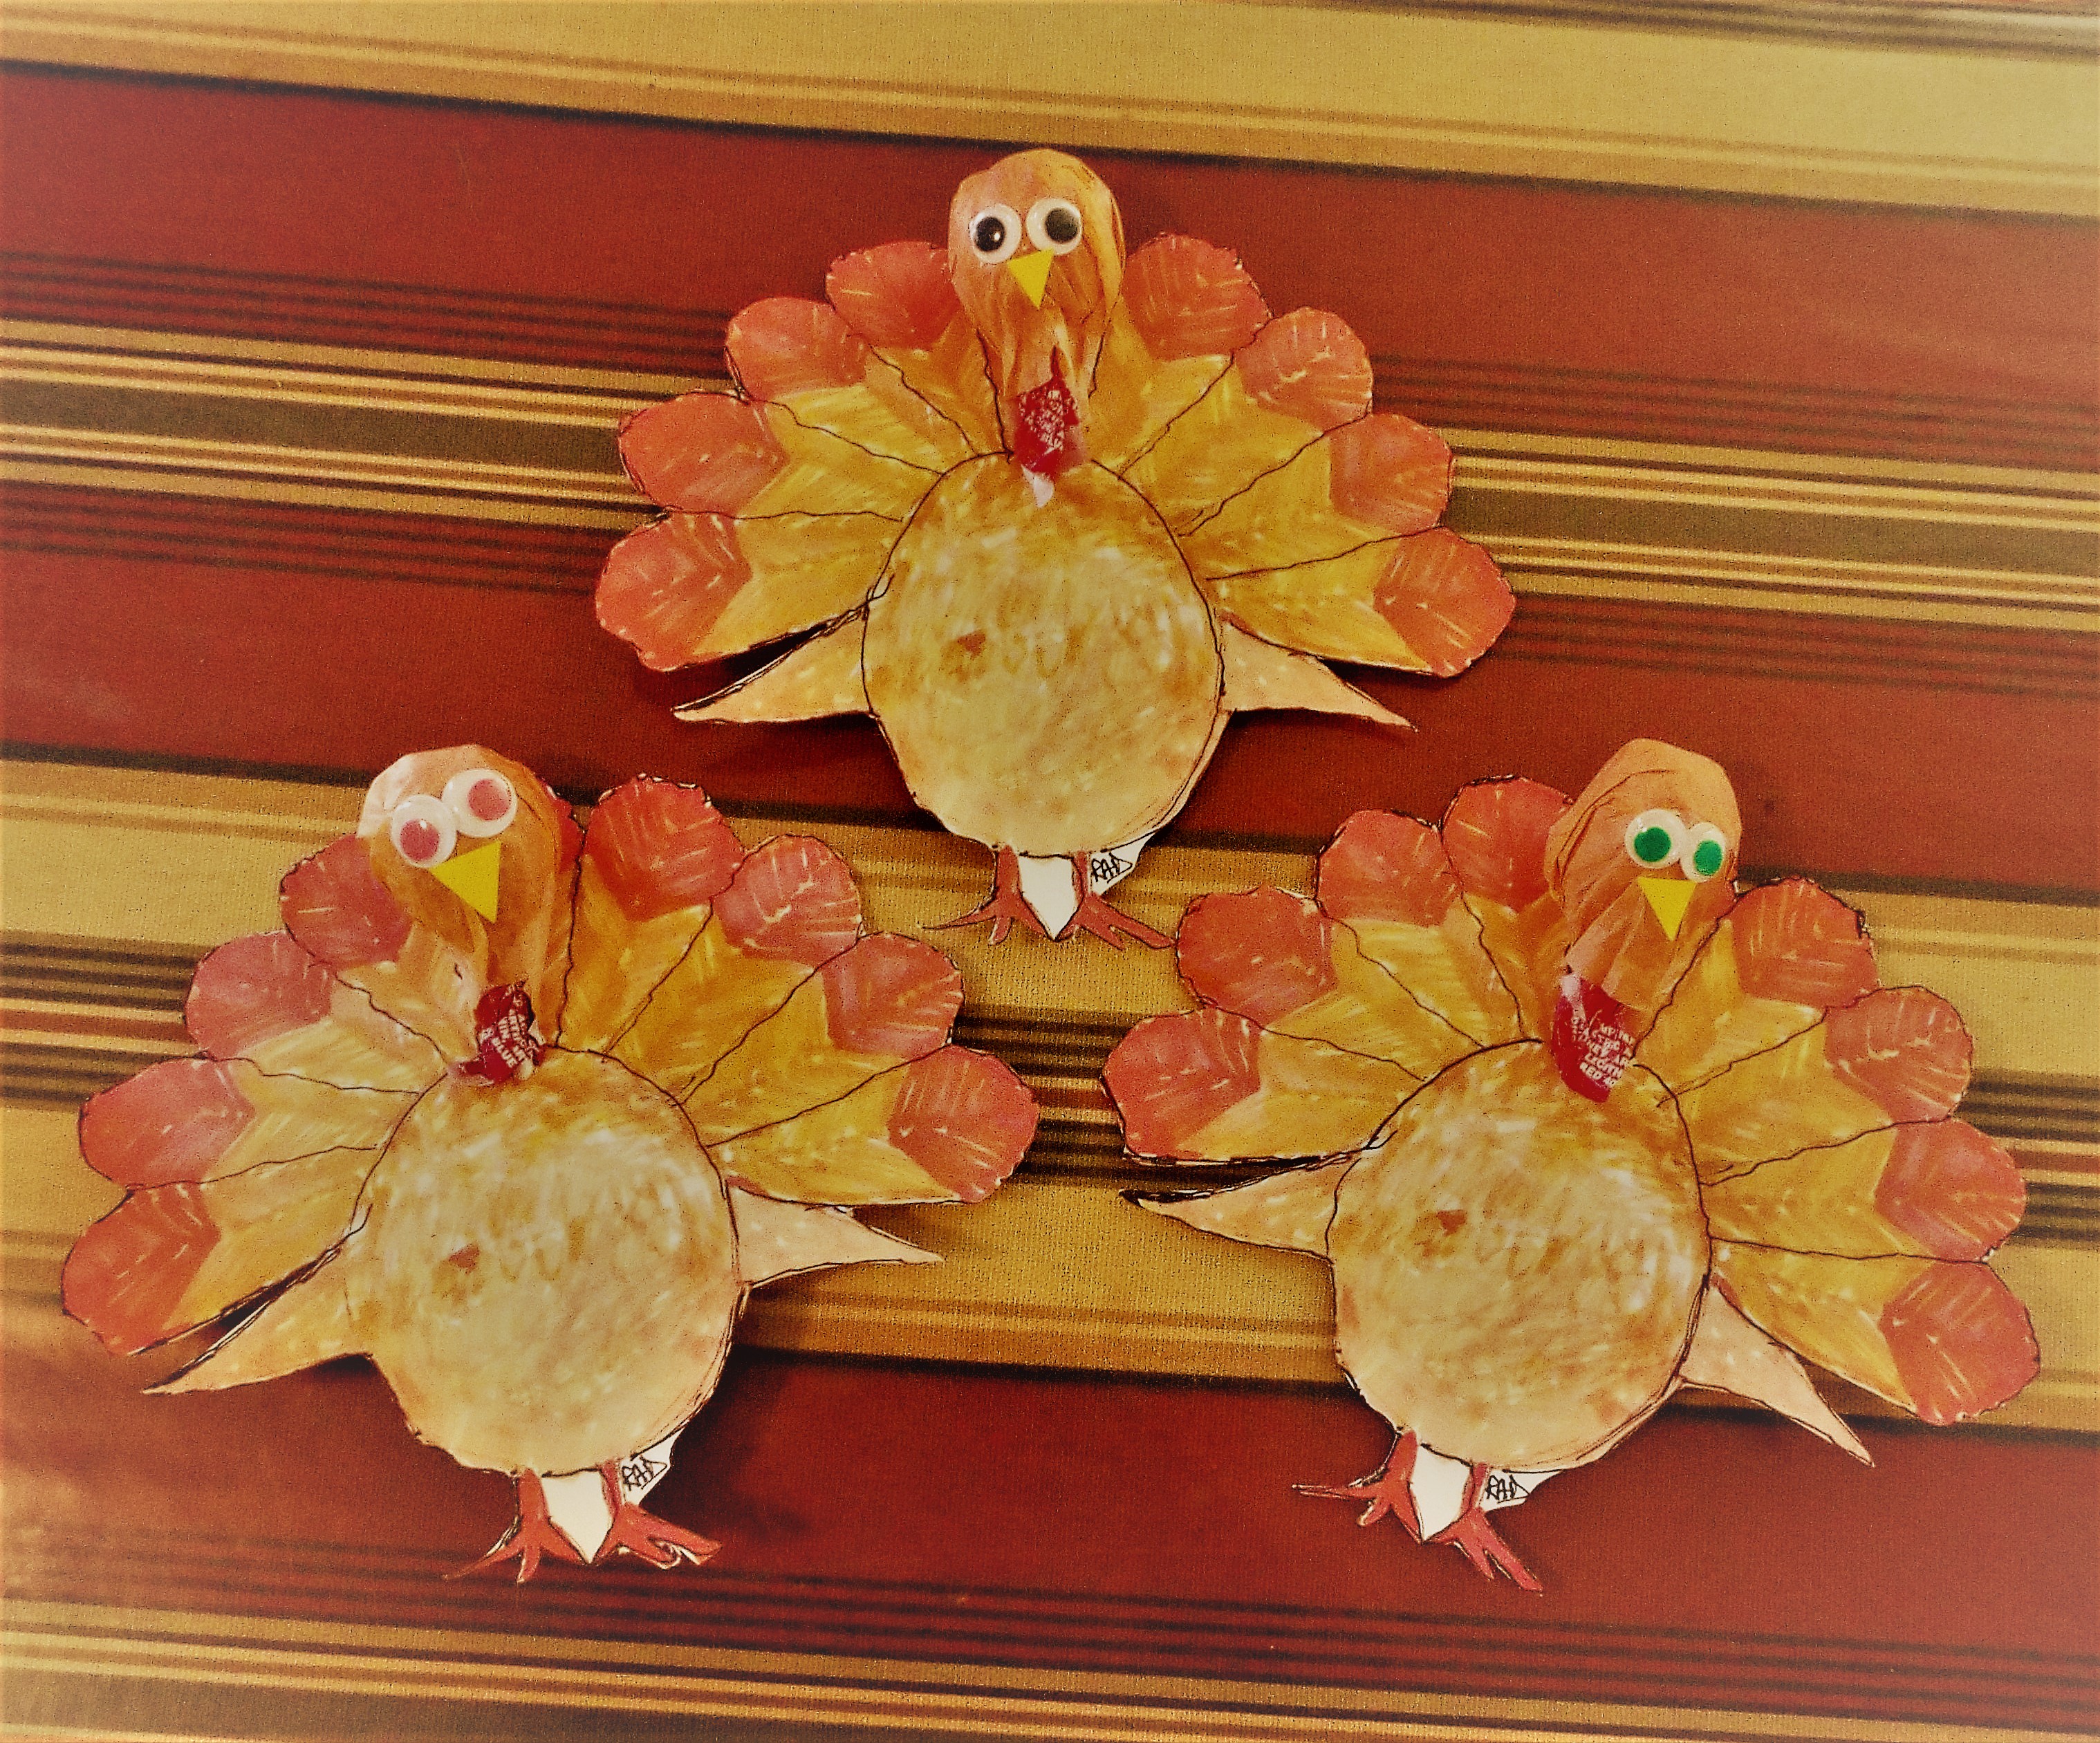
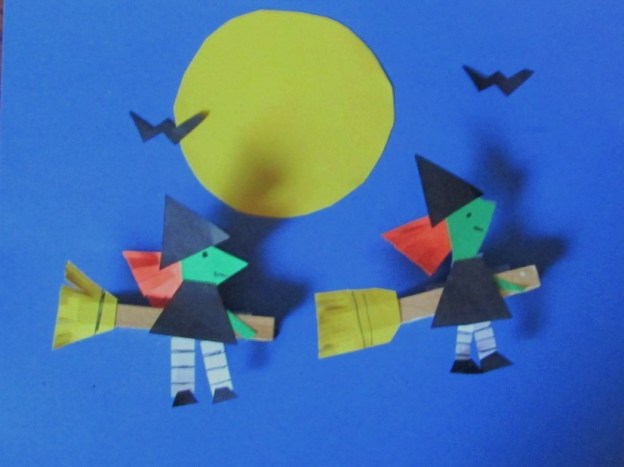
Halloween is coming and we are creating a few fun and easy crafts. This week, it’s the cute clip-on witches shown above.

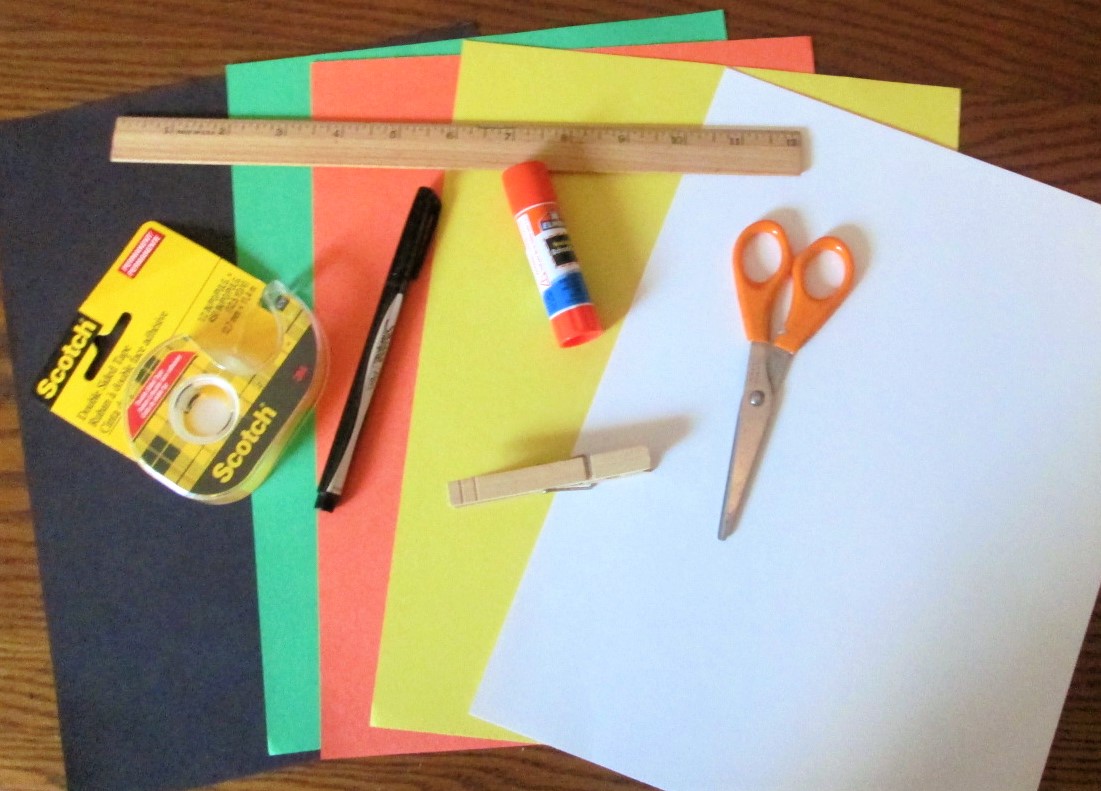
You will need:
- clothespins
- black, orange, green and white construction paper
- glue stick
- double-stick tape
- scissors
- a fine marker (black ink)
- ruler
To make:
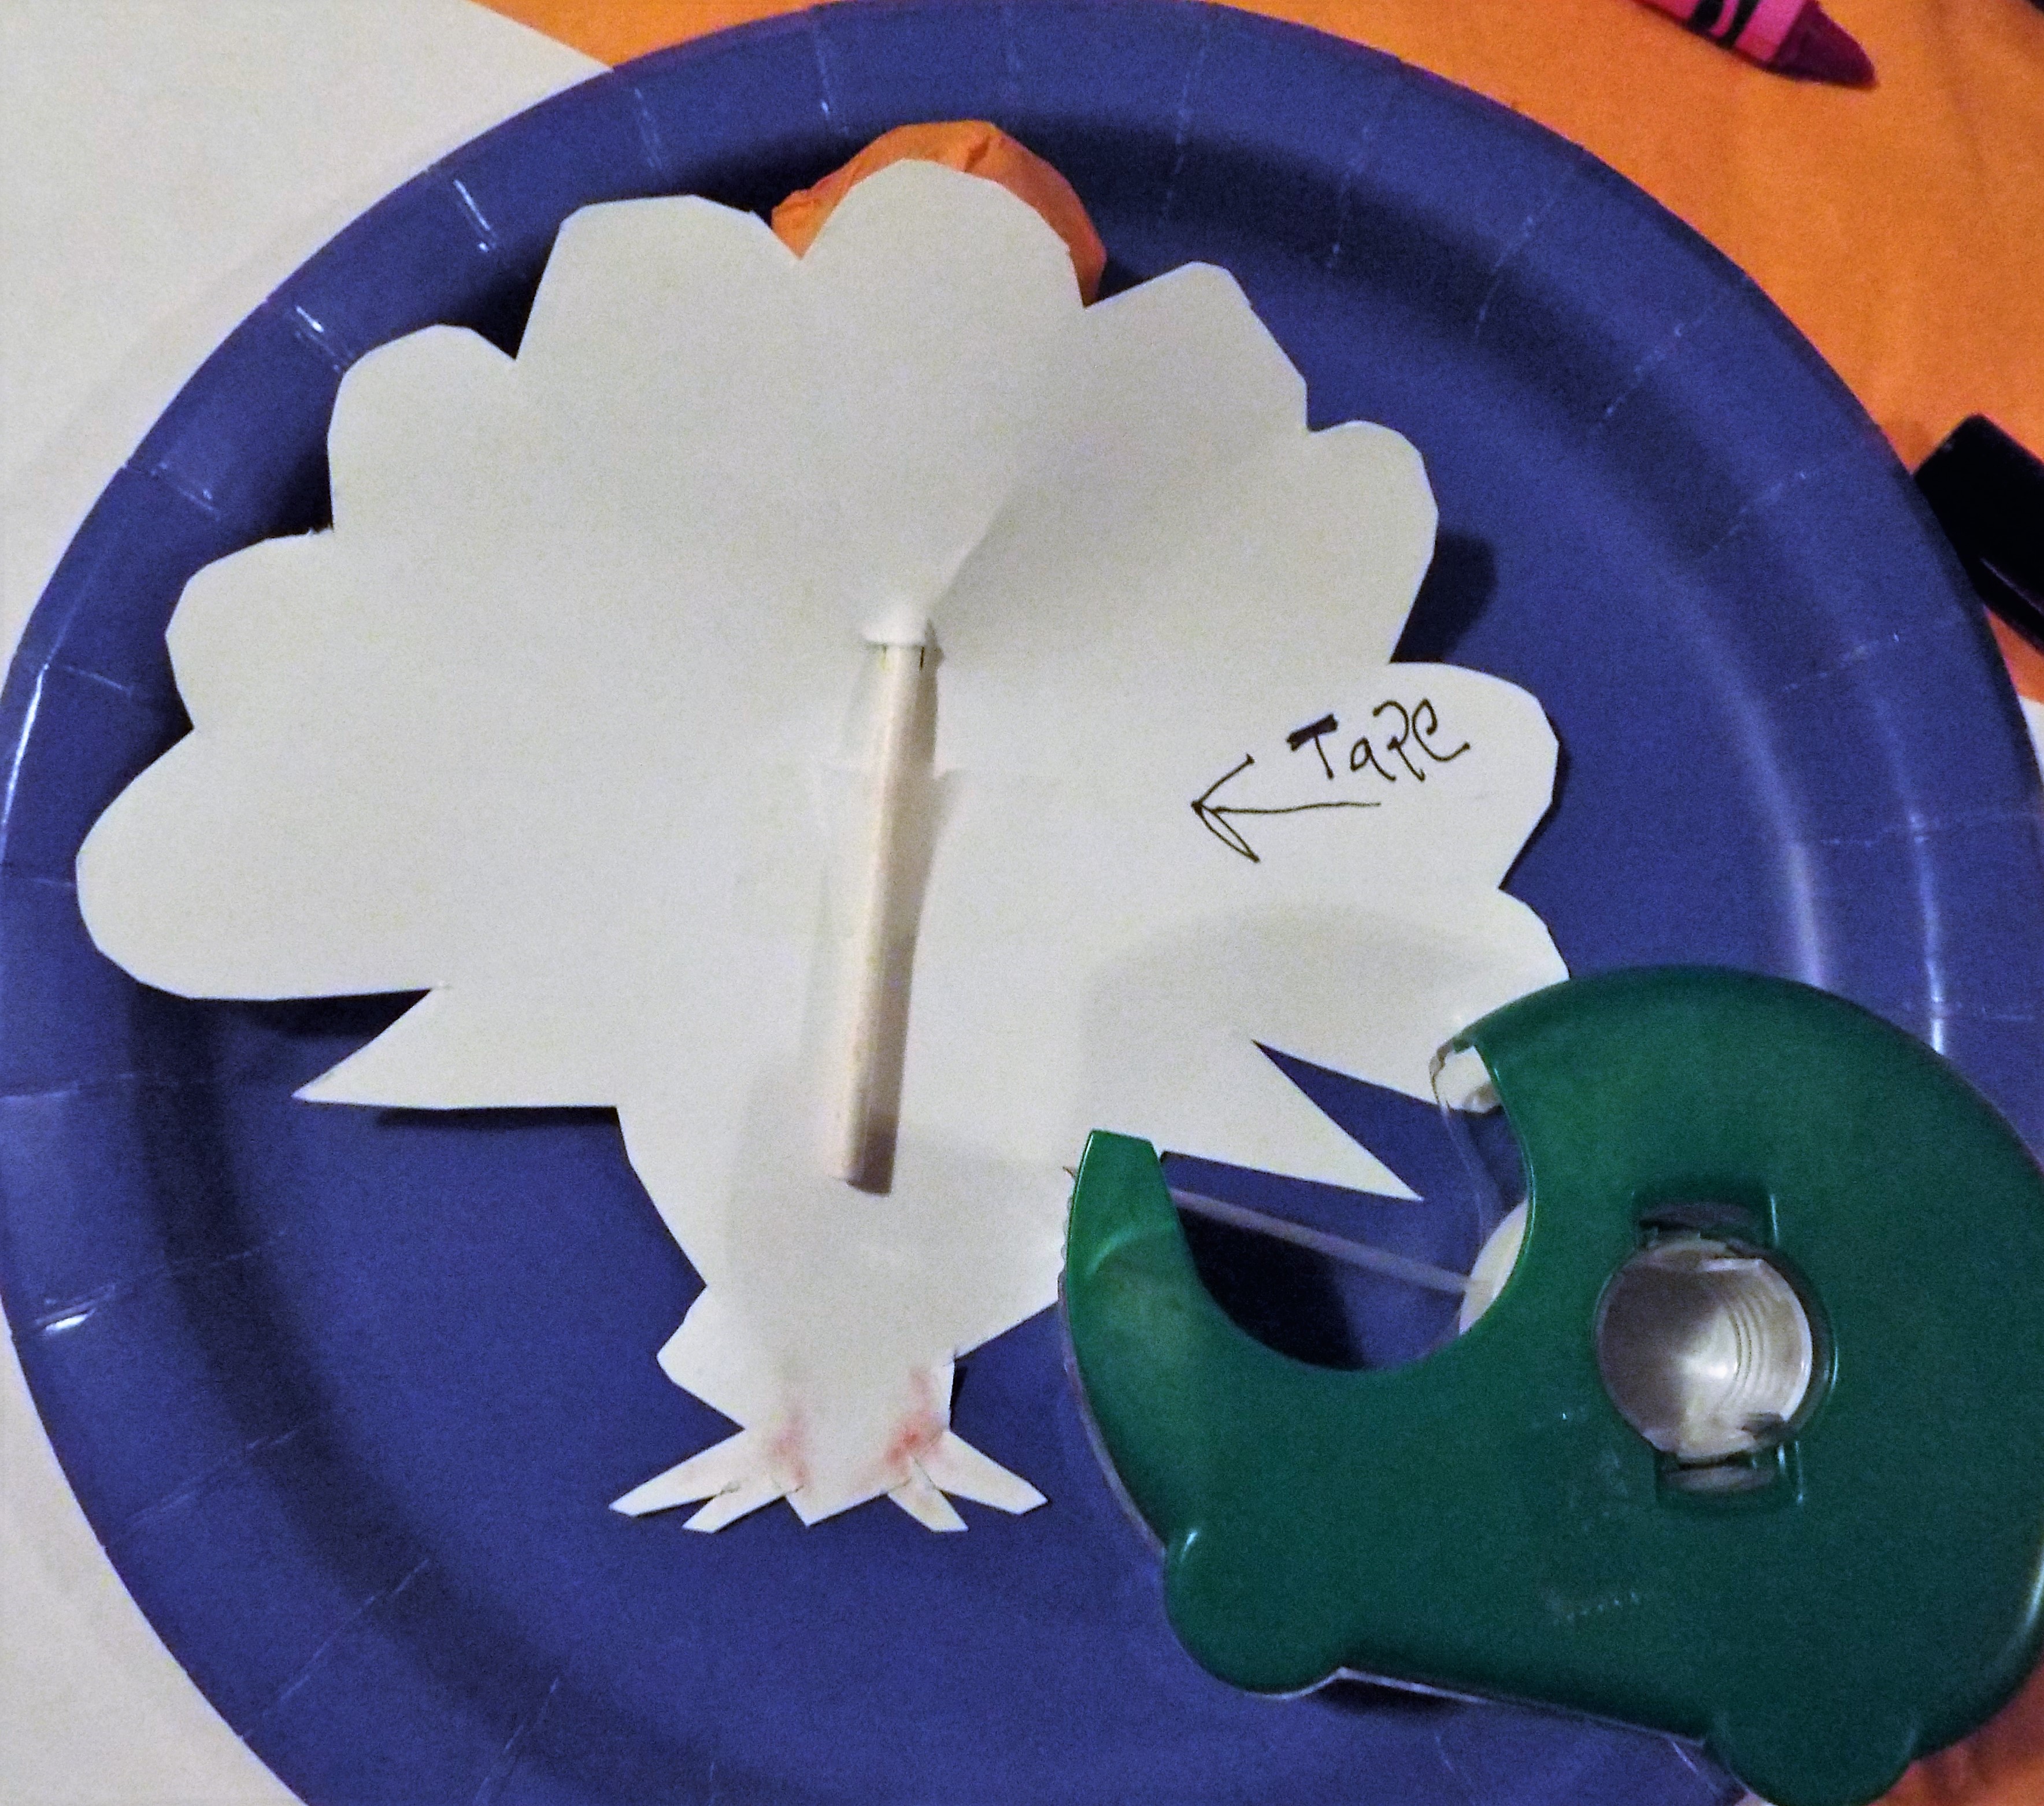
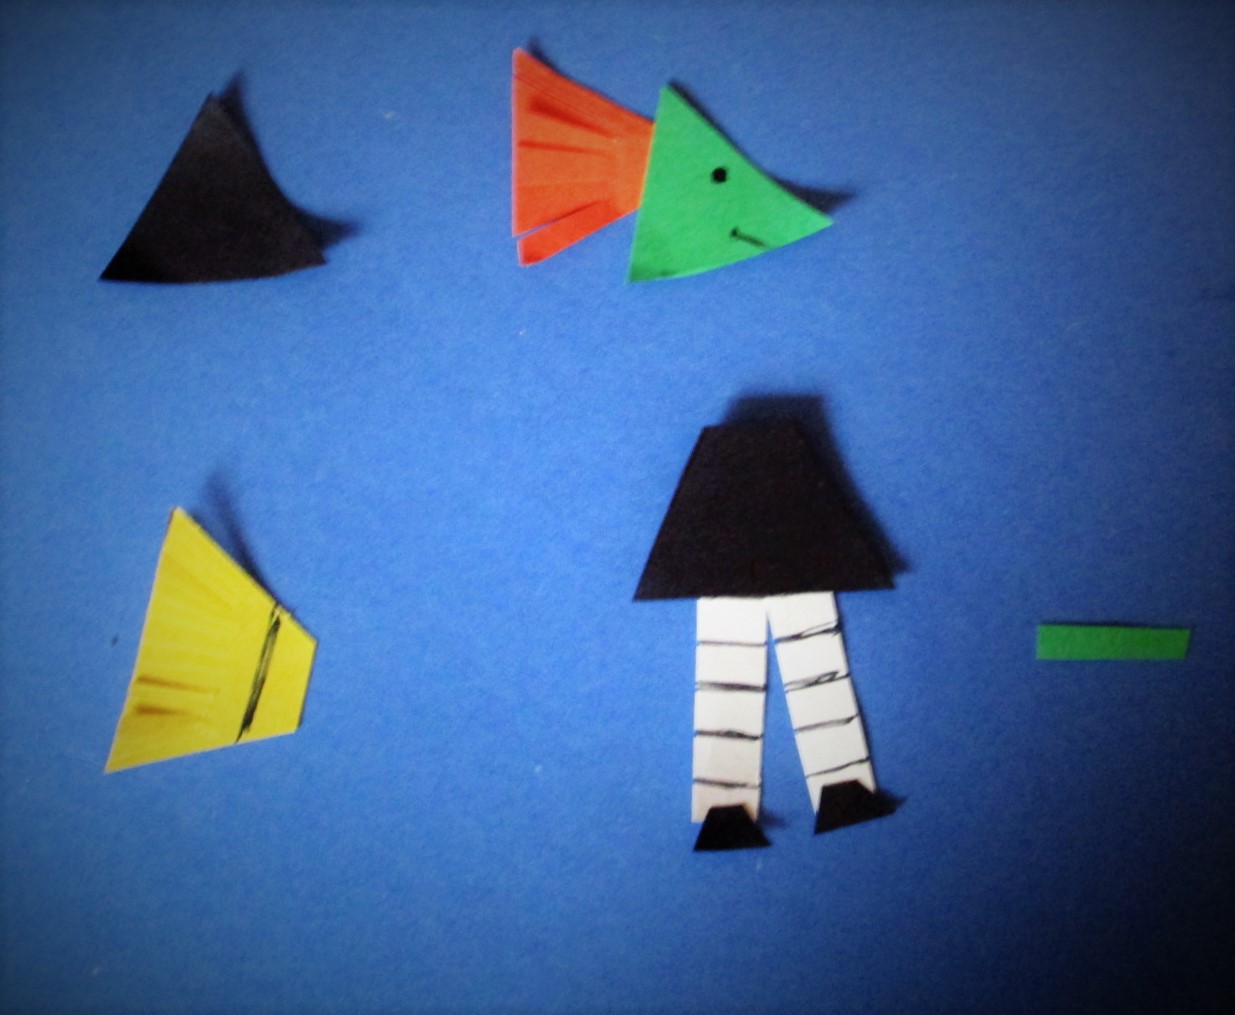
Cut the following equ ilateral triangles:
- three 1-1/4 inch triangles – 1 green (head), 1 orange (hair), 1 black (hat)
- two 1-1/2 inch triangles – 1 black (dress), 1 yellow (broom head)
- two 1/2 inch black triangles (shoes)
You also will need:
- one 3/4-inch x 1-1/2 inch white rectangle
- one 1-inch x 1/8 inch strip of green construction paper
Draw (as shown in picture below):
- lines on the white rectangle – every quarter-inch
- a face on the green triangle
- a black verticle line on the yellow broom head
A little more cutting (see picture below):
- cut the white rectangle in half lengthwise to form the legs
- cut broom bristles 1/16-inch wide ending at the verticle line
- cut 1/16-inch wide strips in bottom of orange triangle to create hair
- cut 1/4-inch off the tops of the yellow and black 1-1/2 inch triangles
- cut the tops off of the 1/2-inch triangles (1/8 inch off the tops)

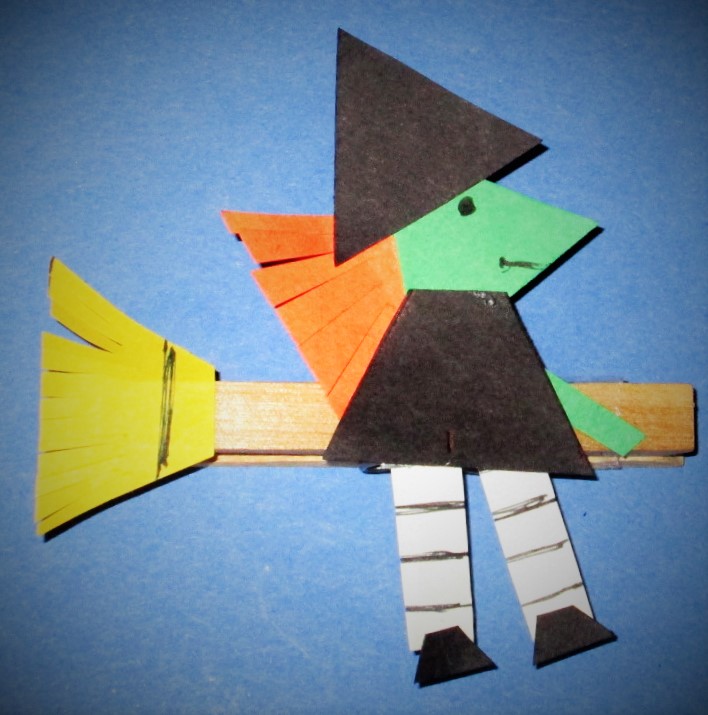
- attach orange hair to the back of the head with glue stick as shown below.
- attach shoes to legs and legs to body
- attach arm to body

- attach head to body and hat to head
- using double stick tape, attach broom bristle to end of clothespin
Before attaching, the back of the witch should look something like this:

Attach witch to clothes pin as shown using double stick tape.
The completed witch will look something like this.


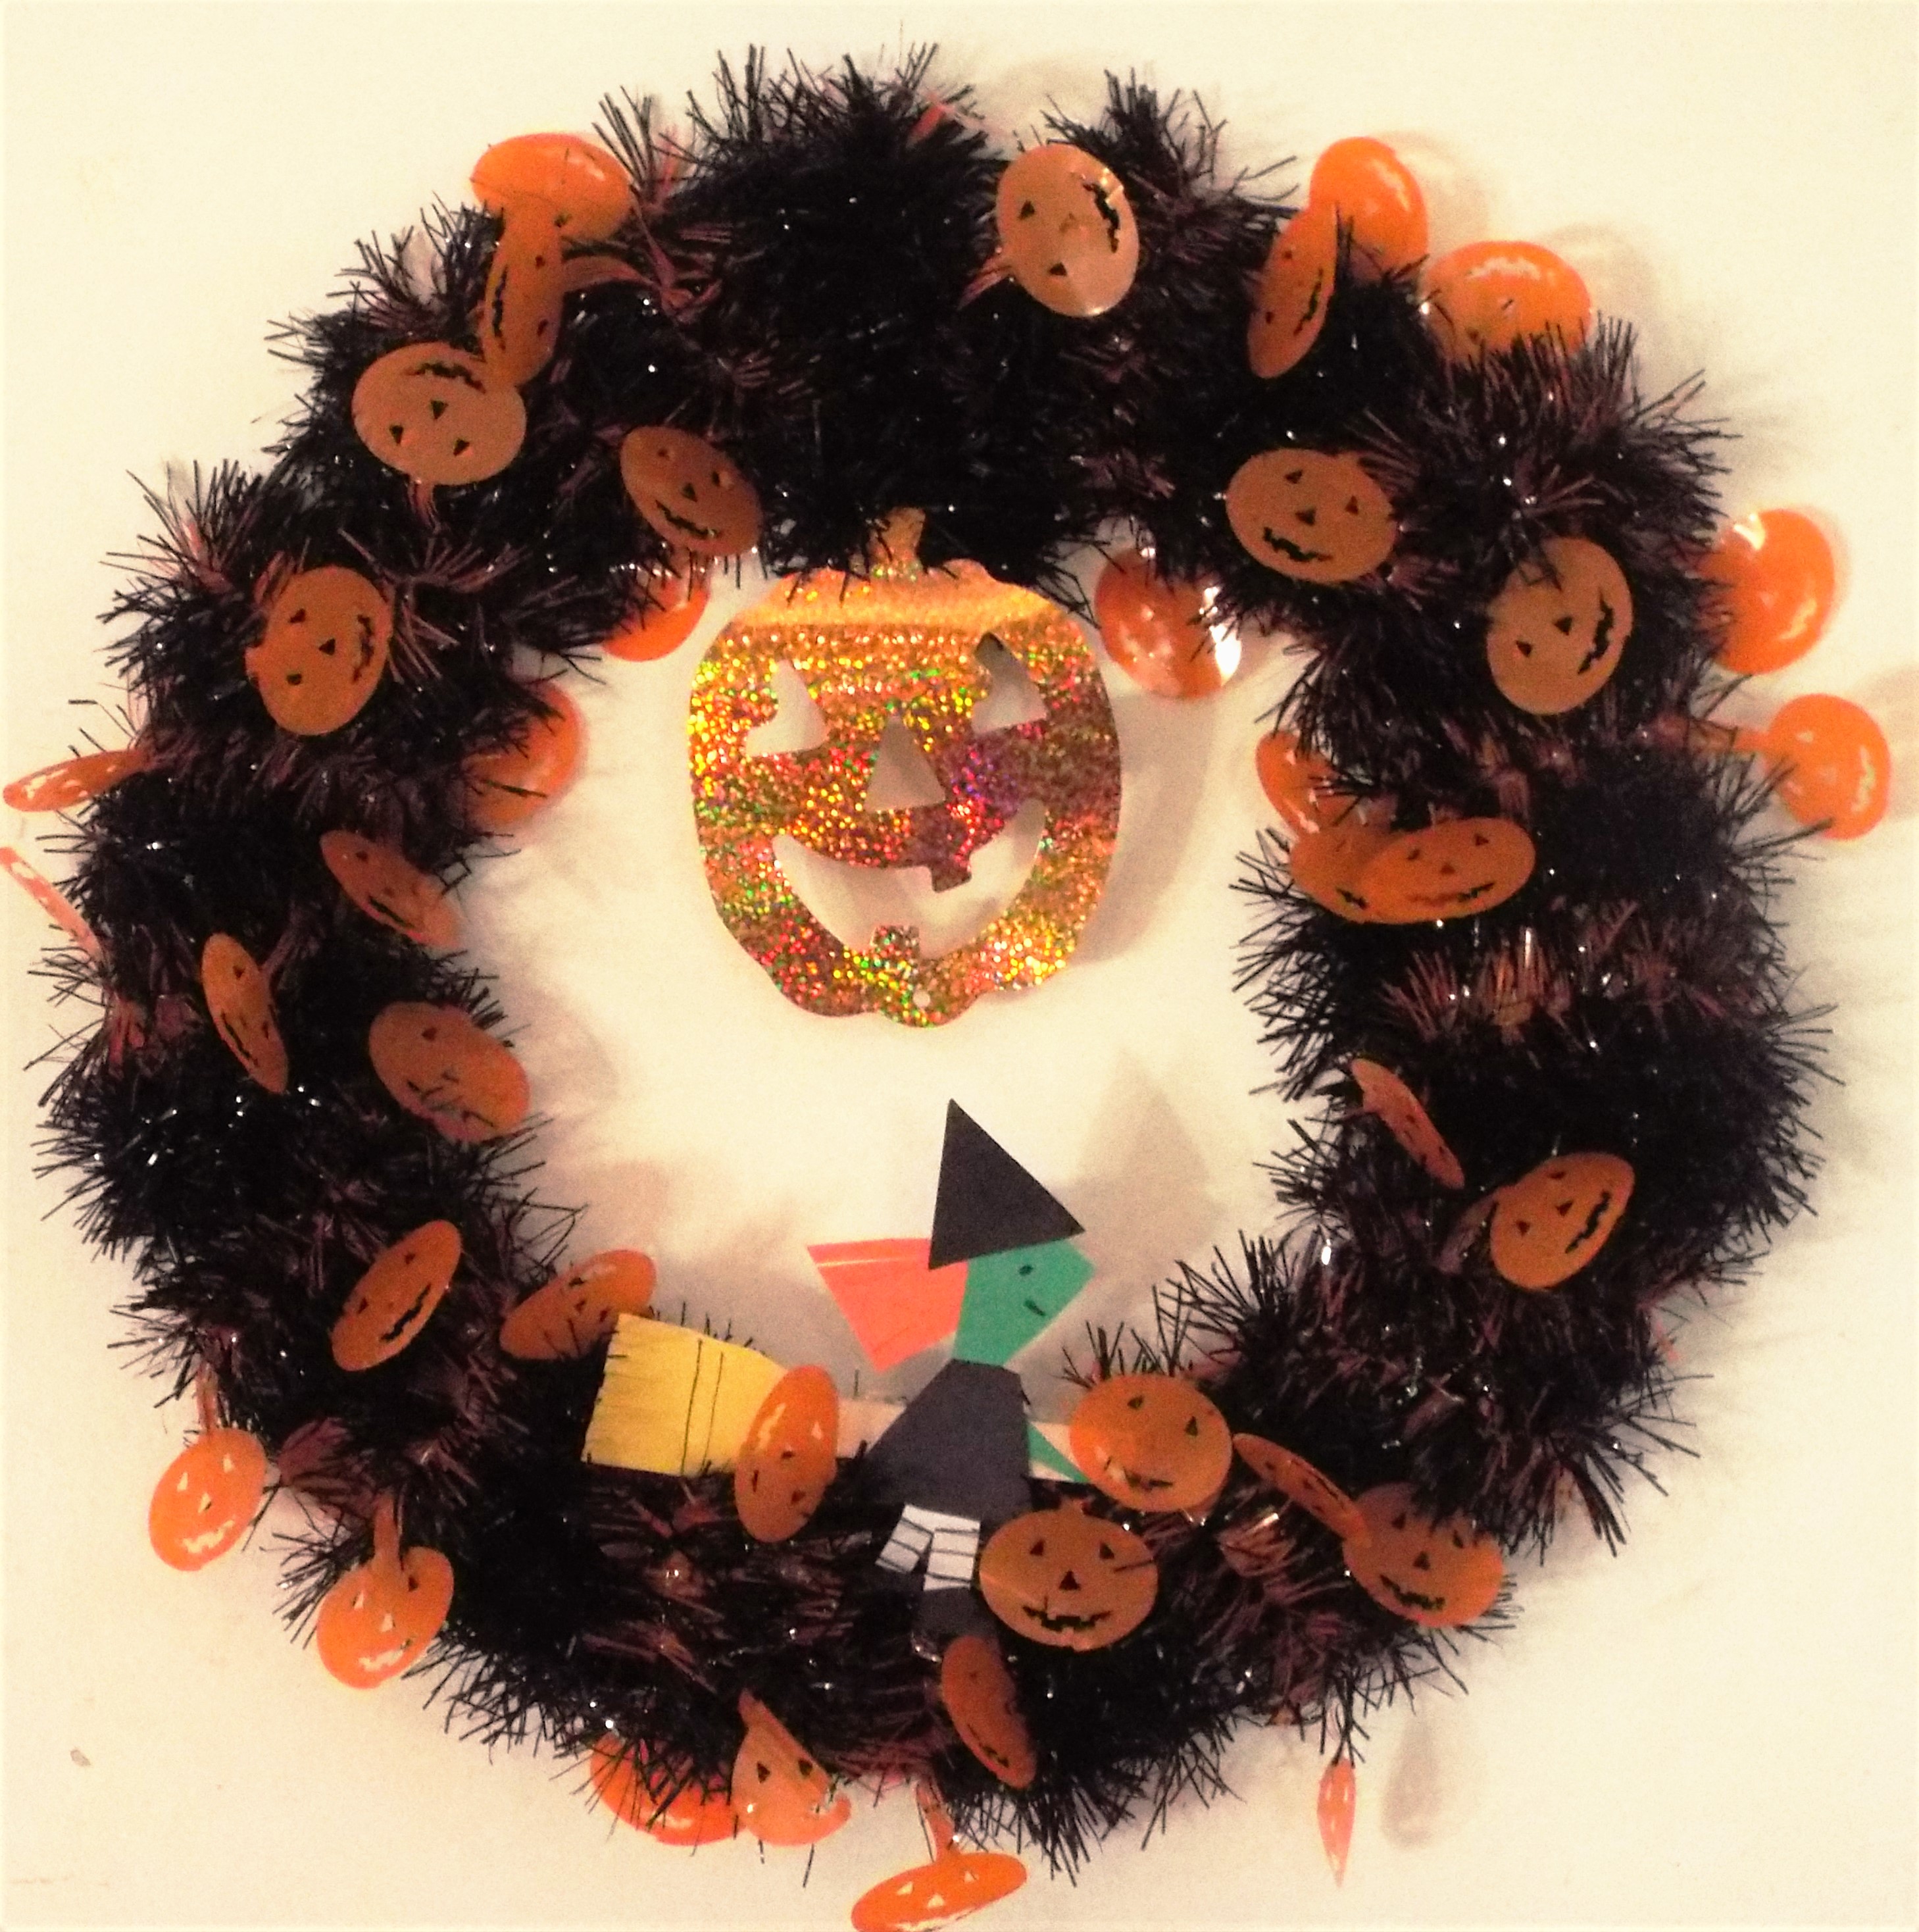
These witches love to help decorate! Use them to clip Halloween cards to curtains or on our clothesline banner (search previous blogs for info). Looking forward to seeing photos of your witch creations!
This is a simple, kid-friendly craft which is more difficult to describe than to create. Use these basic guidelines and have fun!!!
BANNER


We designed this special banner by thinking of what symbolizes Florida and came up with the two obvious answers: oranges and sunshine. We cut out orange and yellow circles to represent those iconic images. Some quick cuts turned the yellow circles into suns and green leaves attached with small black paper fasteners transformed the orange circles into fruits. Stickers express the sentiment, “Enjoy FLORIDA!”. The banner was strung together using curling ribbon and embellished with sandal and beach themed stickers. (The top of the exclamation point at the end of the banner is a surf board sticker; the paws represent their dog, “Sadie”.)
This was a fun project to create, making use of quality stickers, craft paper, and a new circle cutter. We’ve said it before, but it bares repeating. Always look online for coupons from craft stores (and any stores for that matter). We saved money on all the items use in this banner with just a few minutes effort to print the coupons.
BROCCOLI RABE

In our effort to explore new foods, this week we tried broccoli rabe. The first recipe found on- line did not boil the rabe first. It was awful – very bitter! Our second attempt is this recipe from one of our go-to favorites – Rachael Ray. It’s a delicious, healthy way to cook this green.
Here is the recipe:
http://www.foodnetwork.com/recipes/rachael-ray/broccoli-rabe-with-lemon-and-garlic-recipe.html
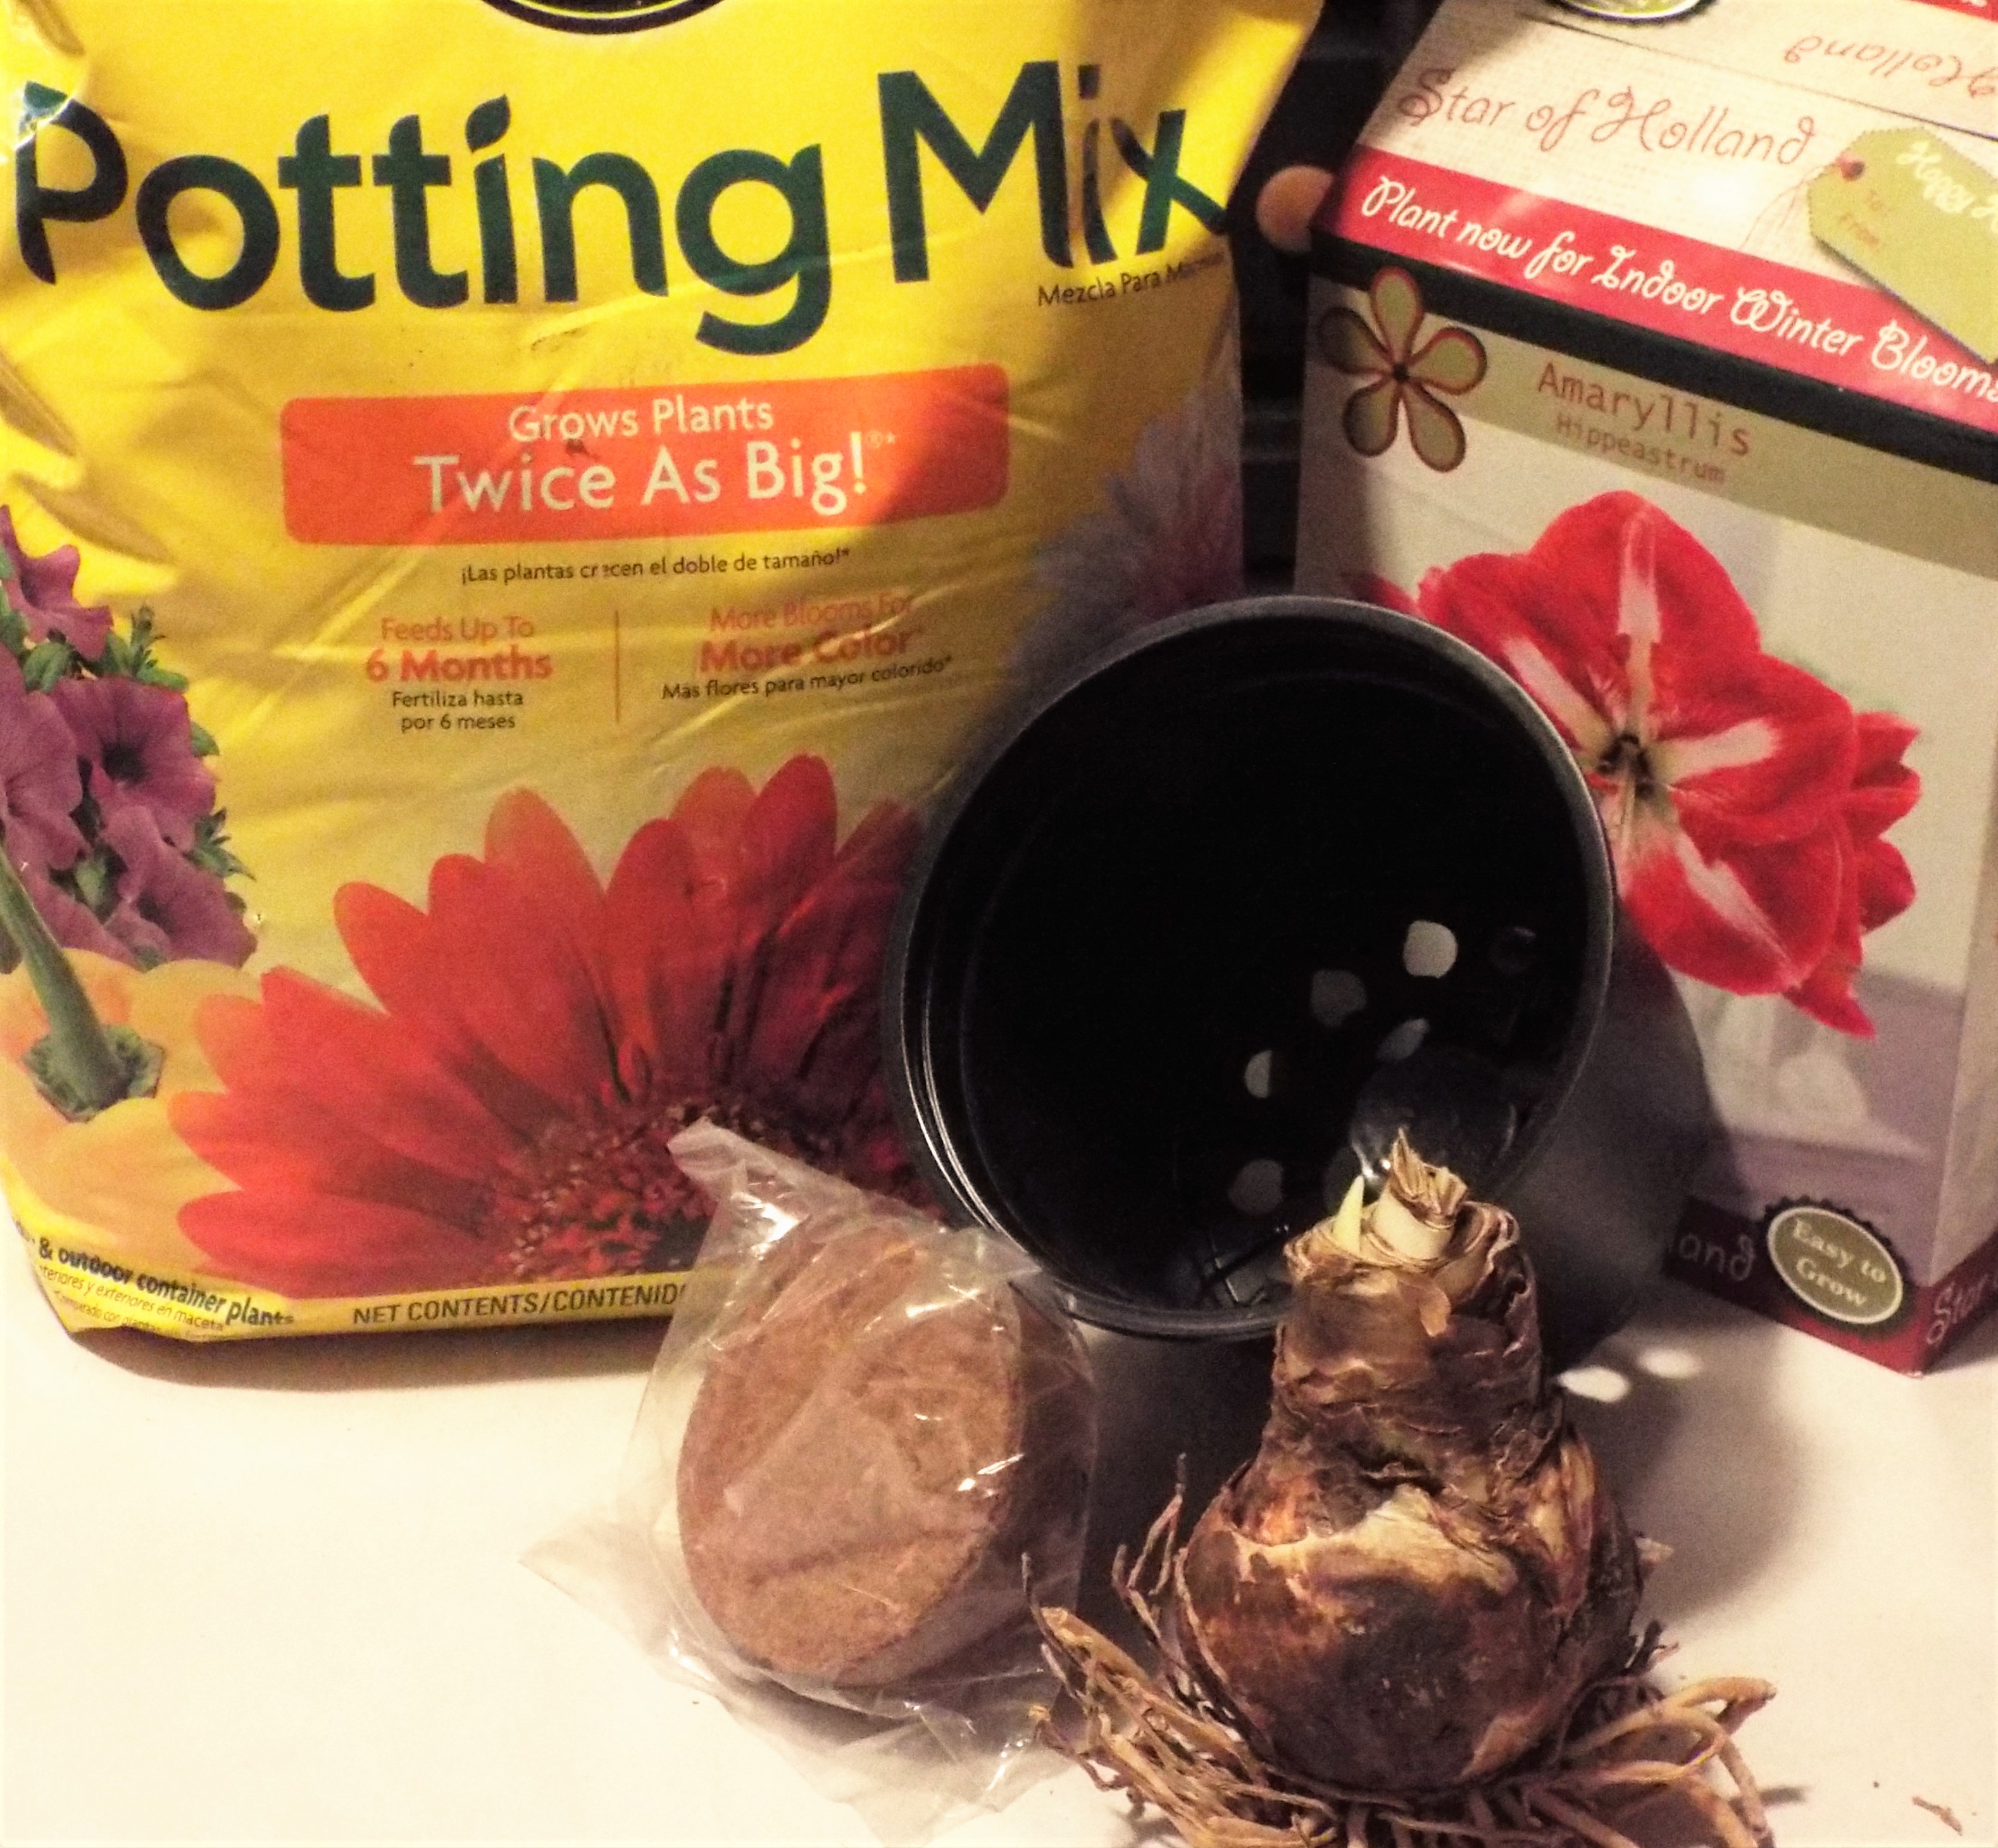
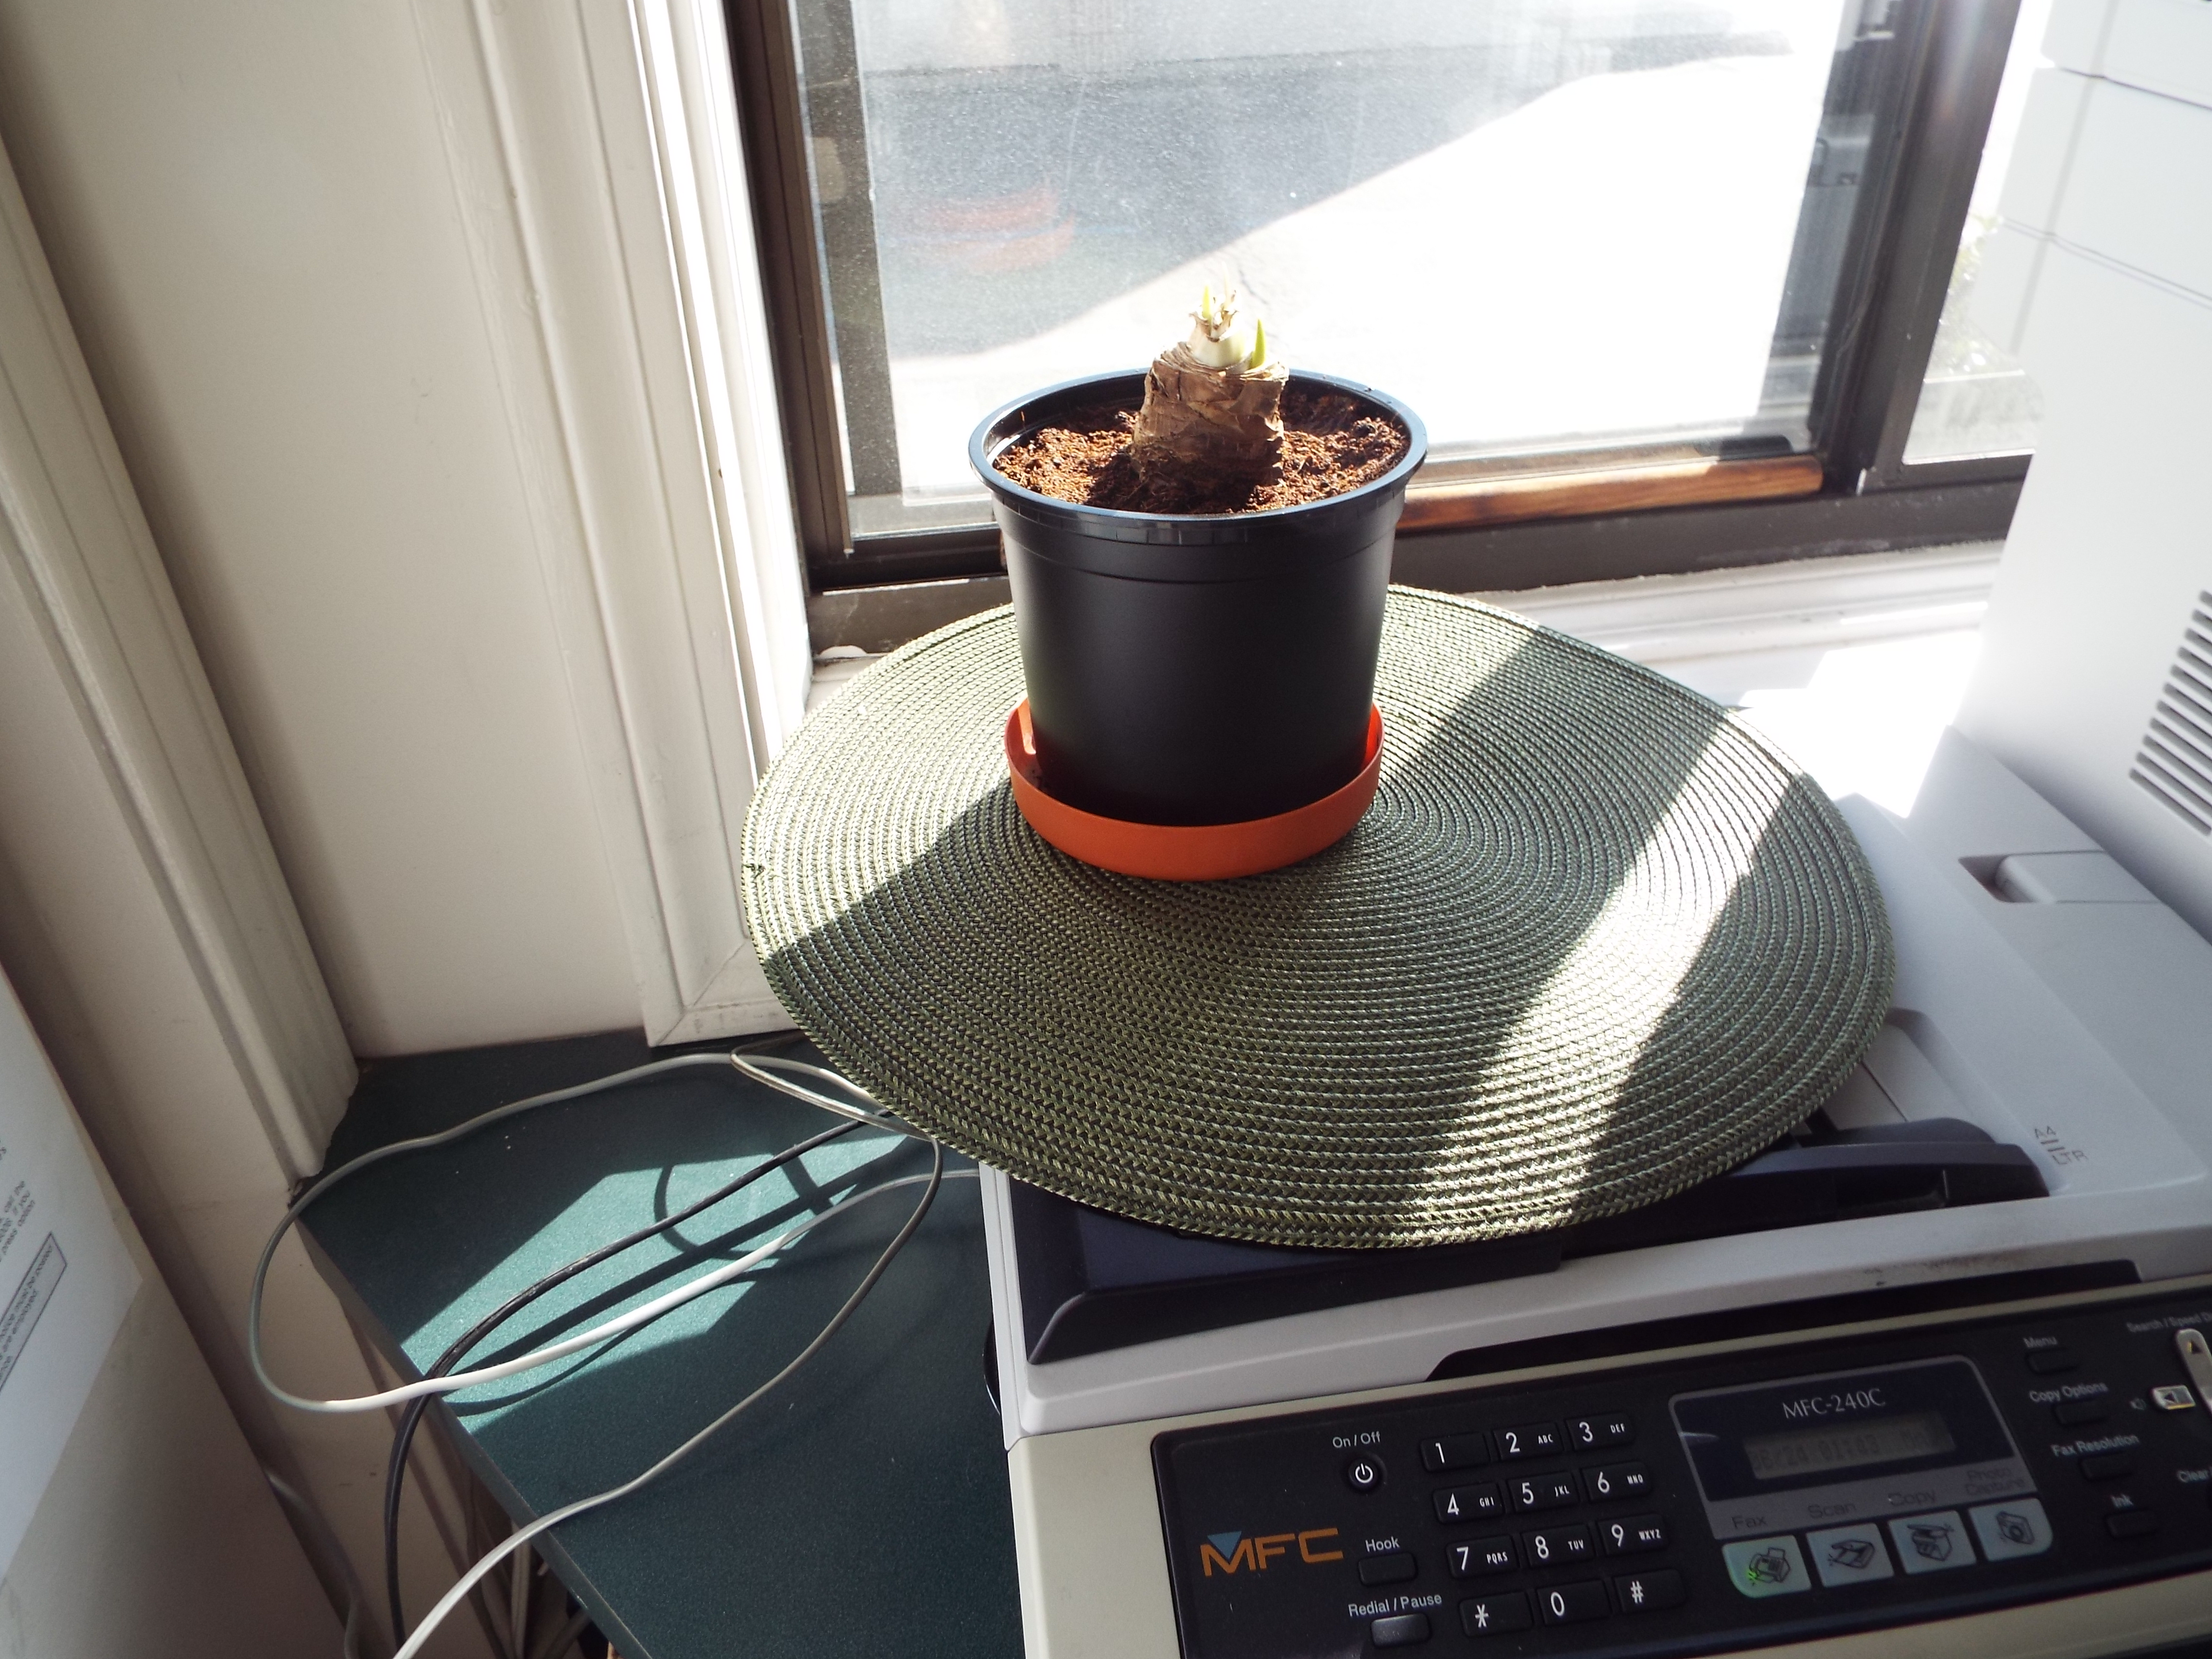
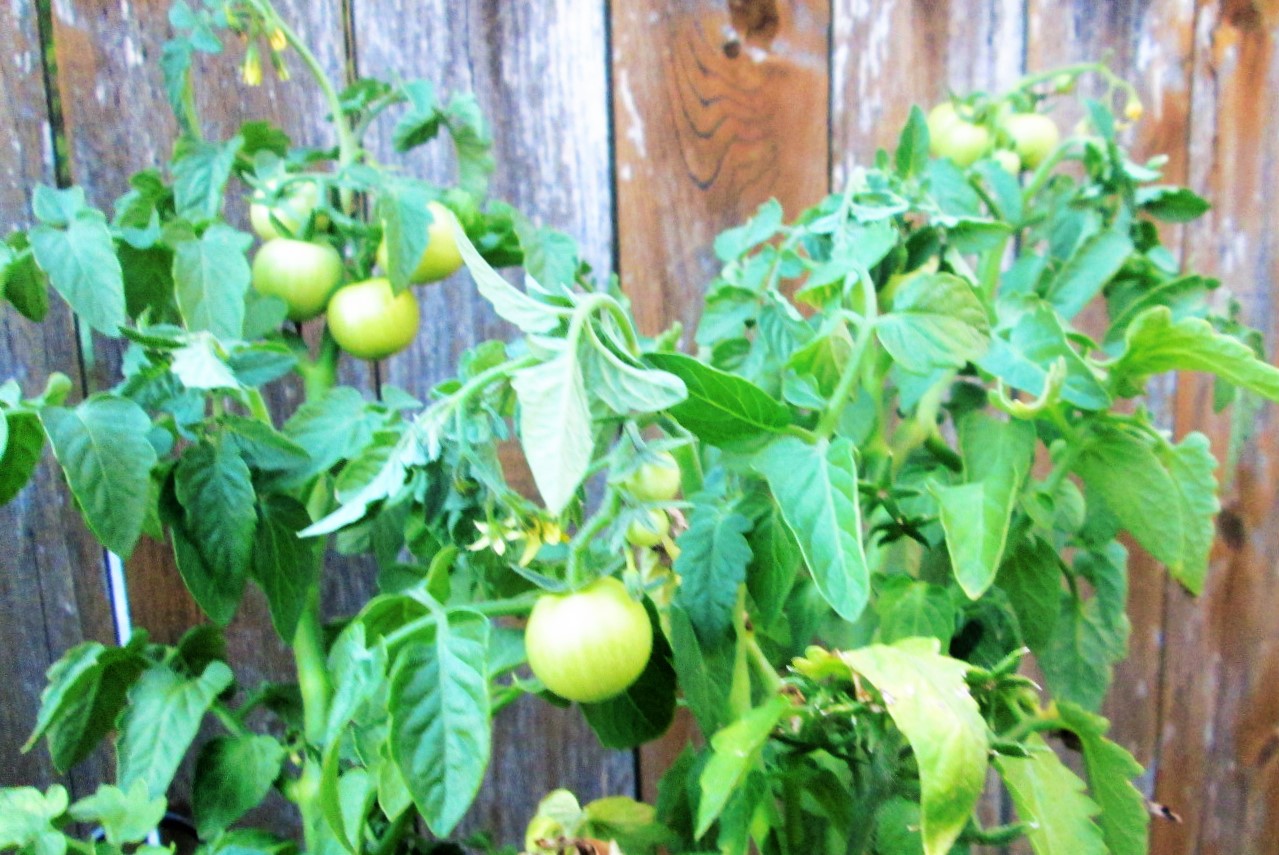
GARDEN UPDATE

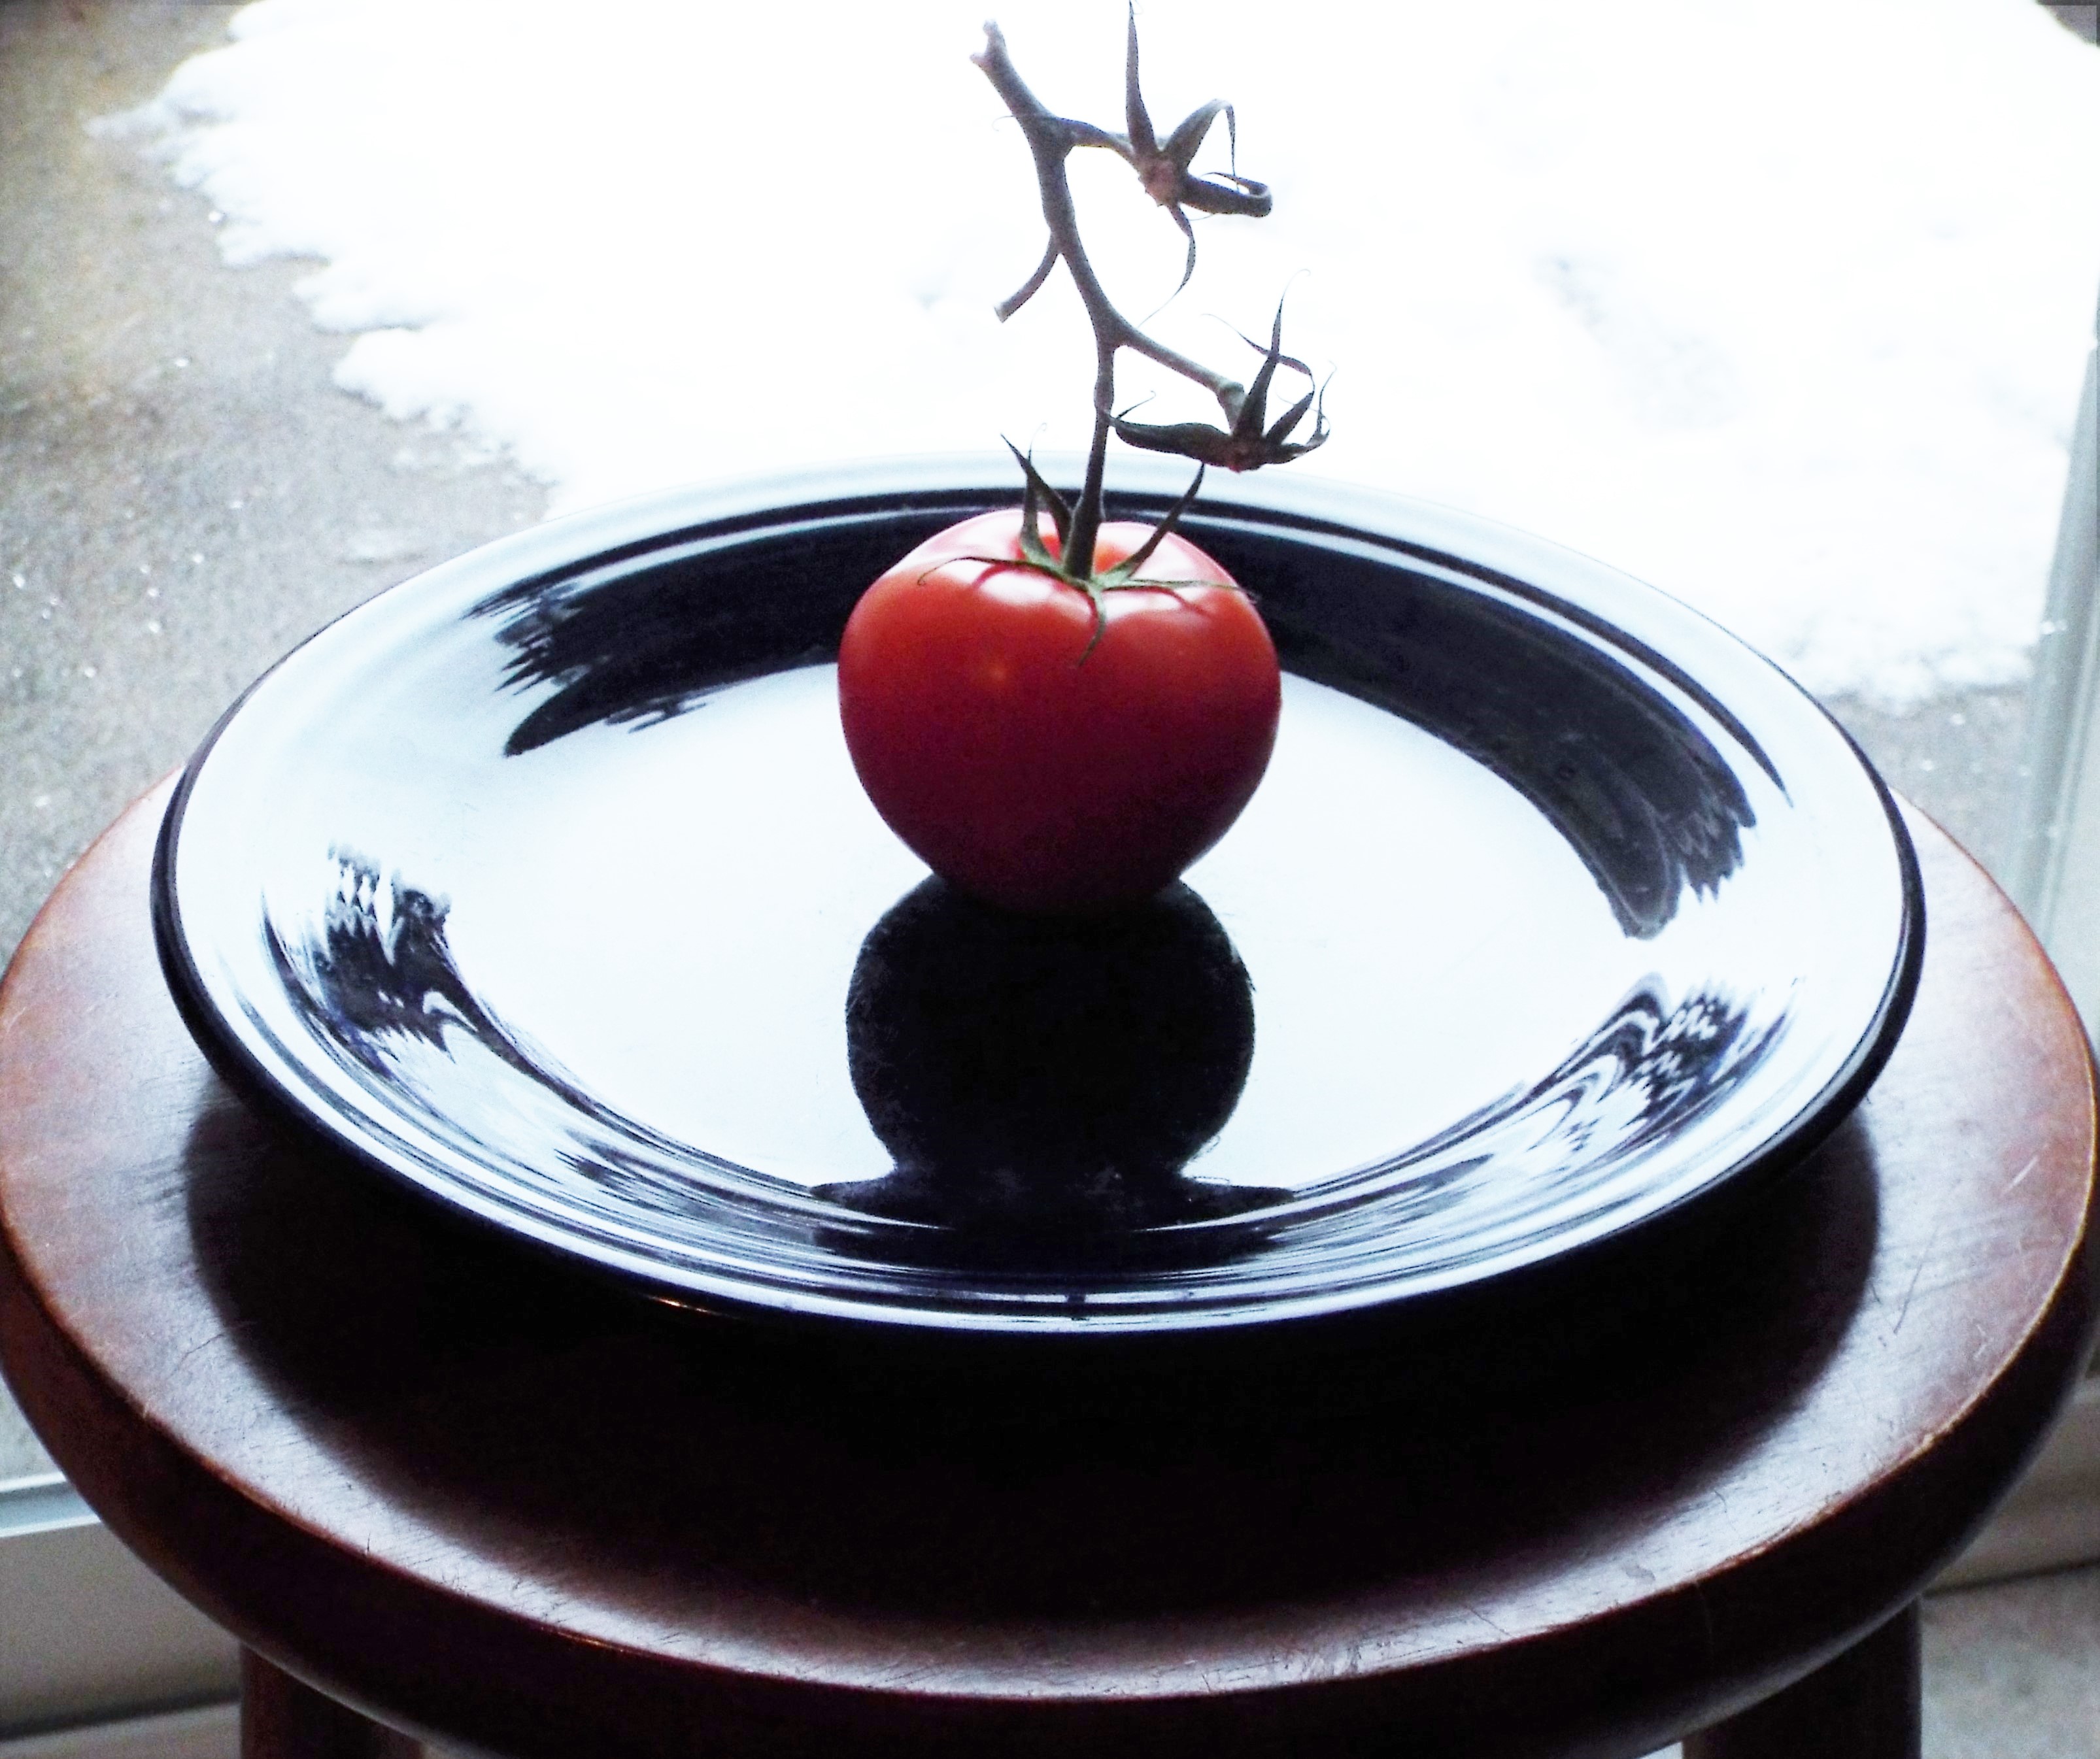
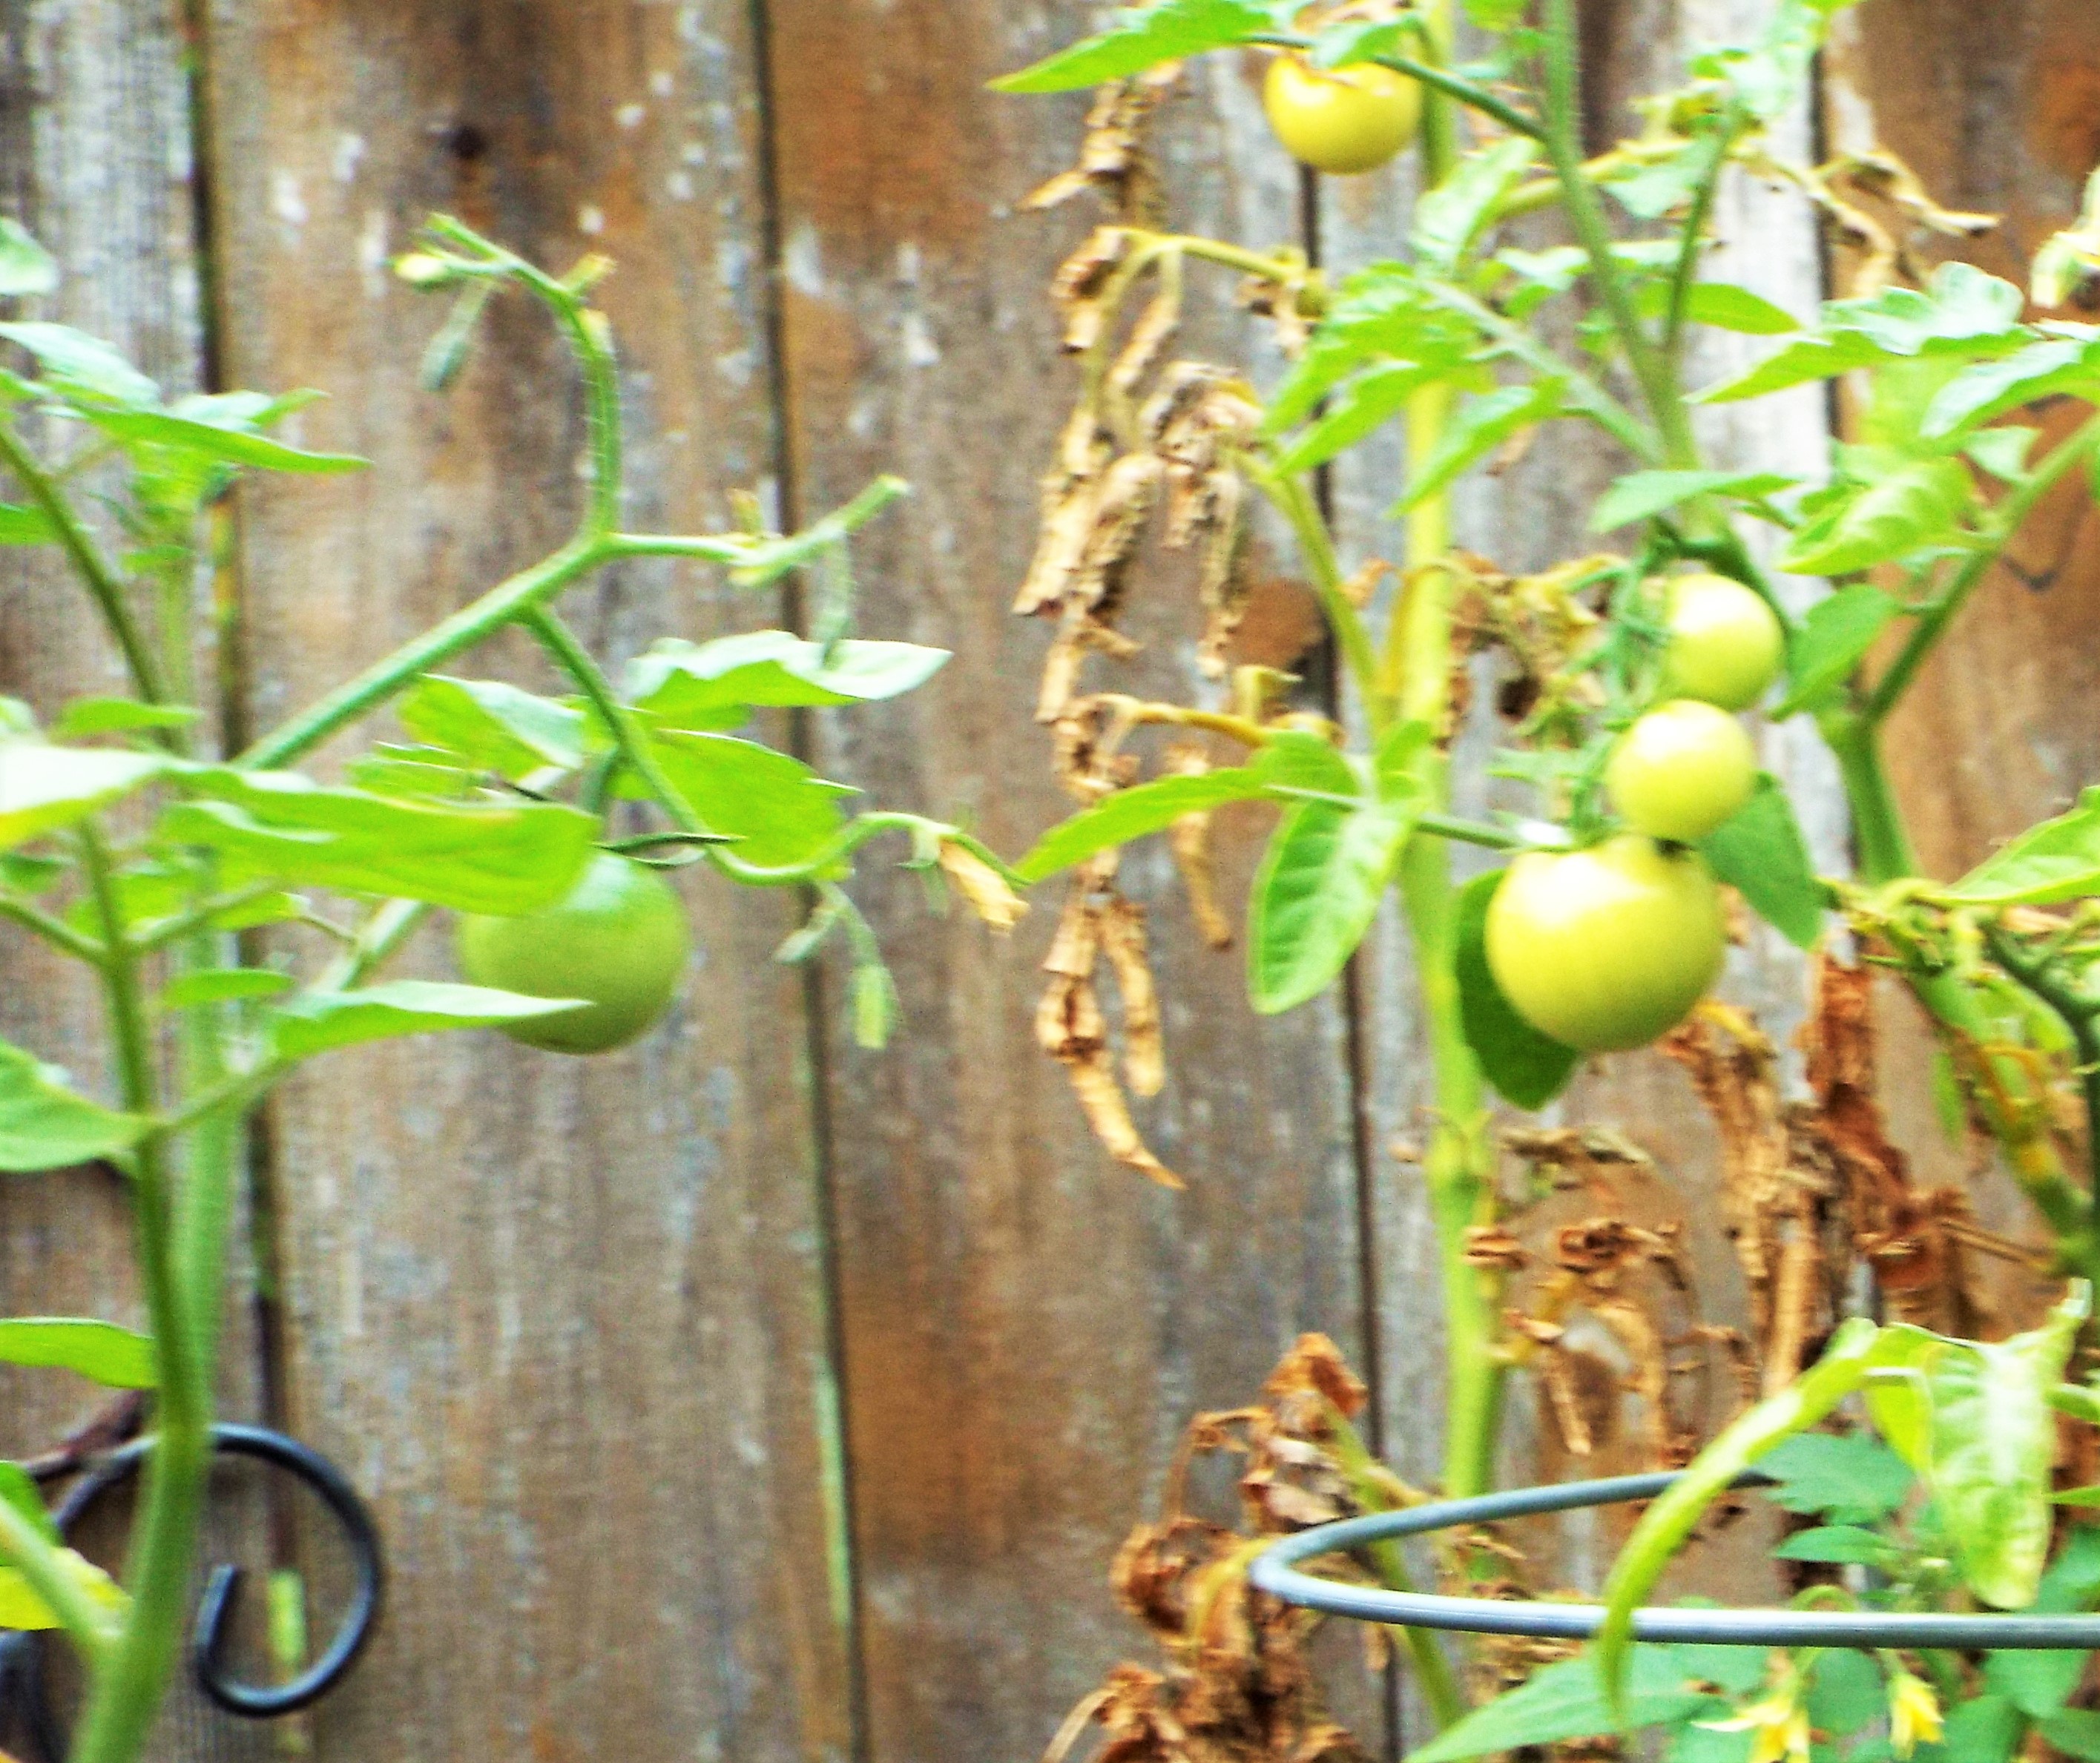
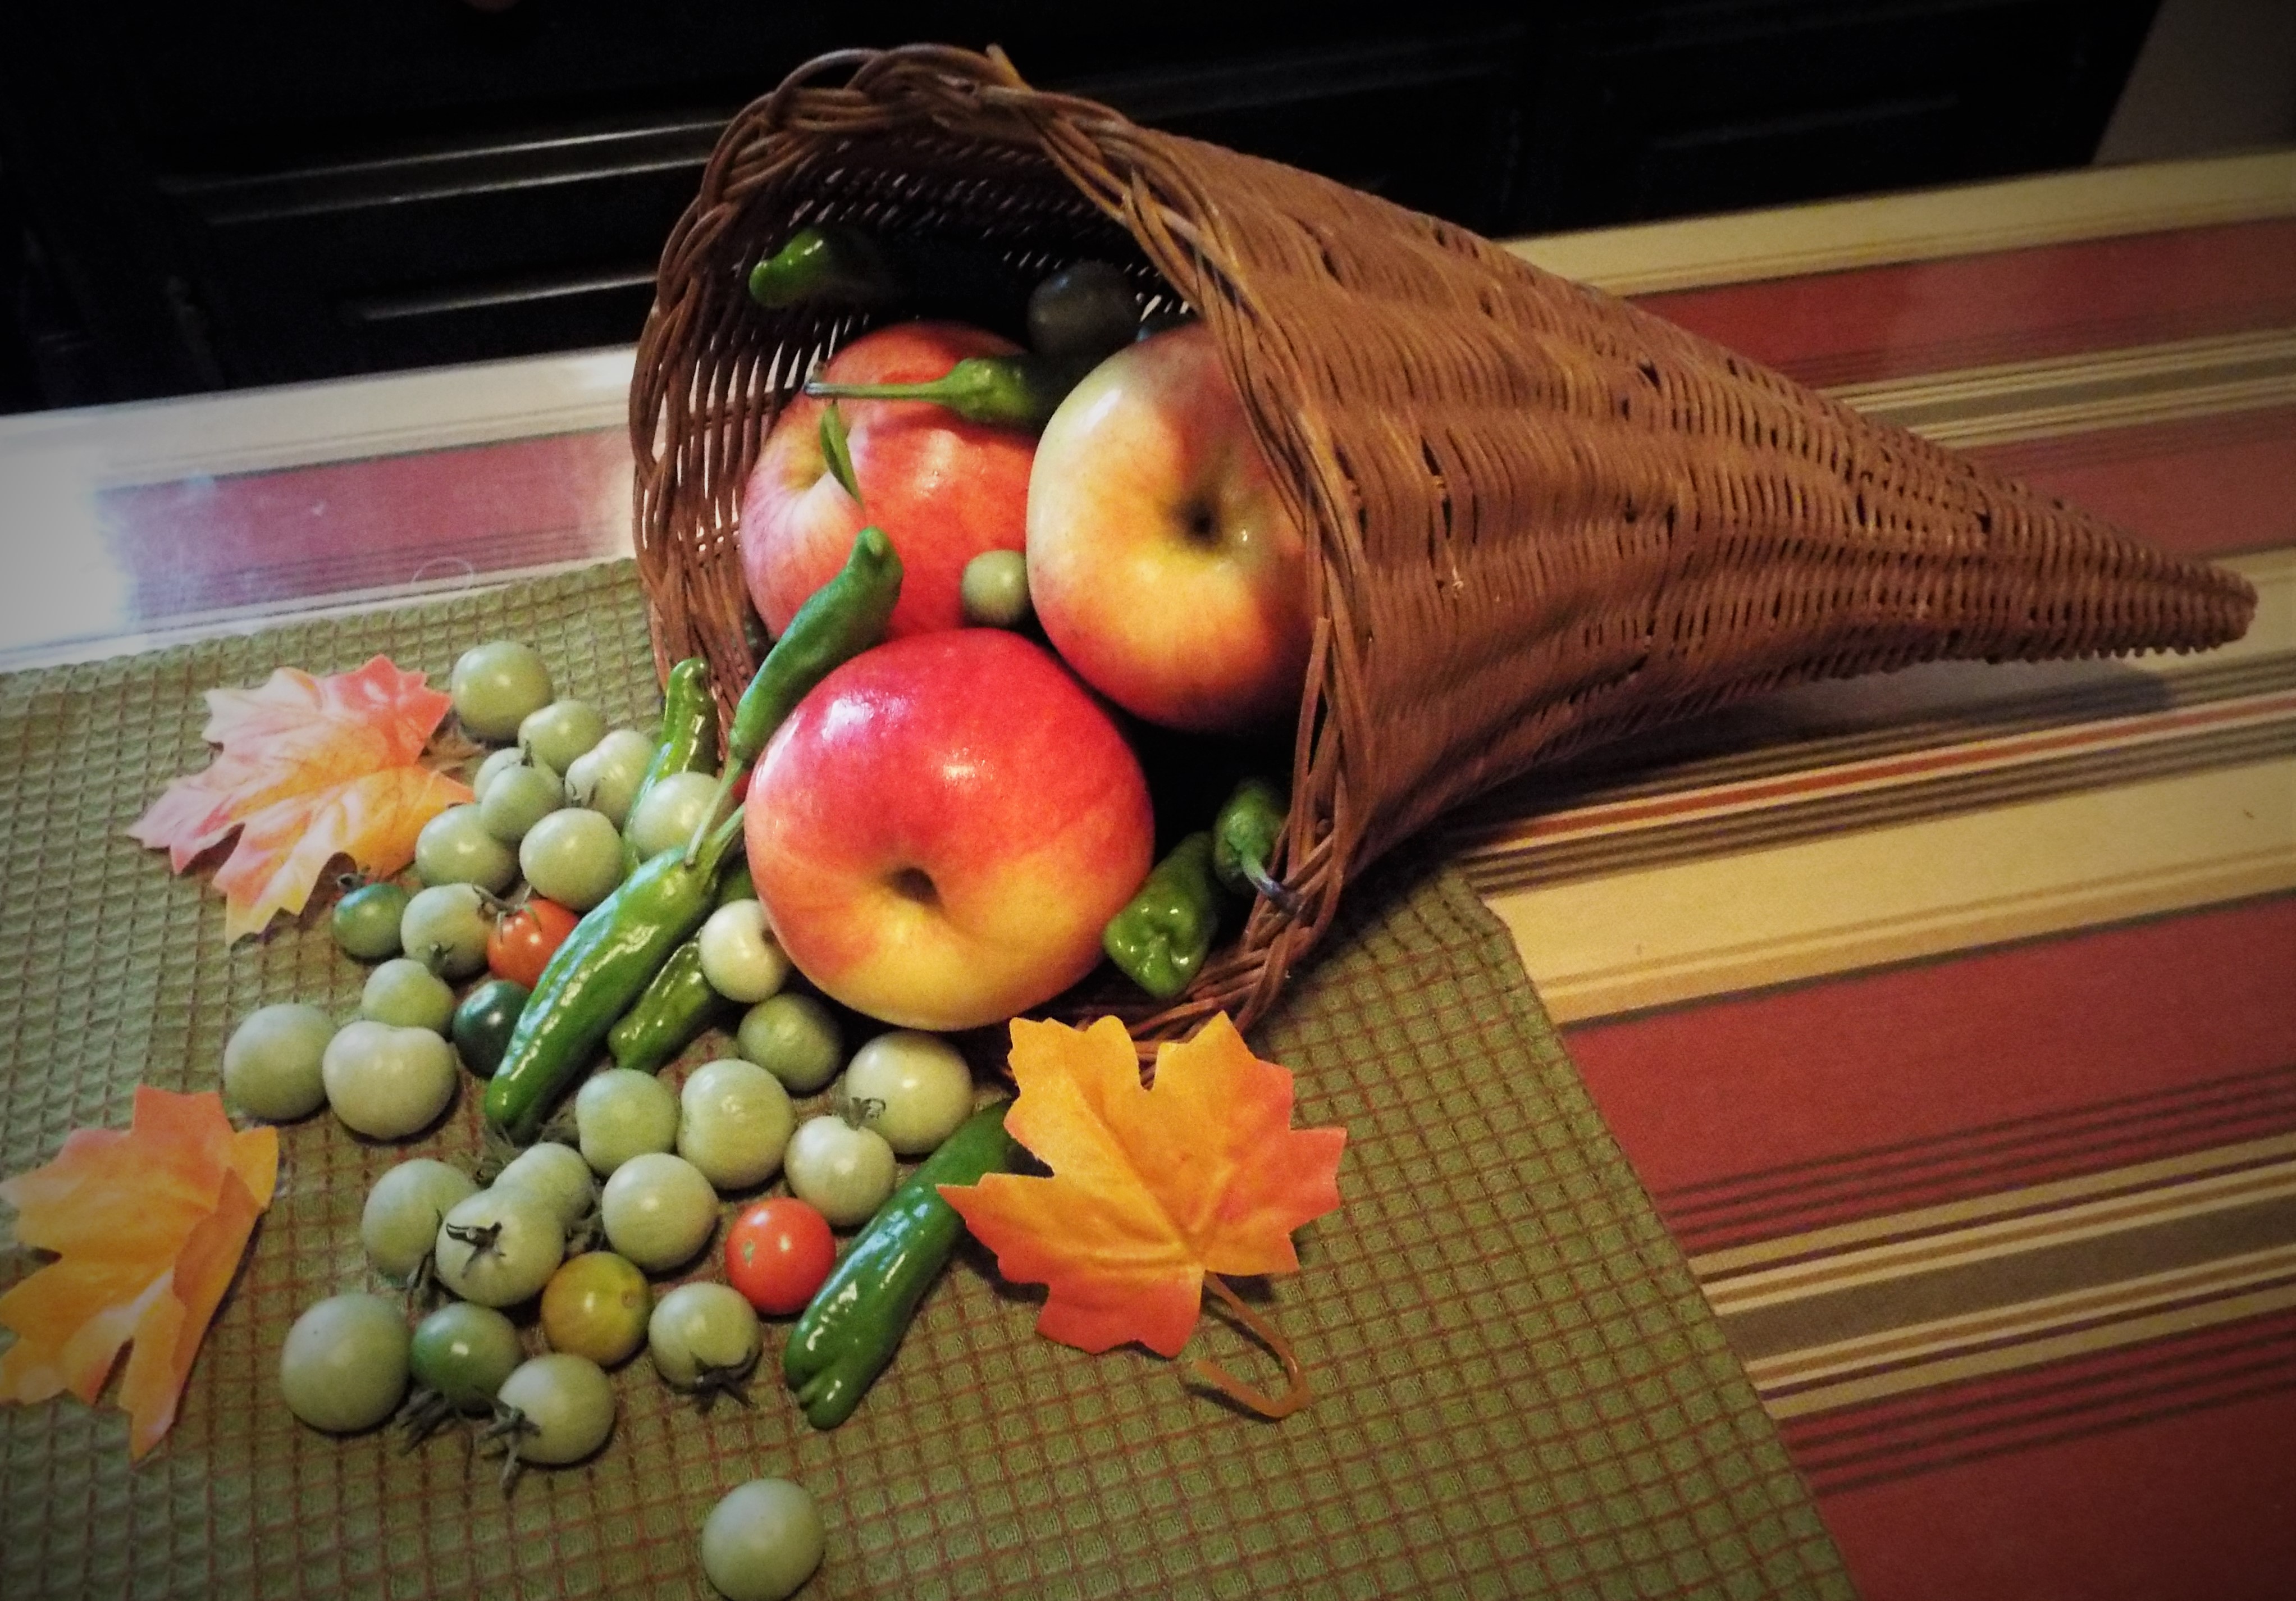
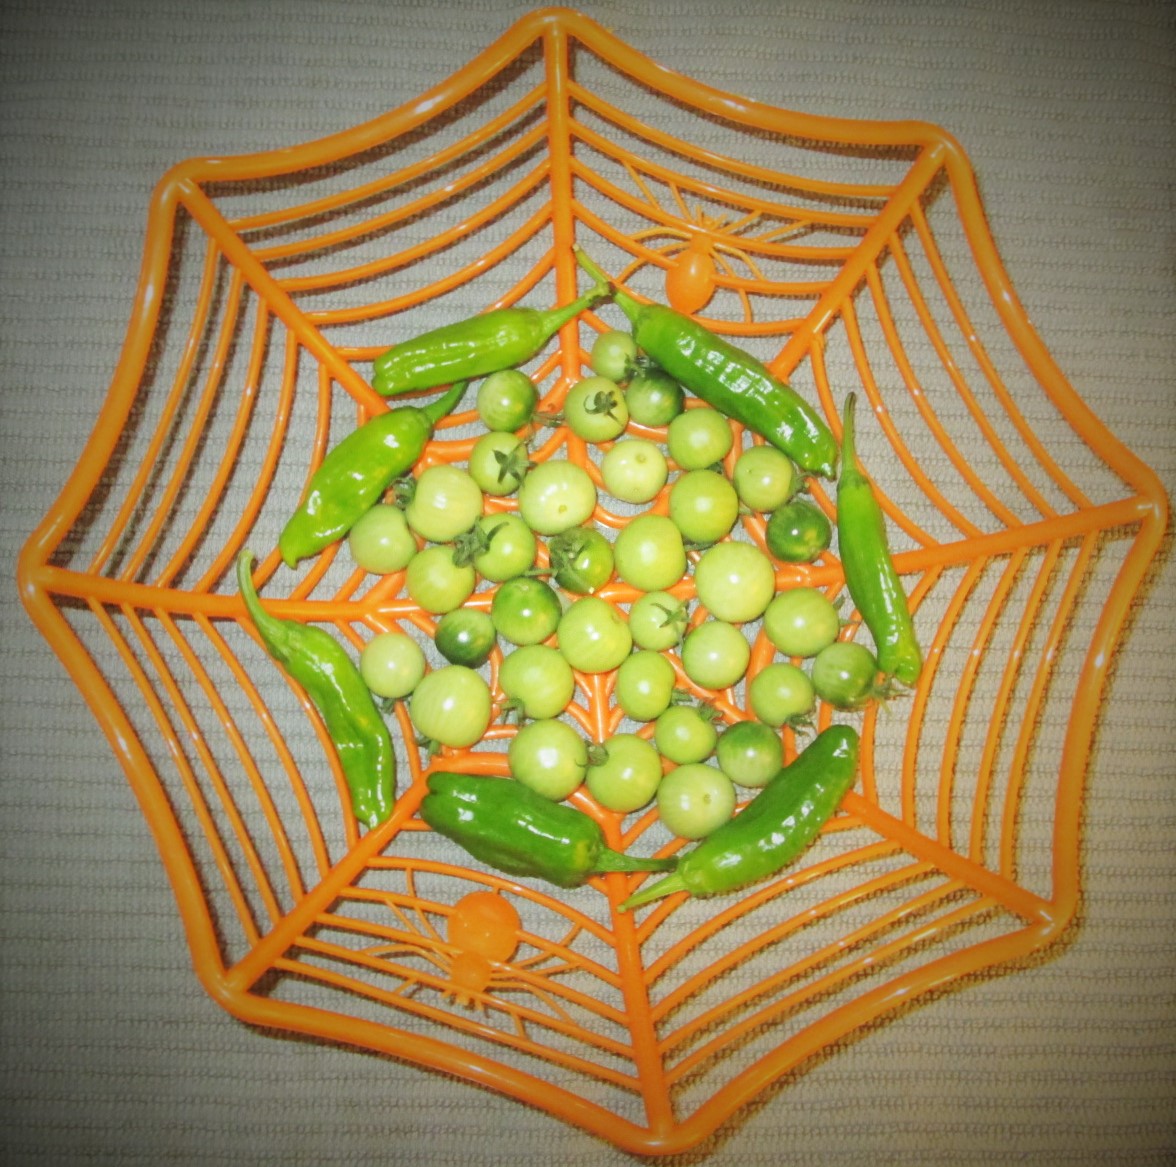
The recent, unseasonably good weather has kept our garden thriving! We have at least 70 green tomatoes on our two cherry tomato plants and 25 peppers in various stages of growth on our Shishito pepper plant. They better hurry up and ripen before this weekend’s predicted frost or we may be growing them in the house. Wonder how much indoor grow lamps cost!
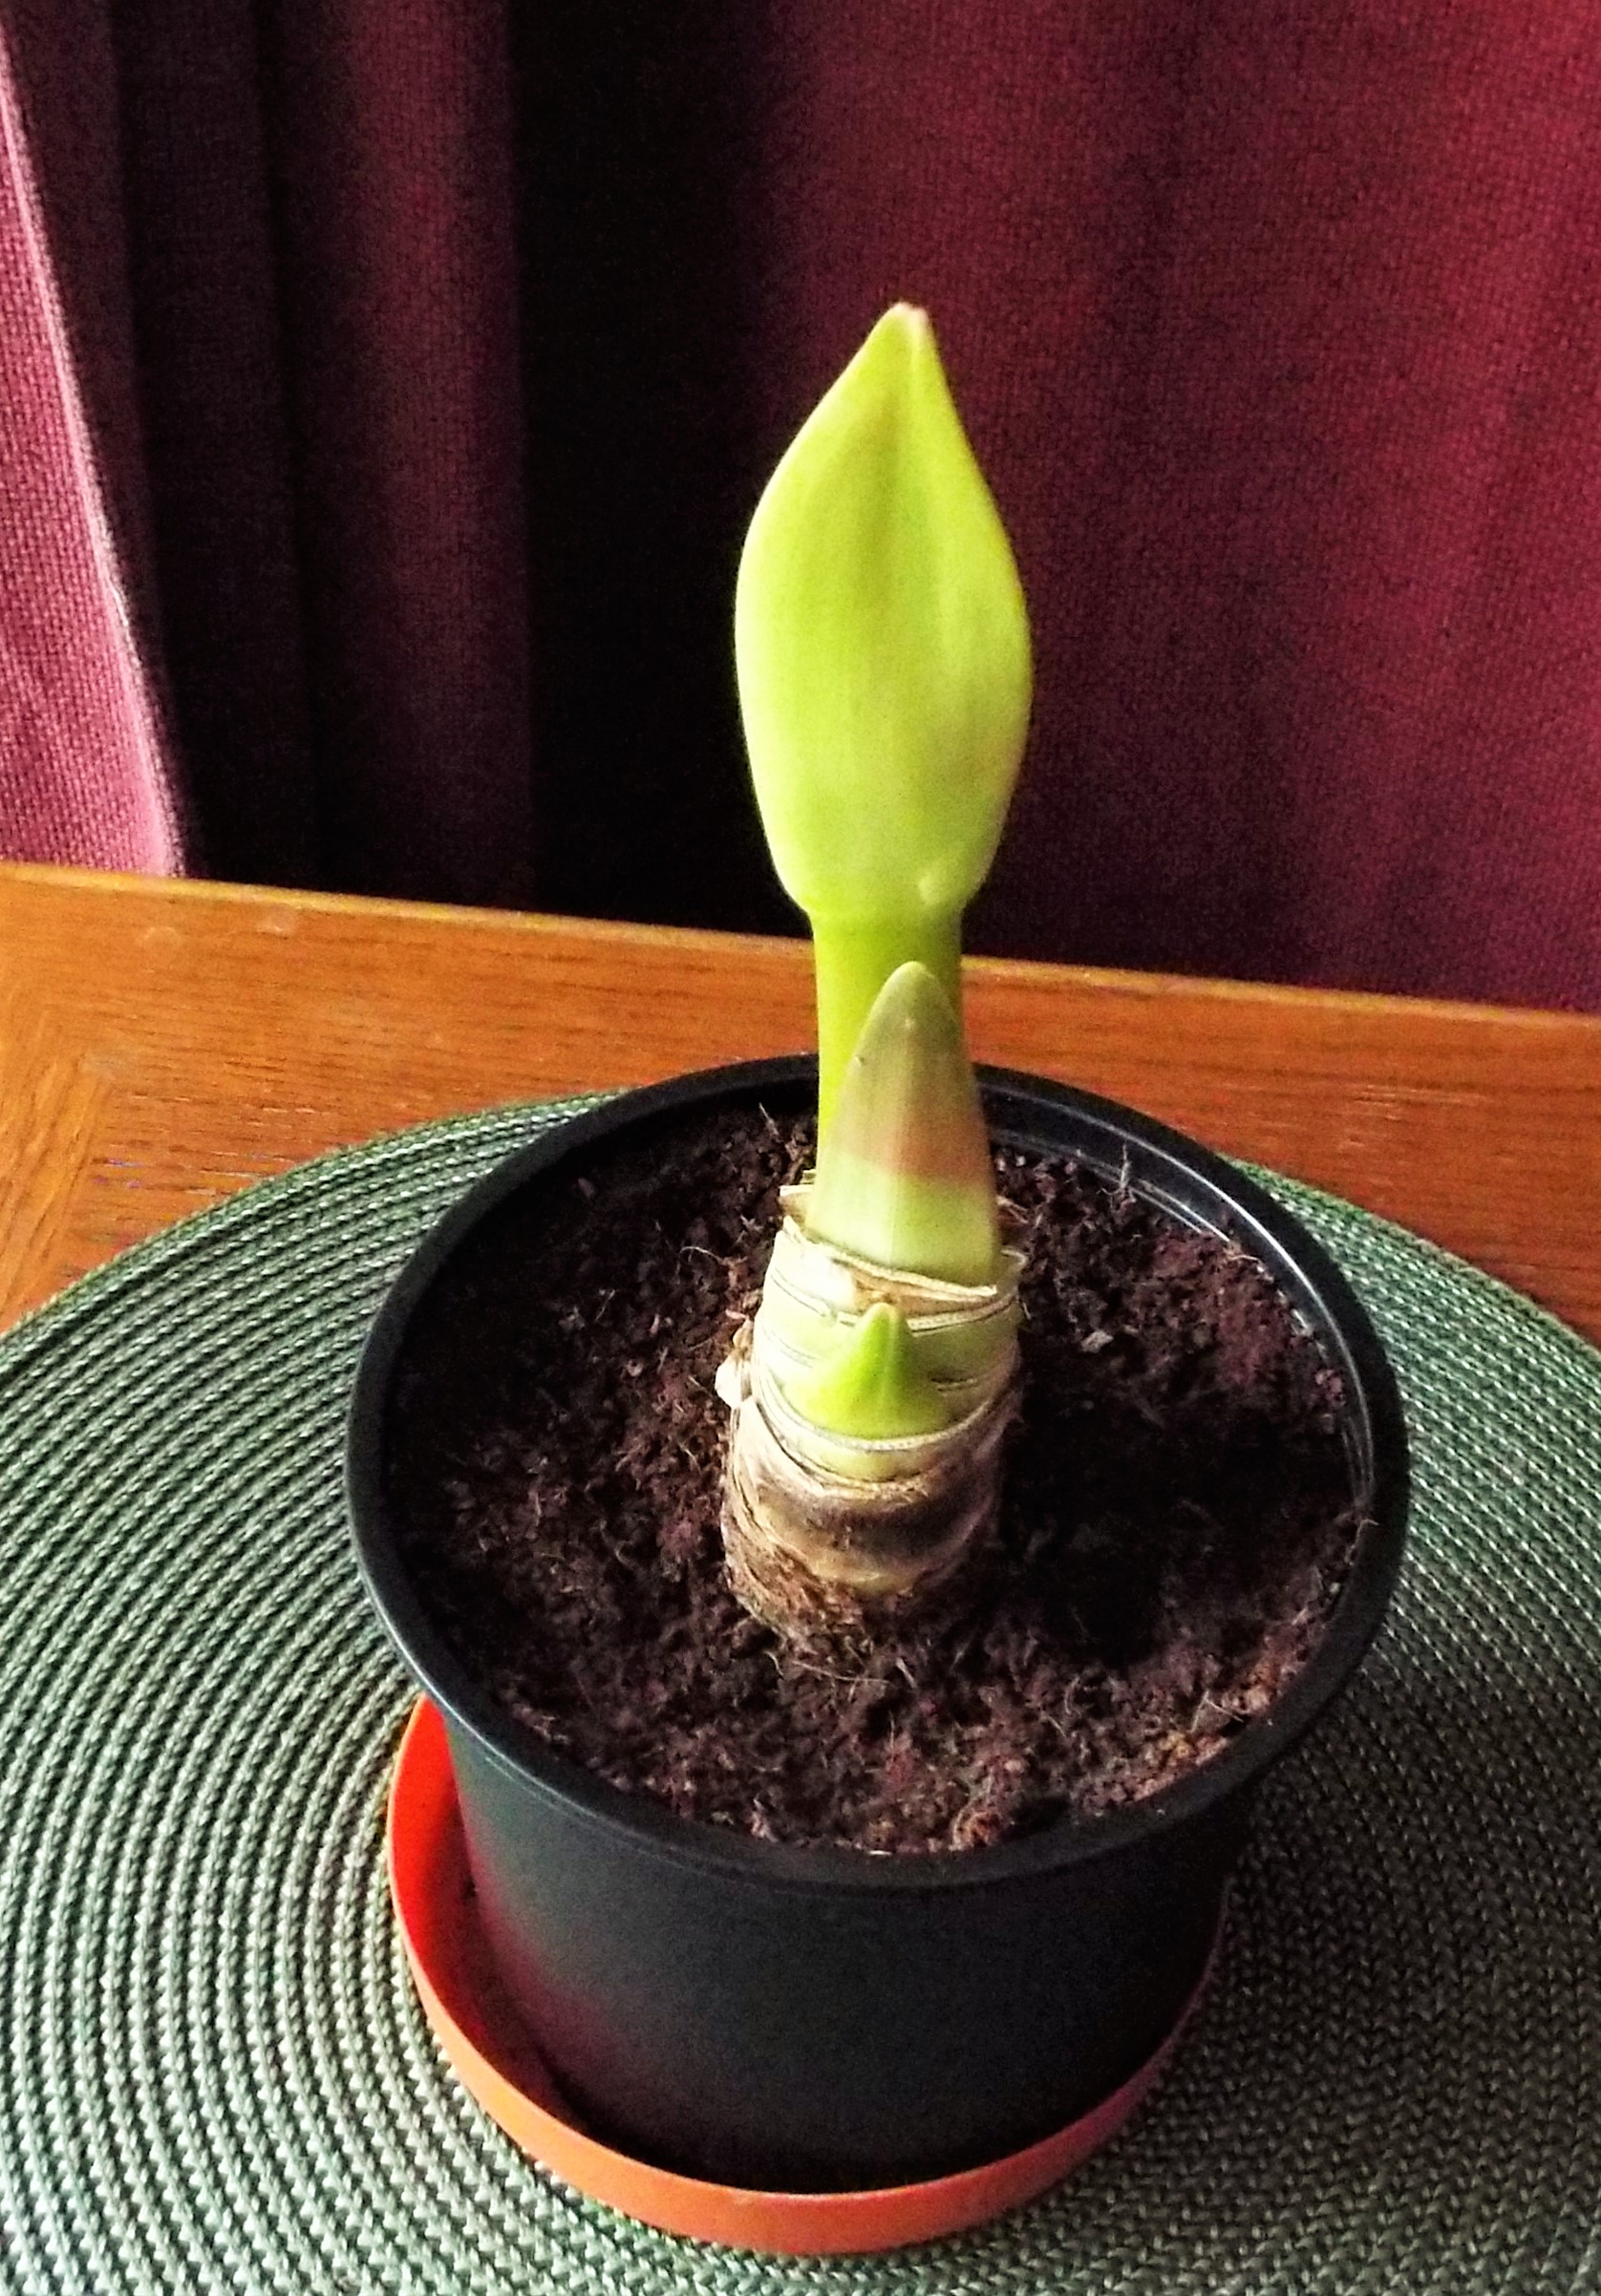
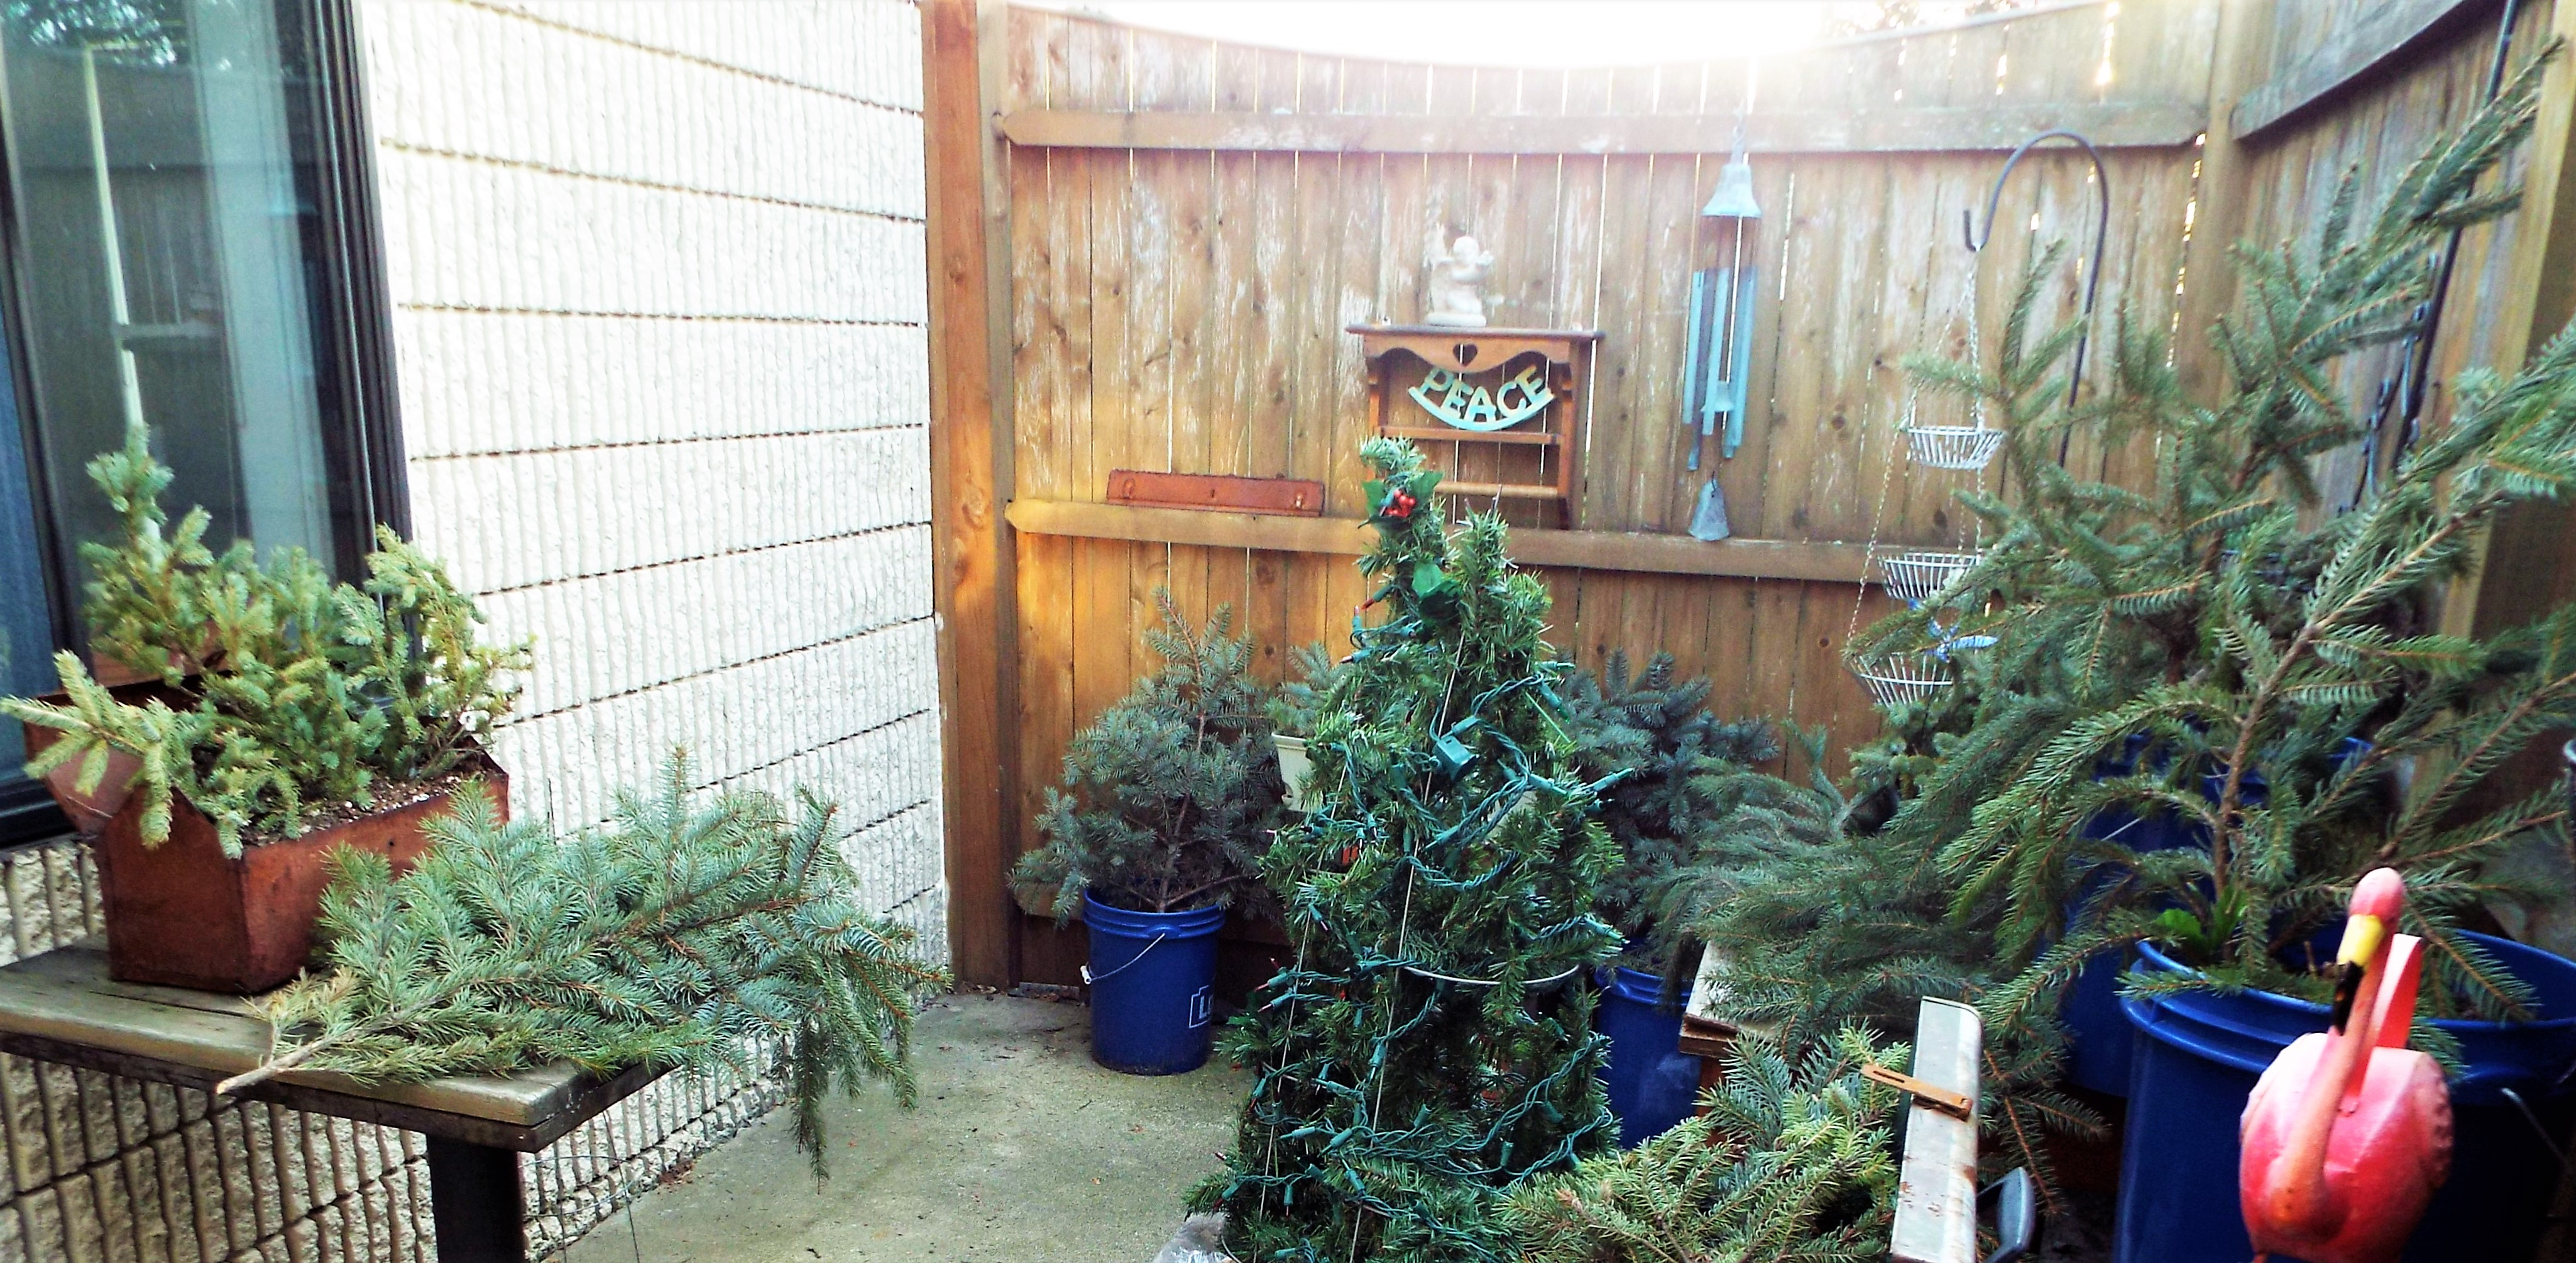
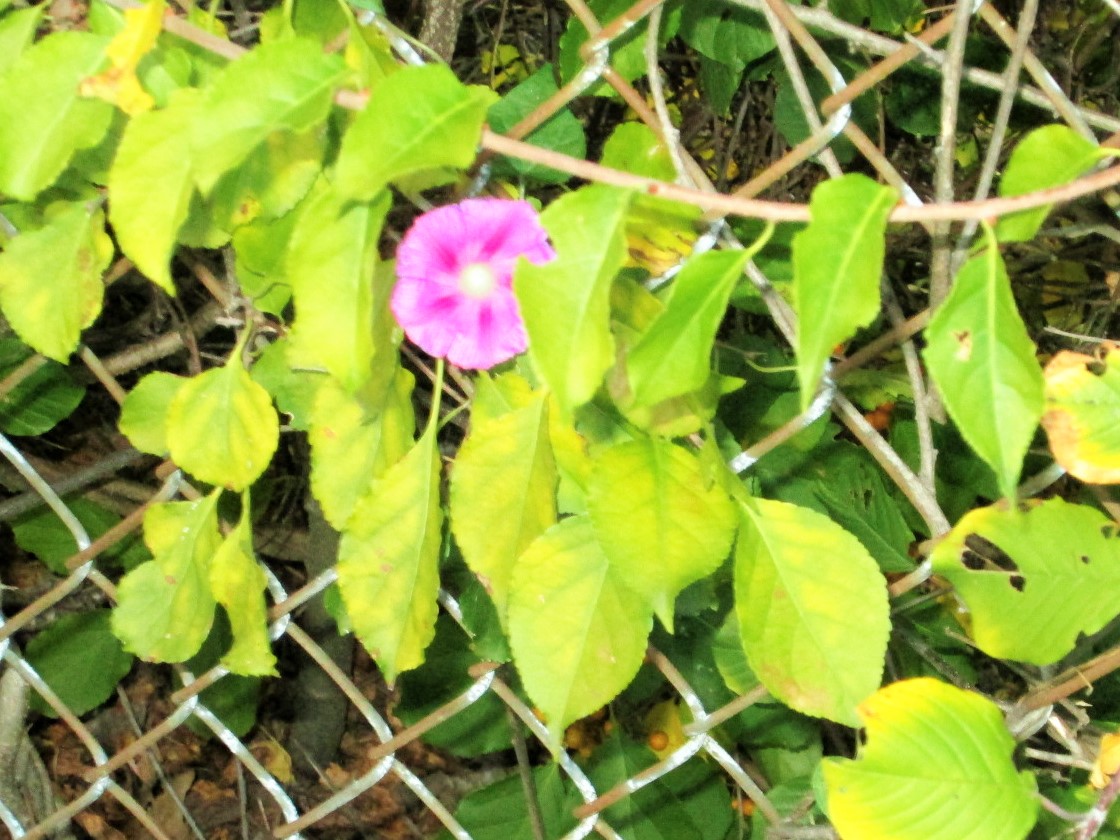
Kevin spotted this lone flower today on the vine that grows on the fence that surrounds our property! This vine has never flowered in our eight years here!

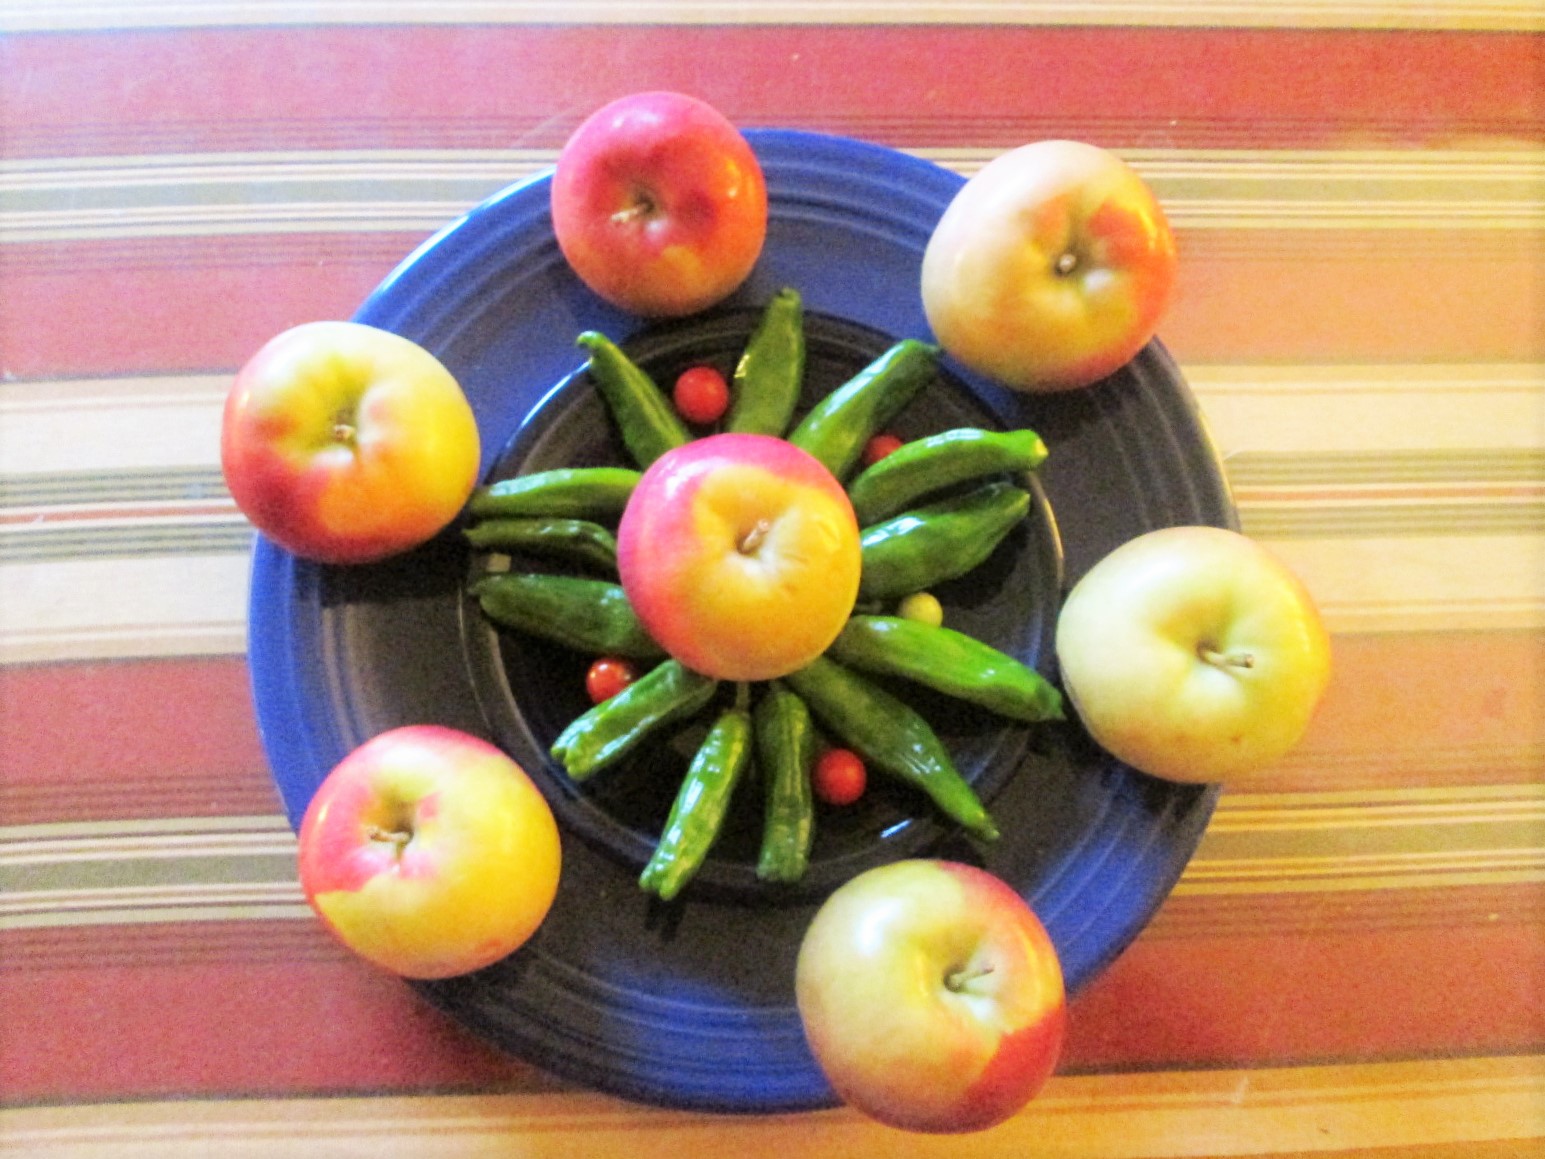
VEG ART
The apples have taken over. (No, we didn’t grow them!)

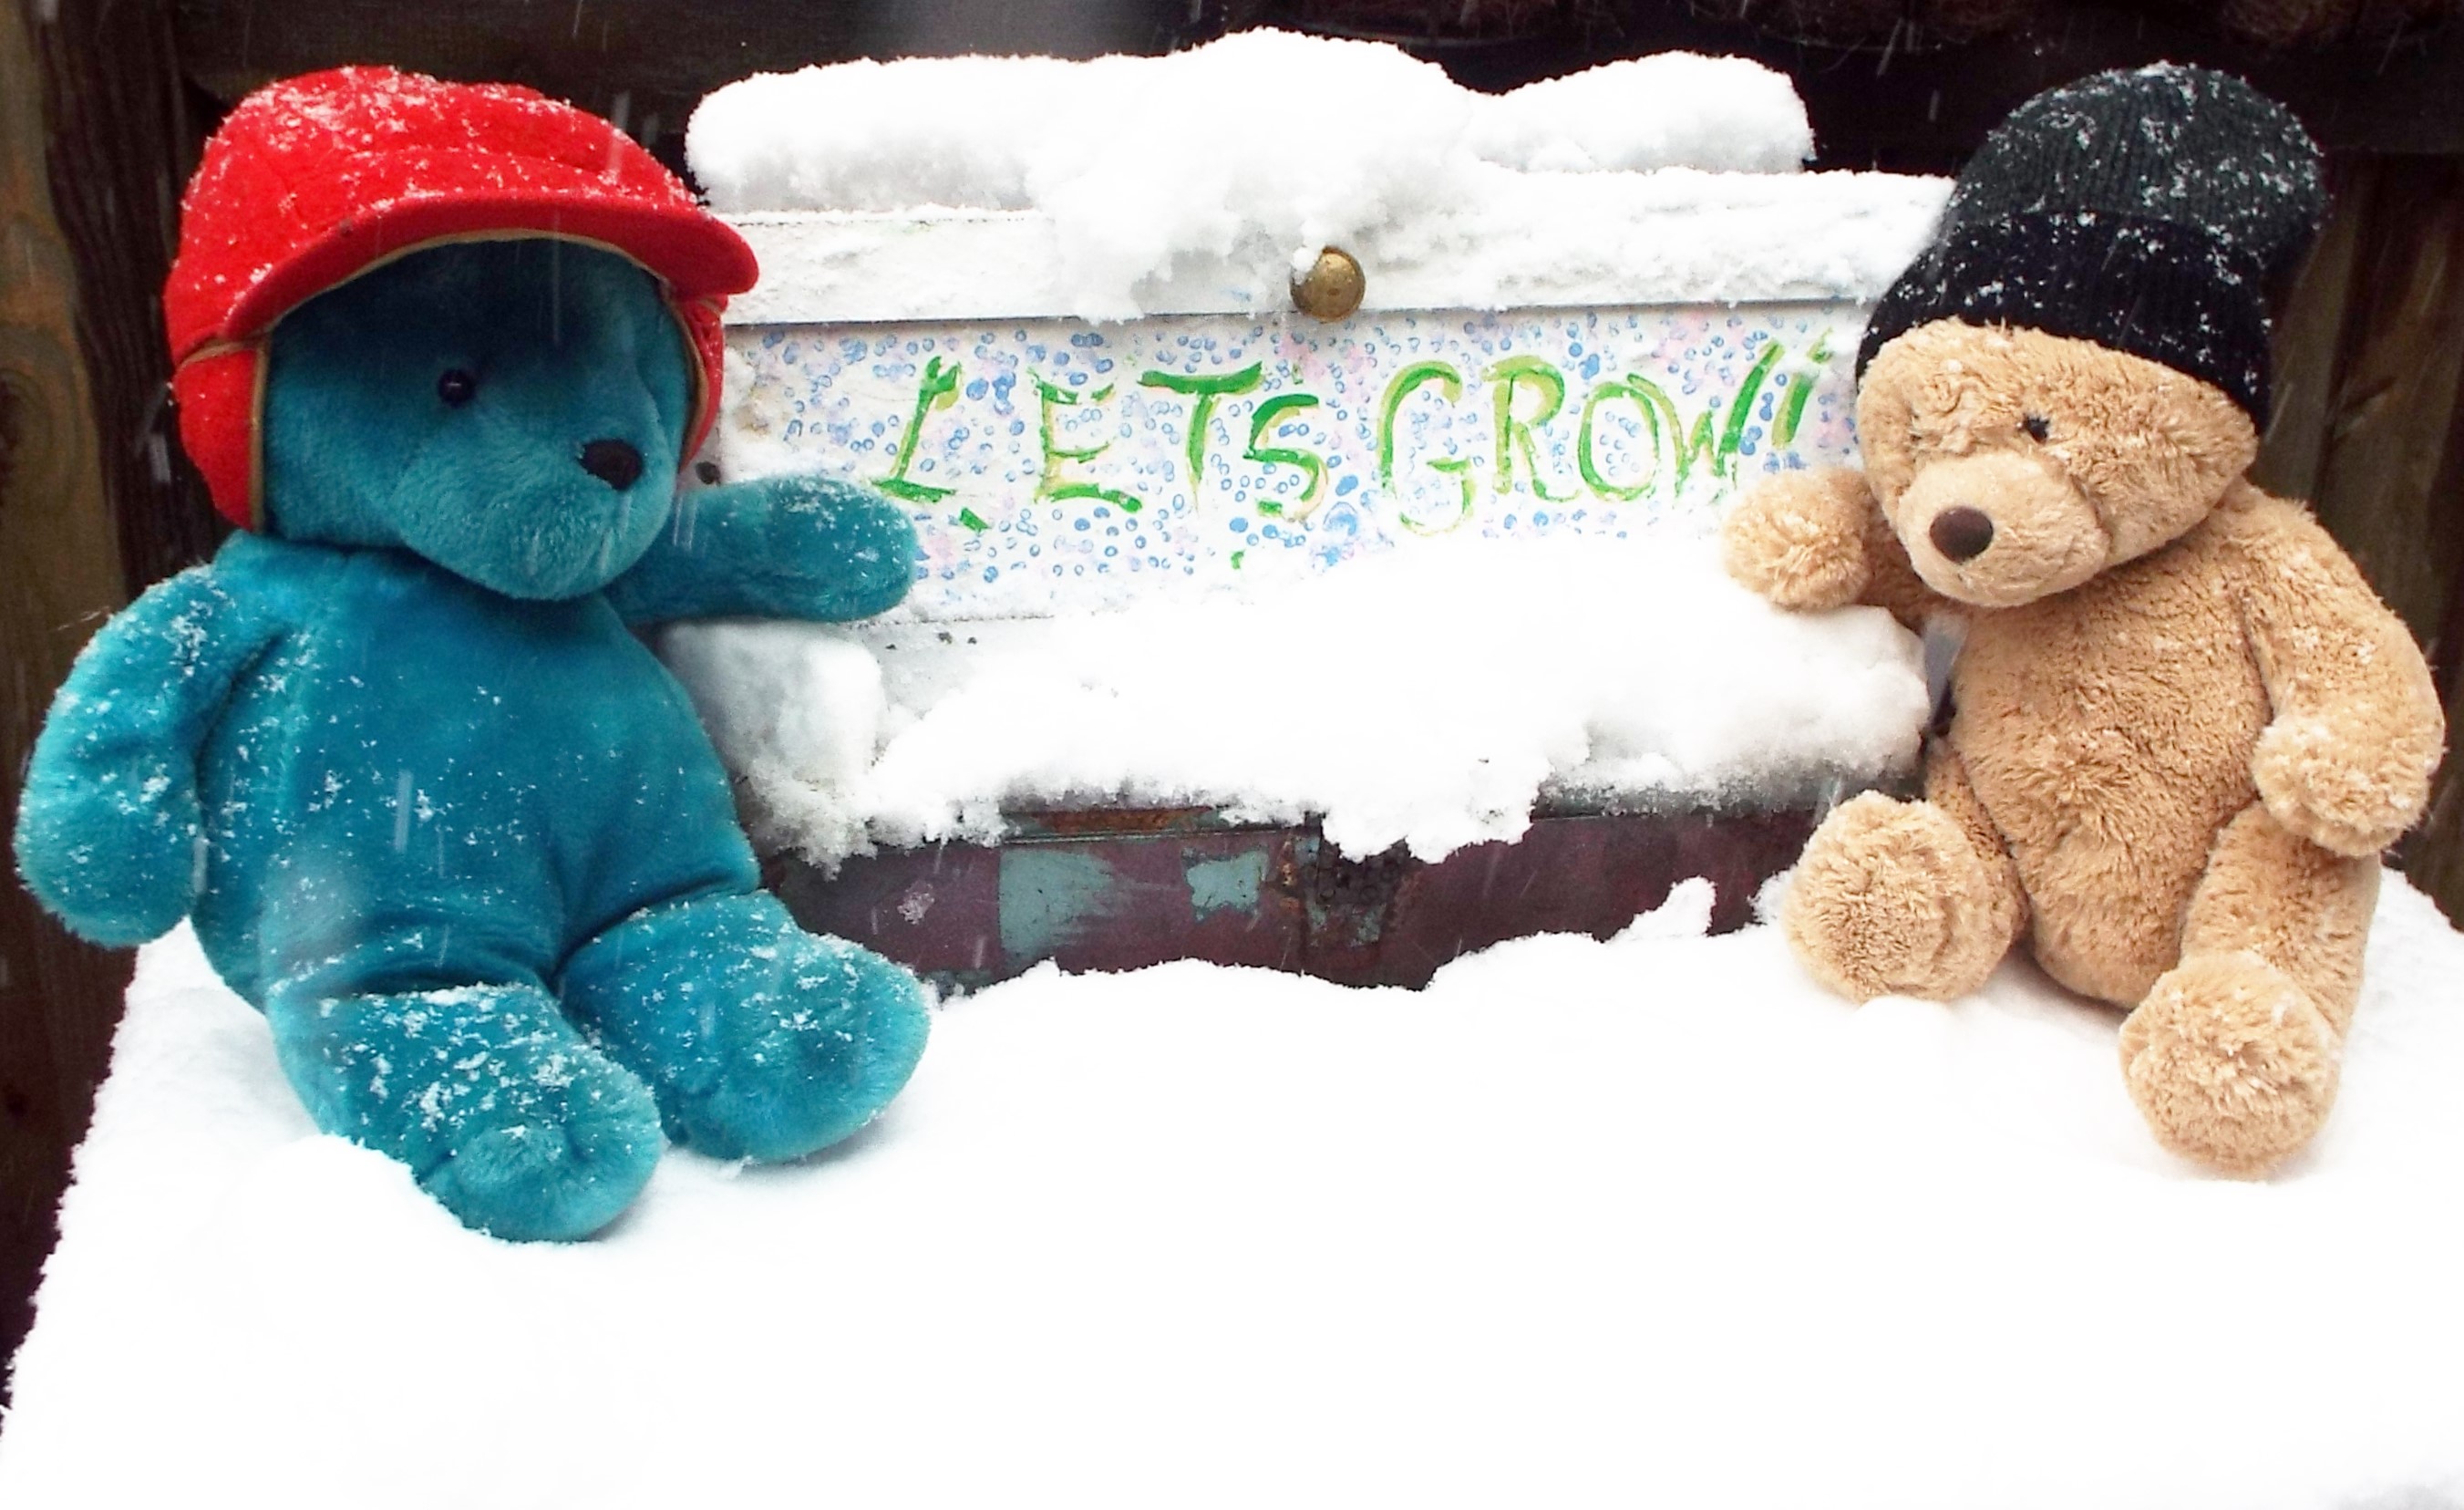
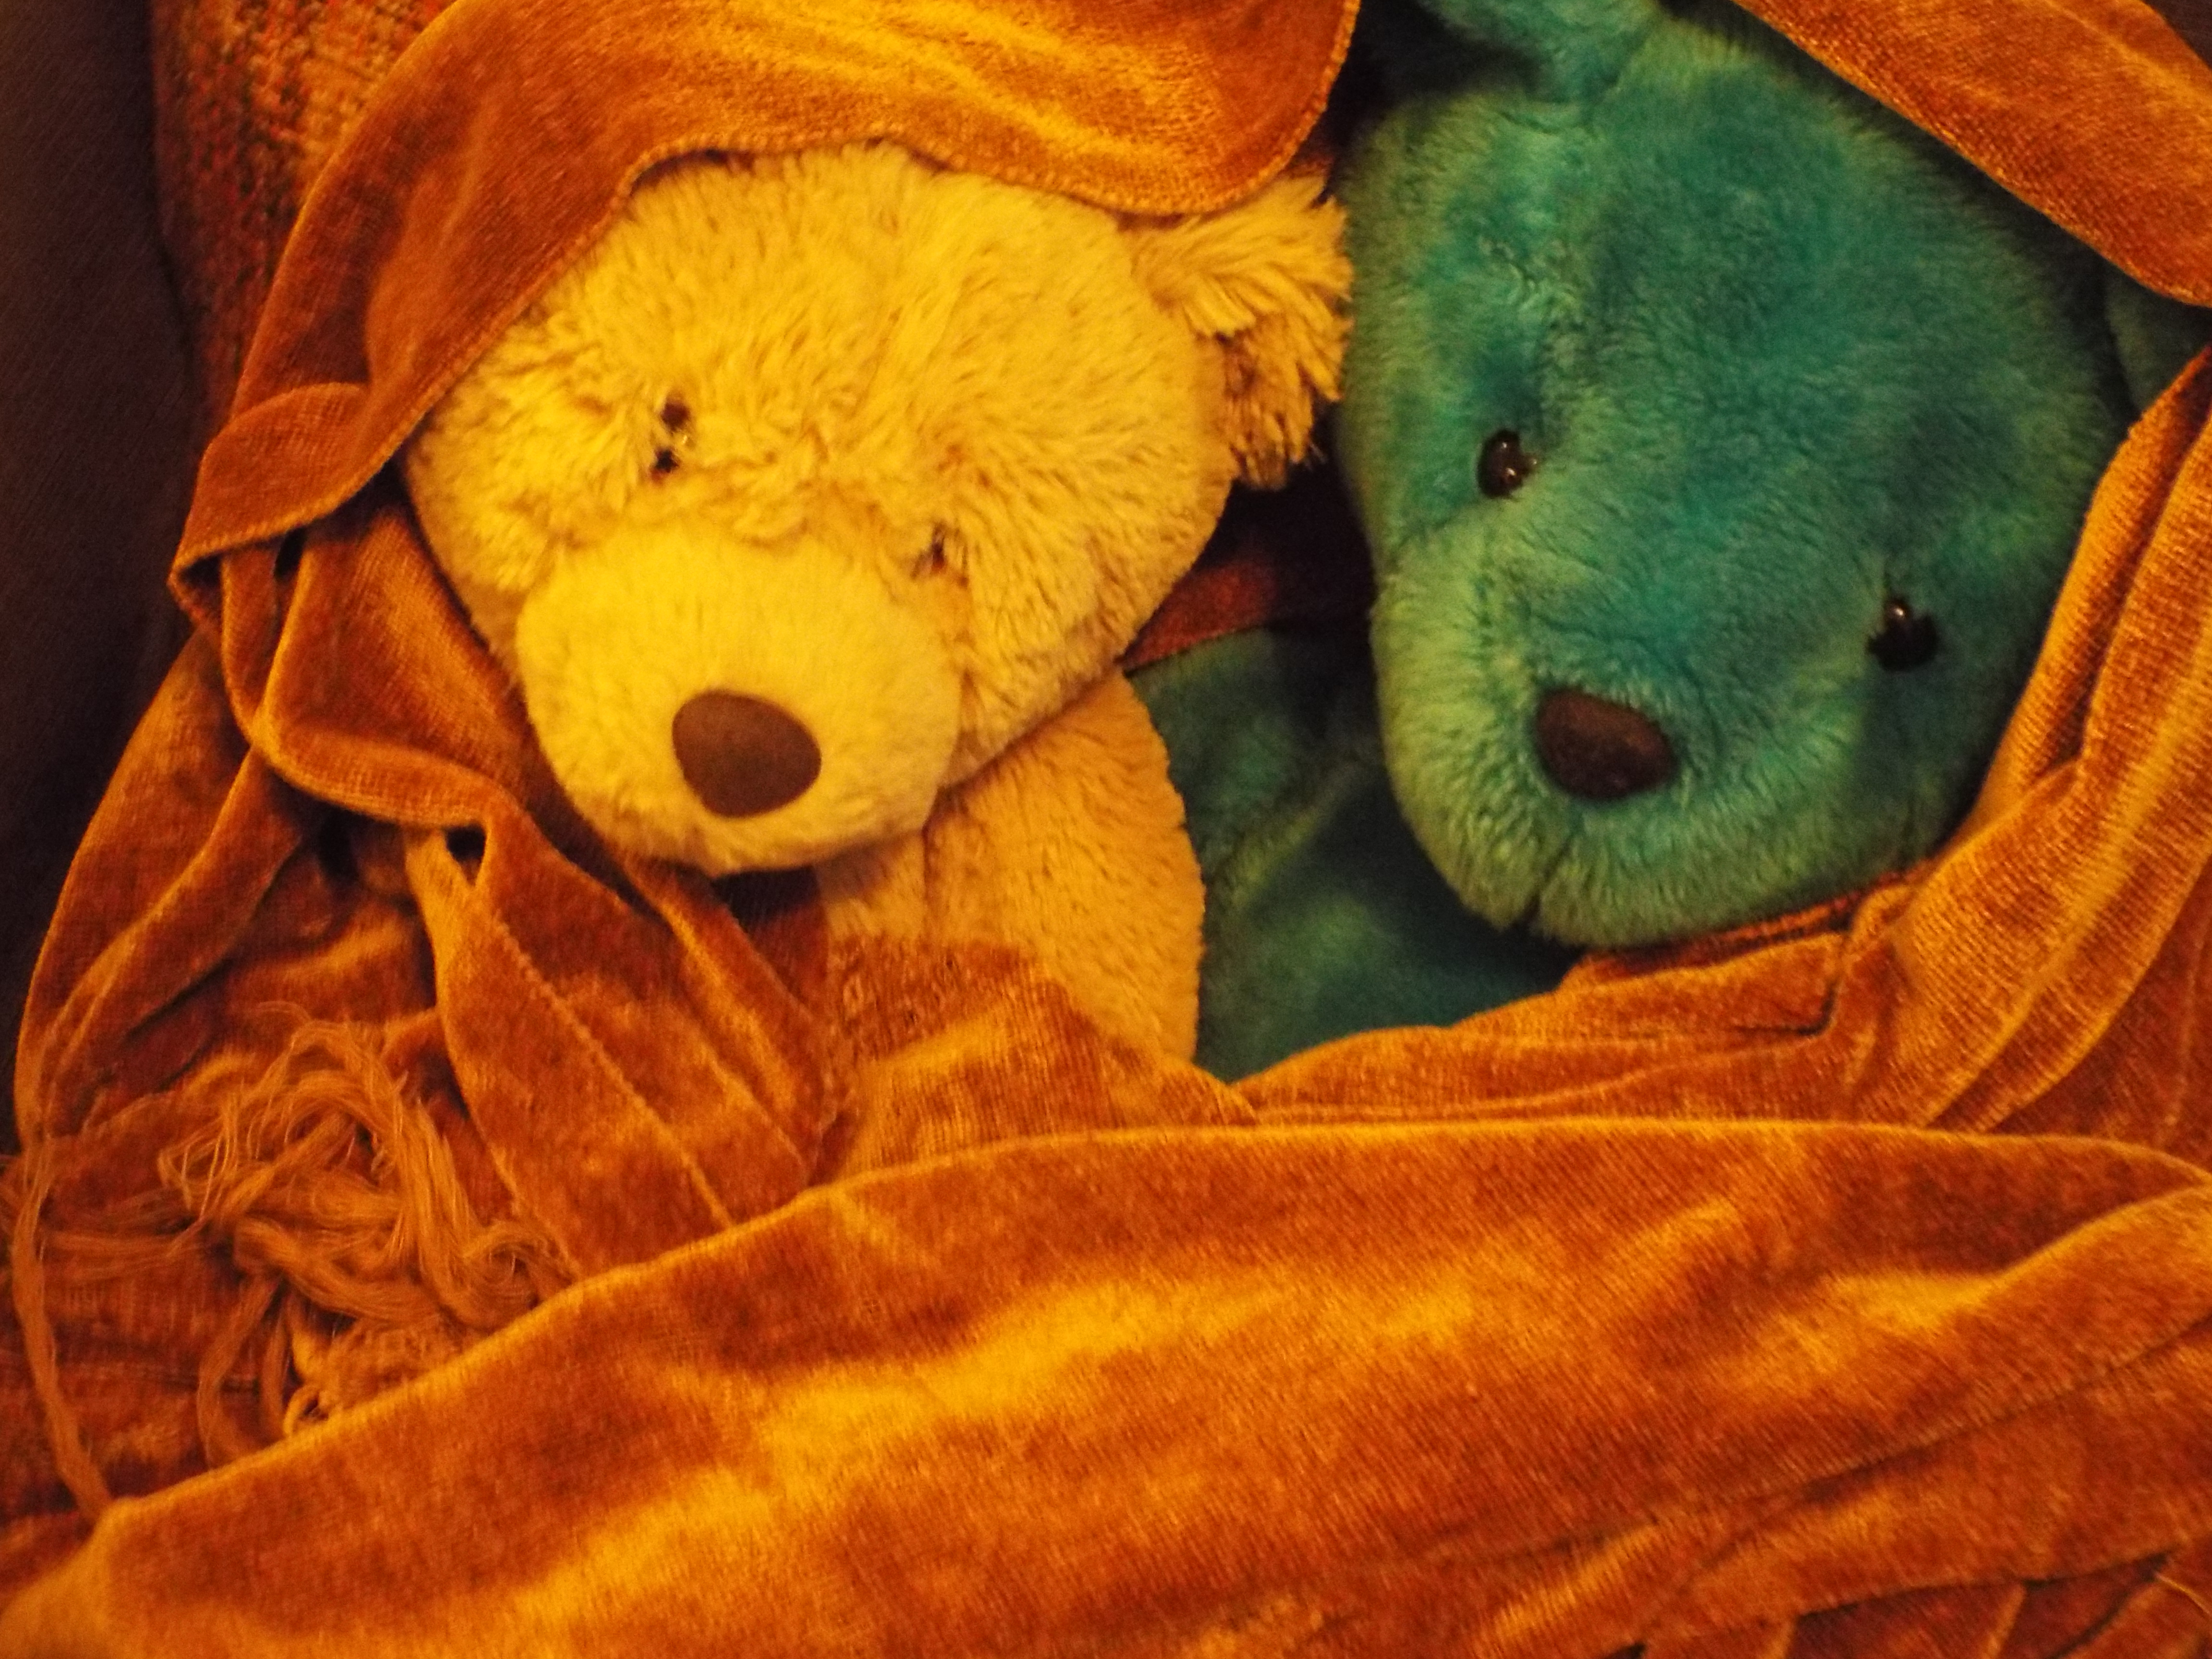
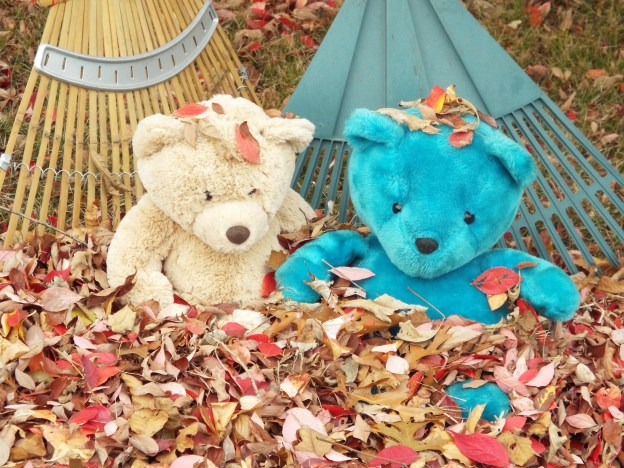
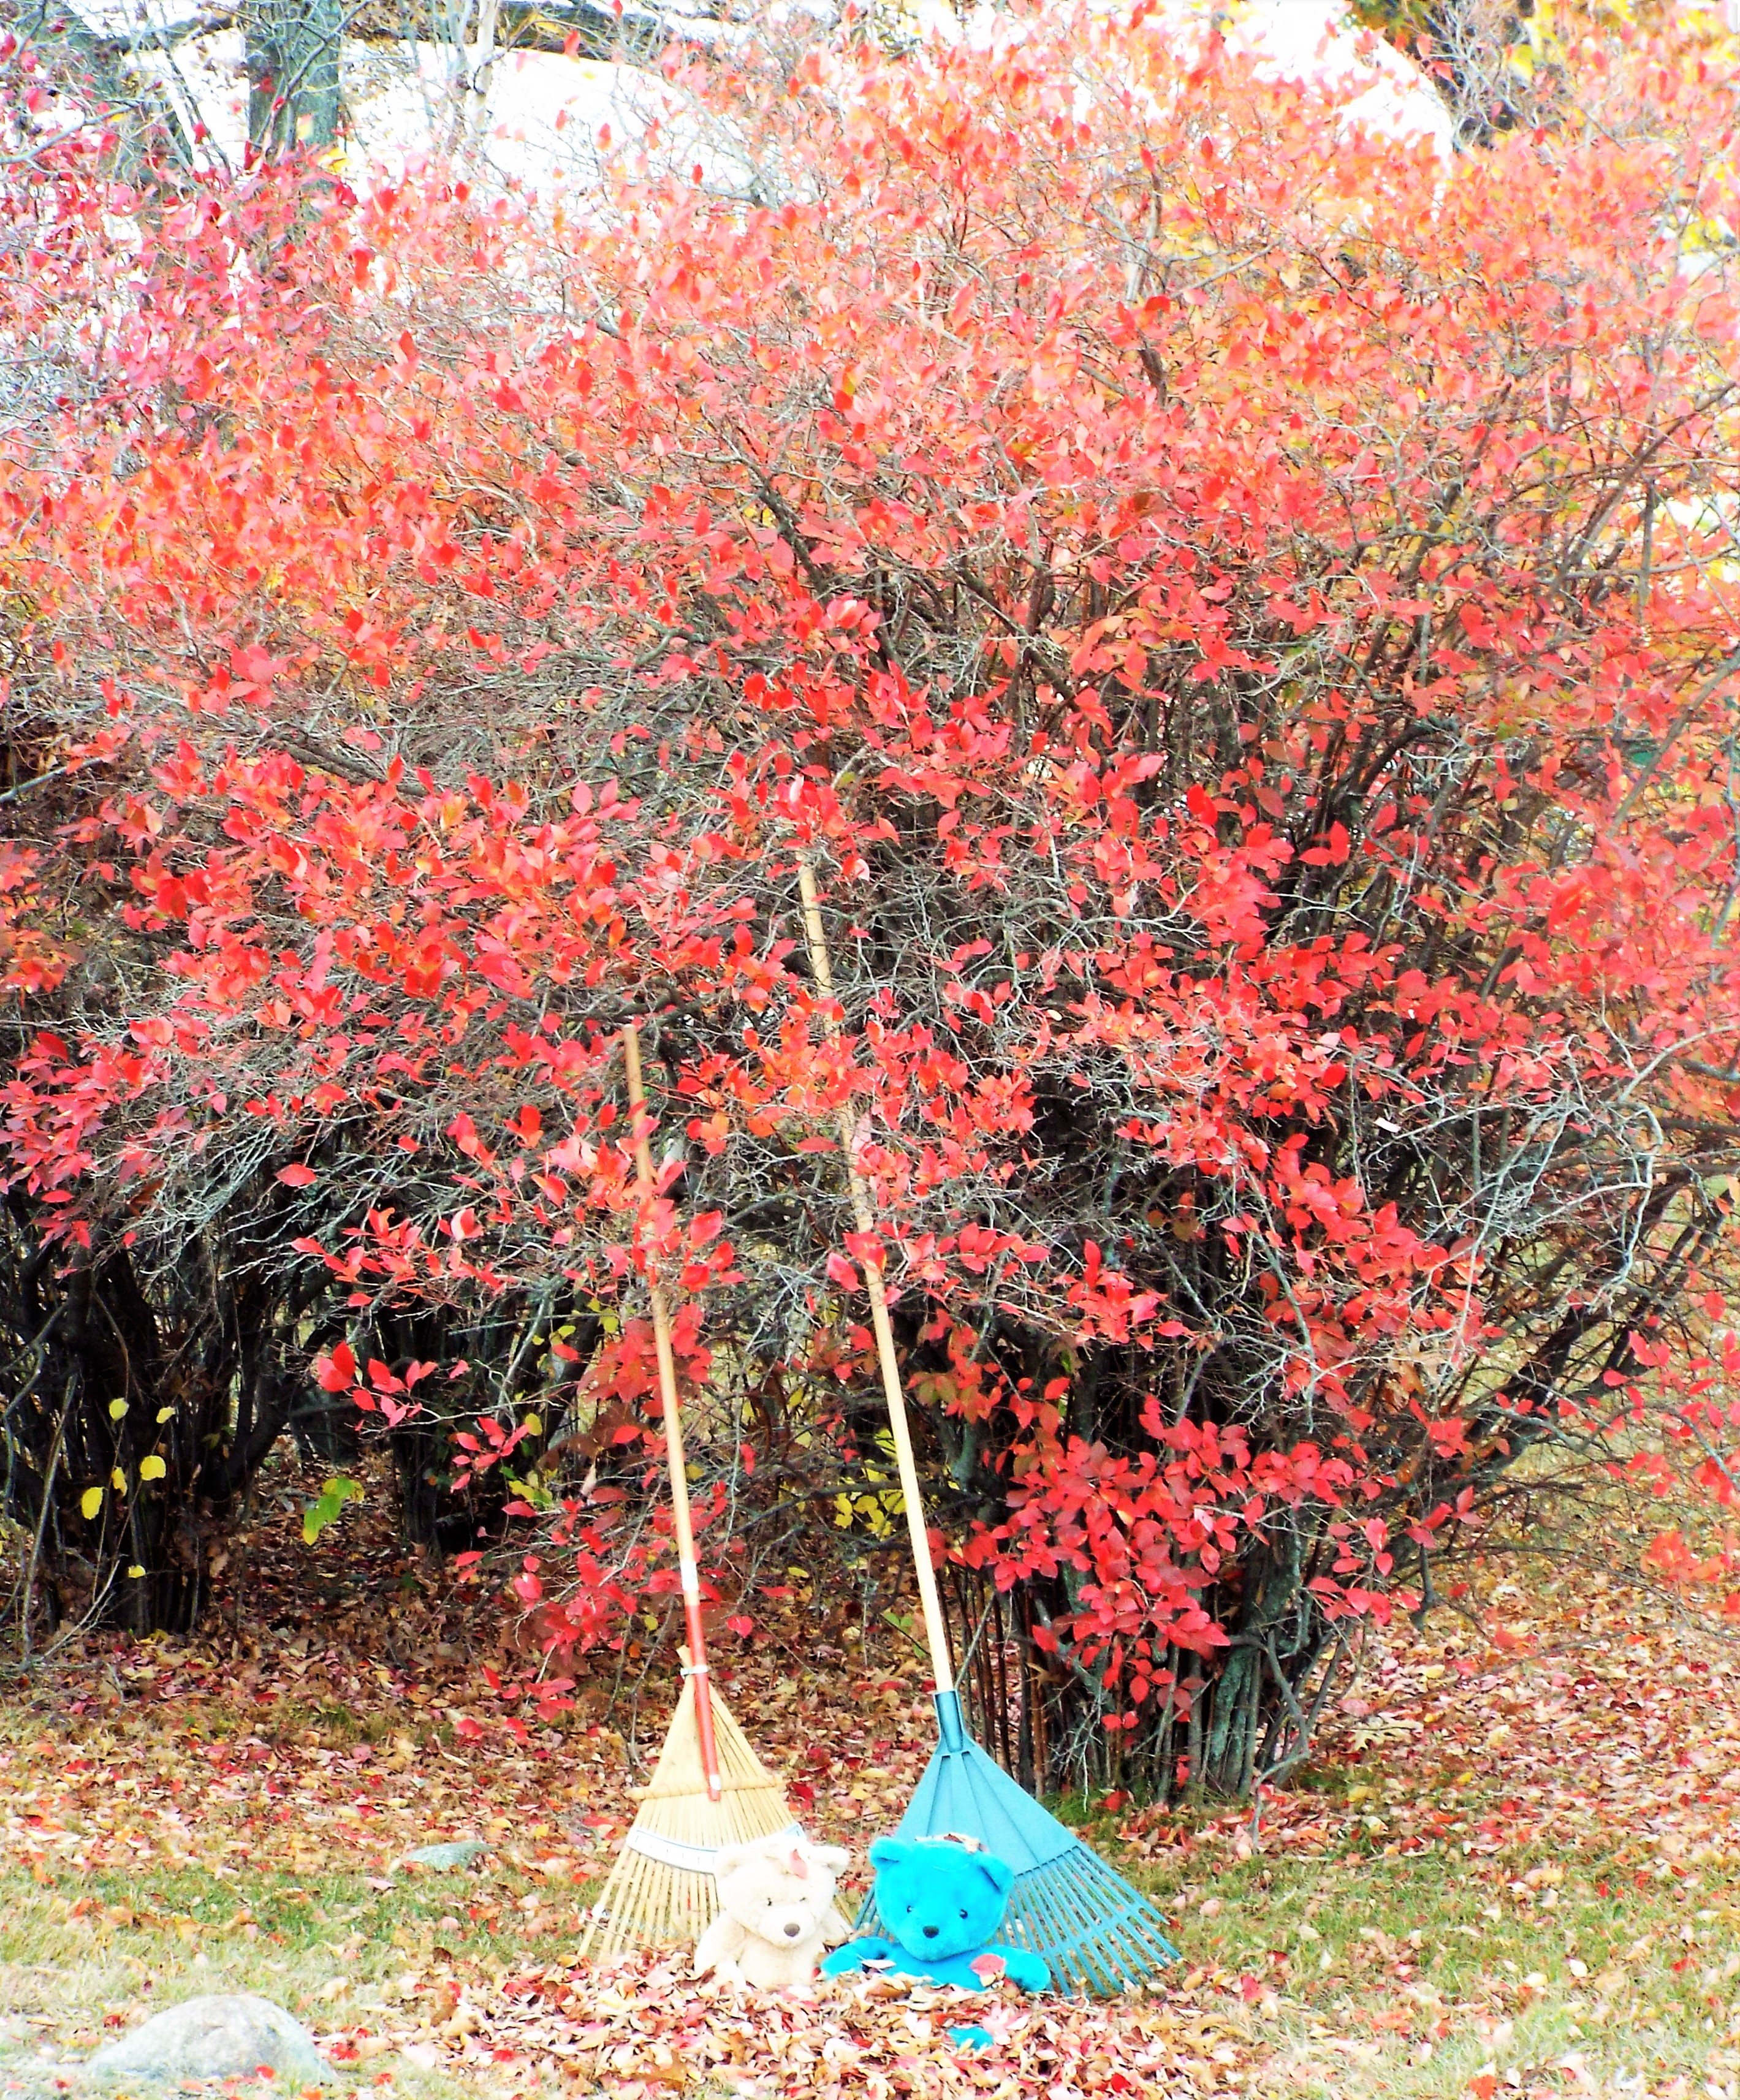
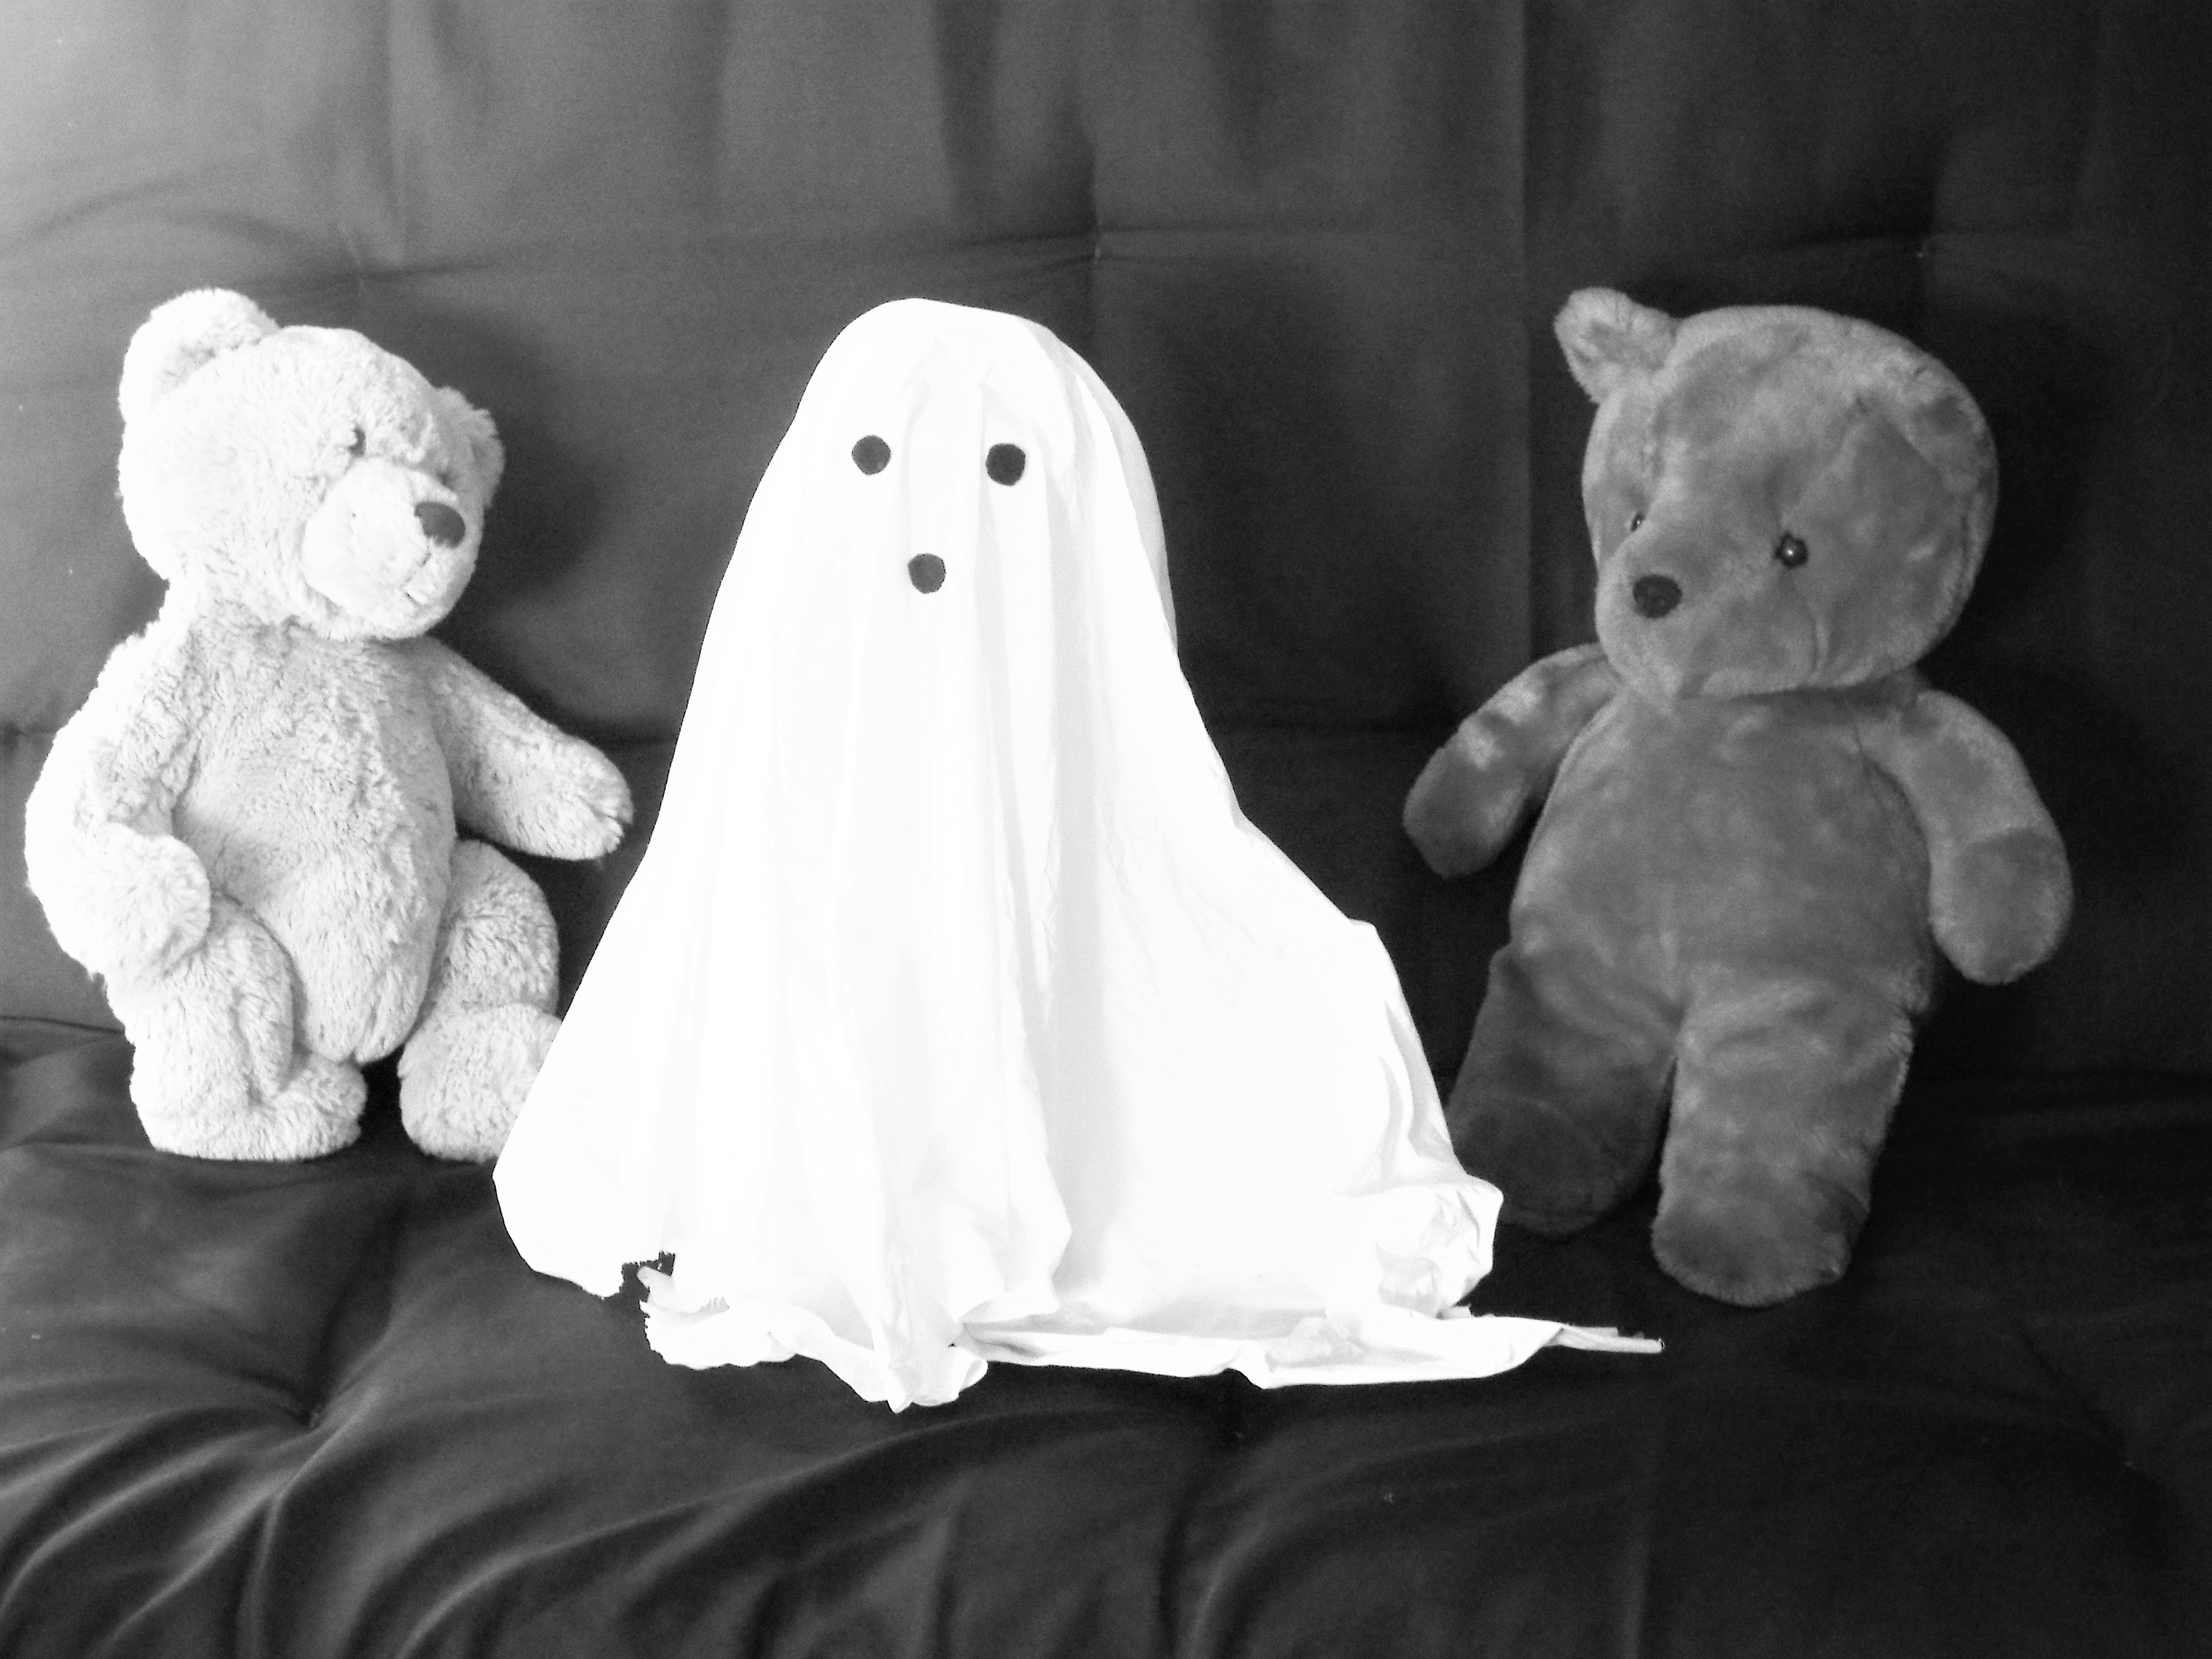
THE BEARS

The bears are starting to figure out their Halloween costumes!
Enjoy!
Roy and Kevin