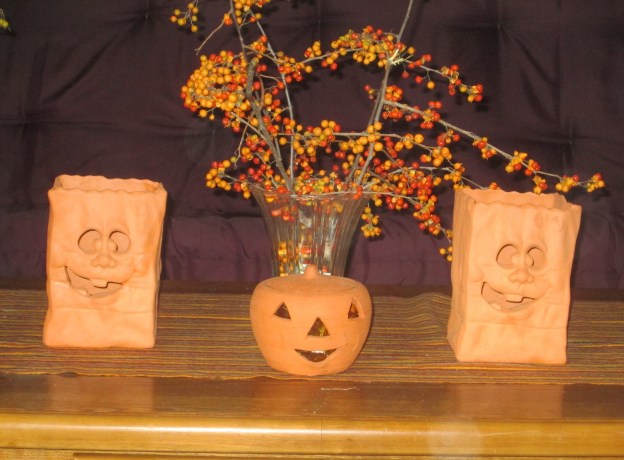
This week, NFL football has reached the conference championships, with four teams playing to see who will go to the Super Bowl on February 1st. We thought we would share our simple napkin banner, and our tasty and healthy chip and dip recipes. Once the food and decorations are set, its up to the teams to do their jobs. I think you can guess who we’re rooting for. (See banner picture above!)
SIMPLE NAPKIN BANNER
Kevin came up with this idea a few years ago while looking for a birthday banner. He couldn’t find a one at the store, so he bought some napkins, placed them fold side down over a ribbon and created a great banner. We bought napkins for our favorite team this year and used this idea again. Easy way to celebrate any event or occasion that’s printed on a napkin!
You will need: 7 napkins with the design of your choice, one 5-foot piece of ribbon or string, tacks or clothespins.
How to create: Attach string to wall with tack or to curtain with clothespins approx. 4.5 feet apart, creating a slope for the banner. Place napkins fold side down on string. Space napkins evenly on string. These are directions for the banner shown above. Make larger or smaller banners to suit your needs using the basic method shown here. Fun, inexpensive and quick!
EASY PITA CHIPS
These pita chips are a tasty, healthy alternative to potato chips, and they are easy to make!
You will need: one package of whole wheat pita pockets, cooking spray, parchment paper.
How to prepare:
- Preheat oven to 375 degrees.
- With a small knife, split the pitas into 2 pieces. (The 11 oz. pkg has 4 pitas.)
- Put the sides back together and cut into 8 wedges. This will result in 64 chips. (Want smaller chips? Cut more wedges. Can also cut into strips if you prefer.)
- Place pieces in a single layer on 2 baking sheets covered with parchment paper.
- Spray the pieces with cooking spray.
- Bake the pita pieces for 7-8 minutes or until golden brown. Cool 2 minutes and put in a bowl. Variation: before baking, sprinkle chips with parm and/or hot sauce. Tasty!


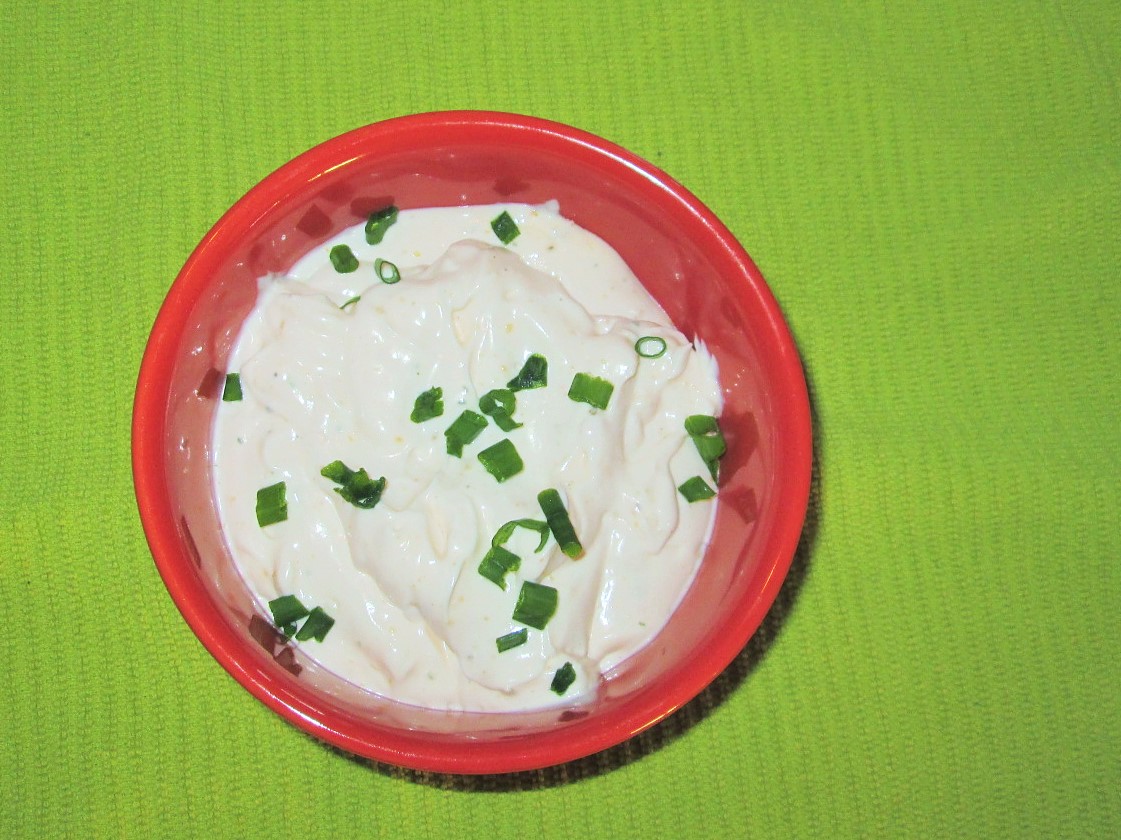
CREAMY PANTRY DIP
We created this dip from items we found in our pantry and refrigerator. We serve this with the pita chips shown above. Low fat and delicious!
Combine: 1 cup light mayo, 1 cup non fat sour cream, 1/2 teaspoon Mrs. Dash garlic herb seasoning, 2 tablespoons fat free zesty Italian salad dressing, 1/2 to 1 teaspoon hot sauce to taste. Top with chopped scallions or chives. (Hmm, maybe turkey bacon?)
Next week: A light cheesy dip and more!
GO PATRIOTS!!!
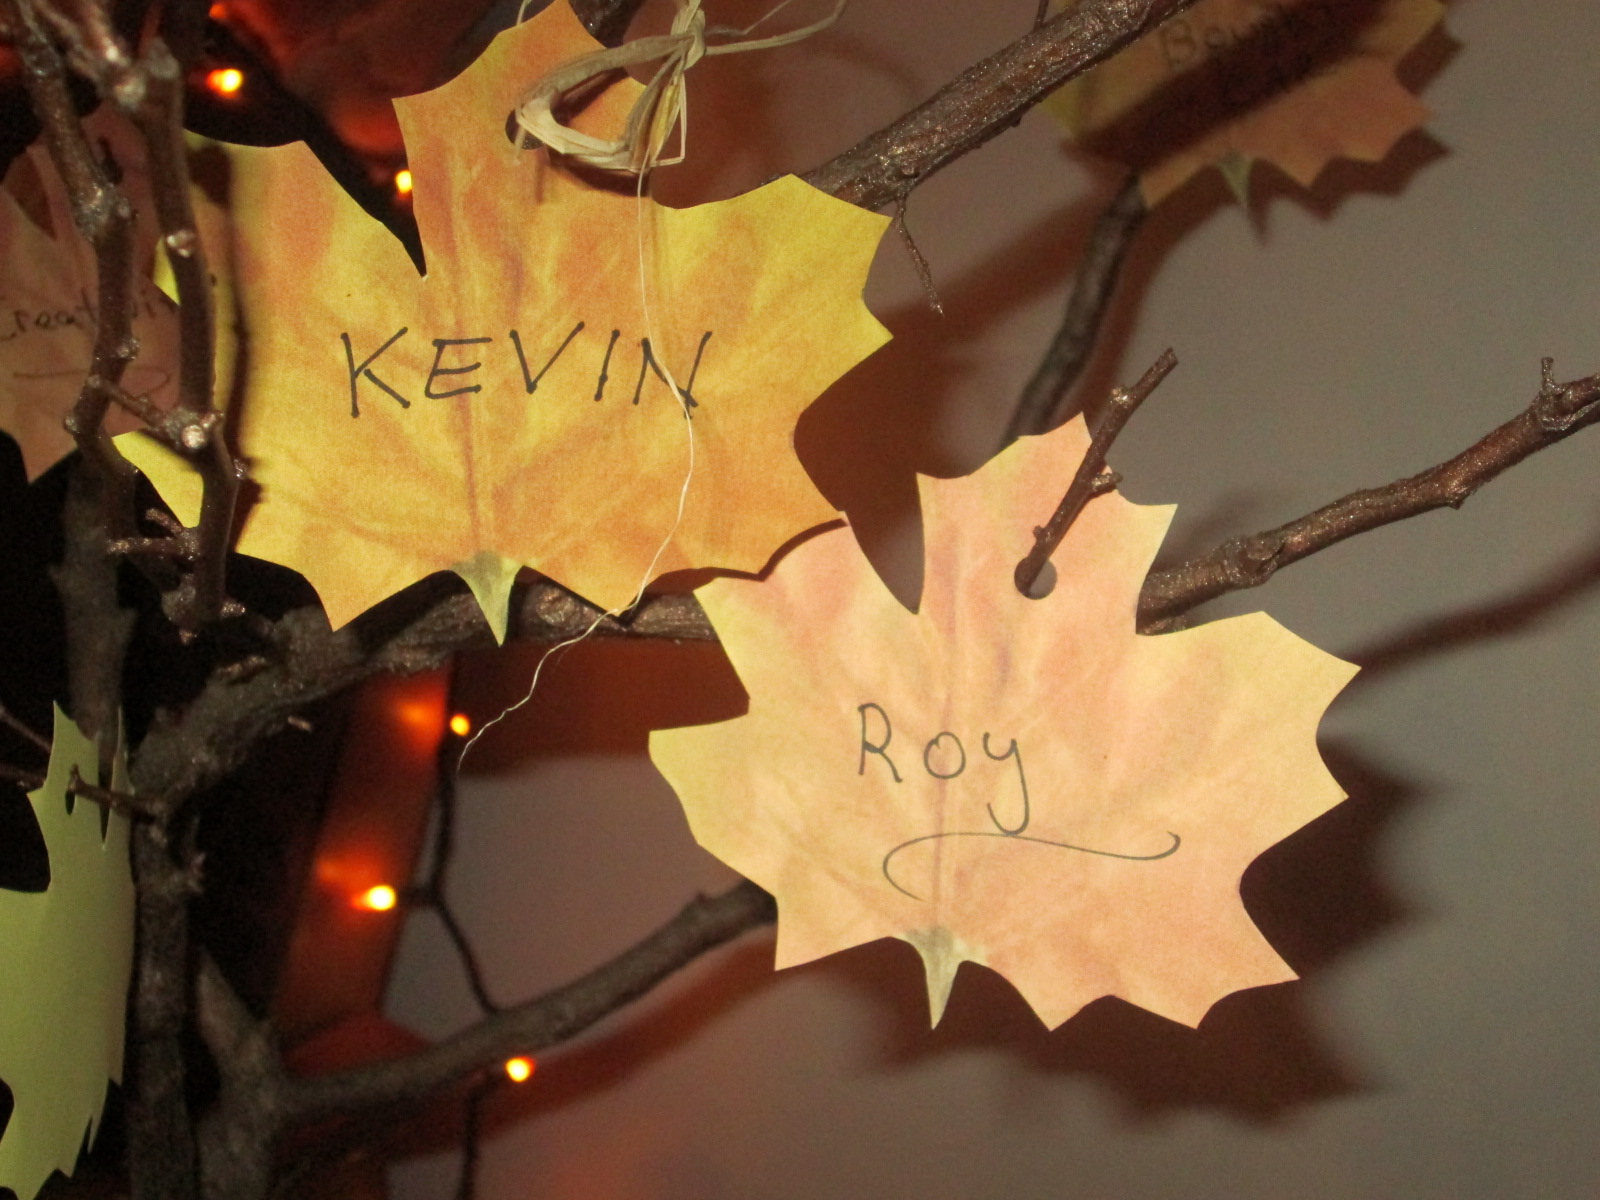
Roy and Kevin


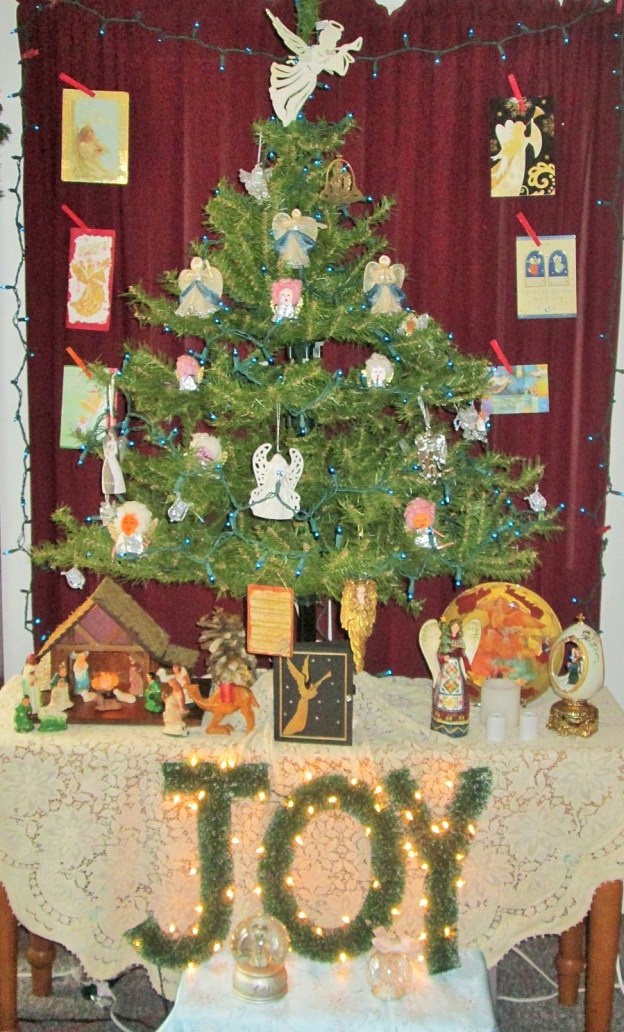


 OF THE WEEK
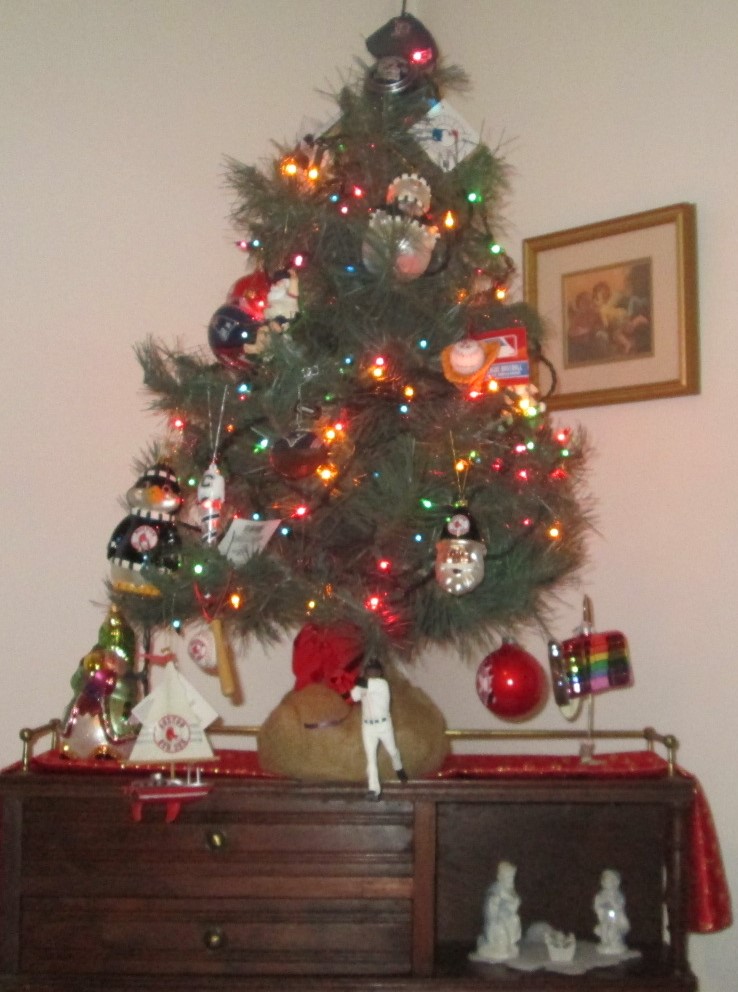
  Here are a couple fun trees. On the left is the nutcracker tree which is filled with nutcracker ornaments, a couple of metal nutcrackers and of course, nuts! The tree on the right is our sports tree with various sports ornaments we have collected through the years. GO Red Sox, Go Patriots, Go UCONN!
 Create a vignette by grouping like items together, or by creating little scenes with a variety of items that tell a story, or promote a theme. The photos on the left show our snowman vignette and our hat and stuffed animal vignette.


 of whole berry cranberry sauce over medium heat until it melts. Add 1 teaspoon of orange zest and 1/4 cup of chopped walnuts. Simmer for 5 minutes. Cool at least 1 hr. until mixture solidifies. Garnish with chopped walnuts and orange twist.