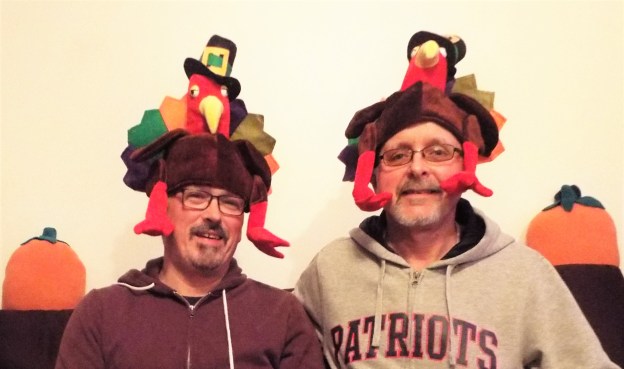
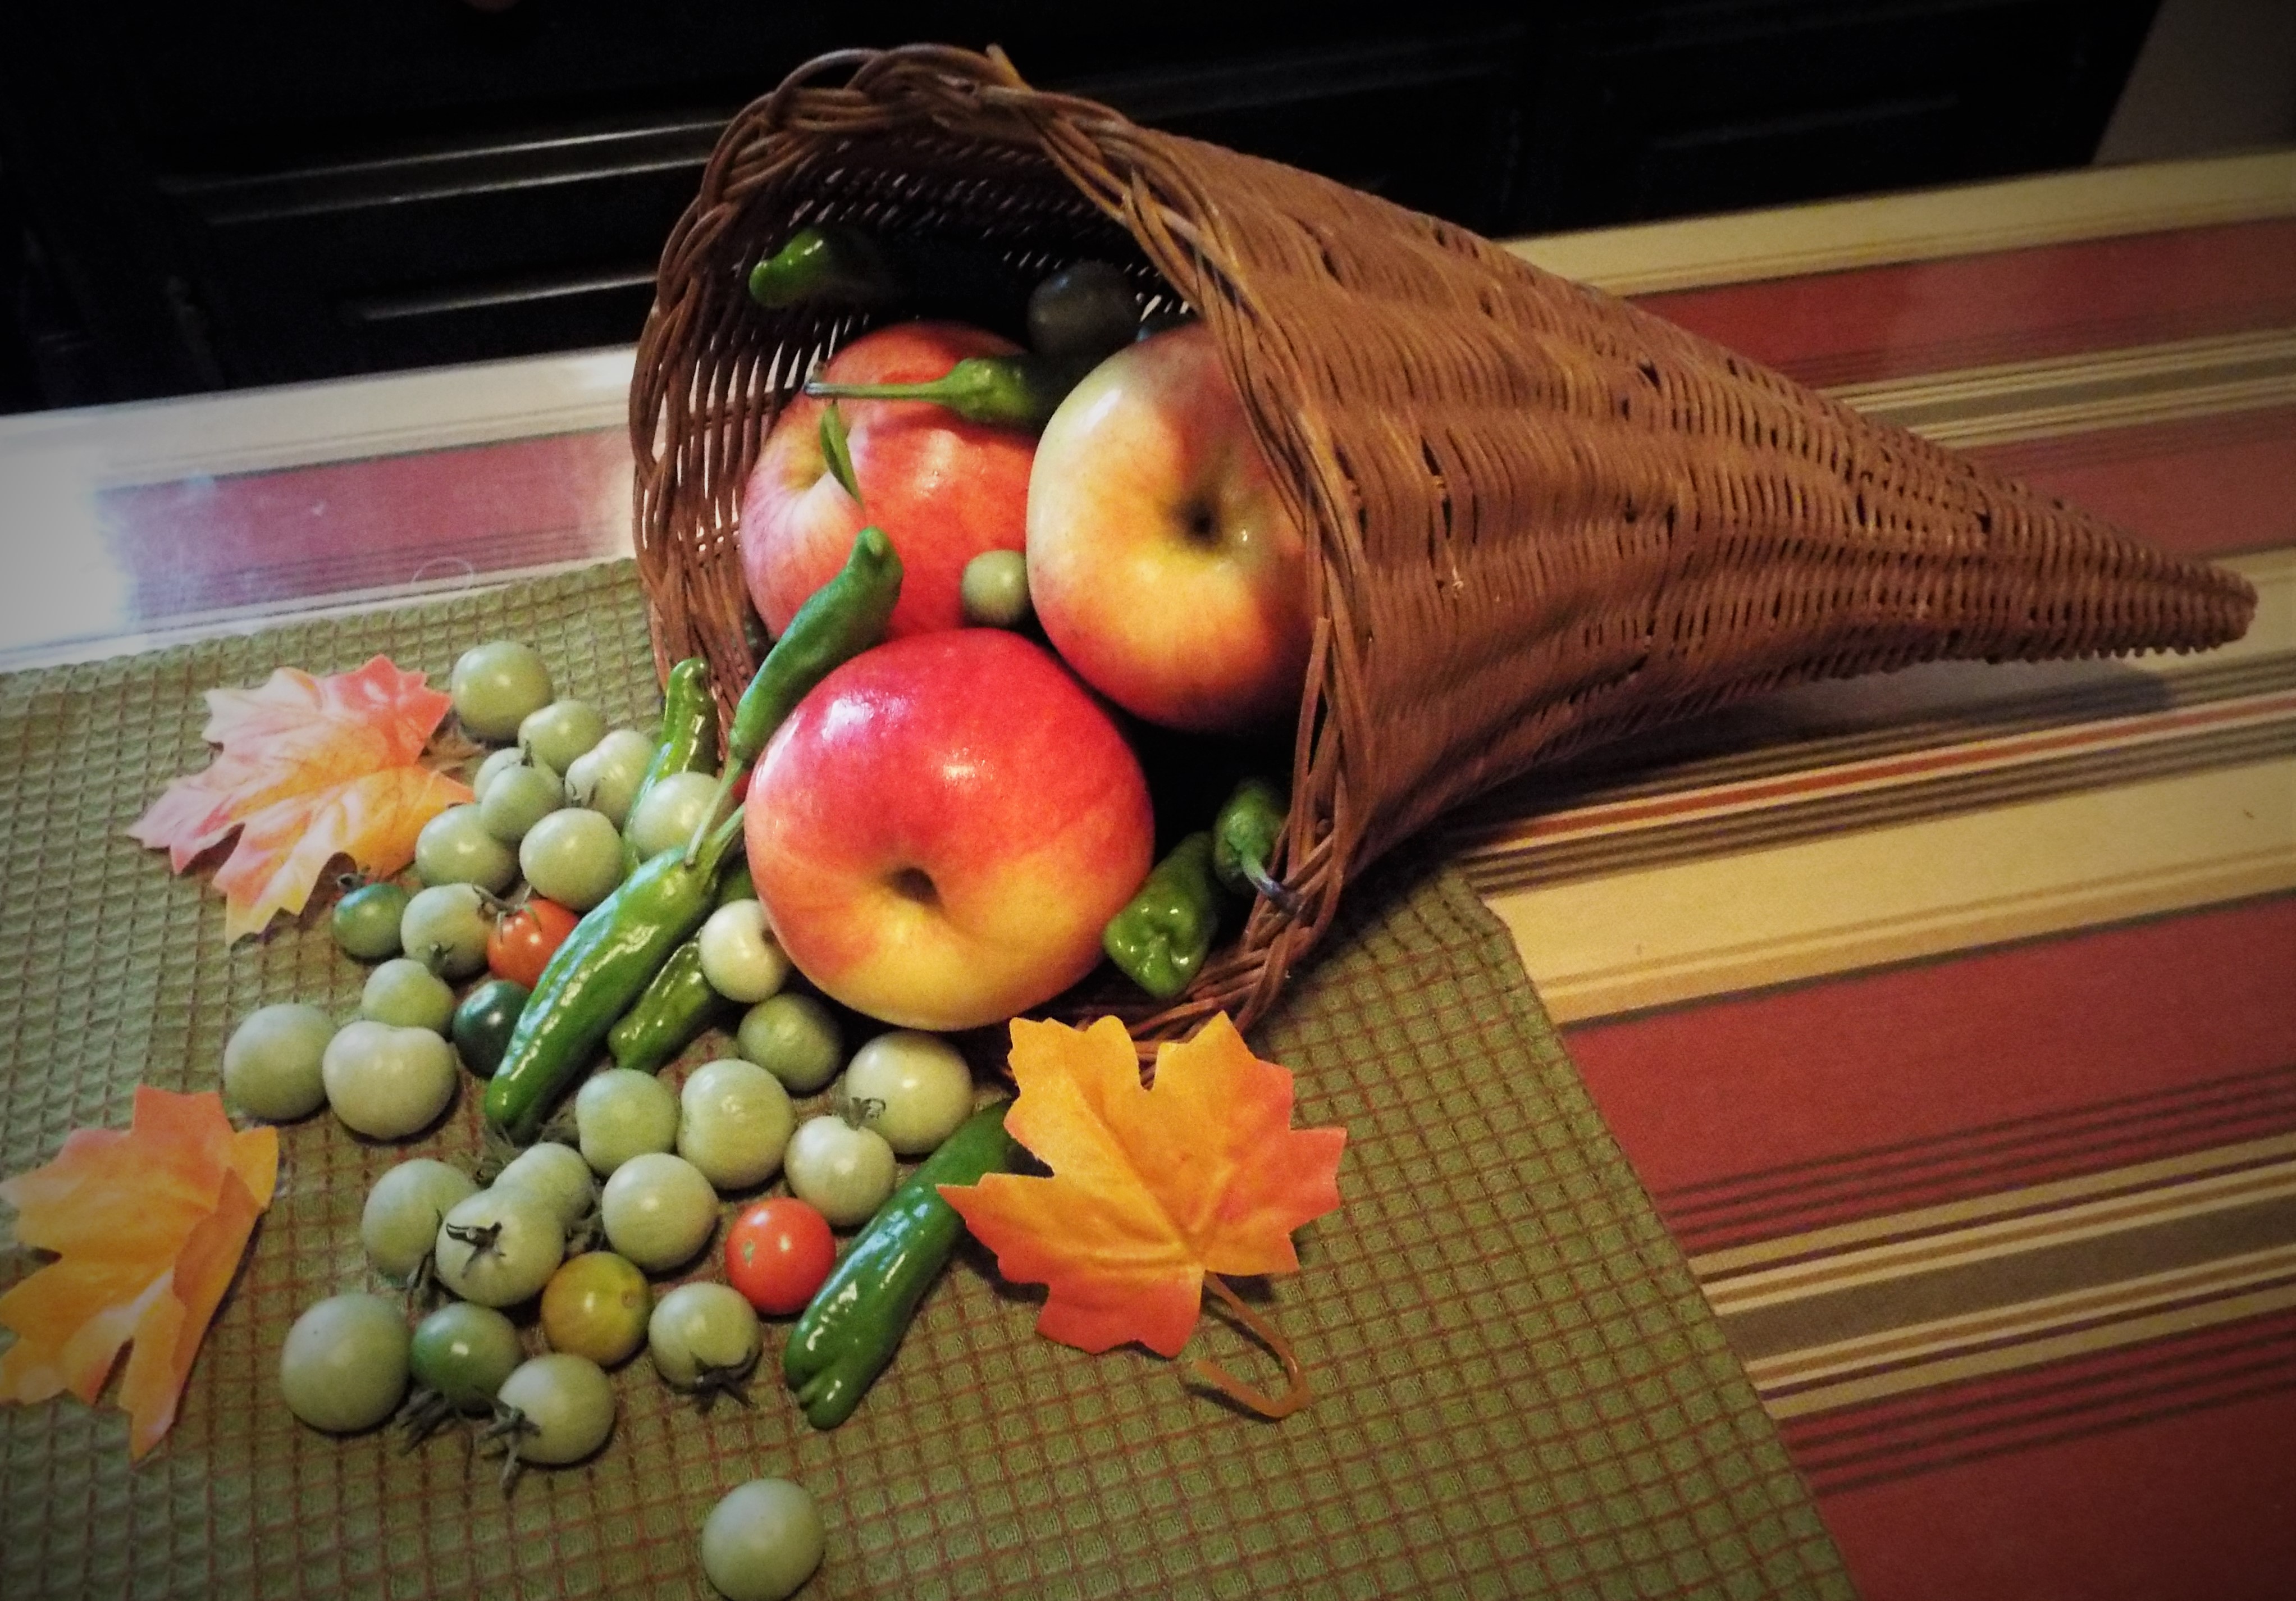
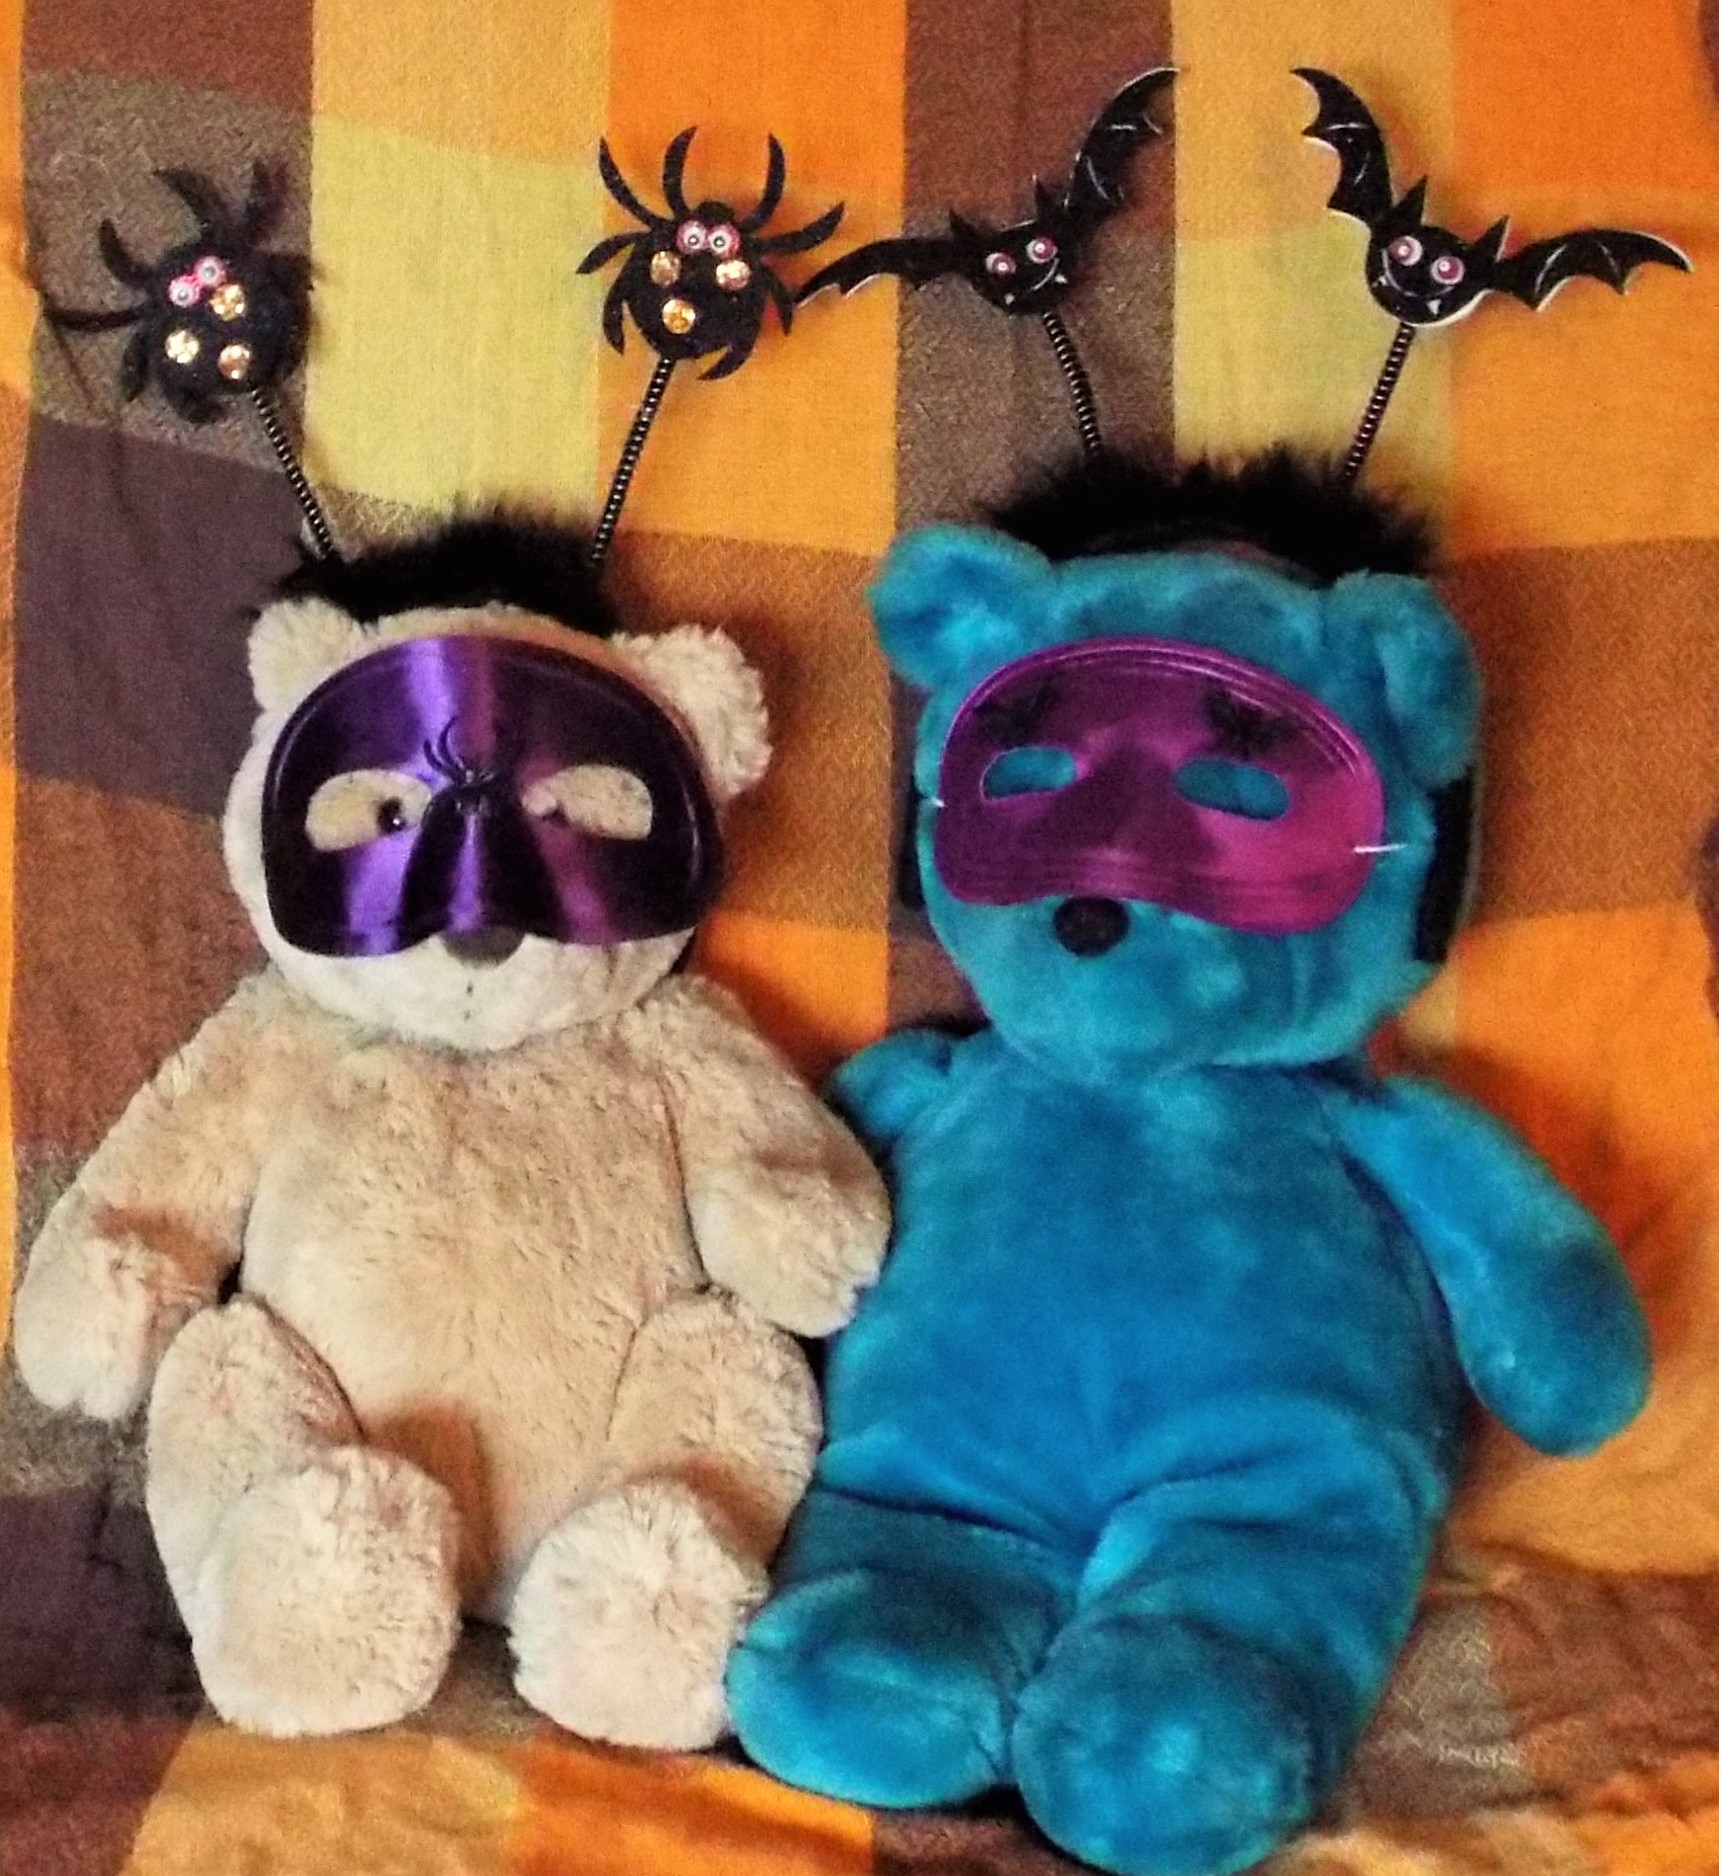
“No living thing is ugly in this world. Even a tarantula considers itself beautiful.”
– Munia Khan (poet) Source: Goodreads
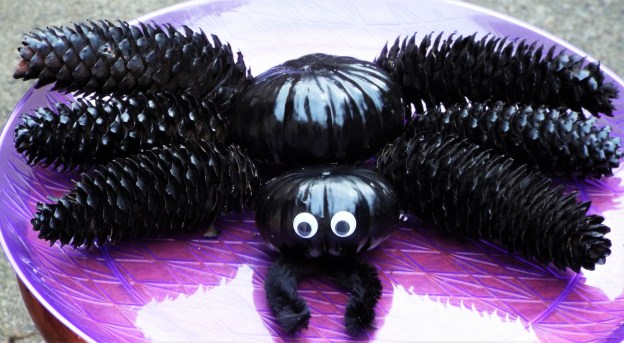
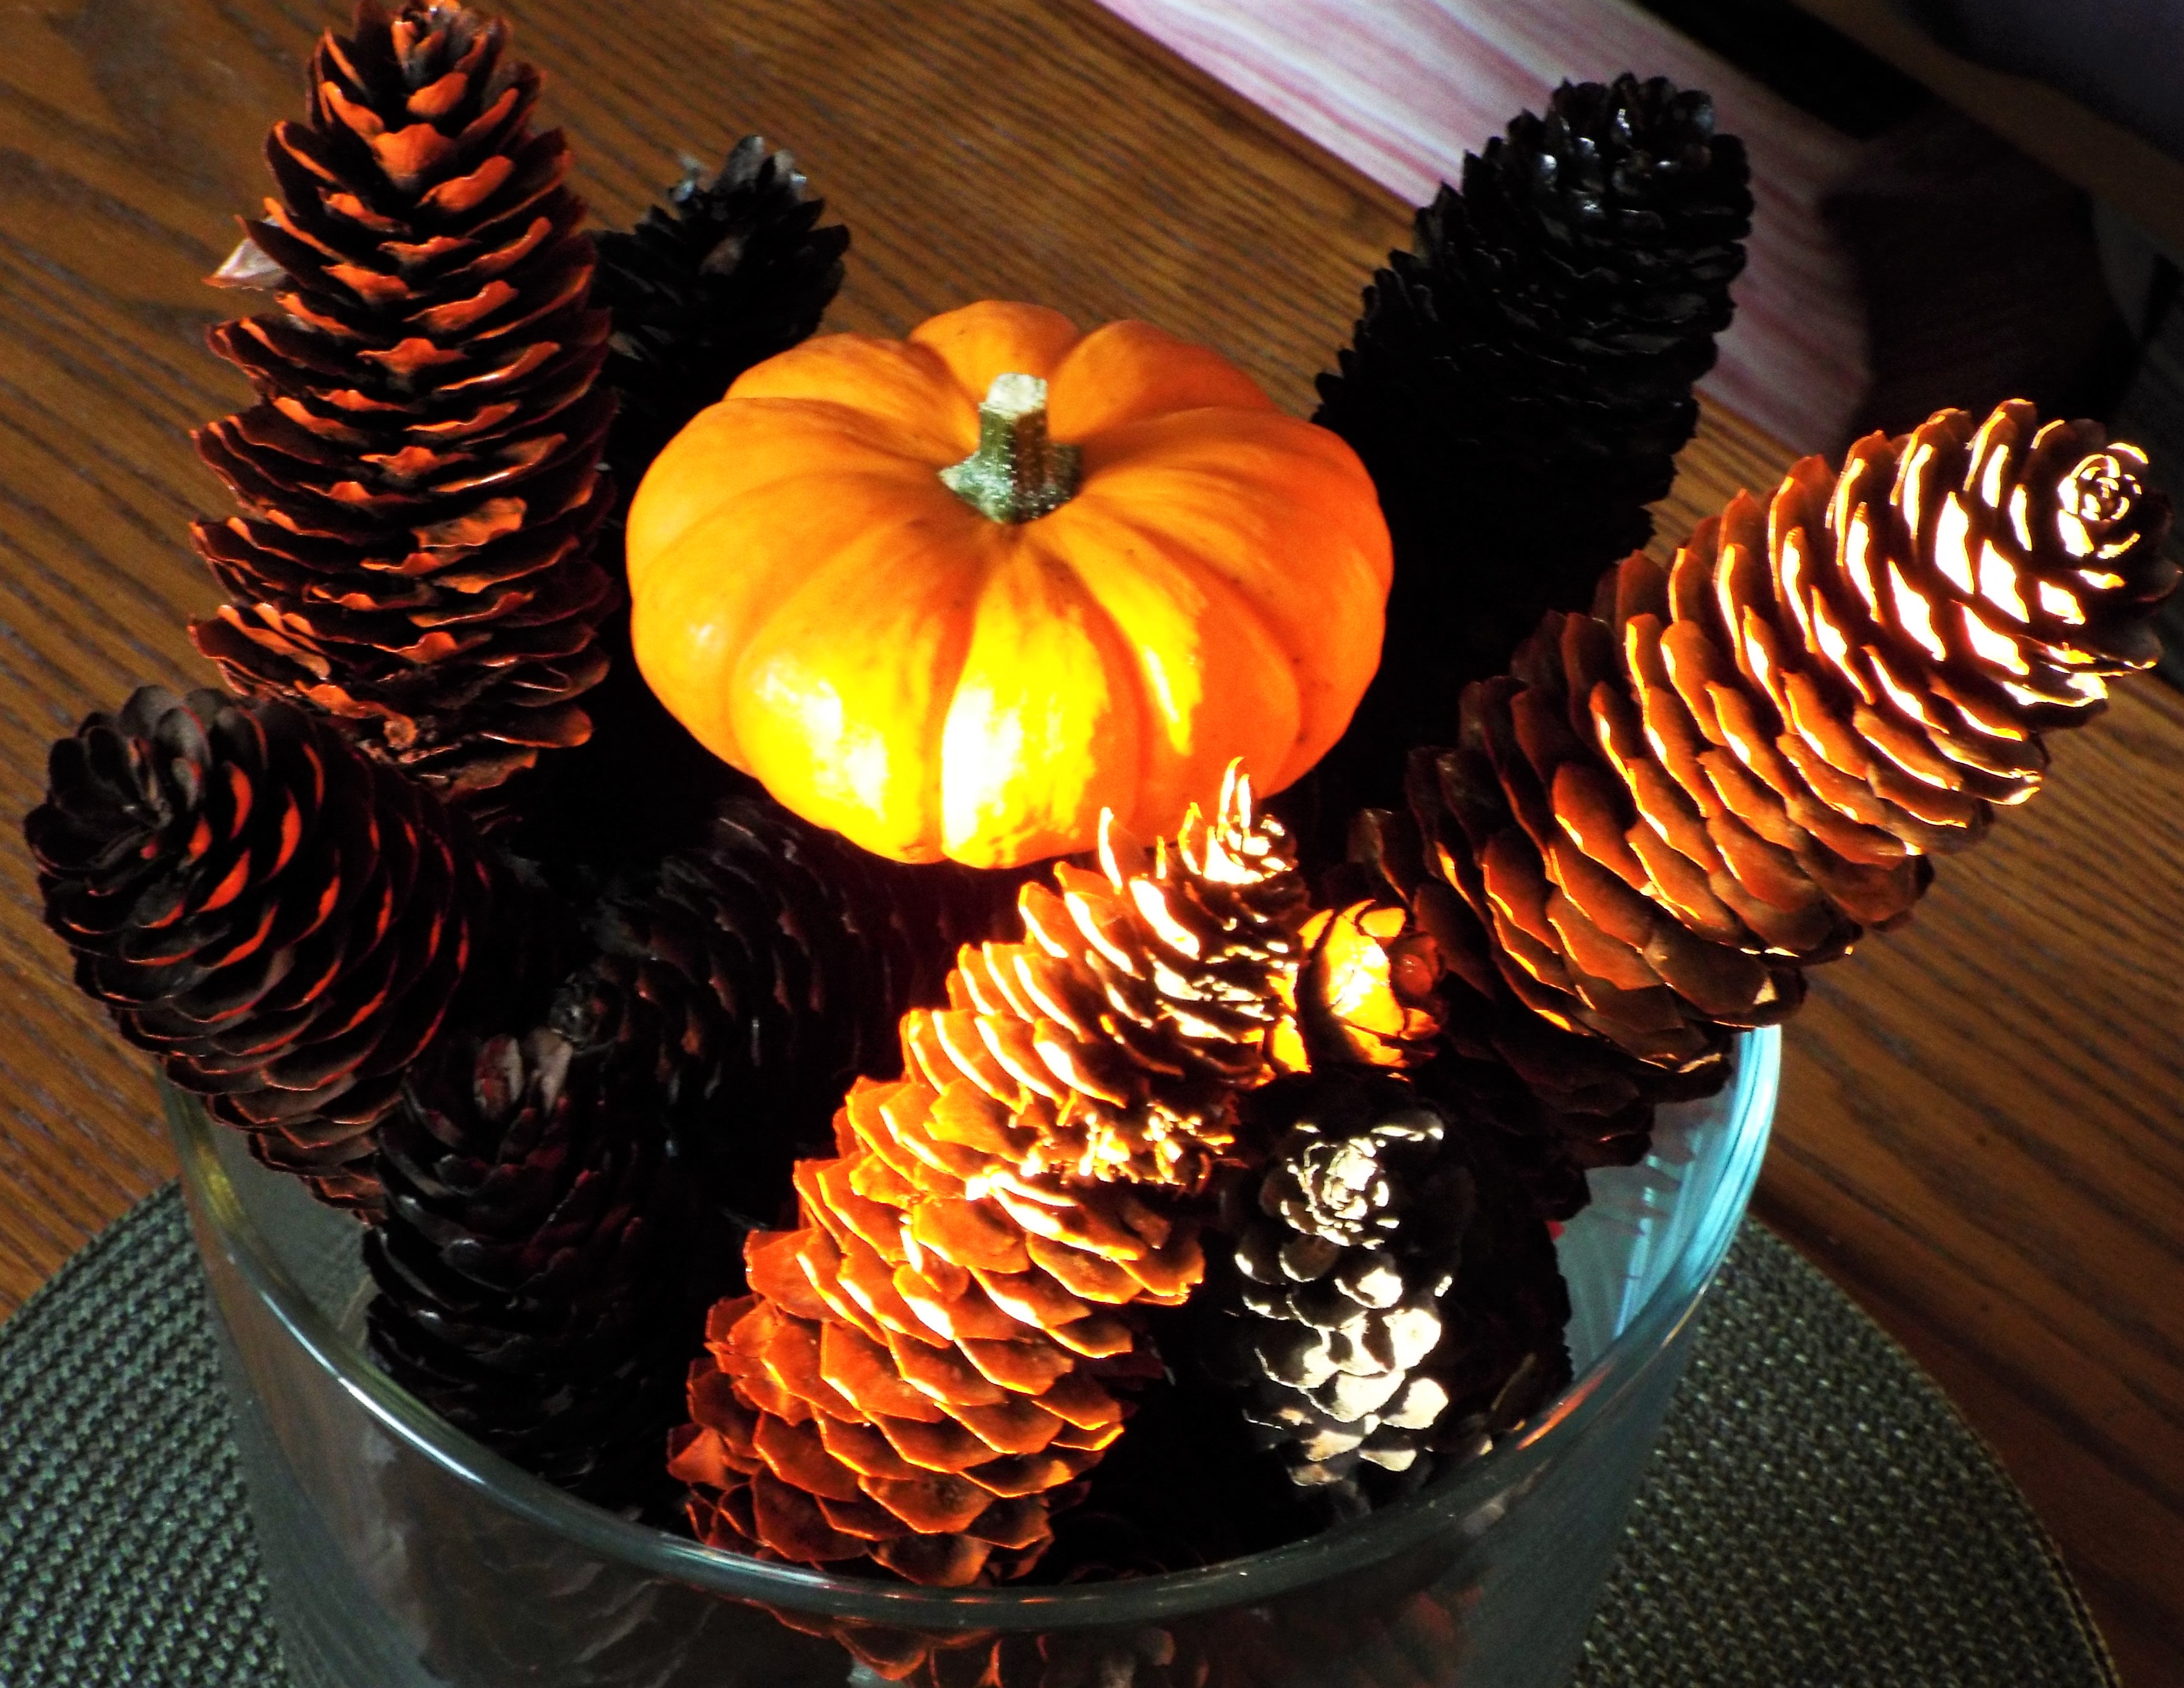
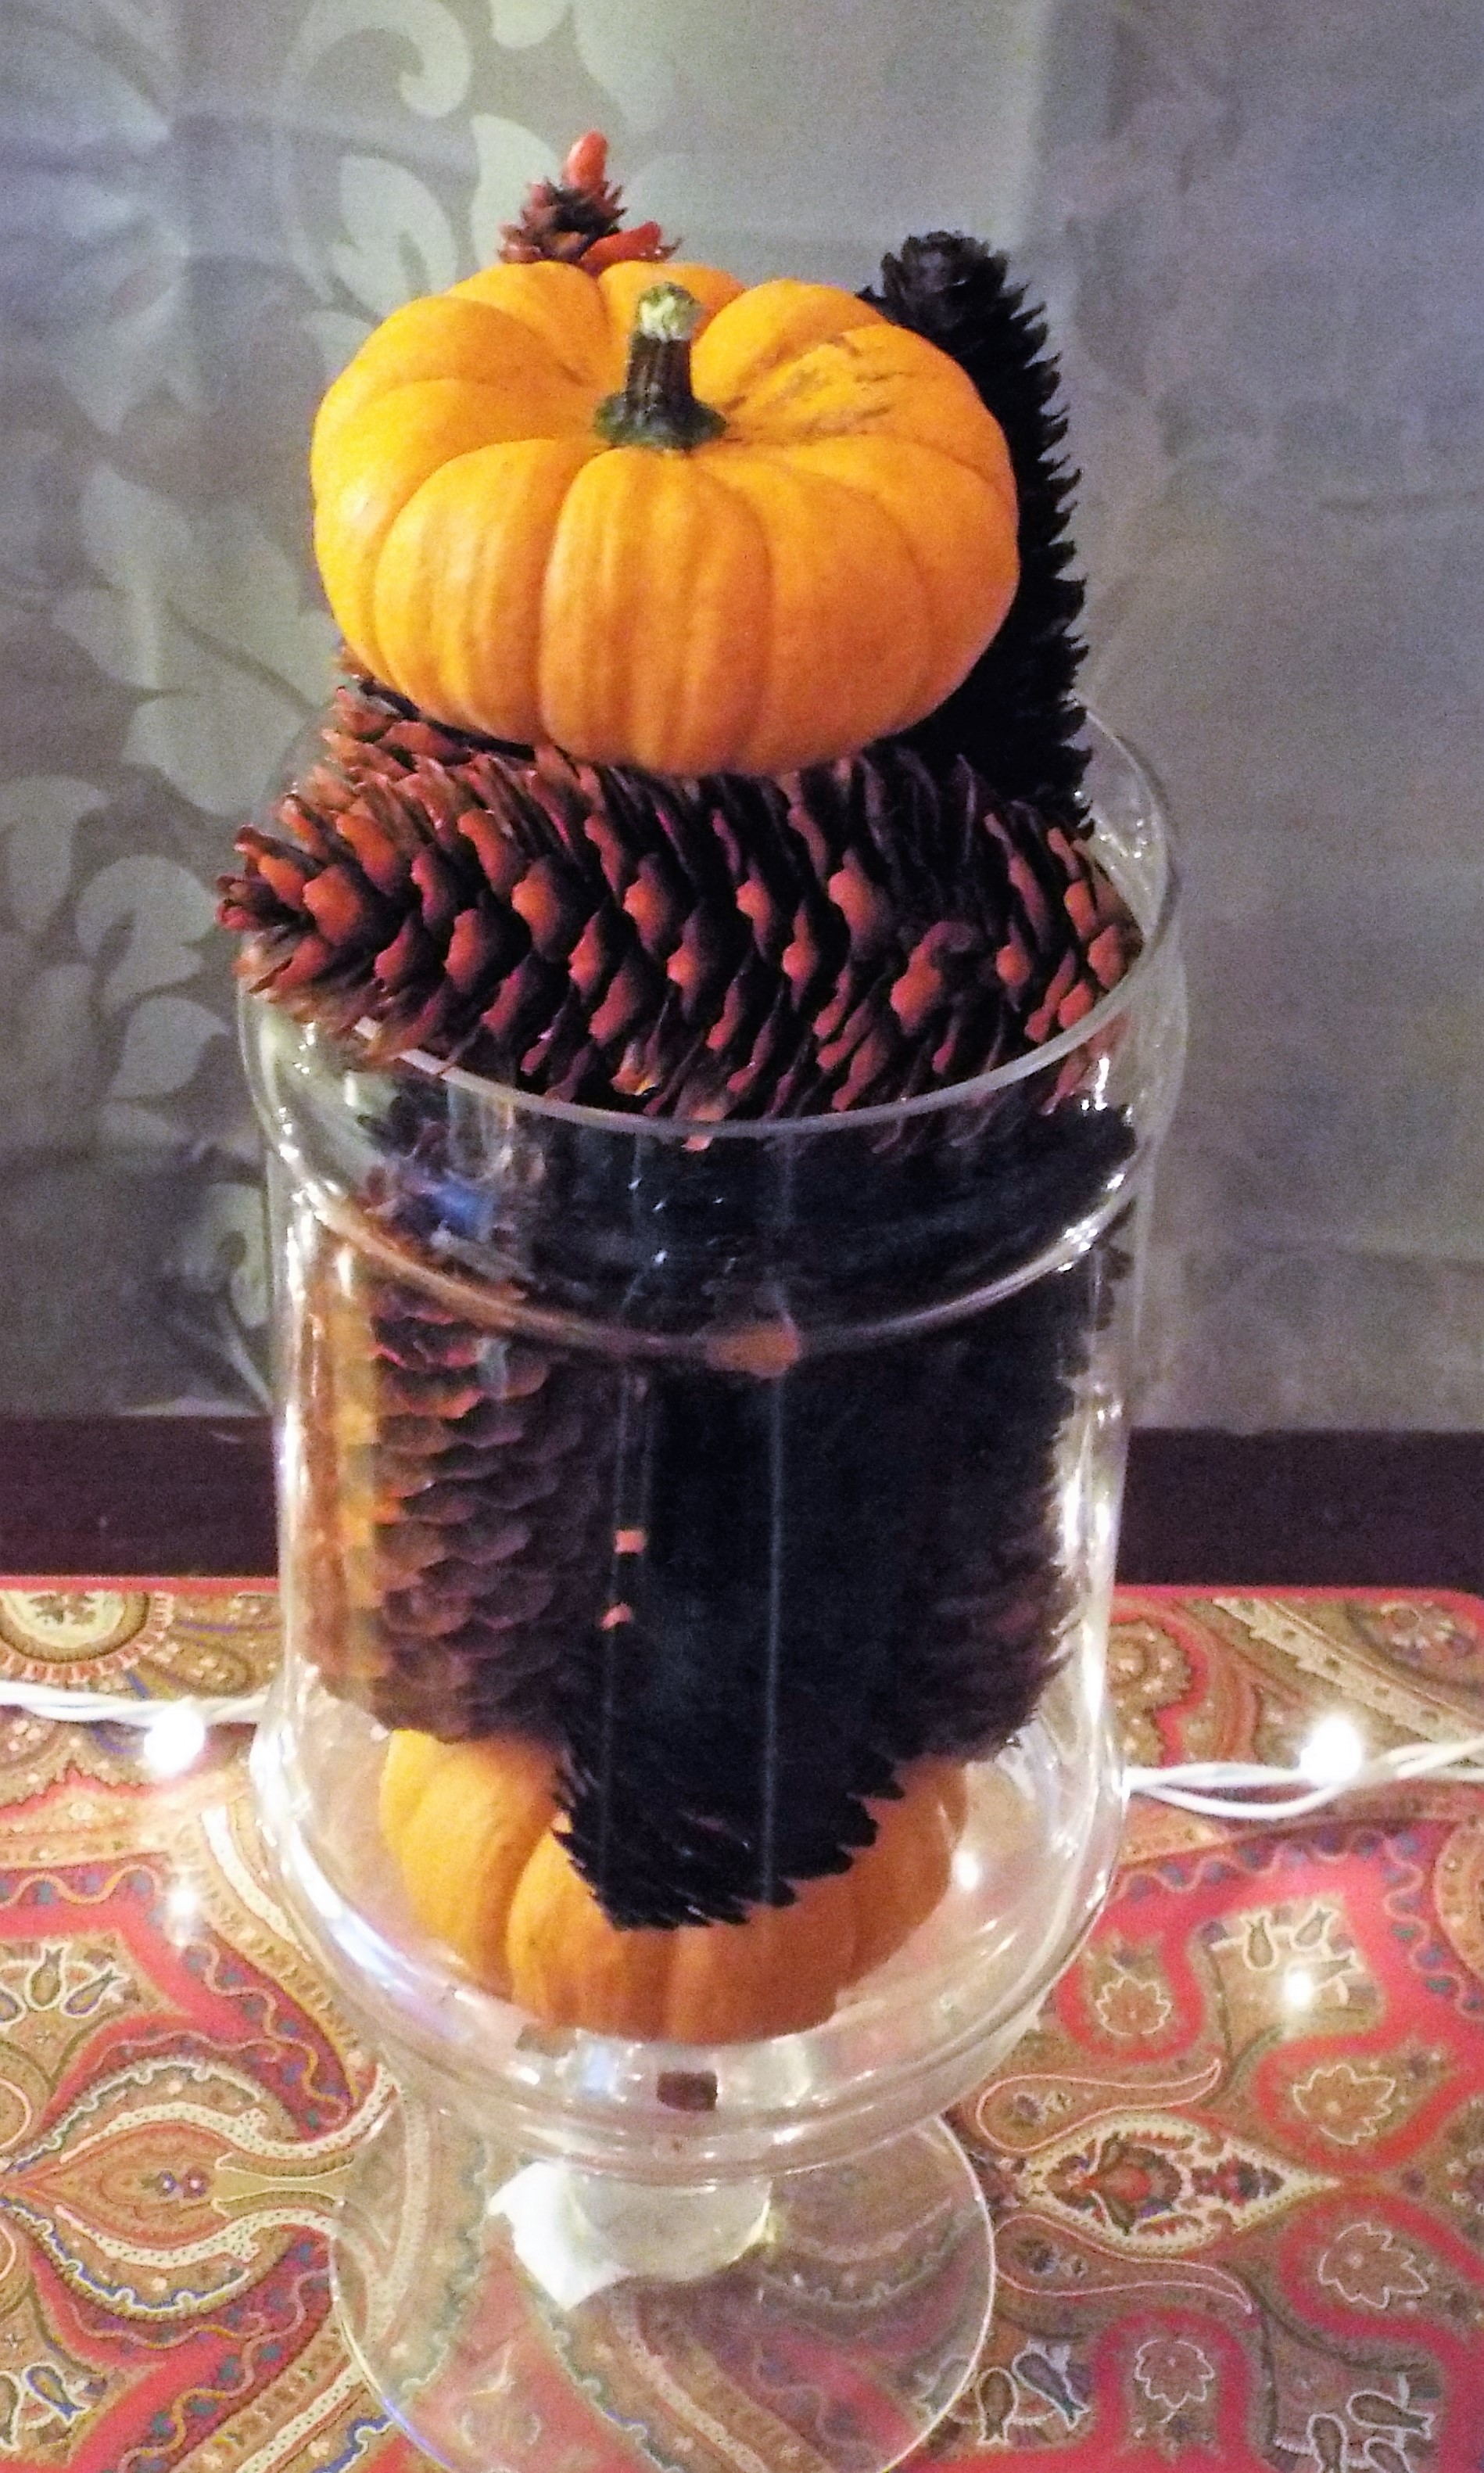
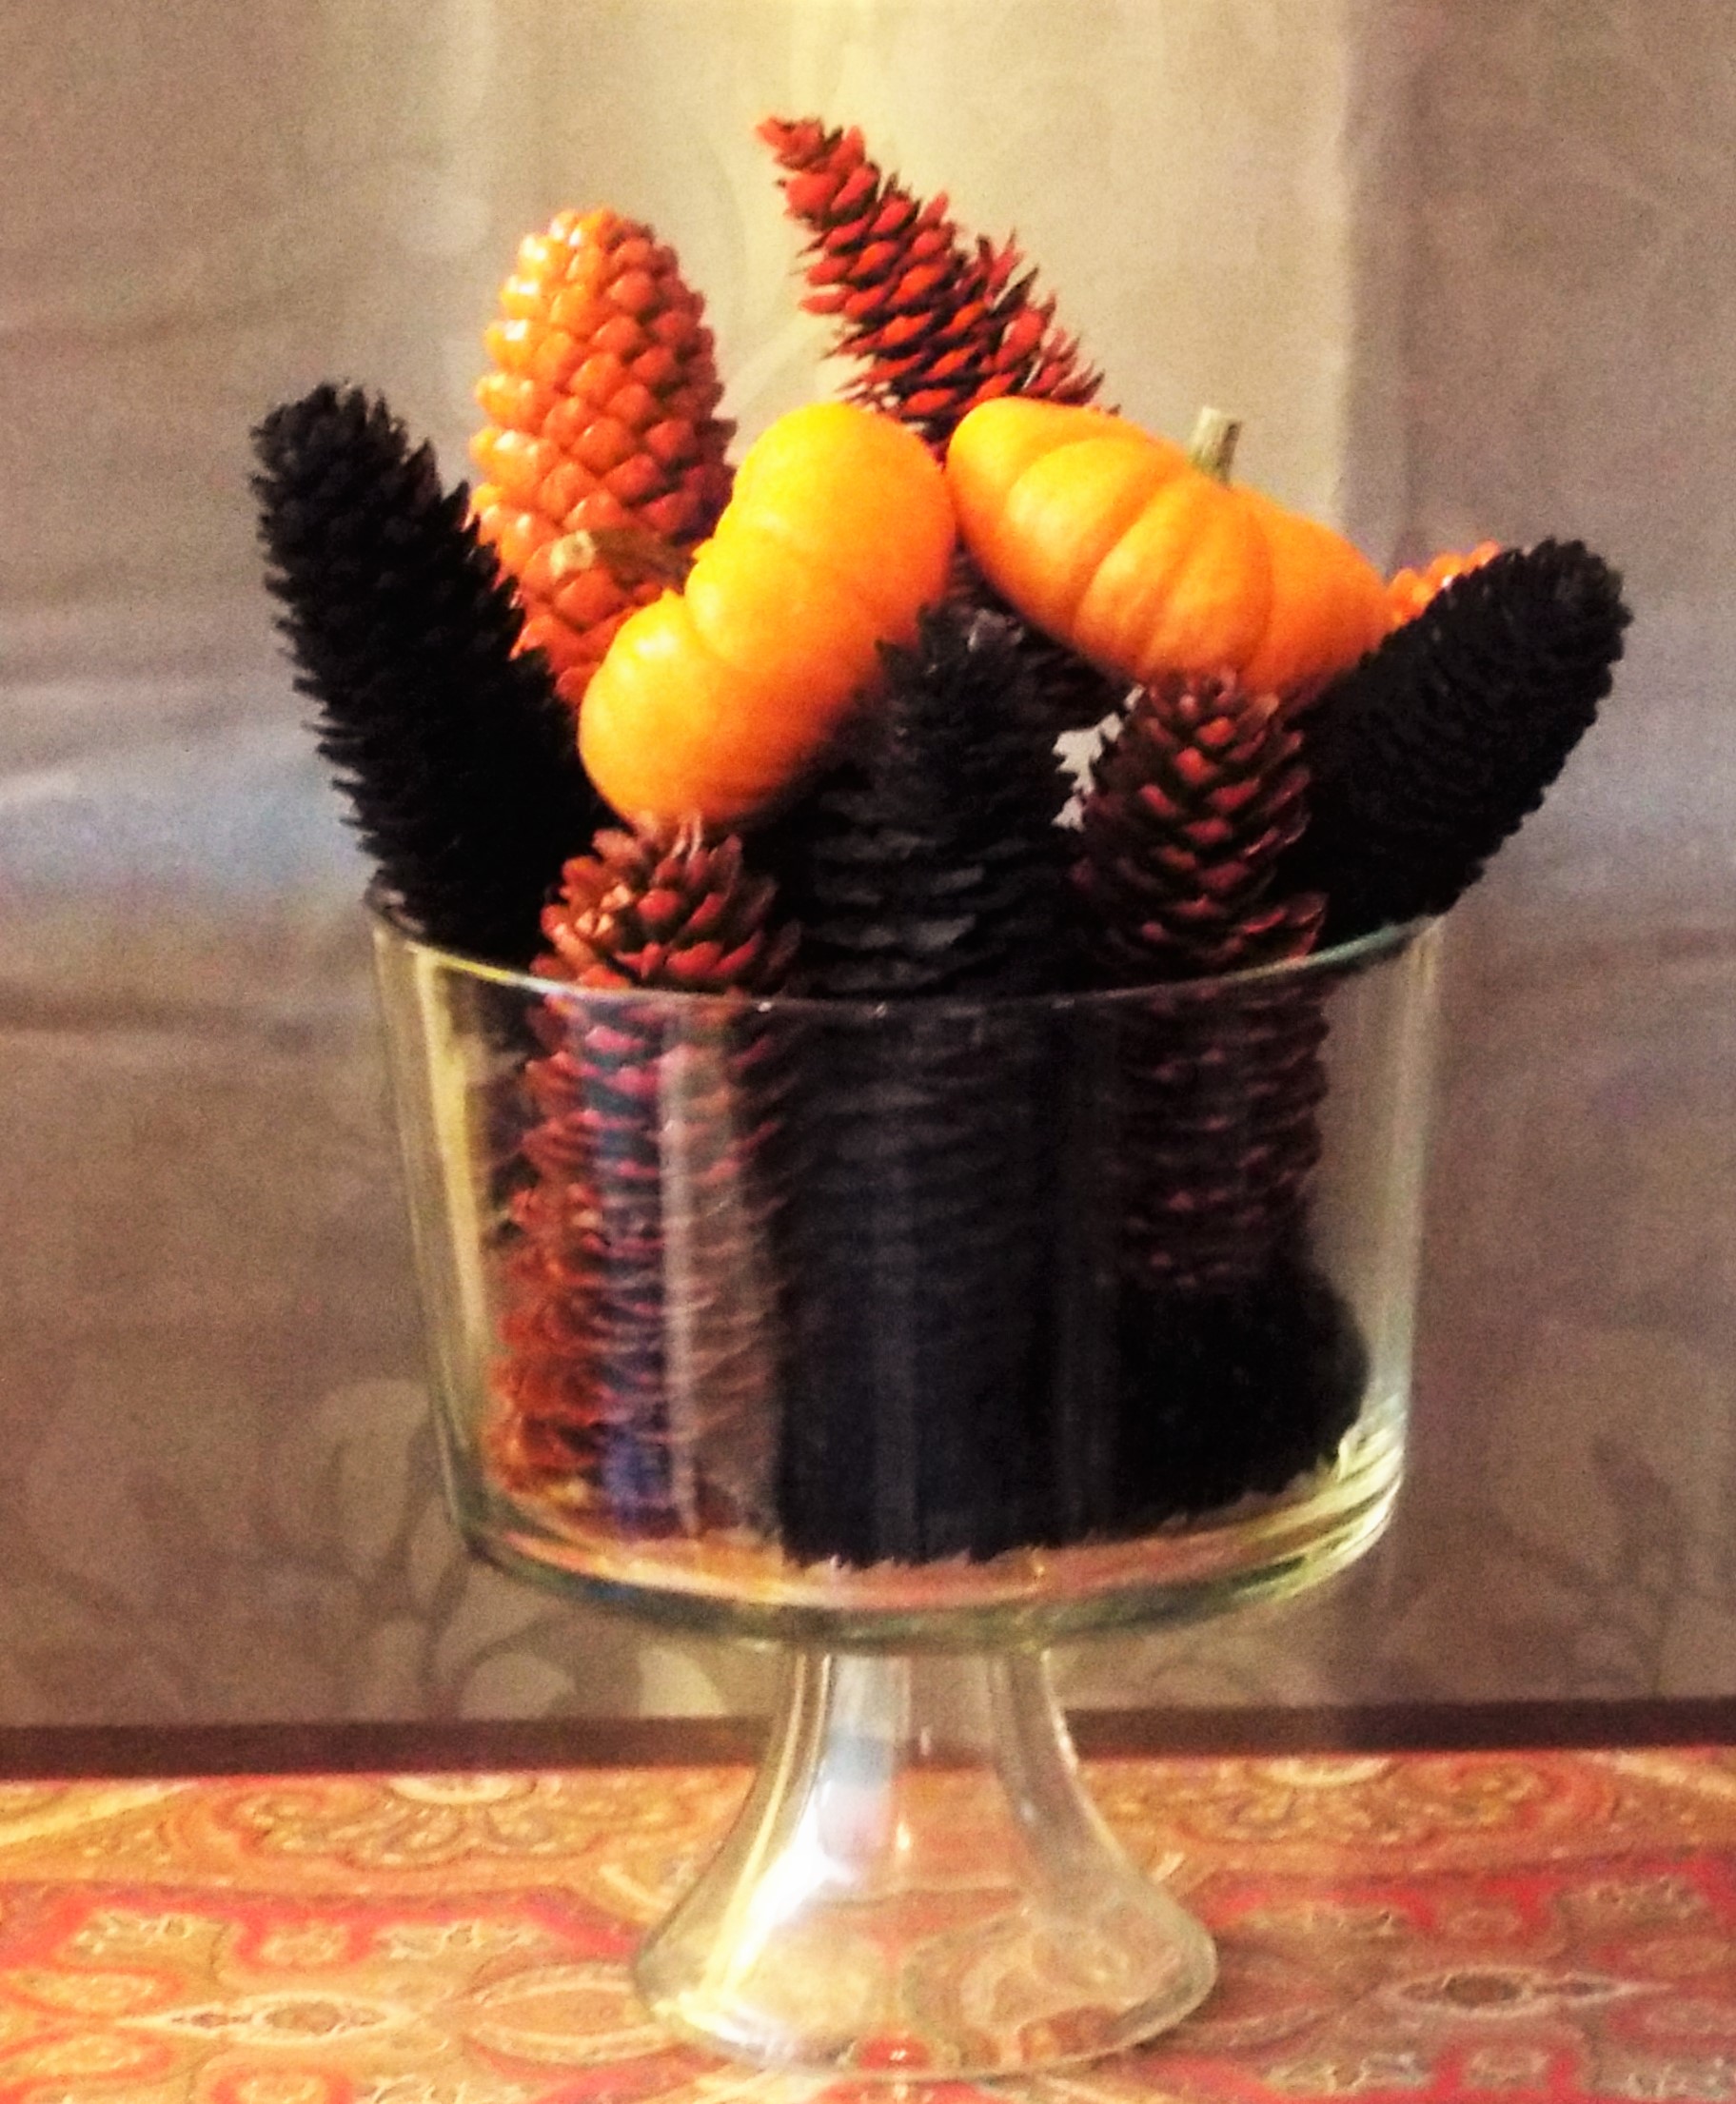
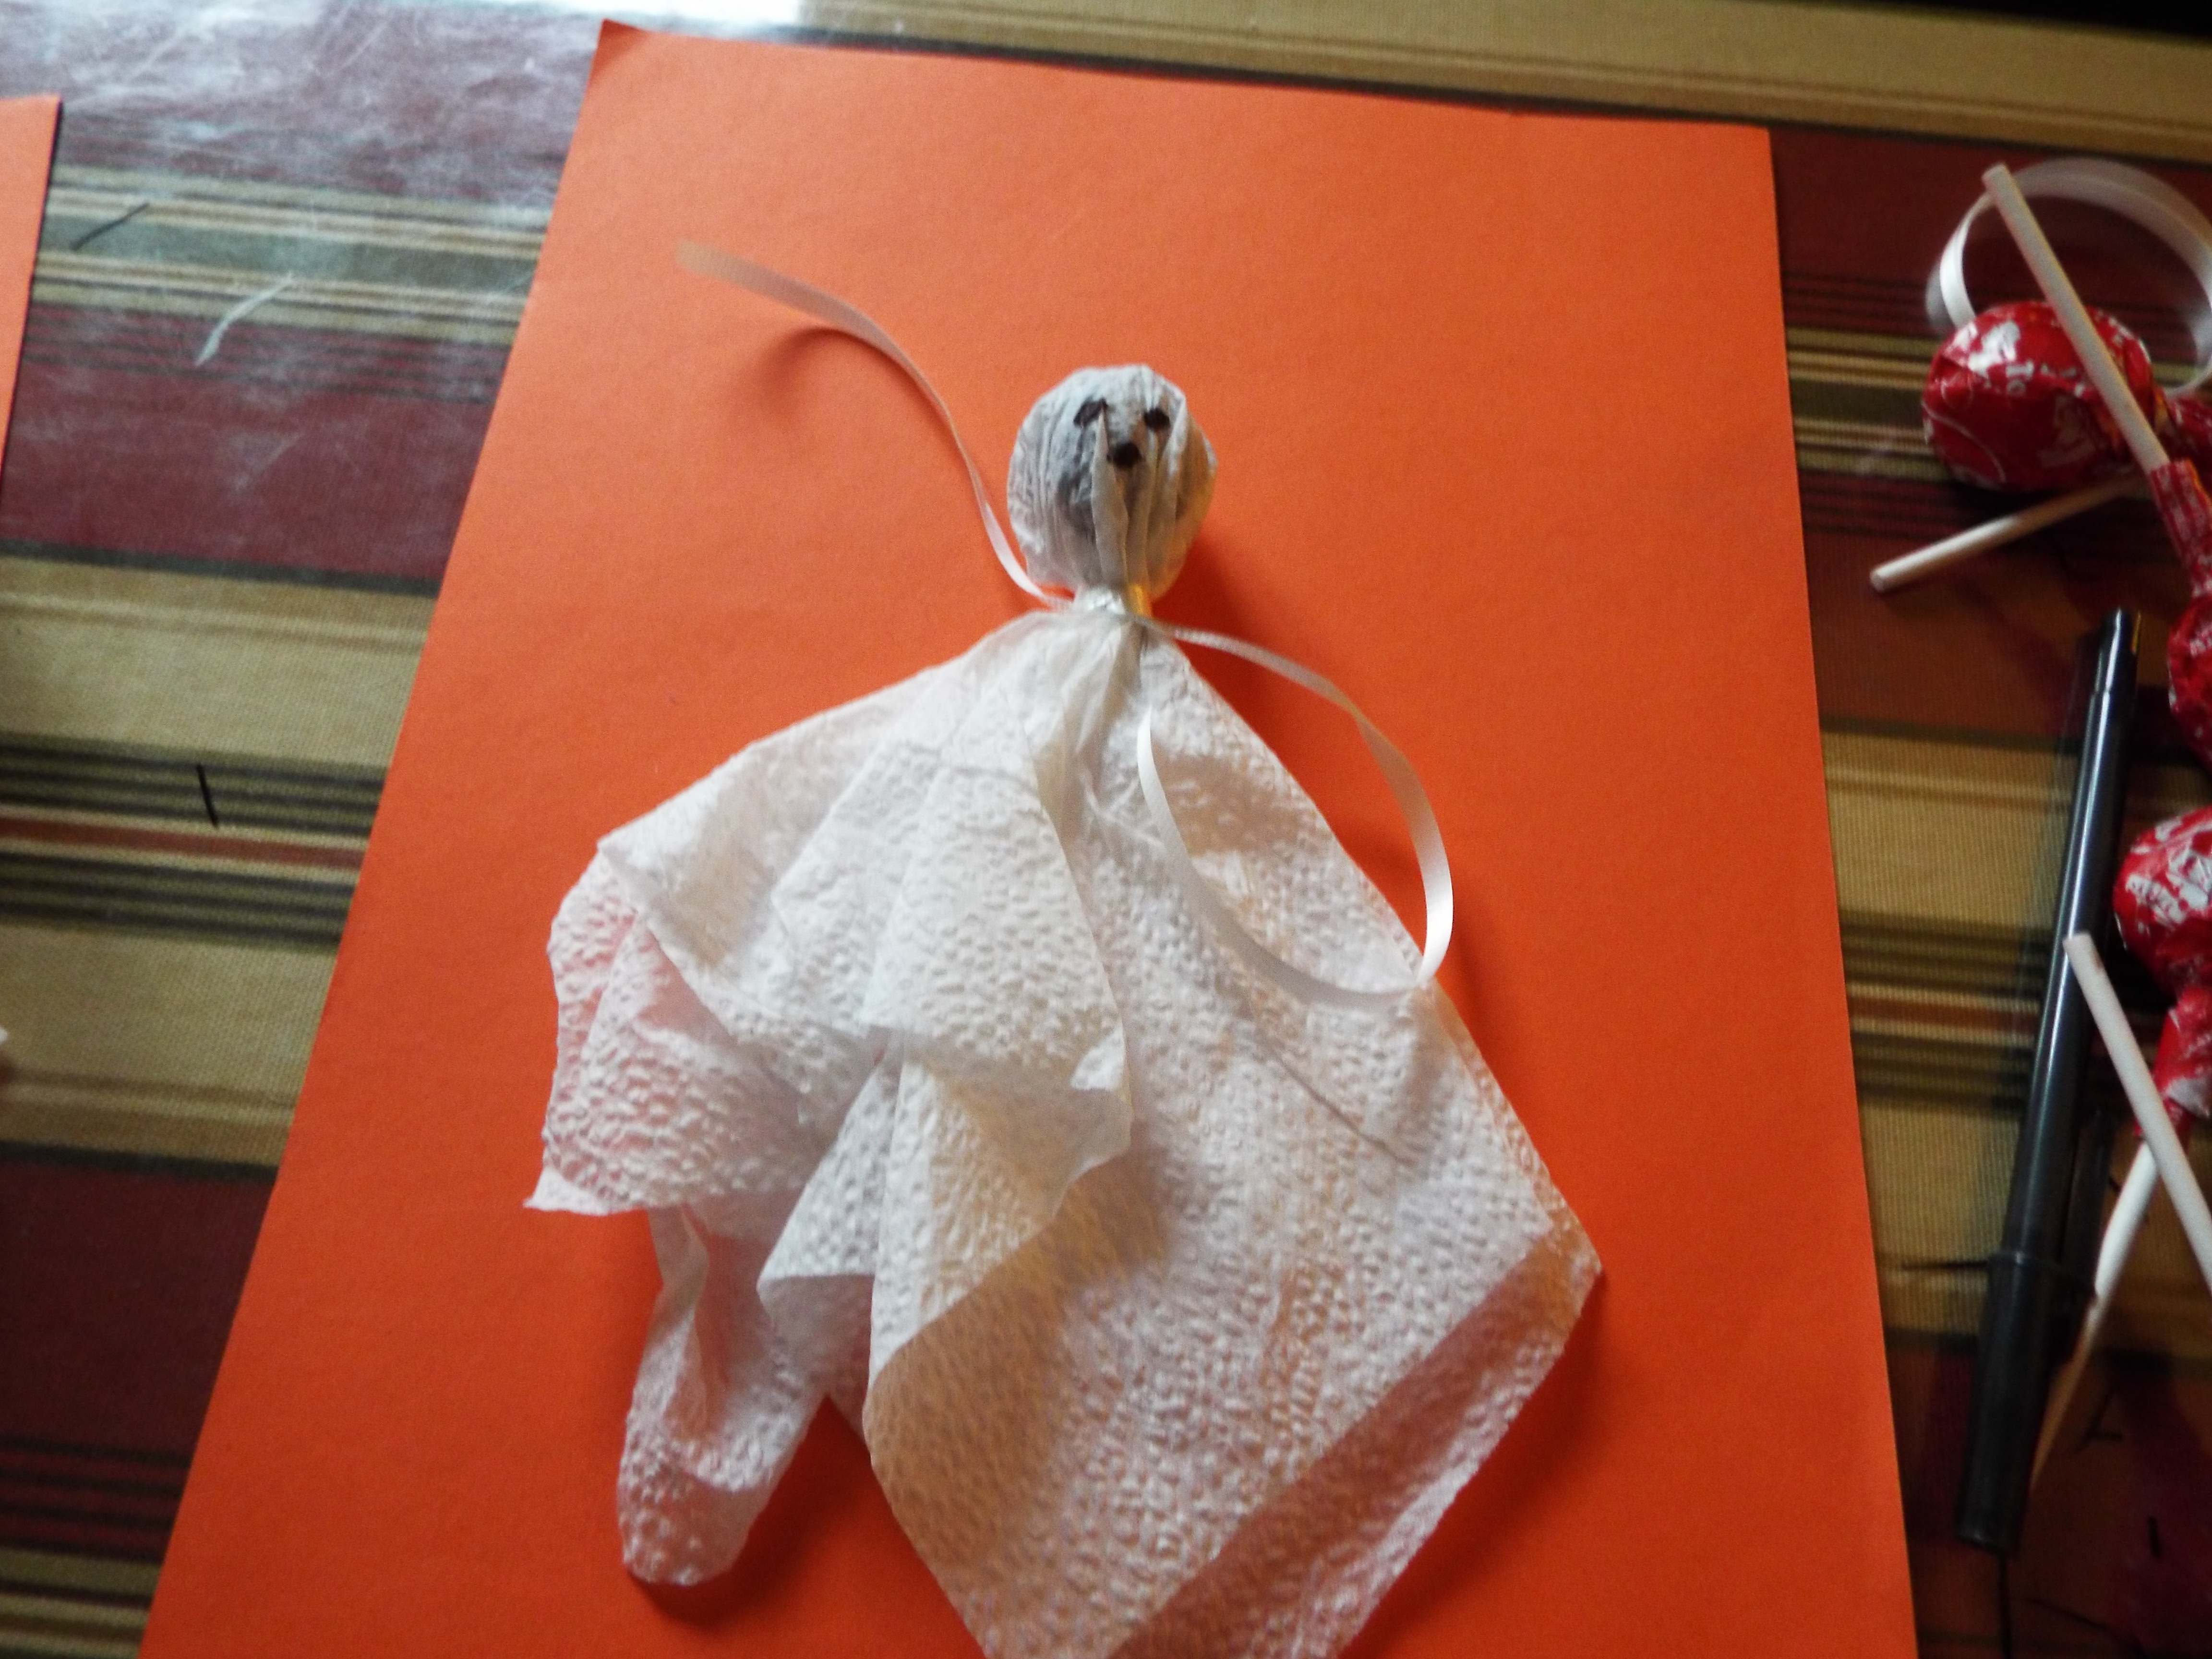
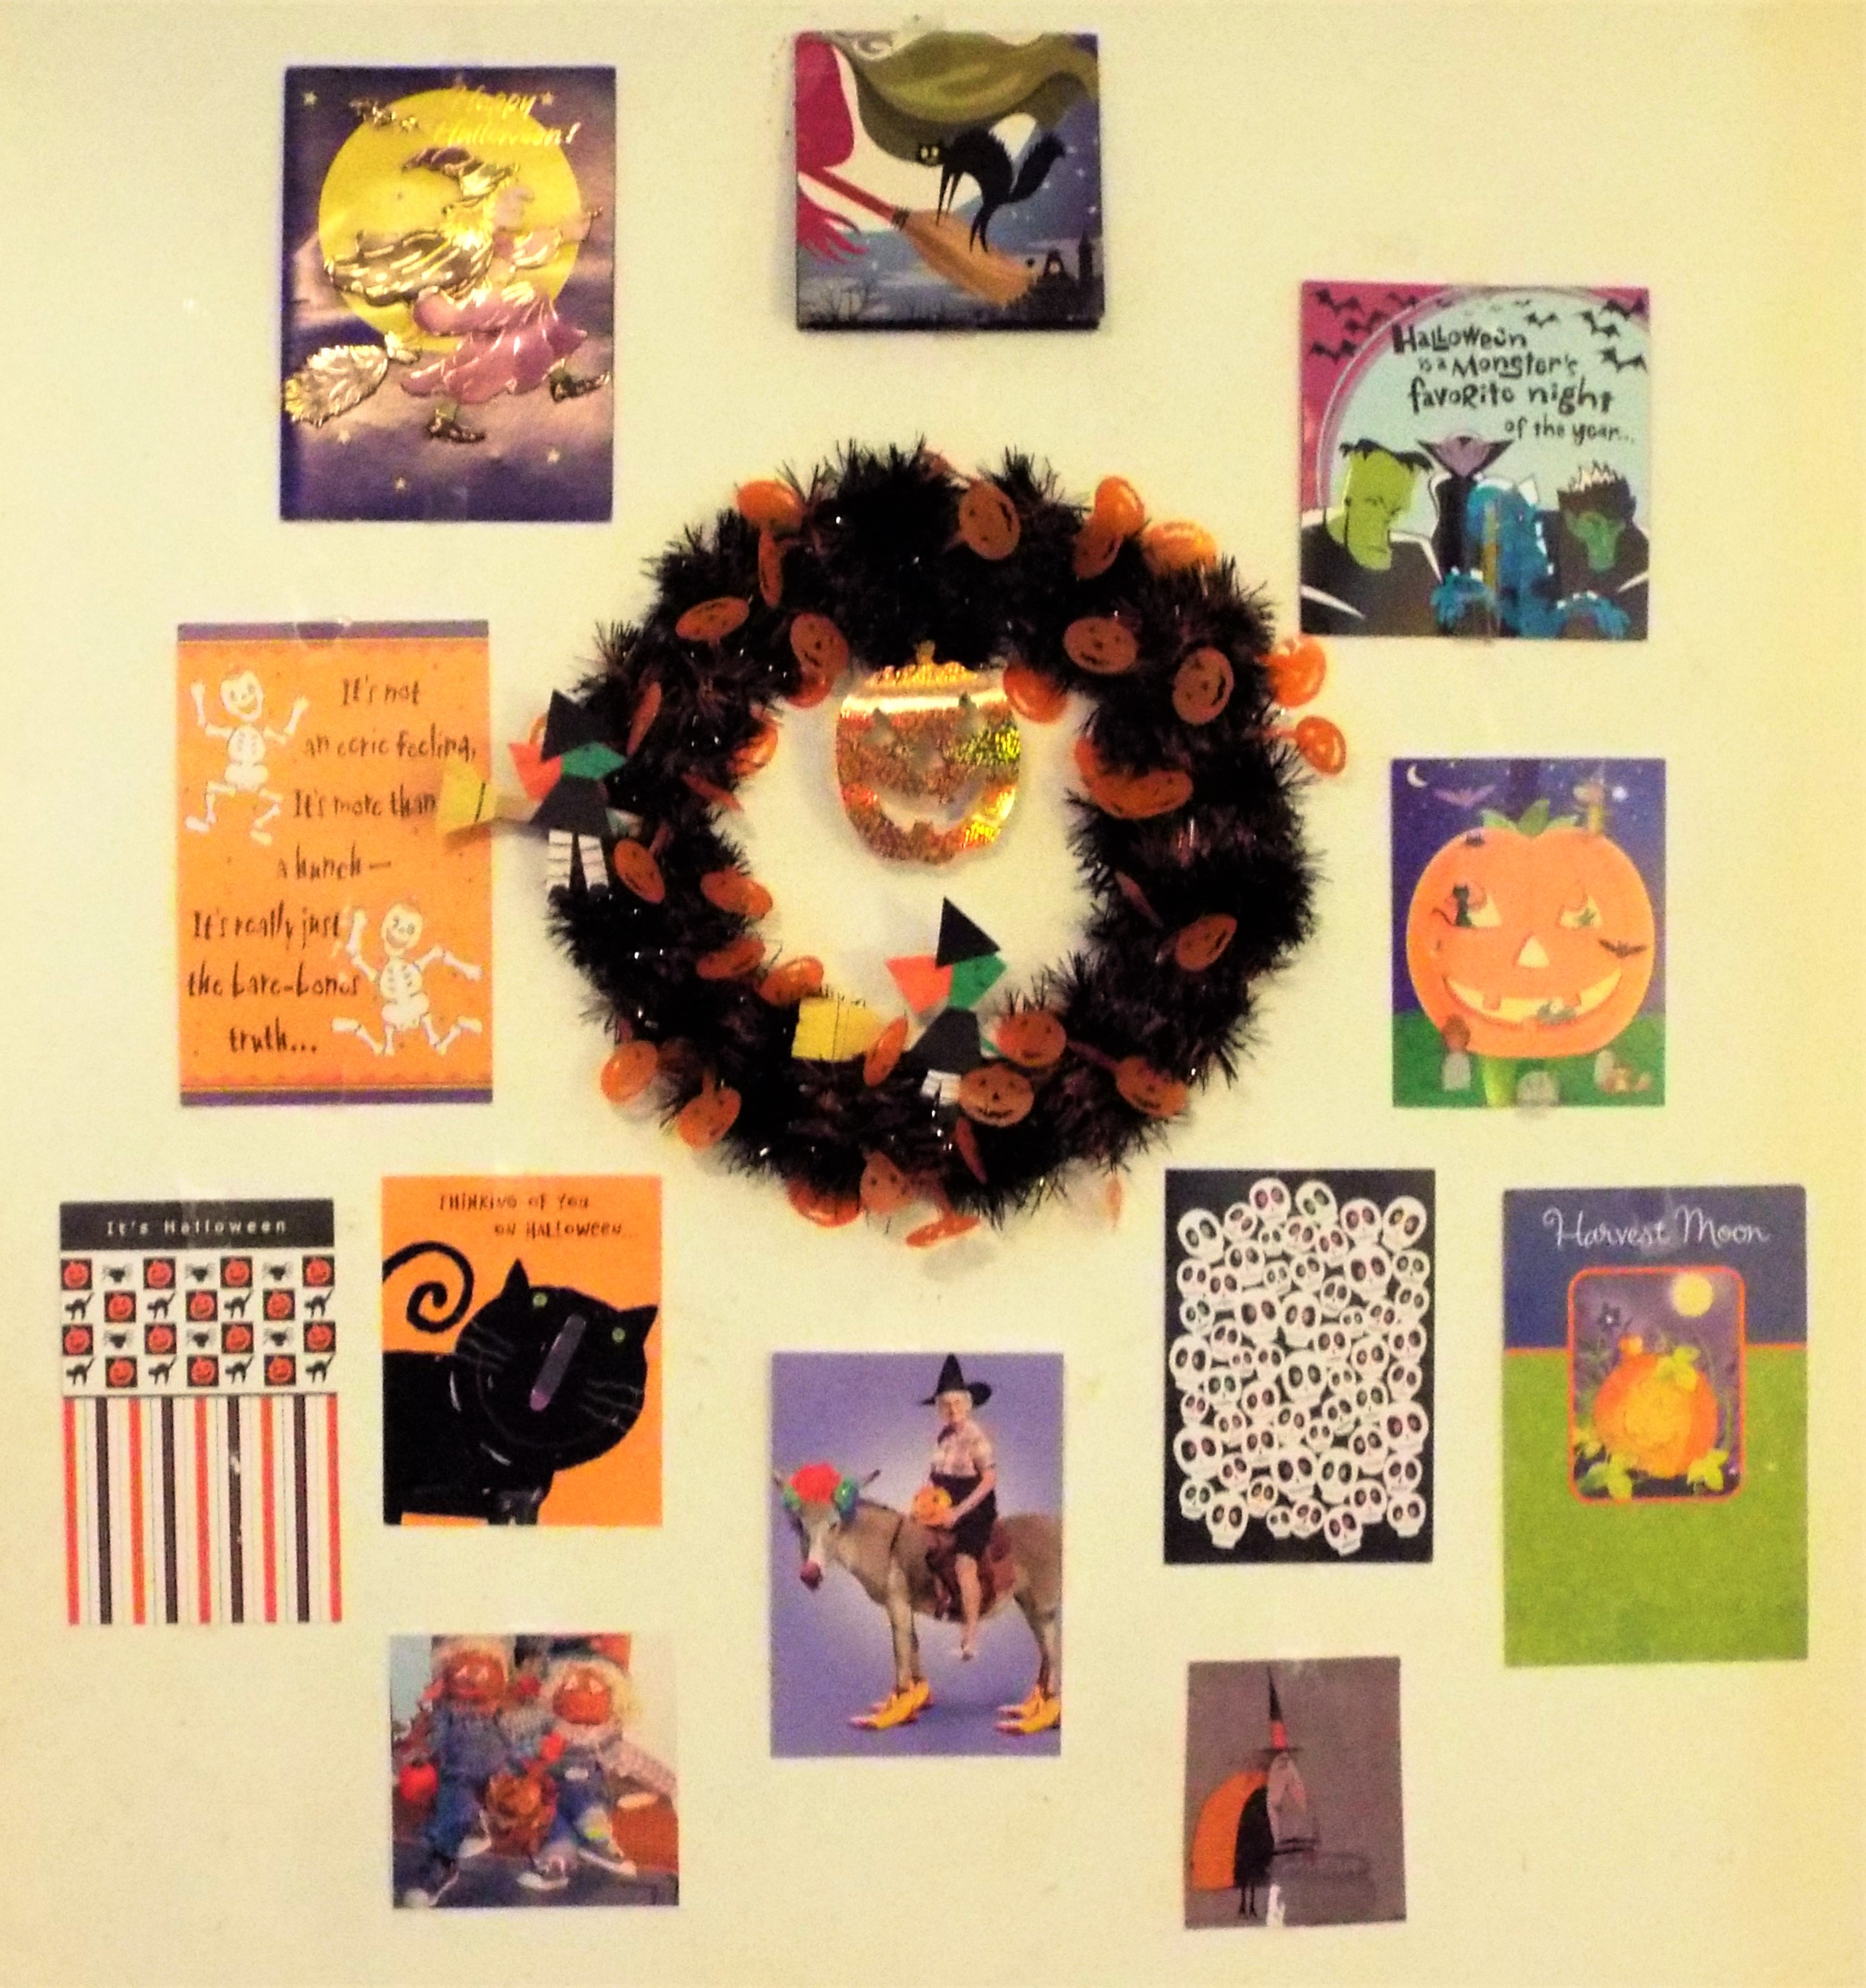
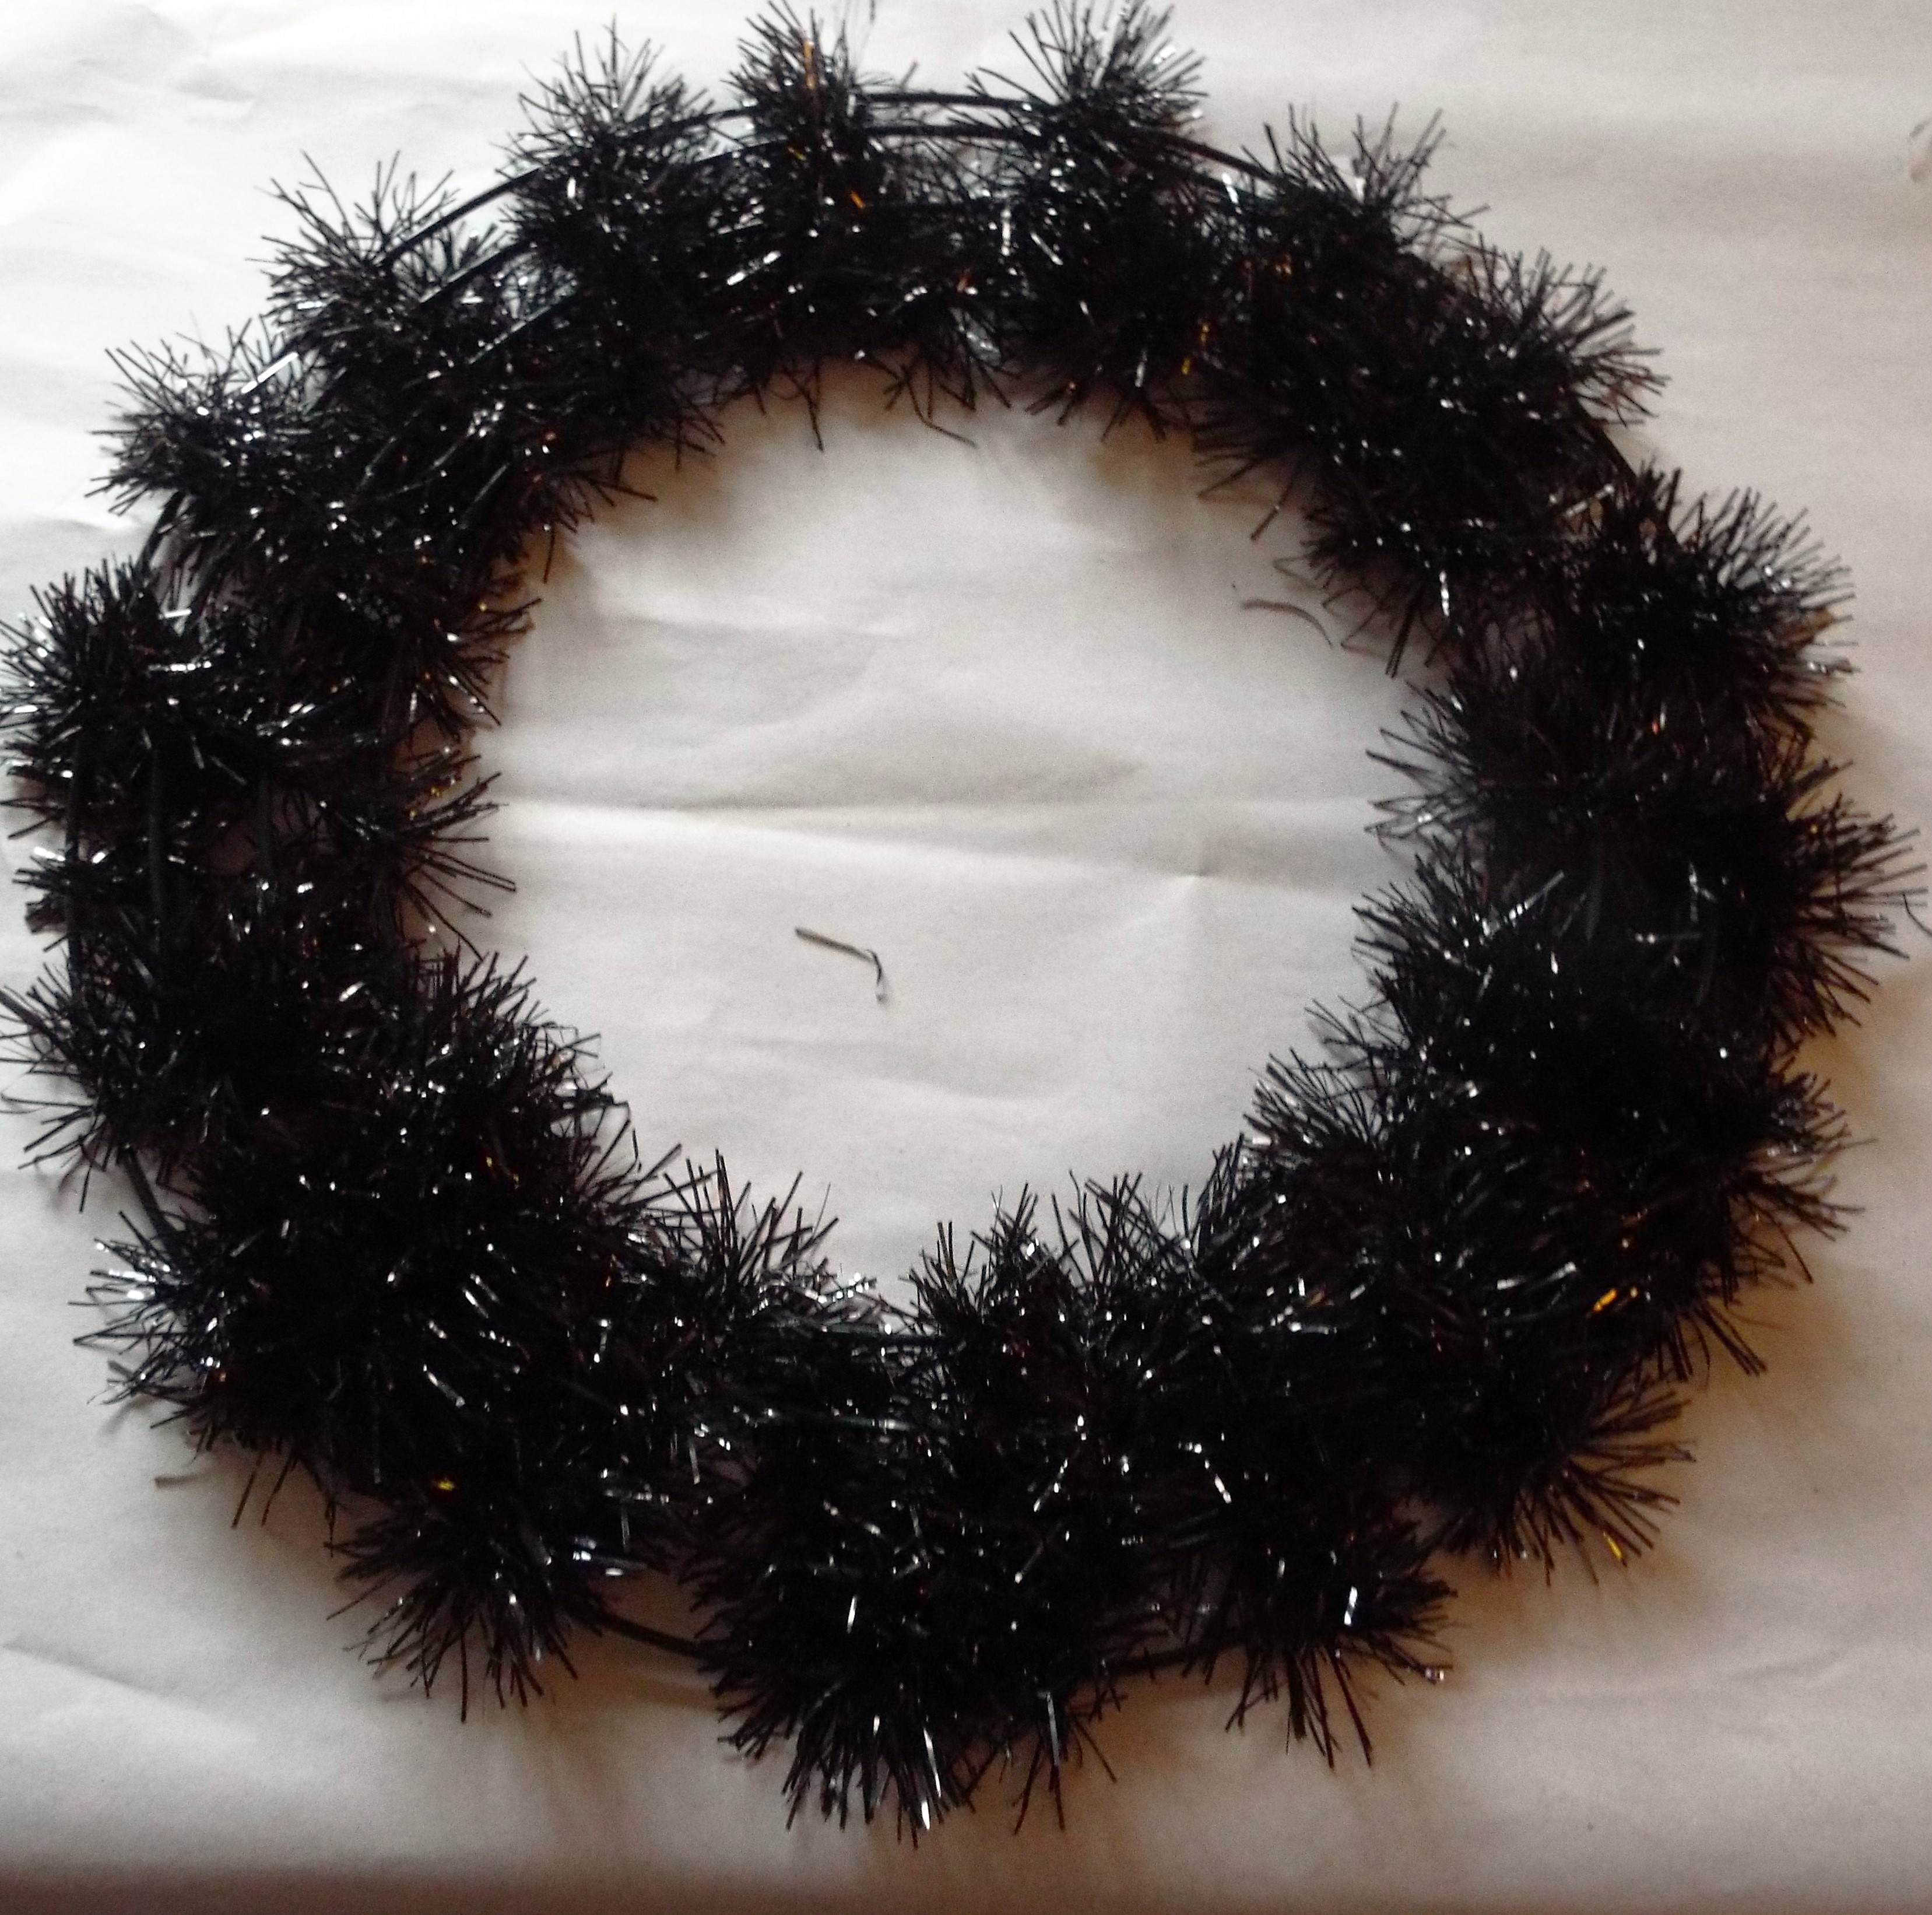
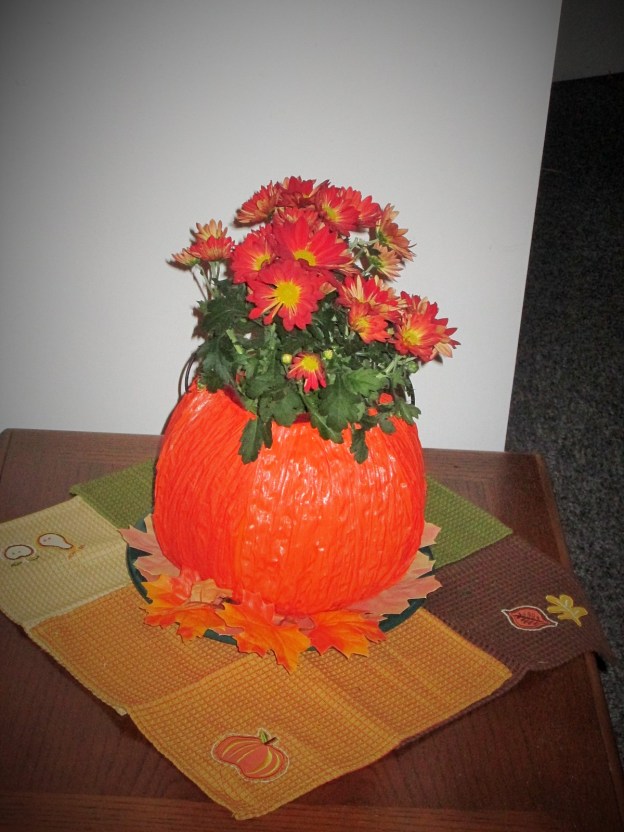
For our second mini-blog, we created a spider out of pine cones and mini pumpkins. A fun project to do with your kids. Perfect for Halloween!
You will need:
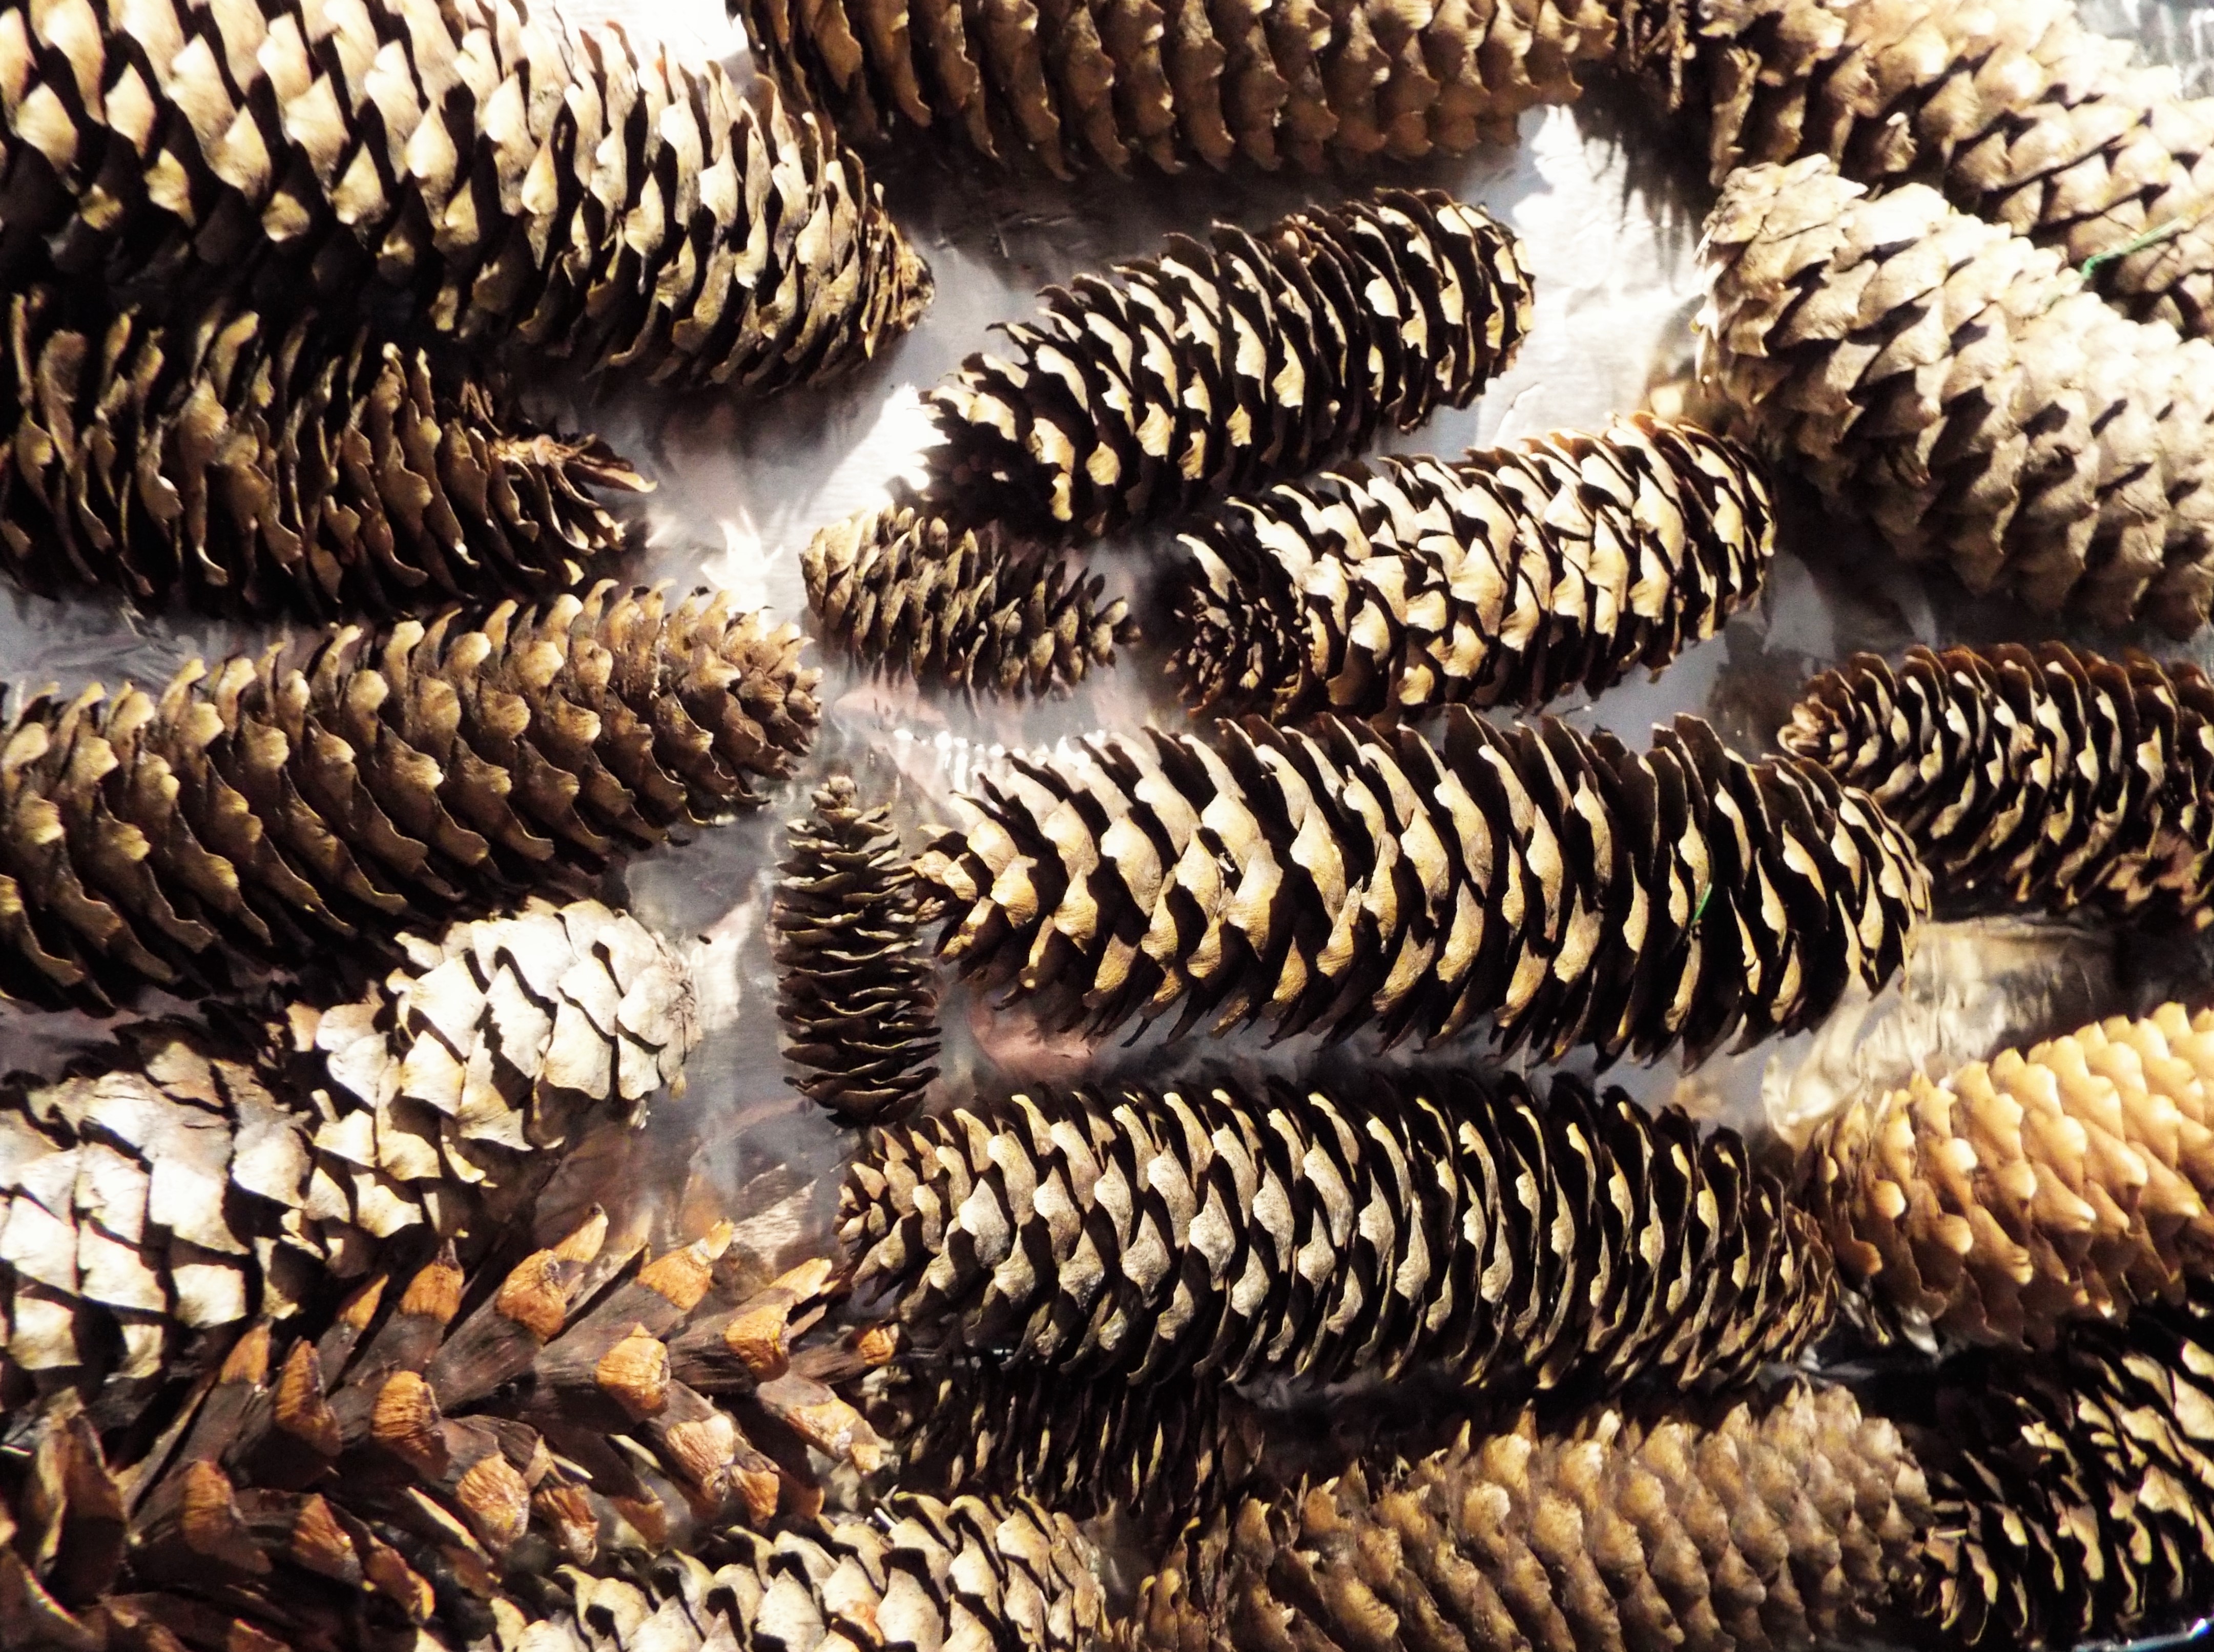
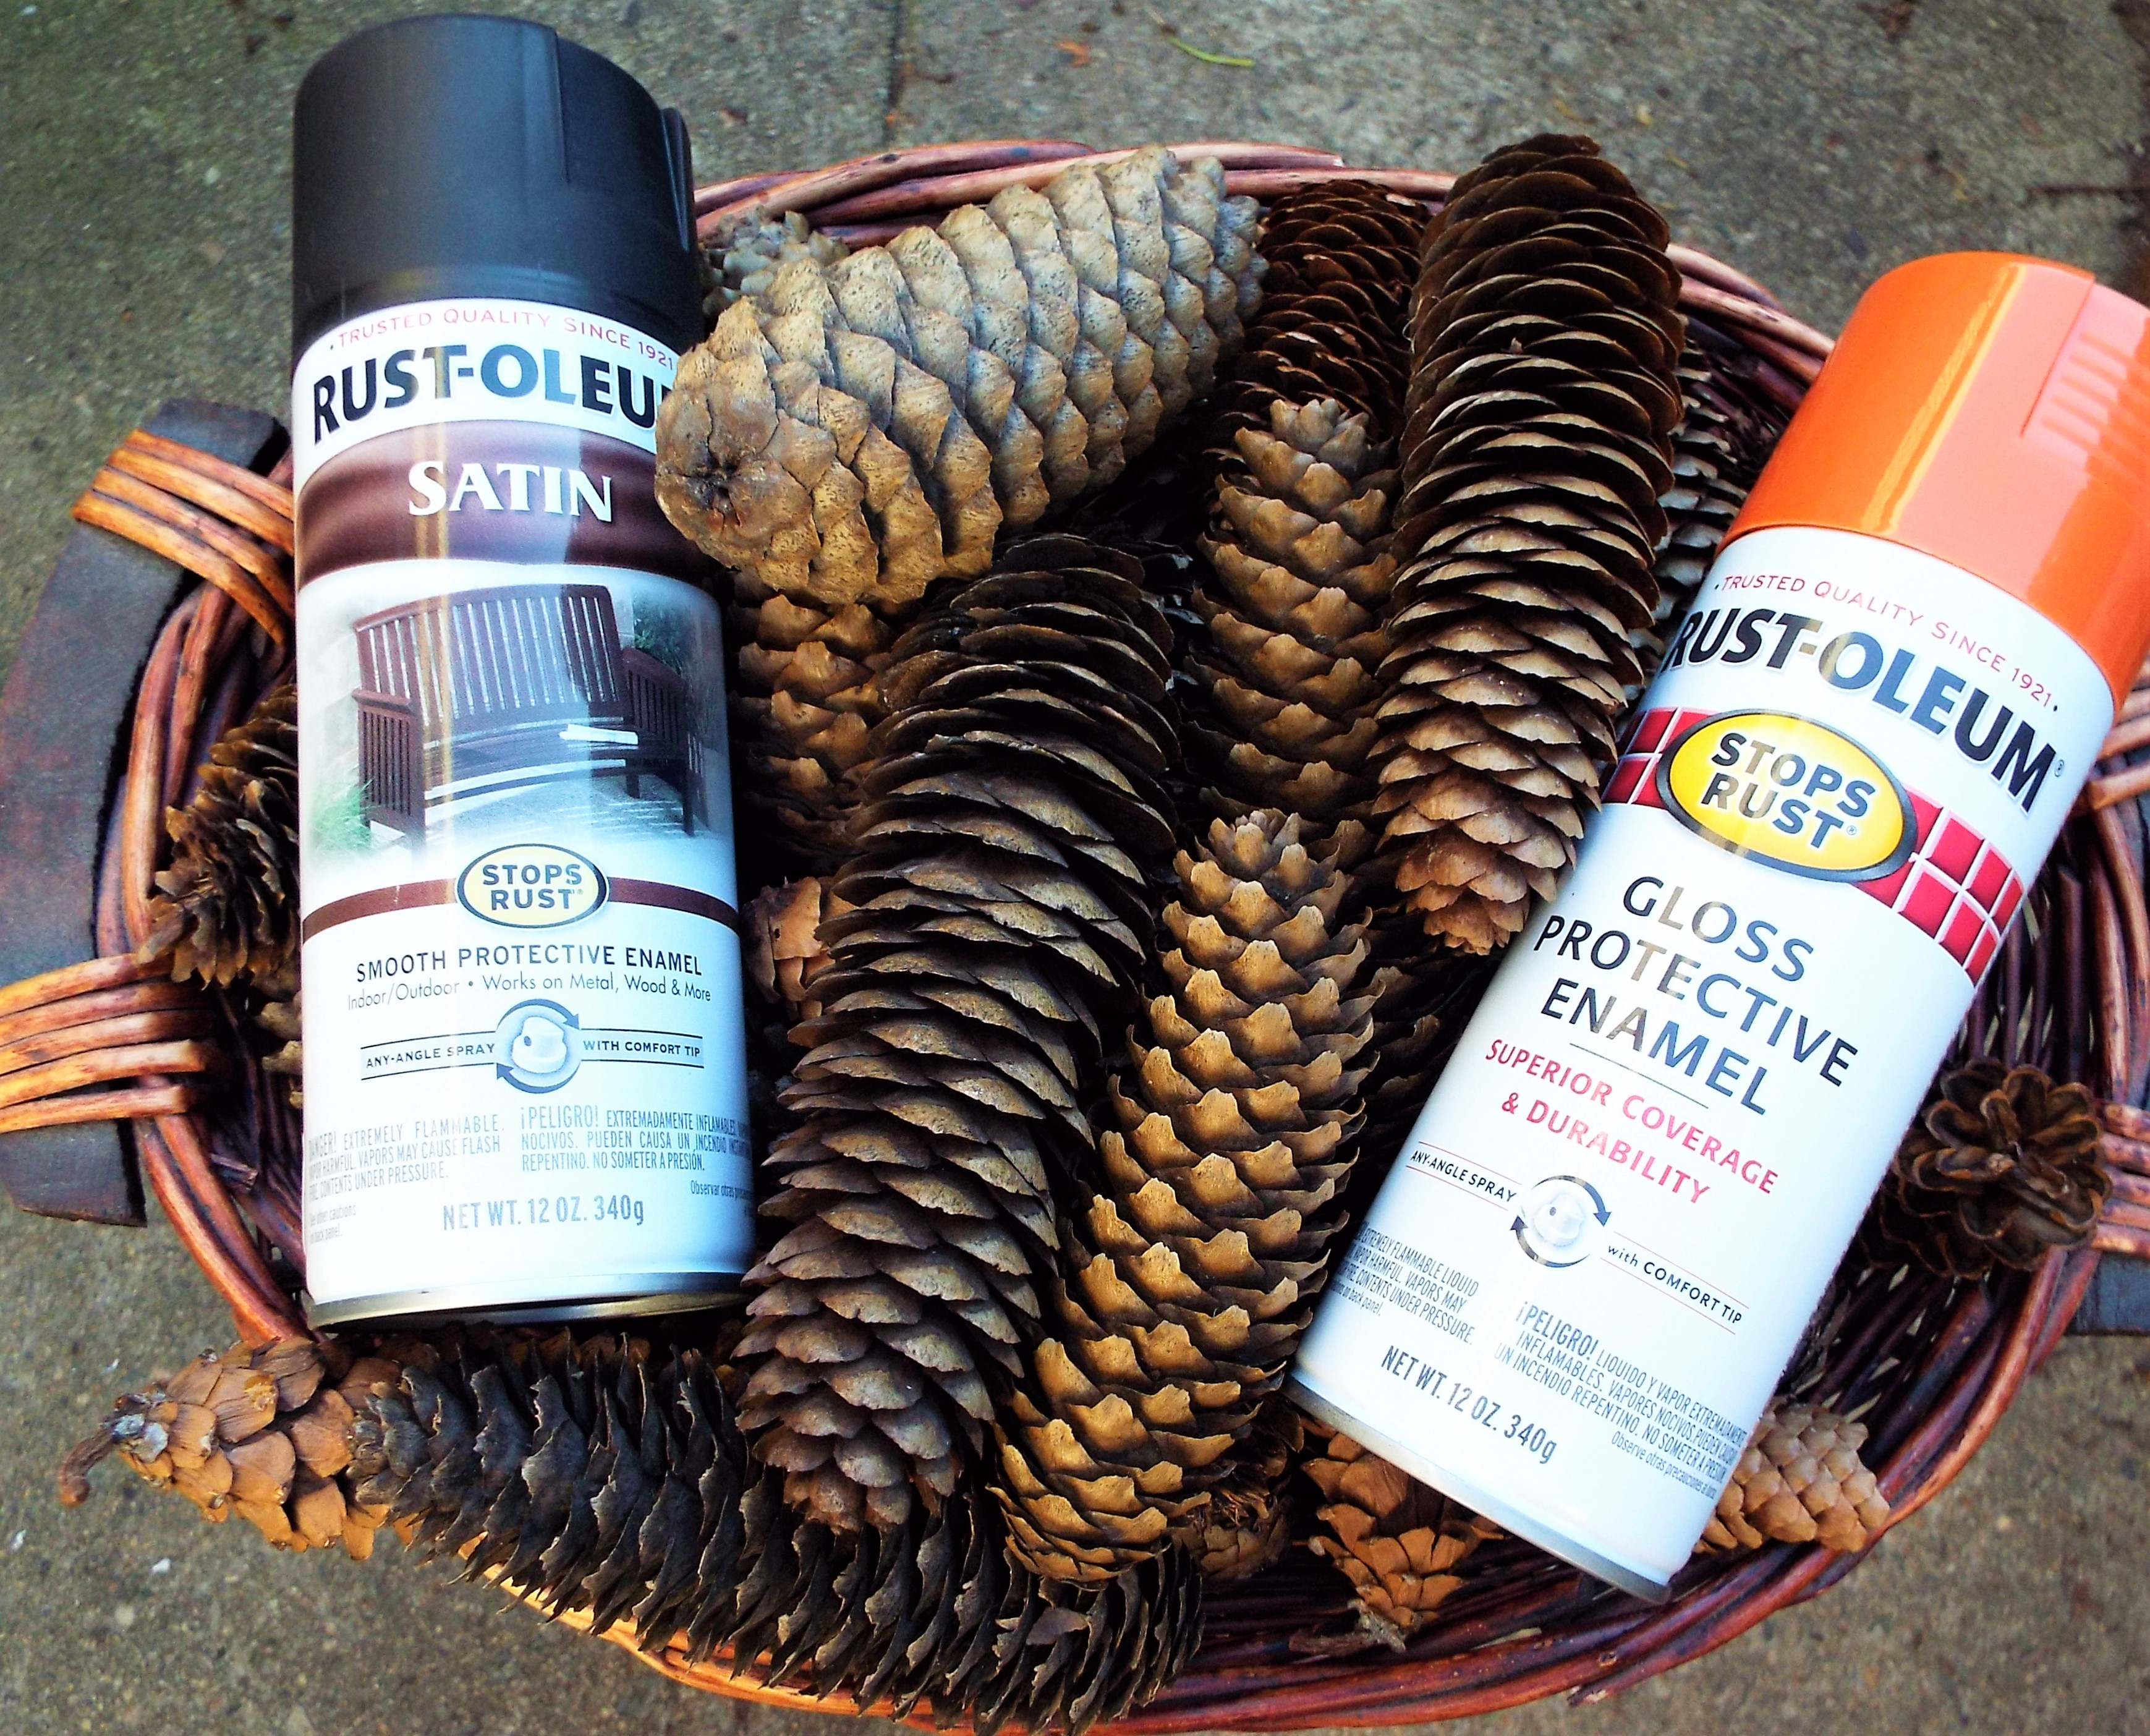
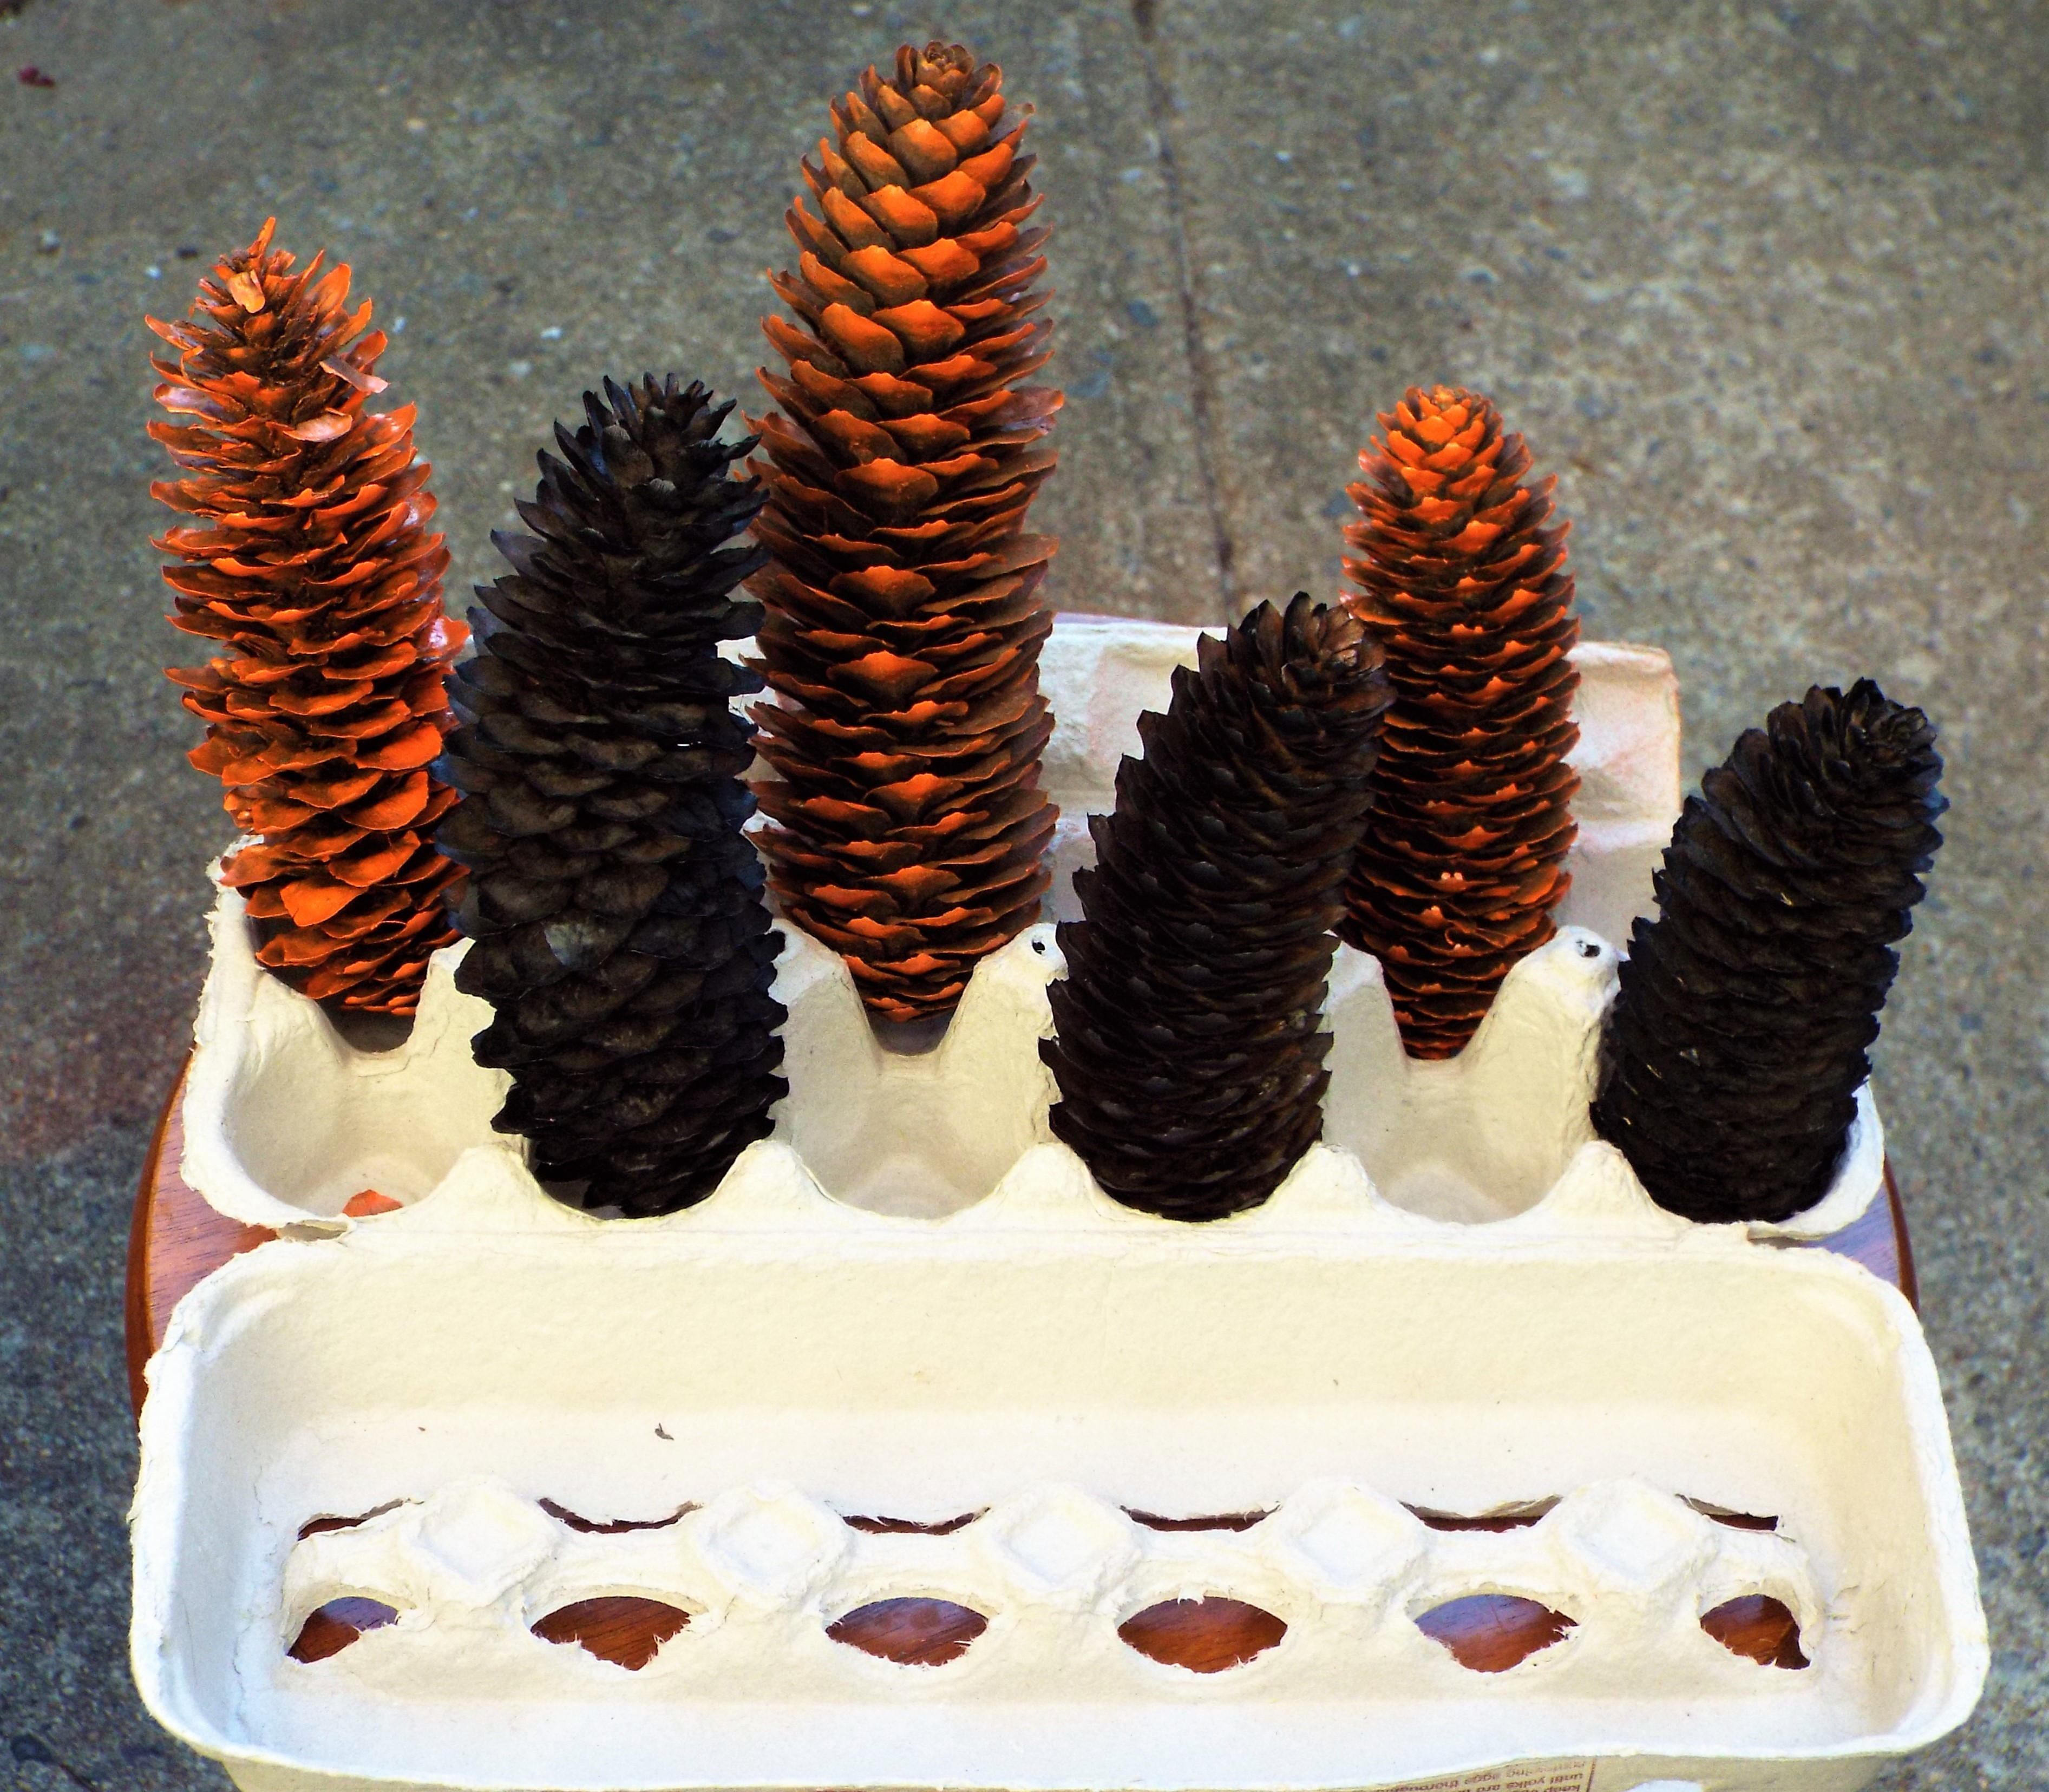
- Six 5-inch pine cones
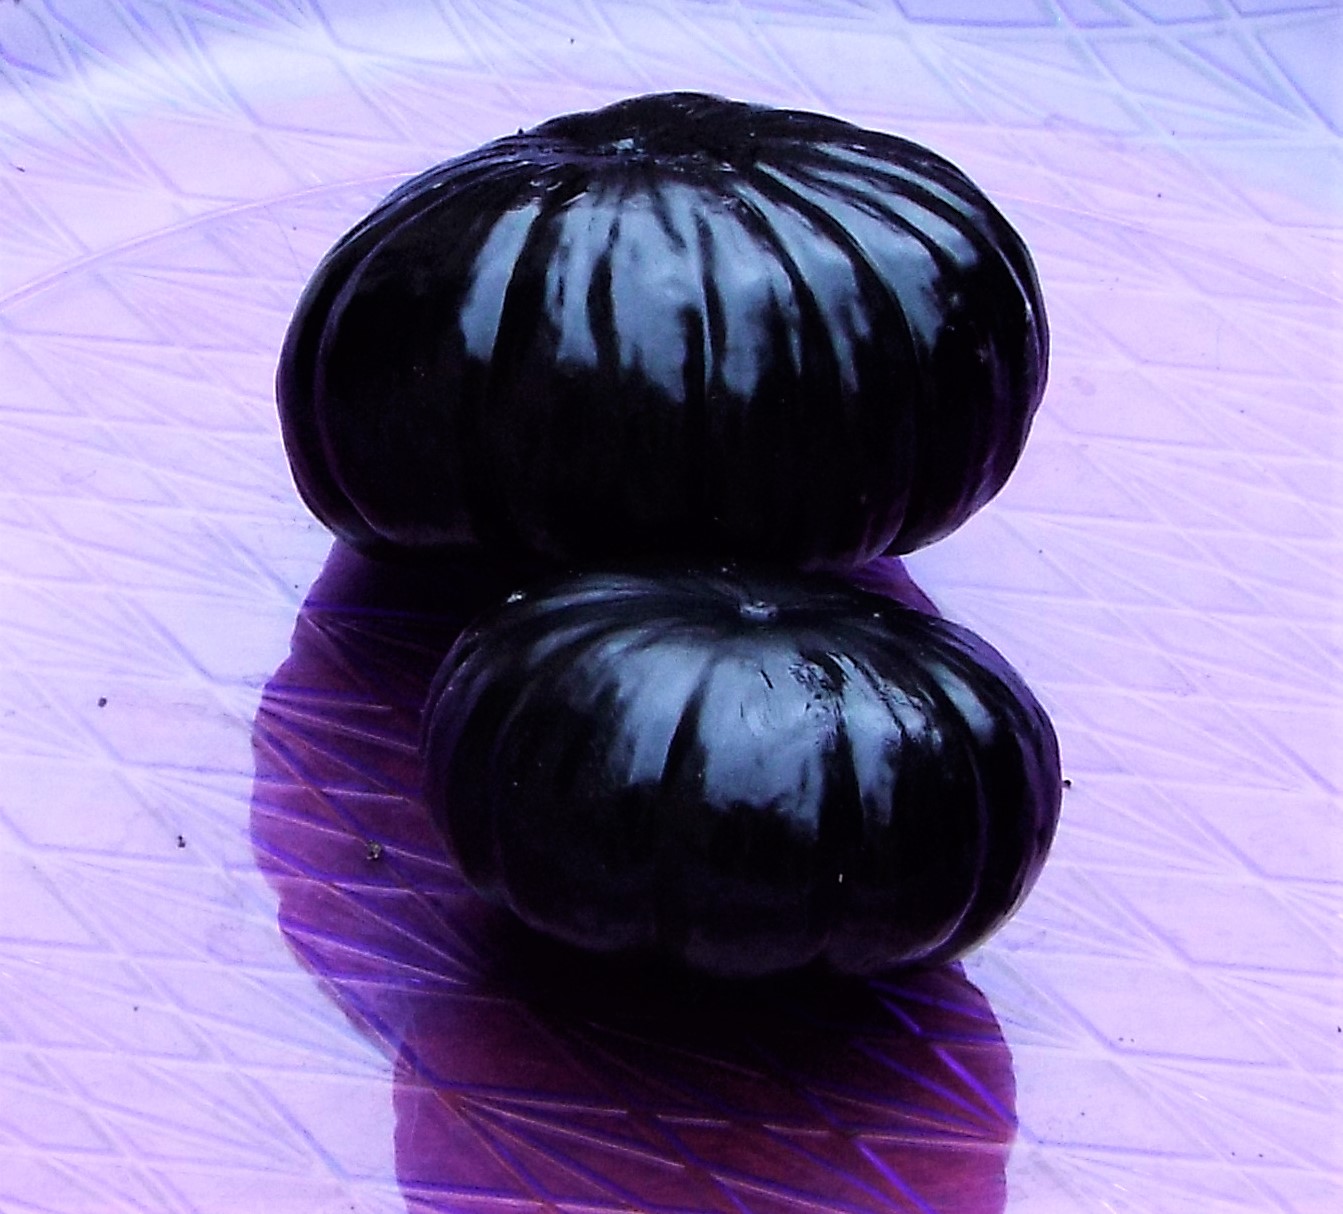
- One 3-inch mini pumpkin
- One 4-inch mini pumpkin
- Black spray paint (Satin finish)
- 1 black chenille stem (we used Jumbo Fuzzy Sticks from Target) cut to 5 inches
- Craft glue
- Two 1/2-inch googly eyes
- One 14-inch platter
How to create your spider:
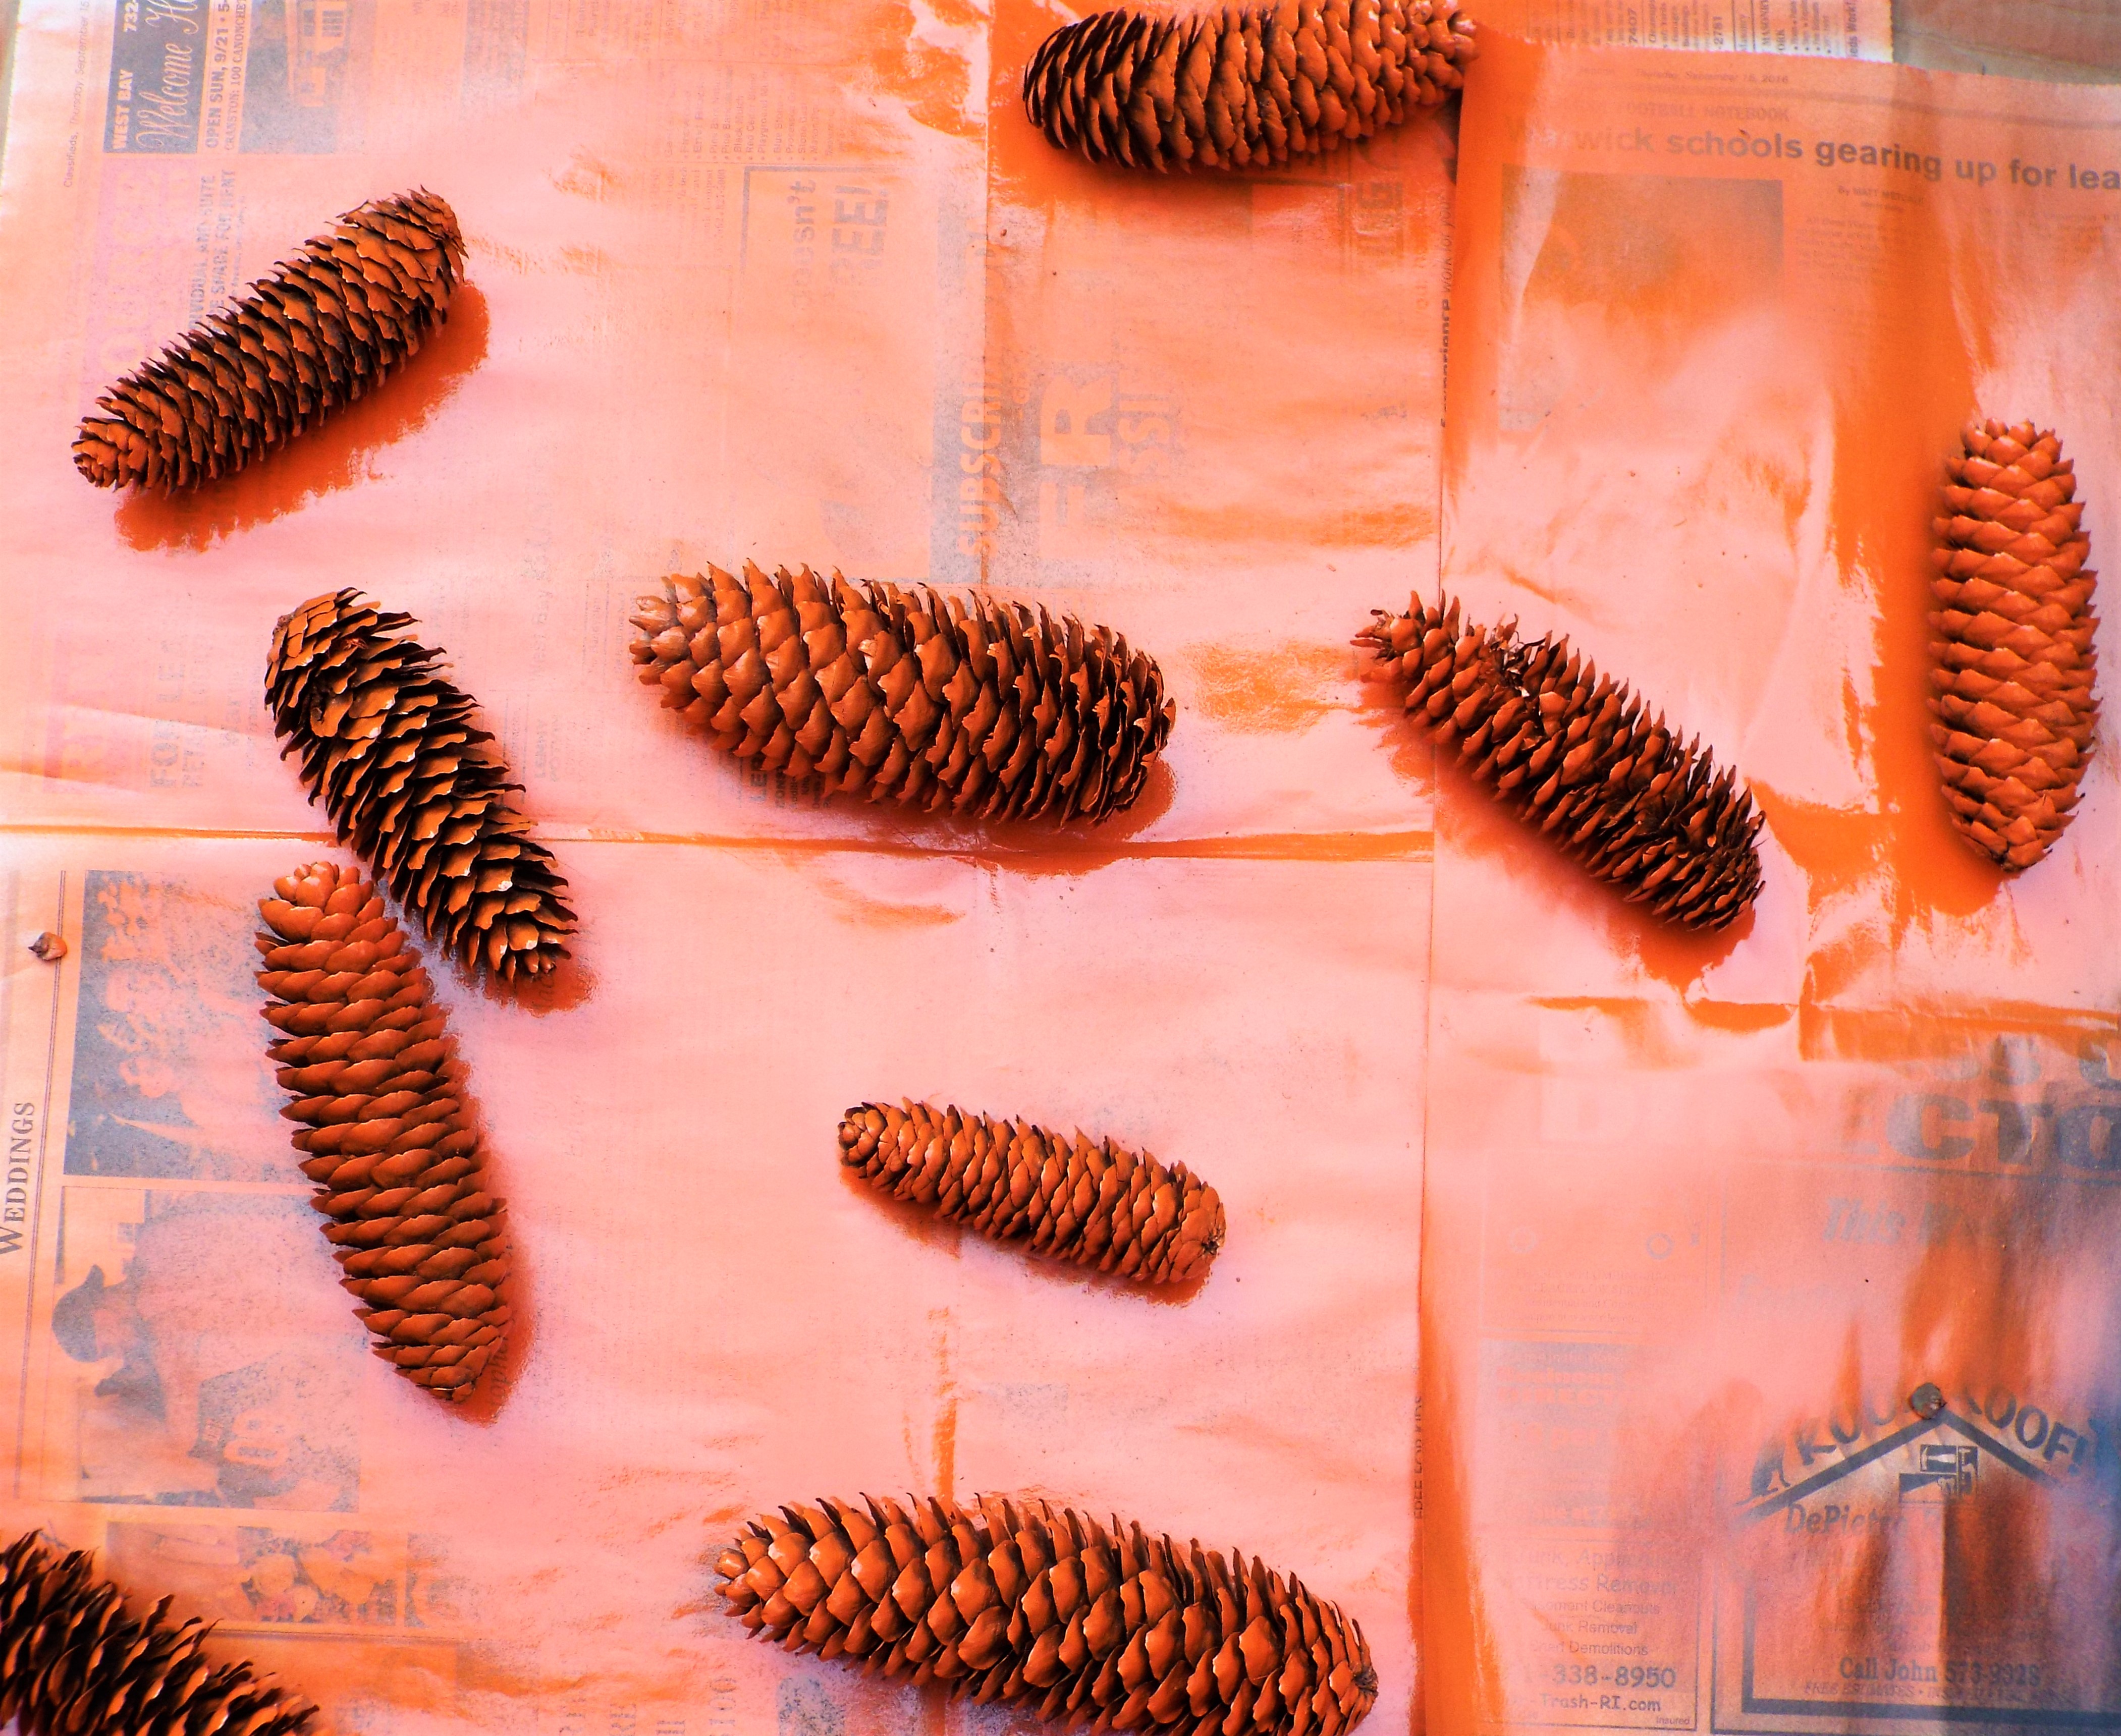
- In a ventilated area, spray paint pumpkins and pine cones thoroughly. Use newspapers to protect surfaces.
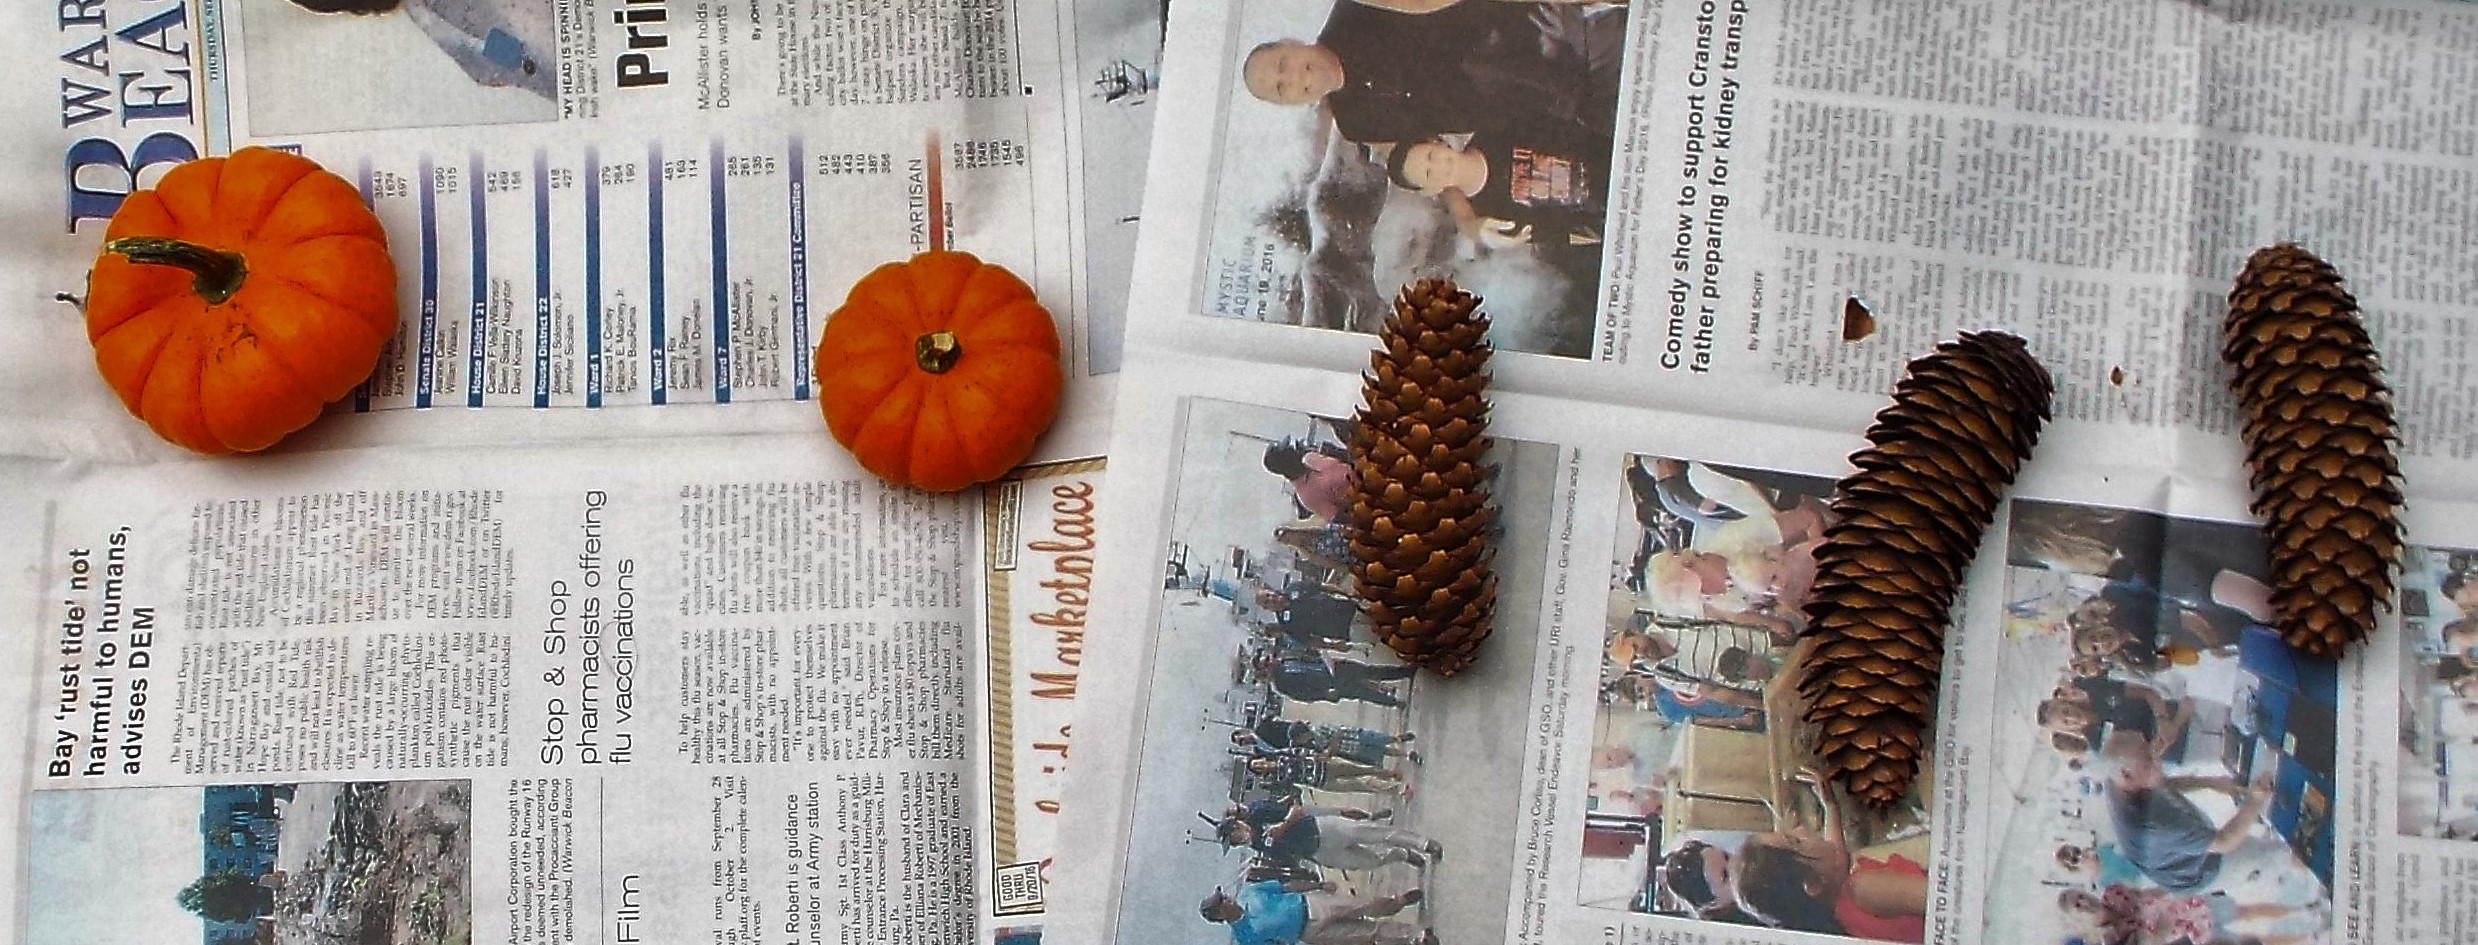

- Allow to dry.
- Place 3-inch pumpkin upside down below and in front of the 4-inch pumpkin on the platter or whatever you choose as a base.
- Add googly eyes with craft glue. (Some come with adhesive backs, use those if you have them.)

- Decide which pine cones go where. We used larger pine cones as the back legs.
- Place 3 legs on each side.
- Bend chenille stem to create feelers and position under spider head.

Watch the bugs (and some people) disappear in fear!
Hint 1: This display is temporary because we will be using the parts for future holiday decor. Stay tuned! For more permanence, attach spider parts to platter with double stick tape.
Hint 2: If paint comes off pumpkins during assembly, touch up with quick drying, matching acrylic paint.
Be creative with your spiders! Use colorful googly eyes, make a purple spider or whatever you favorite spider color is, add stickers and designs. We’d love to see pictures of your creations!
Enjoy!
Roy & Kevin


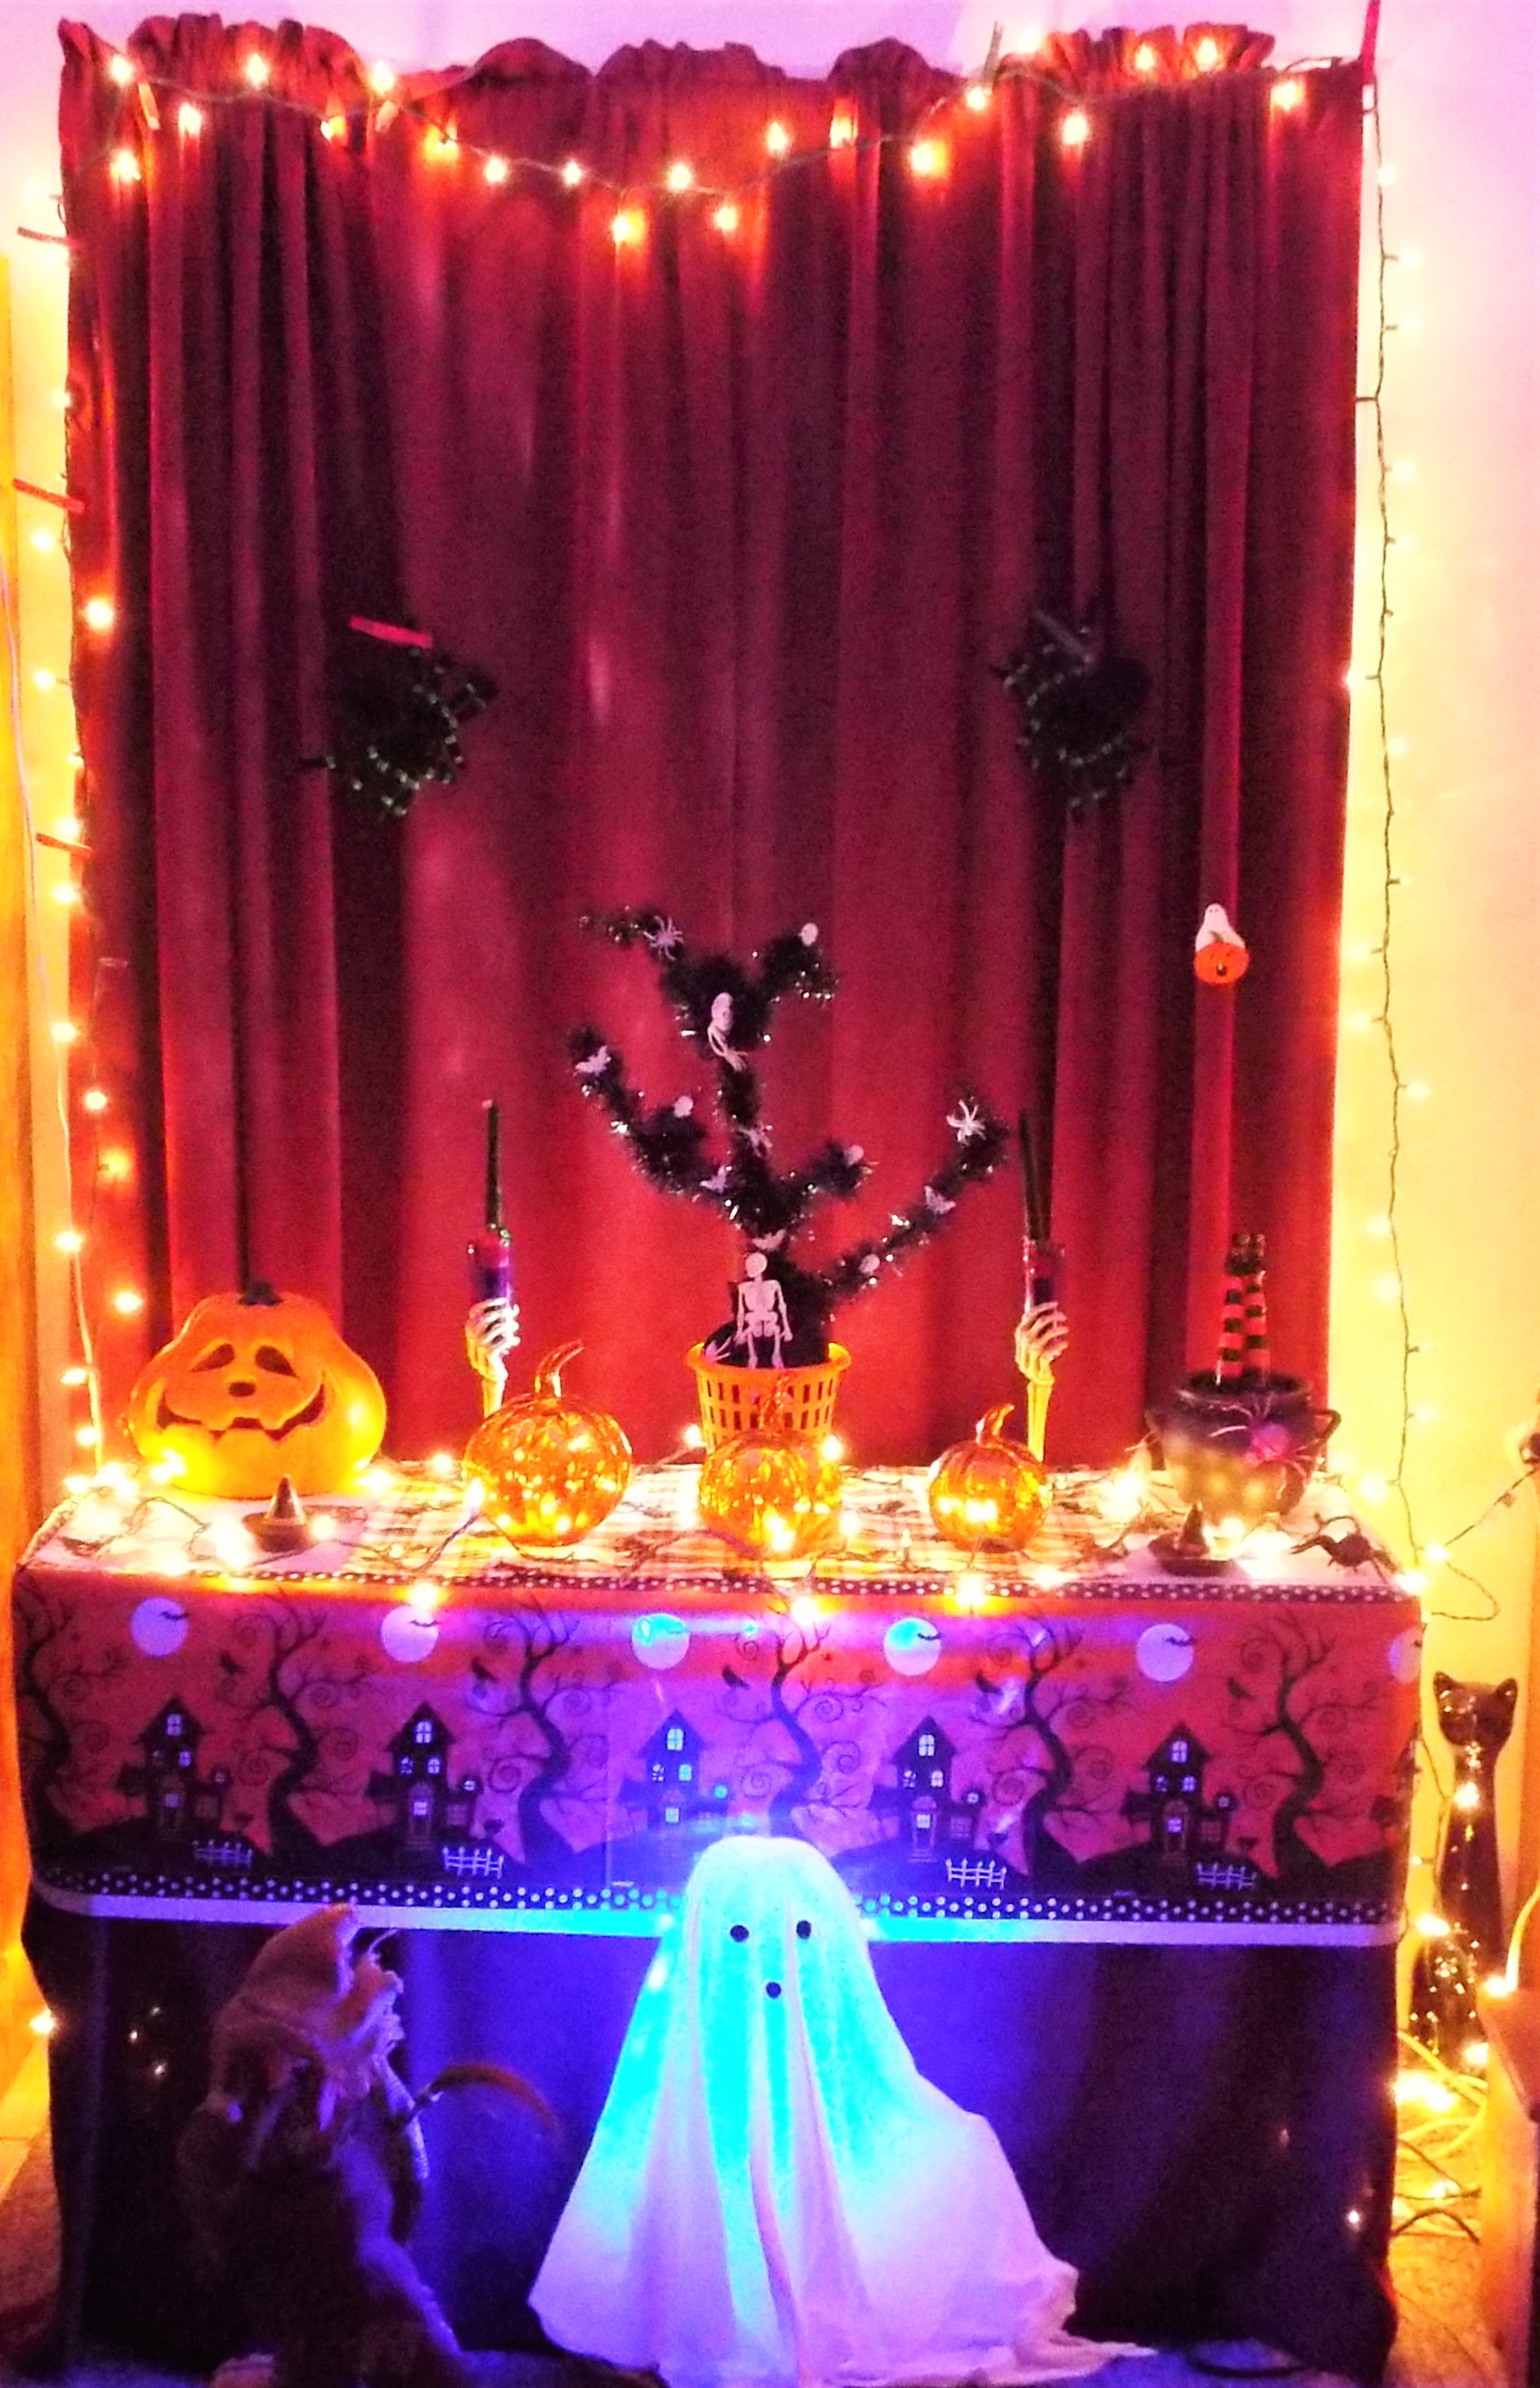


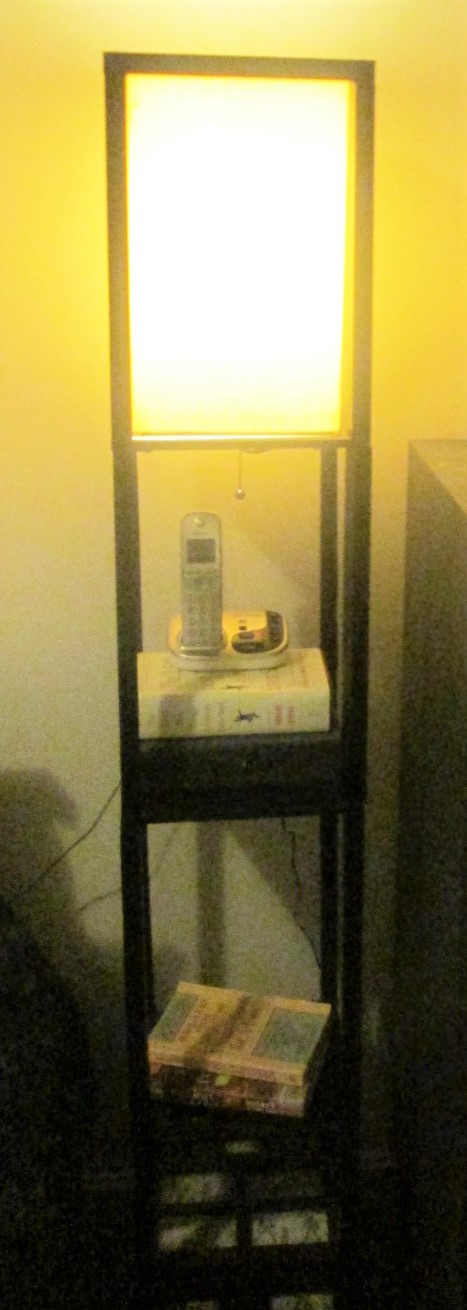


 Decorating tip: The Lighted Stacked Jack-O-Lanterns shown here is a cute display that is easy to create. You can make this for under $10.00. We had 3 pumpkins but needed a forth. We also needed a set of lights. We went to Target and bought the pumpkin for $1.00 and a set of lights for about $5.00. Start with four plastic pumpkins that are the same size. The ones here are 8 inches. Using a utility knife, cut the bottoms out of the 3 top pumpkins. The very bottom of these pumpkins are usually thicker plastic, so cut along the edge where it is thinner and easier to cut. Stack them together with the uncut one on the bottom and string lights through them from the top. Our’s shown are just stacked, but you may want to attach them together with duct tape in the back. The light shines through the plastic and gives the room a great glow!