It’s Halloween week and we’re adding last-minute decorations to our house – a little late, but festive, nonetheless. As Halloween approaches, we share easy ideas for our lollipop ghosts, creepy pins, and tasty treats. Also, check out photos of our decorations, a garden update and of course, the bears!
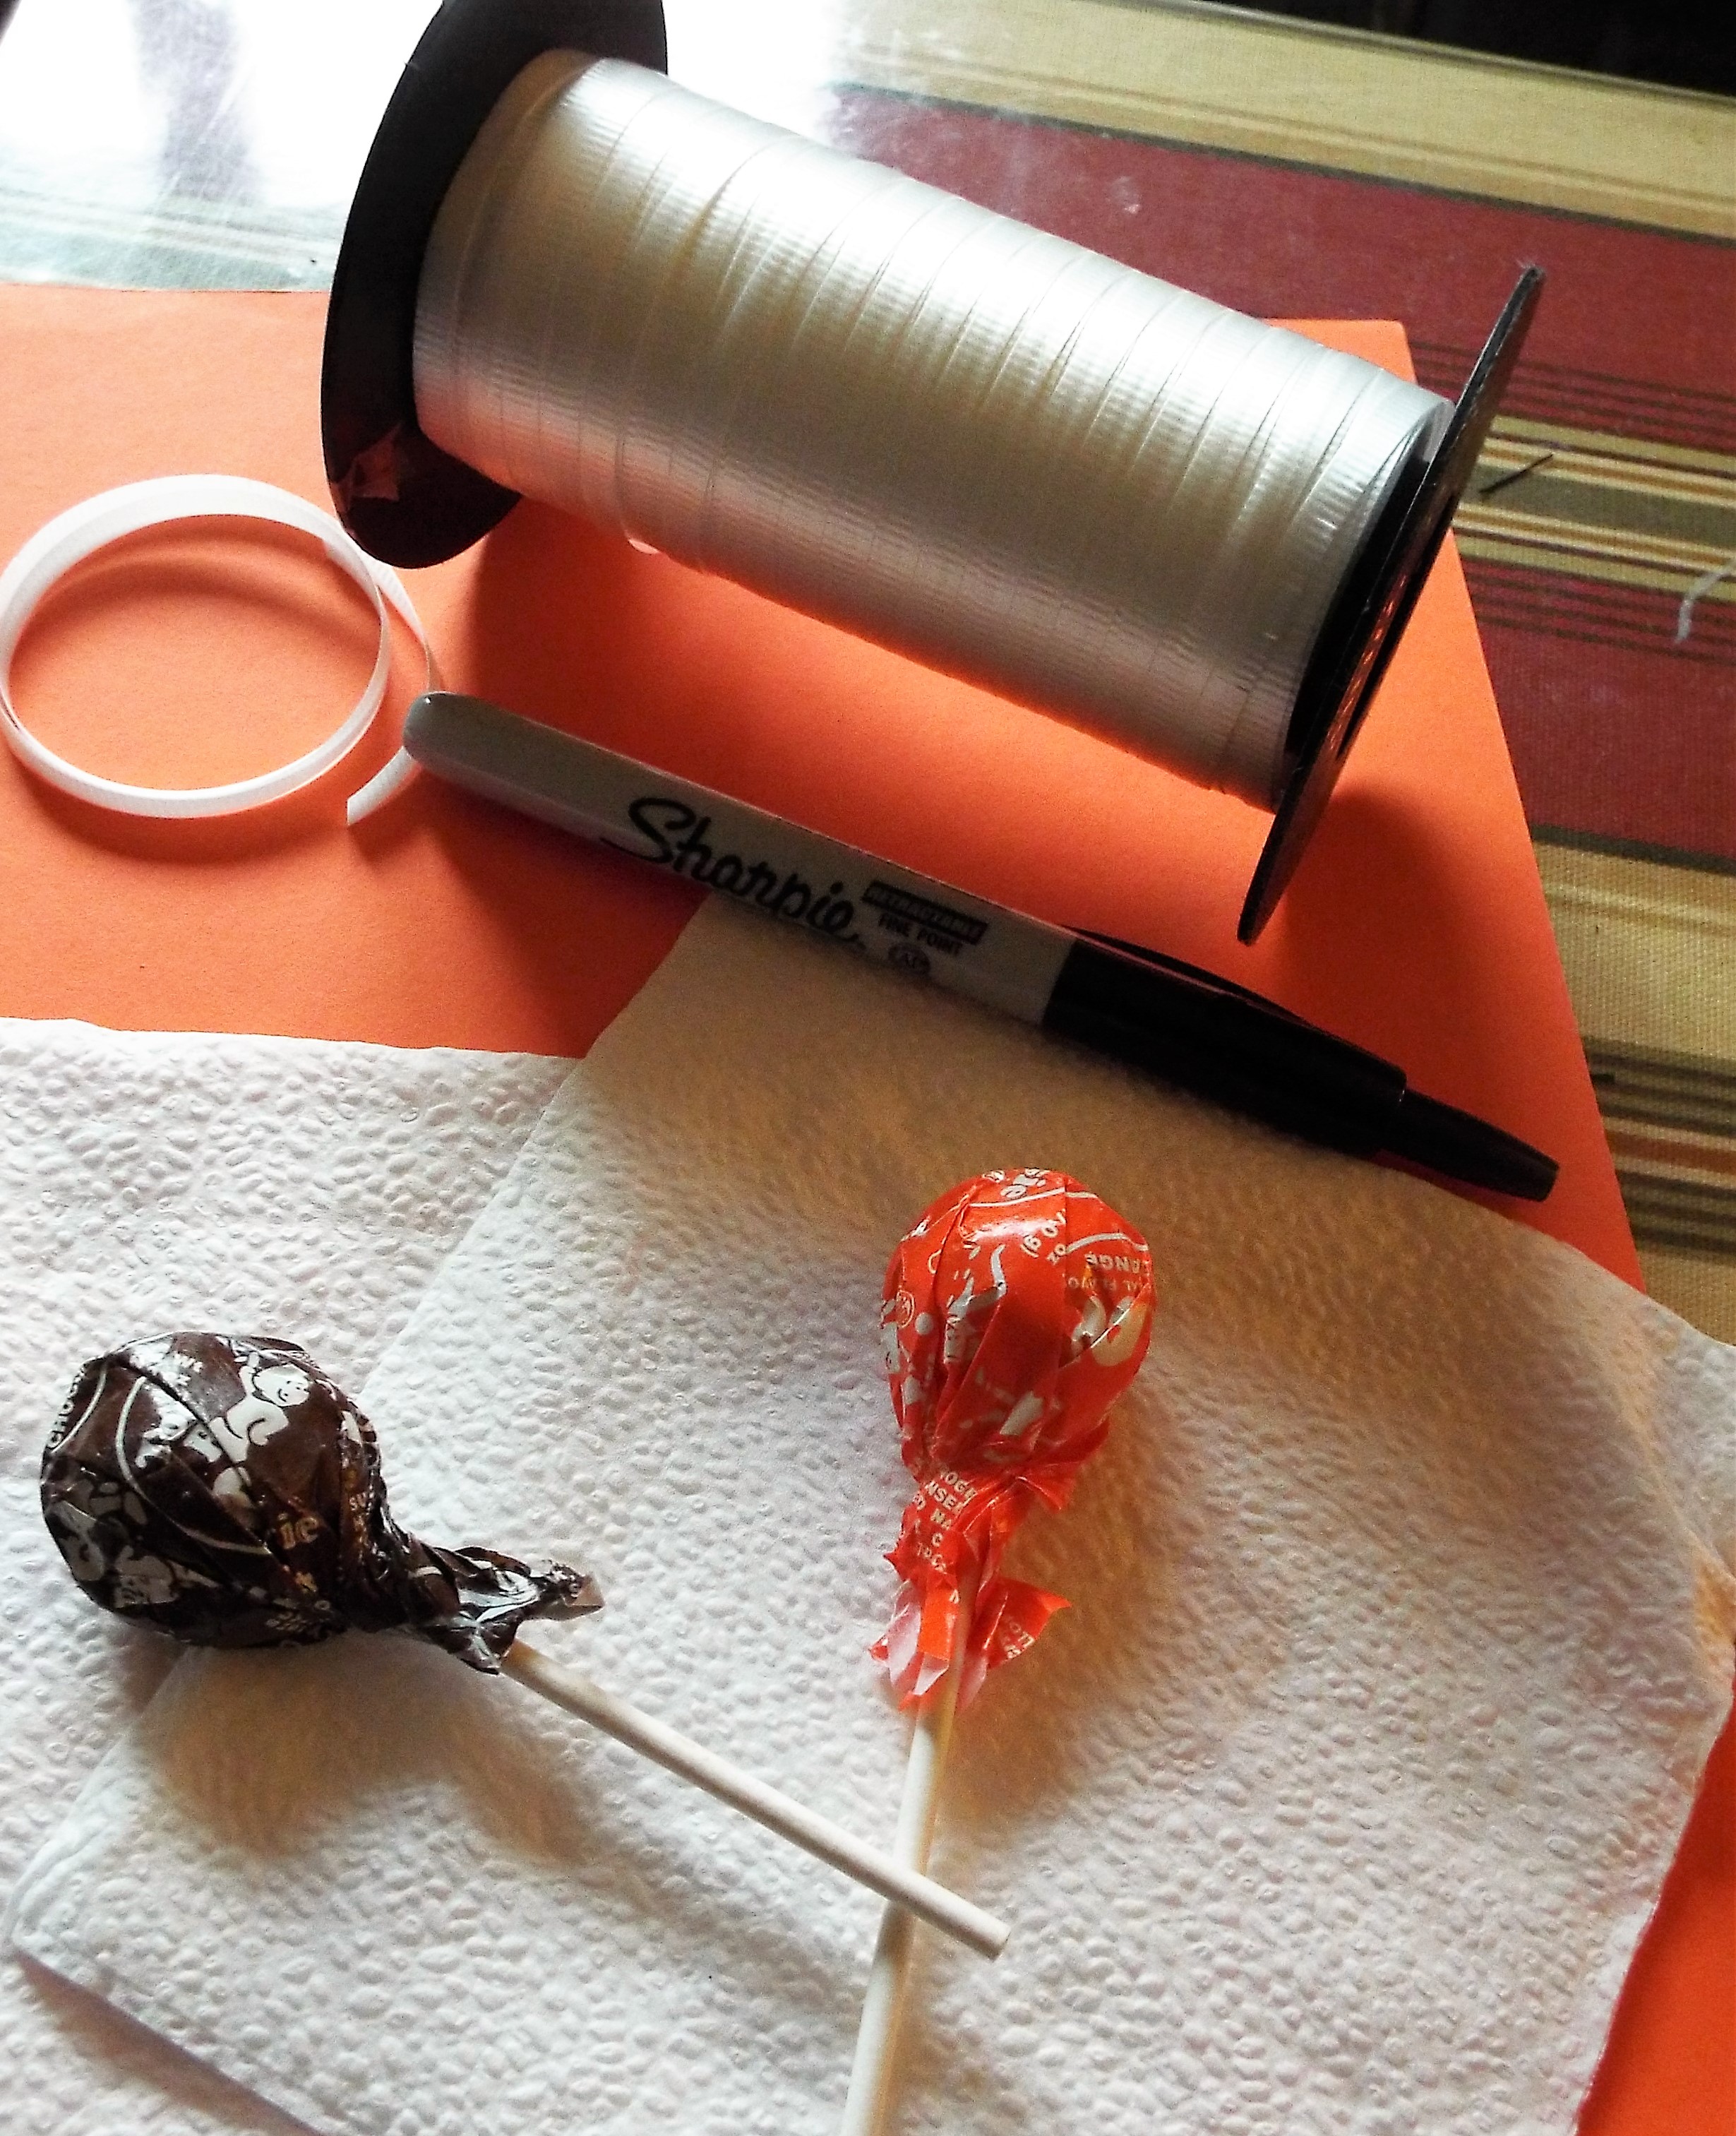
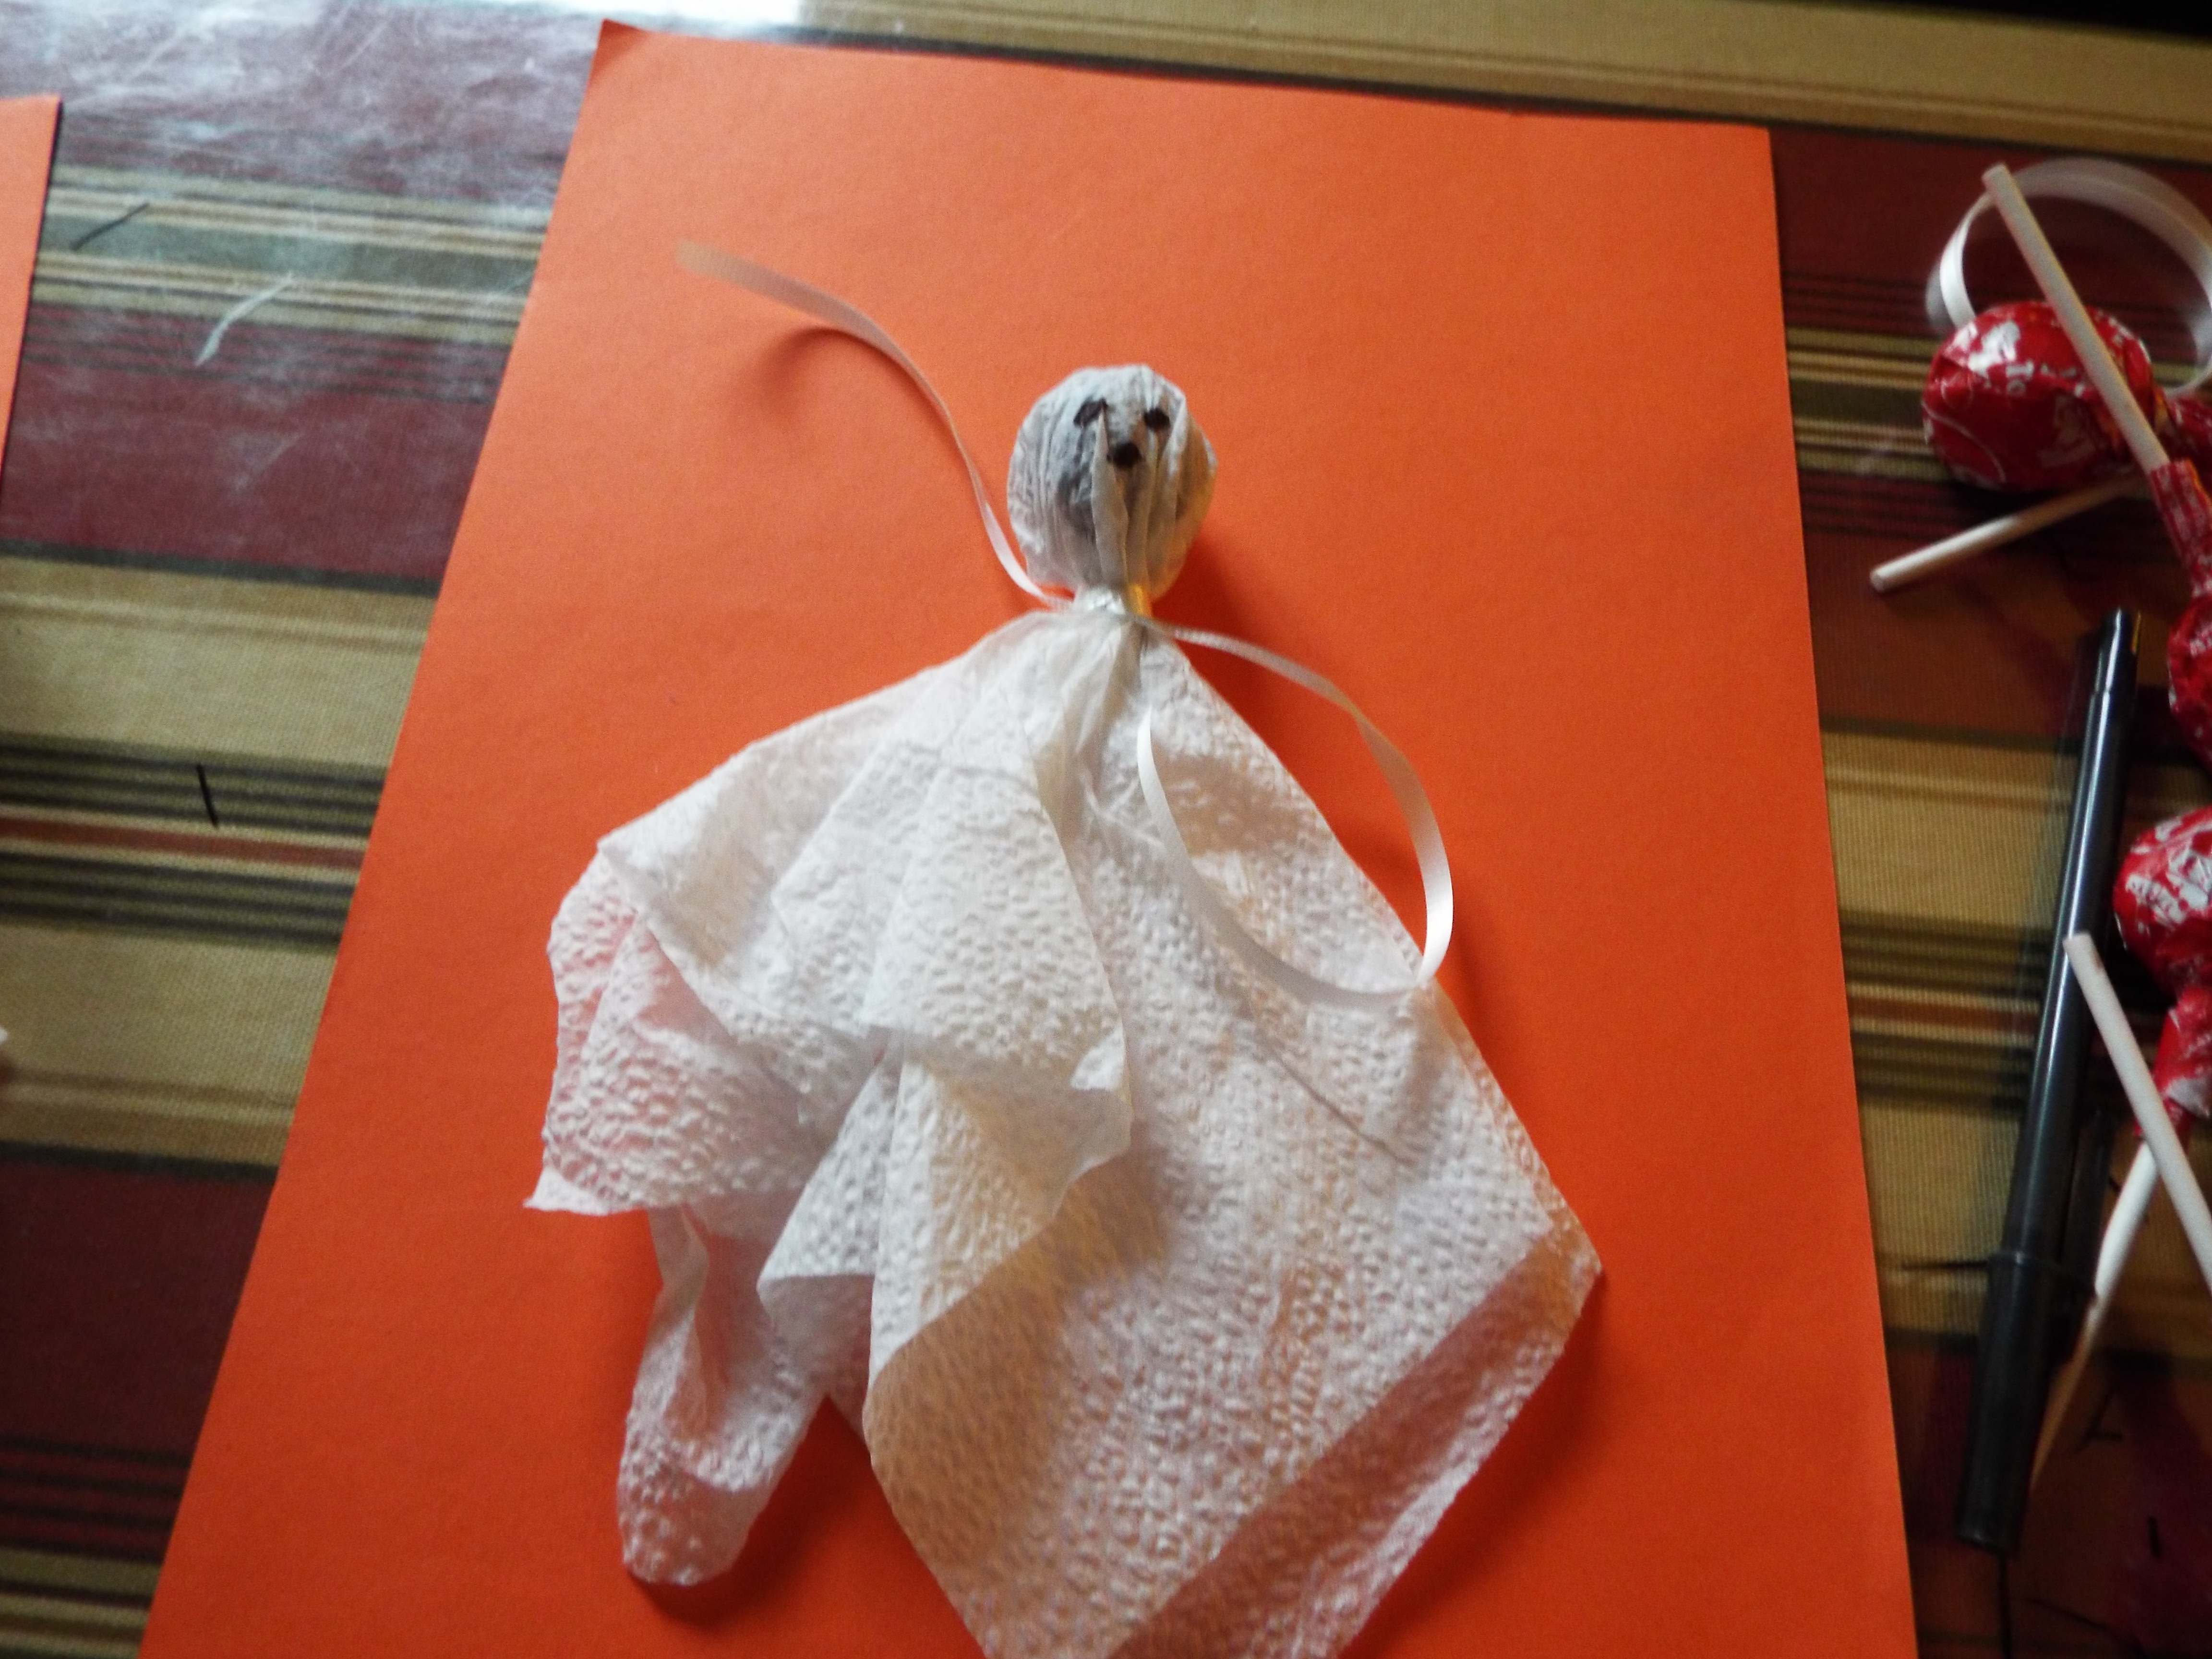
LOLLIPOP GHOSTS

These lollipop ghosts are fun and fast. Simply wrap a napkin around a lollipop, tie with a ribbon and add a face with a marker. Fun favors that kids love!

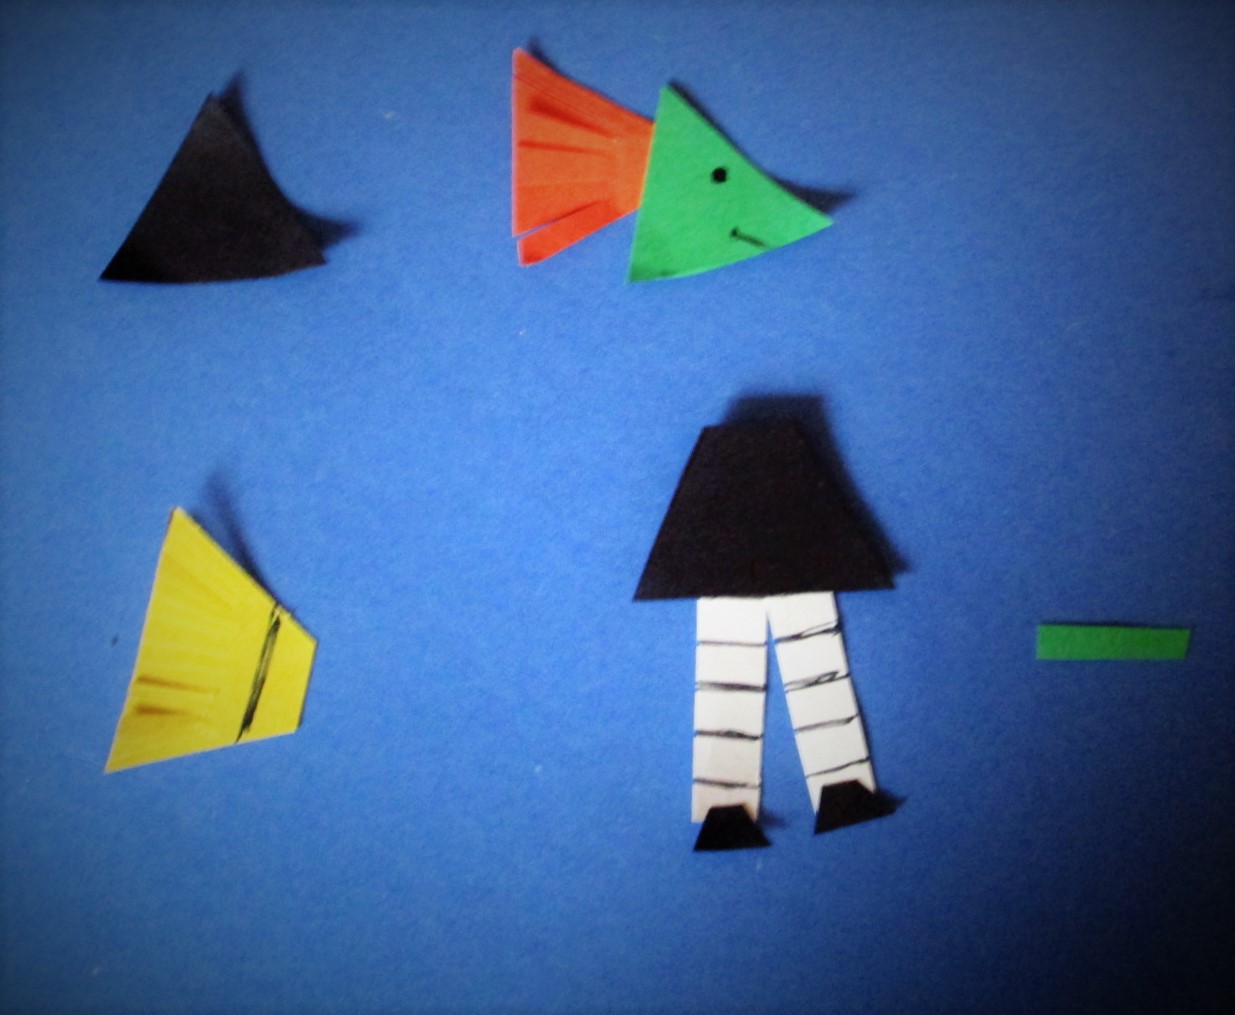
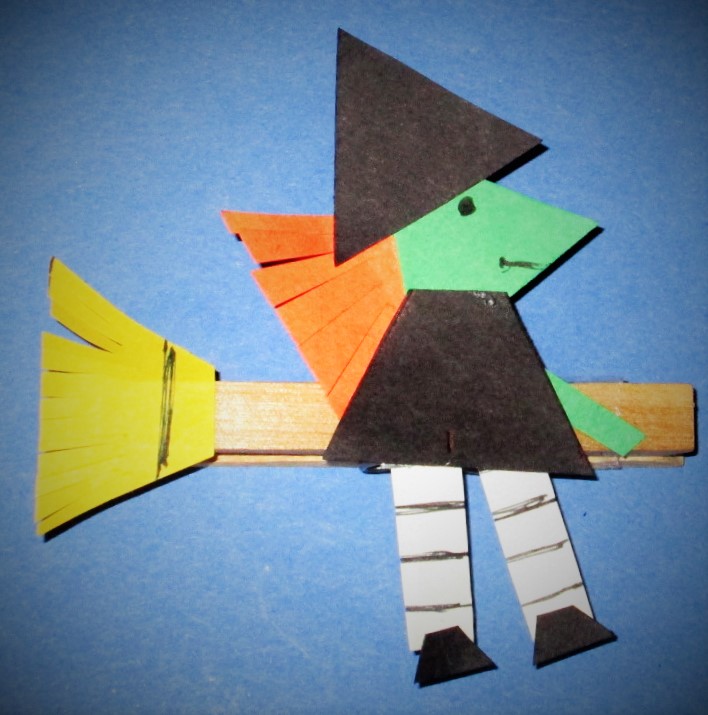
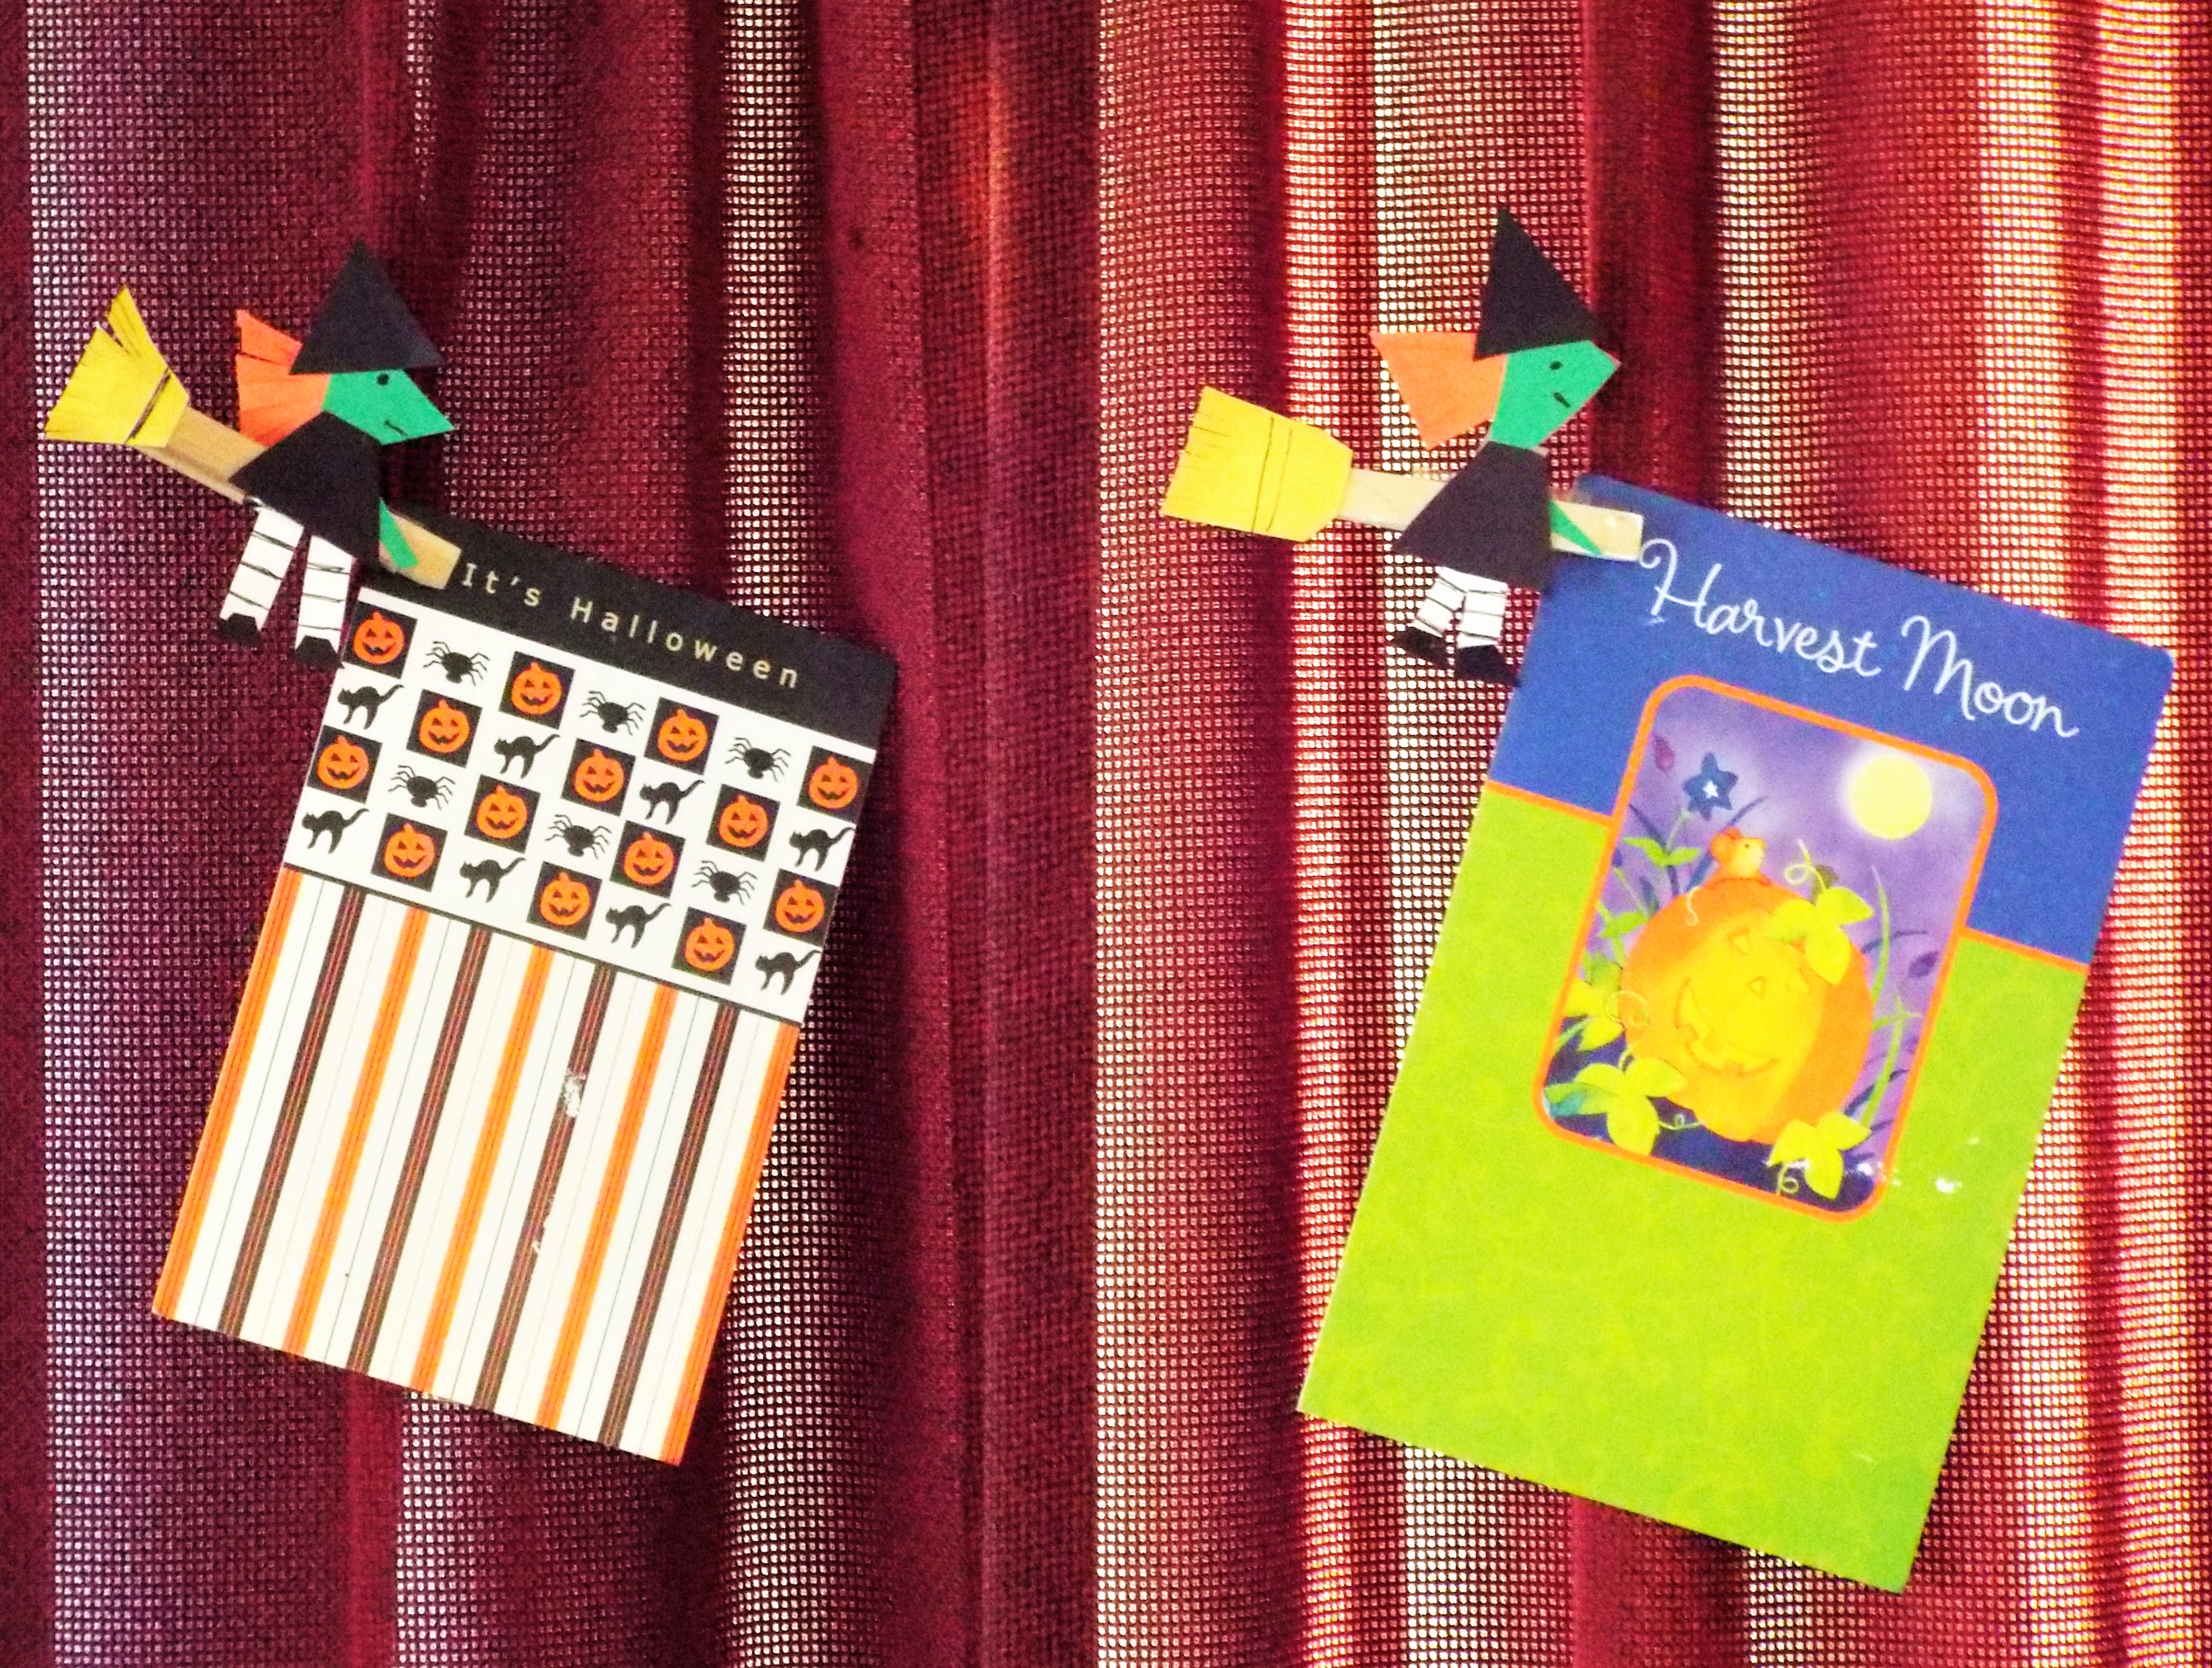
EASY PINS
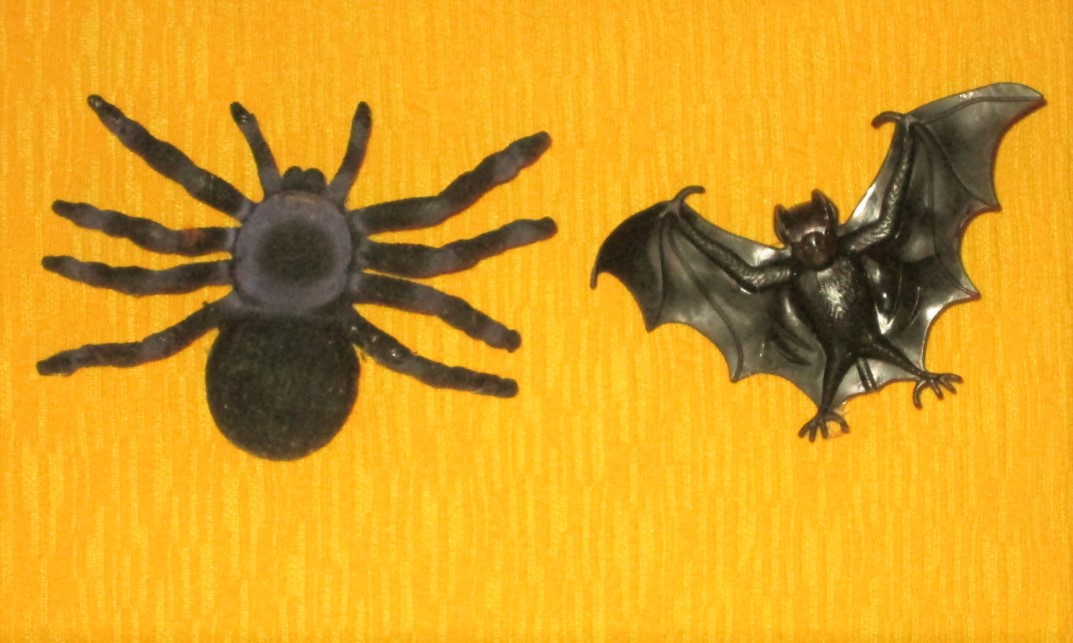
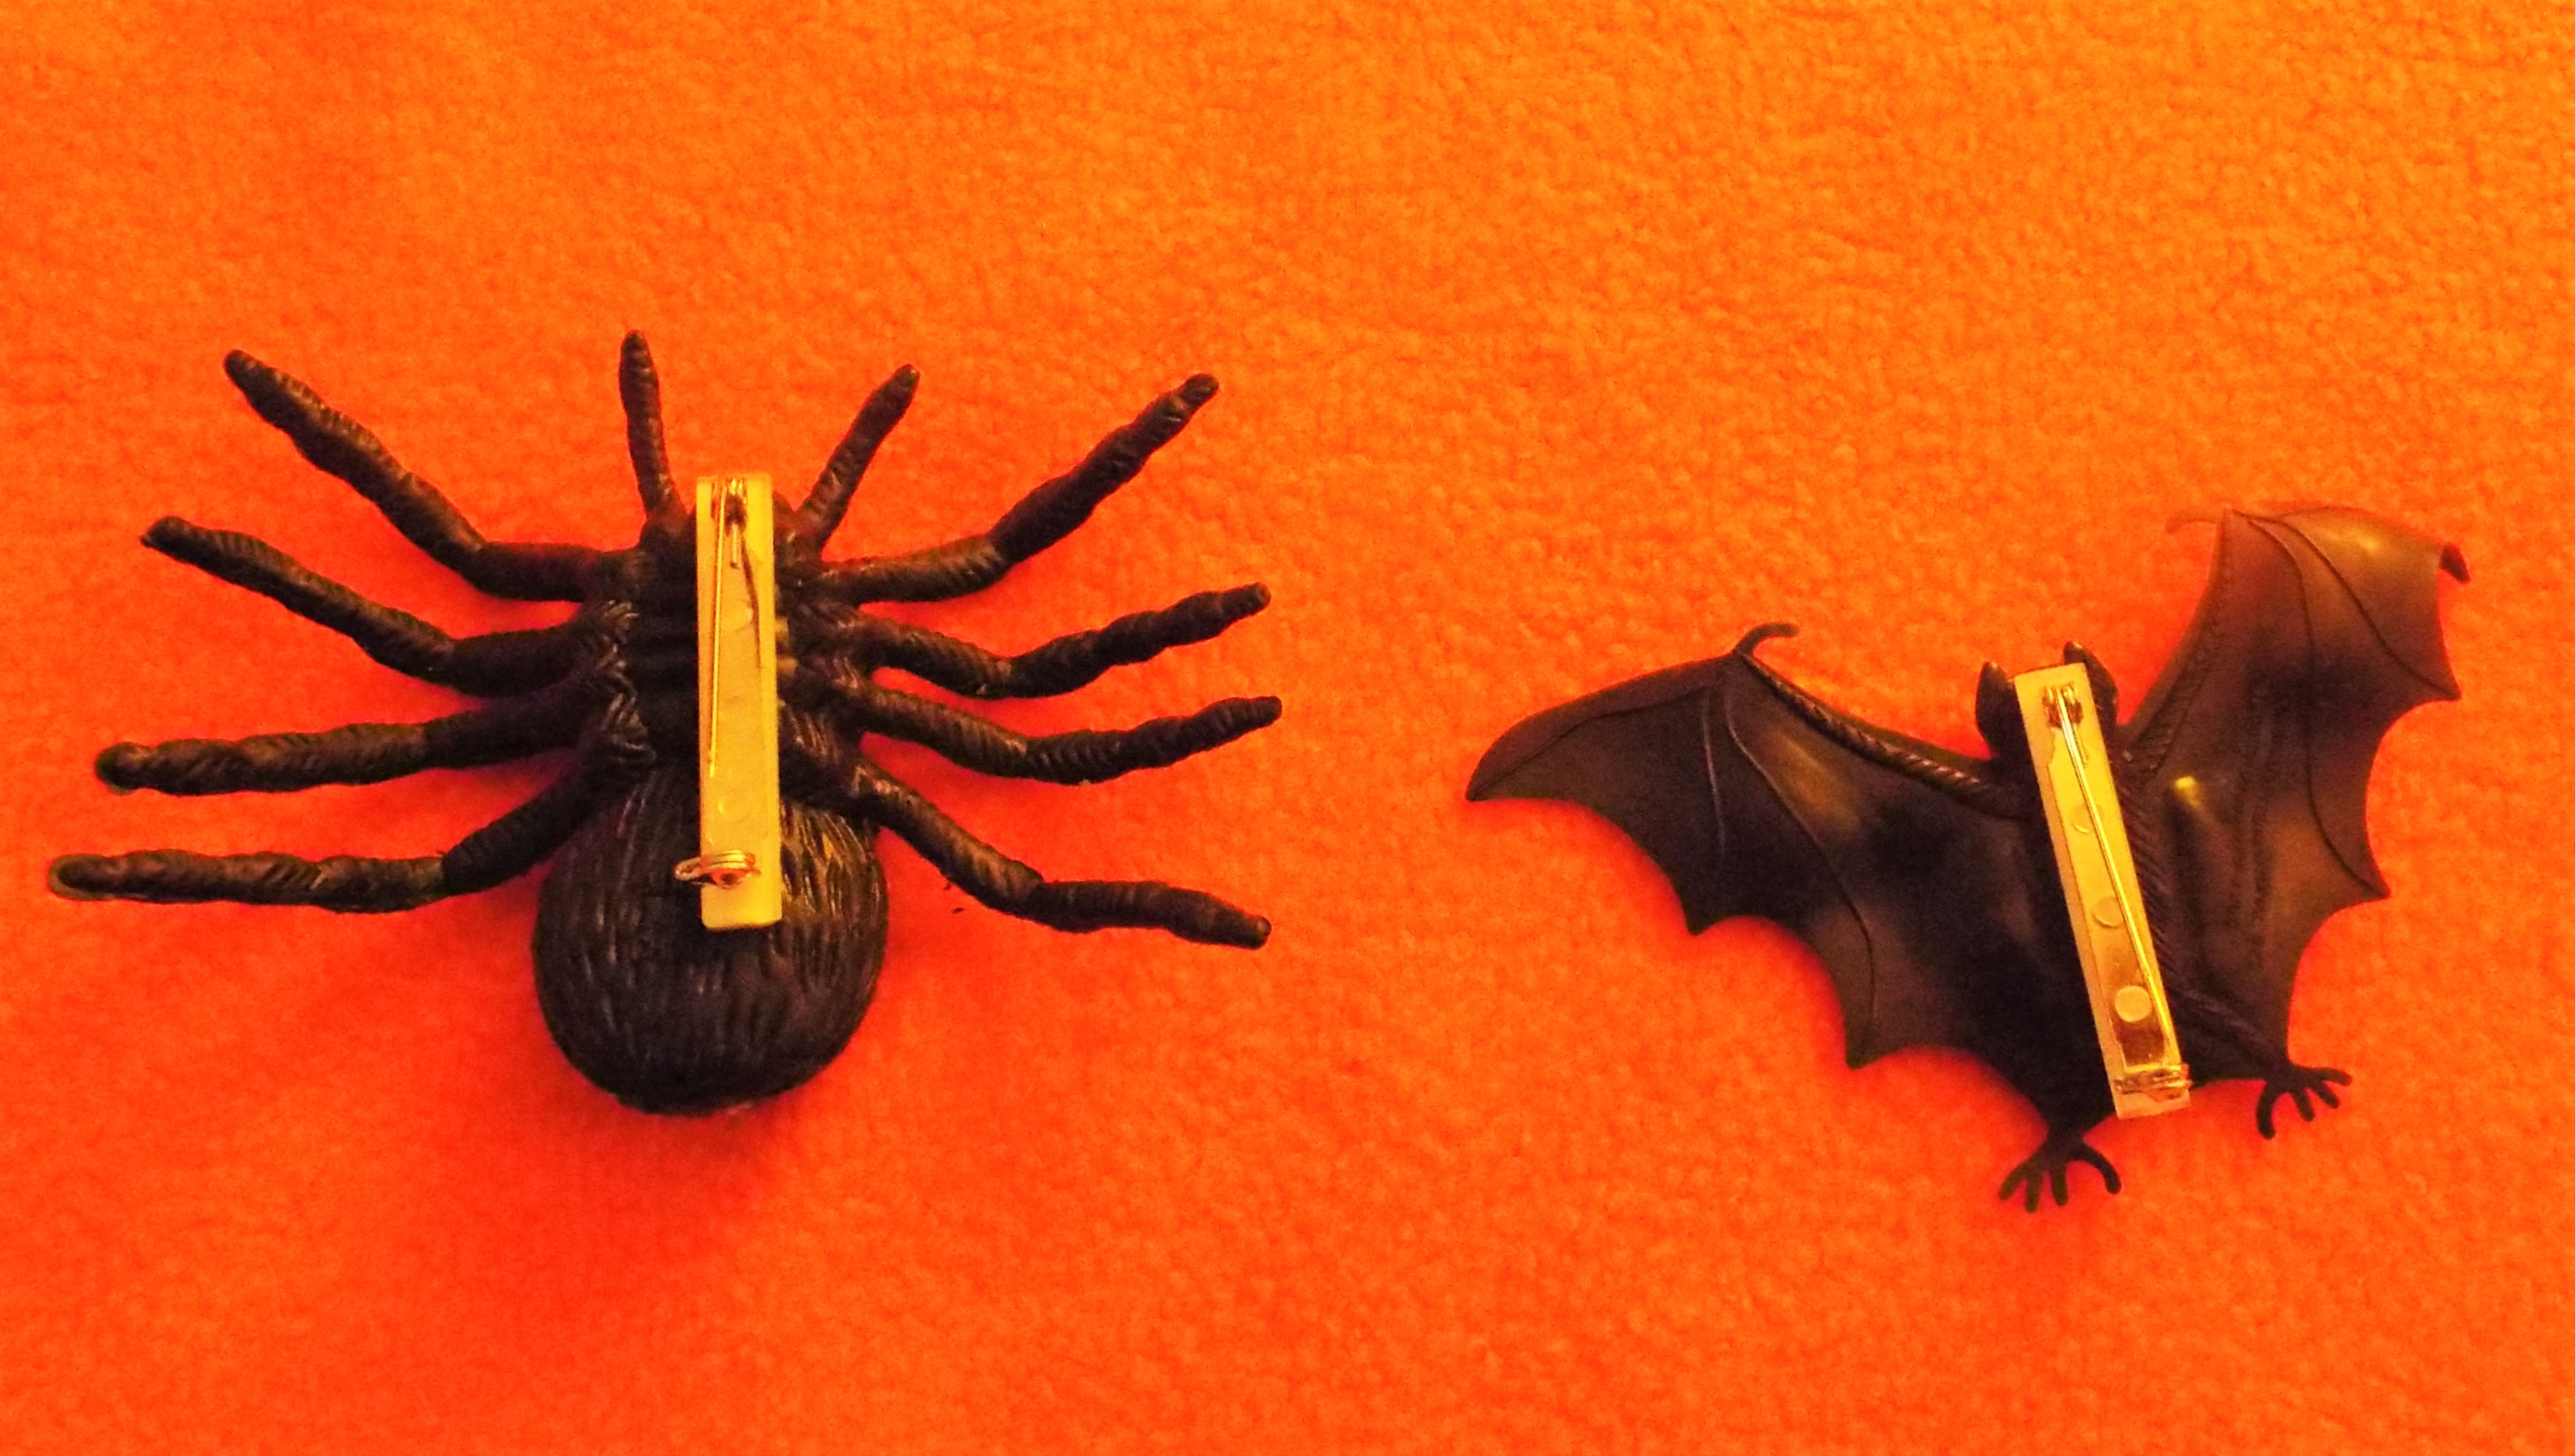
From the craft store, we bought 1.5-inch bar pins which have adhesive strips built-in. The pins were secured to the back of these small, plastic decorations for instant, creepy fun! Use flat-backed items for best adhesion. Note: The spider was a little heavy for the pin to support. A little hot glue solved this problem!
The pins pictured above were attached to a piece of cloth for display purposes, but they look great on a jacket or sweater. Crank up the creepy factor – add a little glitter or glow-in-the dark paint to your pin.

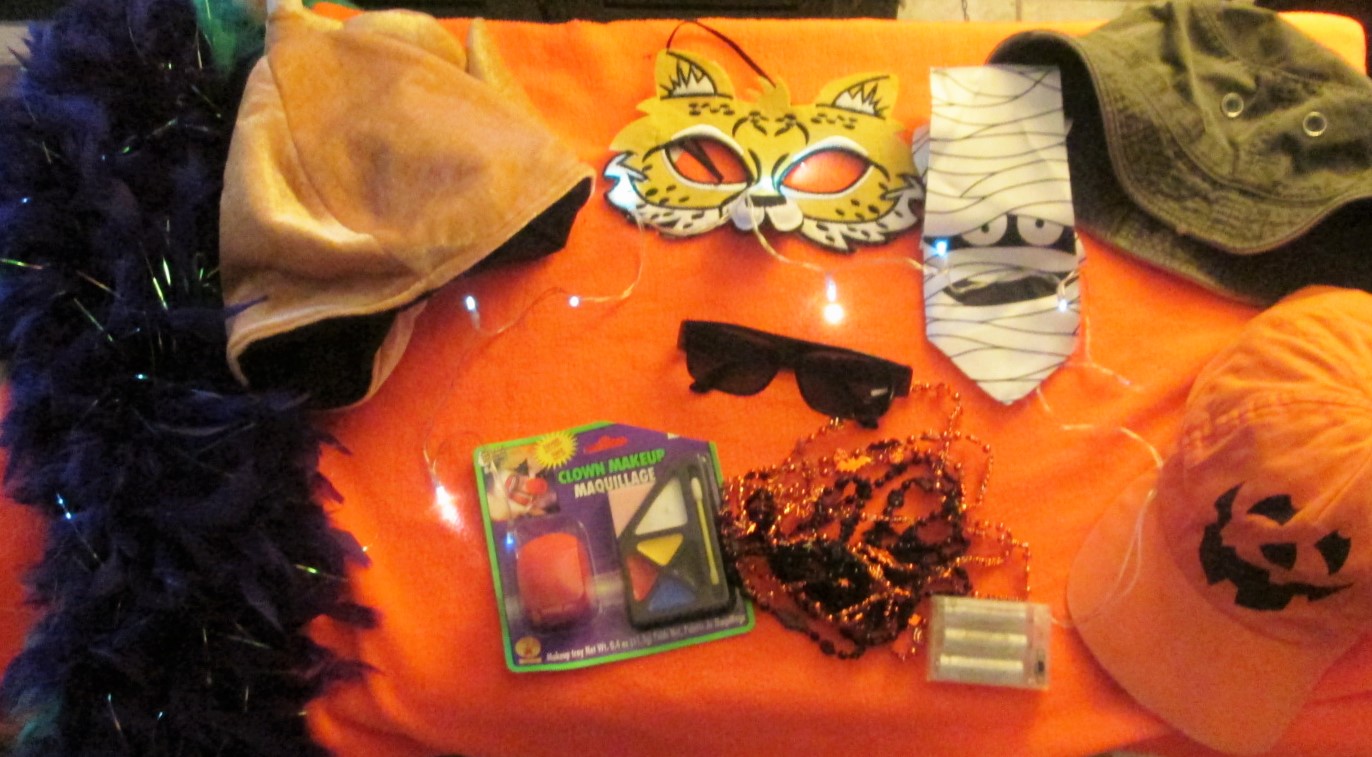
PORTABLE COSTUMES
We often take a cab to Halloween celebrations. One concern is – do we really want to ride in a cab wearing full costumes? When the answer is “no”, we opt for “portable costumes”.
Portable costumes are festive, wearable items that can be tucked into a pocket, purse or backpack, then easily put on before you make your grand entrance!
Some examples are:
- Silly hats (note our turkey hat – upper left)
- Campy glasses
- Halloween ties
- Boas
- Clown nose and makeup kit. (Apply makeup when you get there!)
- Foldable character masks
- Plain masks with embellishments. (We glued bats and spiders to inexpensive masks.)
- Lights: Battery operated lights can add a lot of pizzazz to any outfit!

HALLOWEEN CARD DECOR
Holiday cards received over the years make great decorations, and hanging cards each holiday is one of our favorite traditions. We enjoy reading them and thinking of the family and friends, both here and gone, who sent them. Some of our favorite saved cards surround a Halloween wreath (see last week’s blog for wreath instructions).
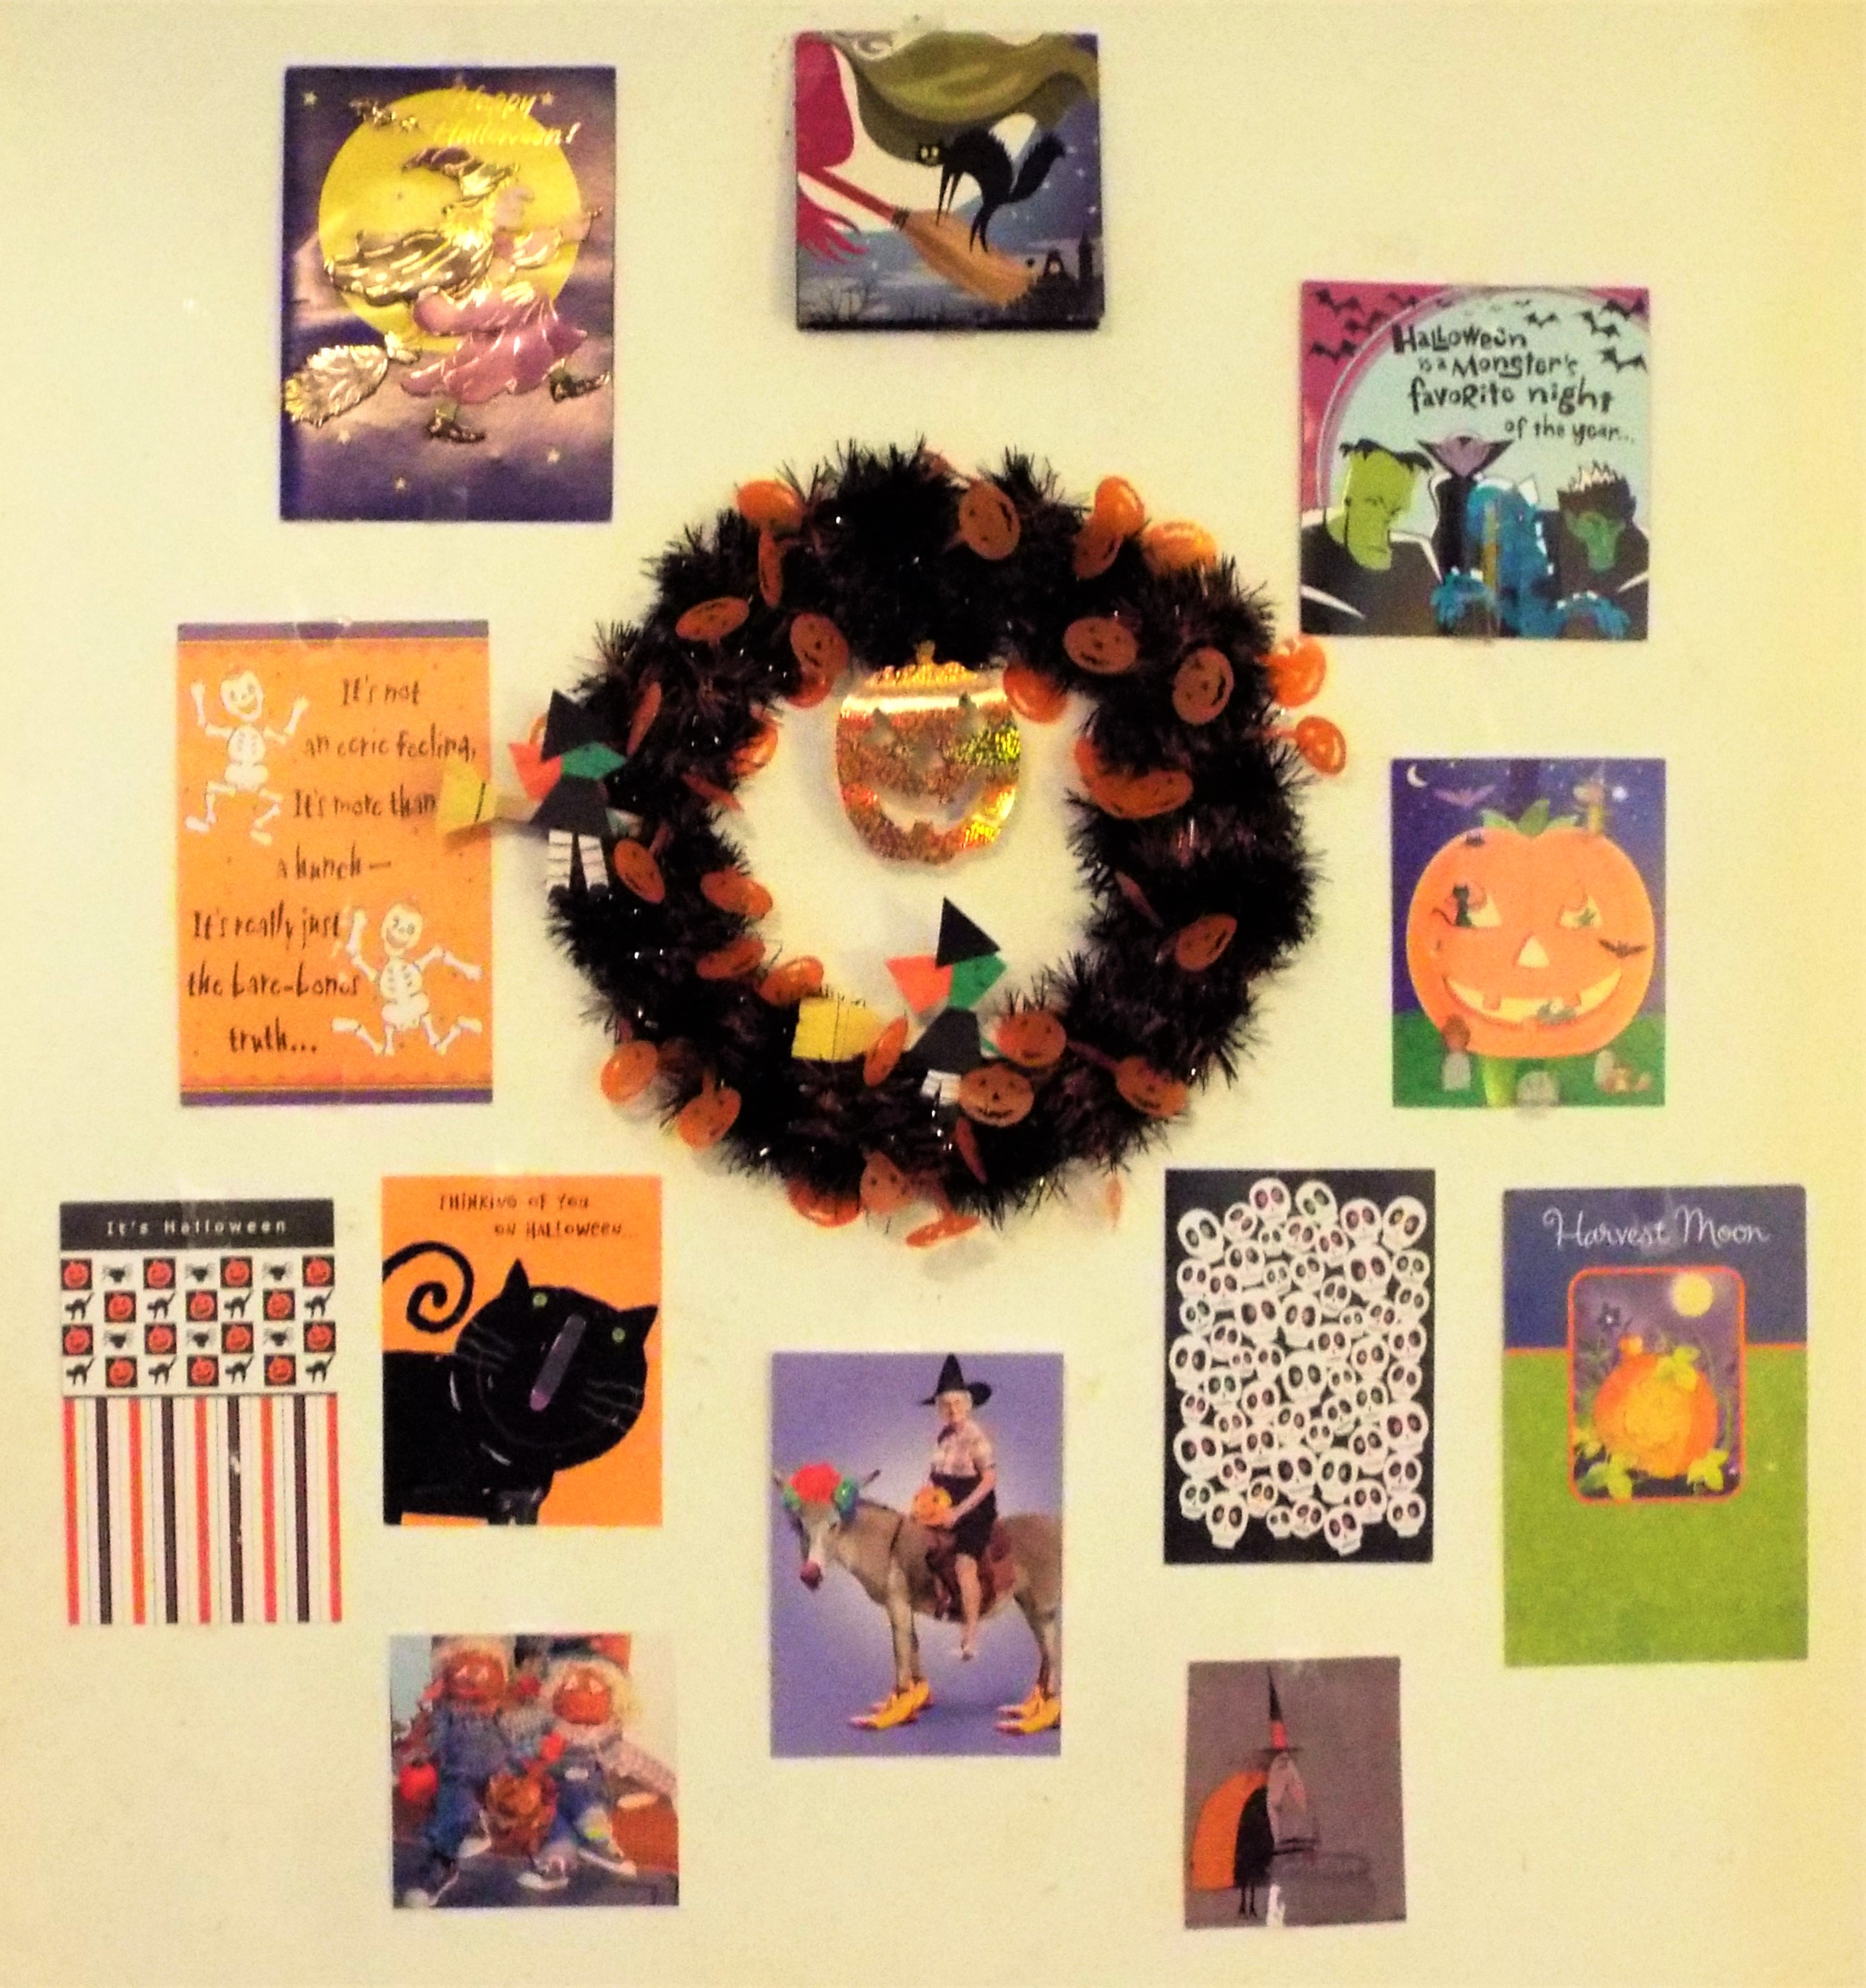
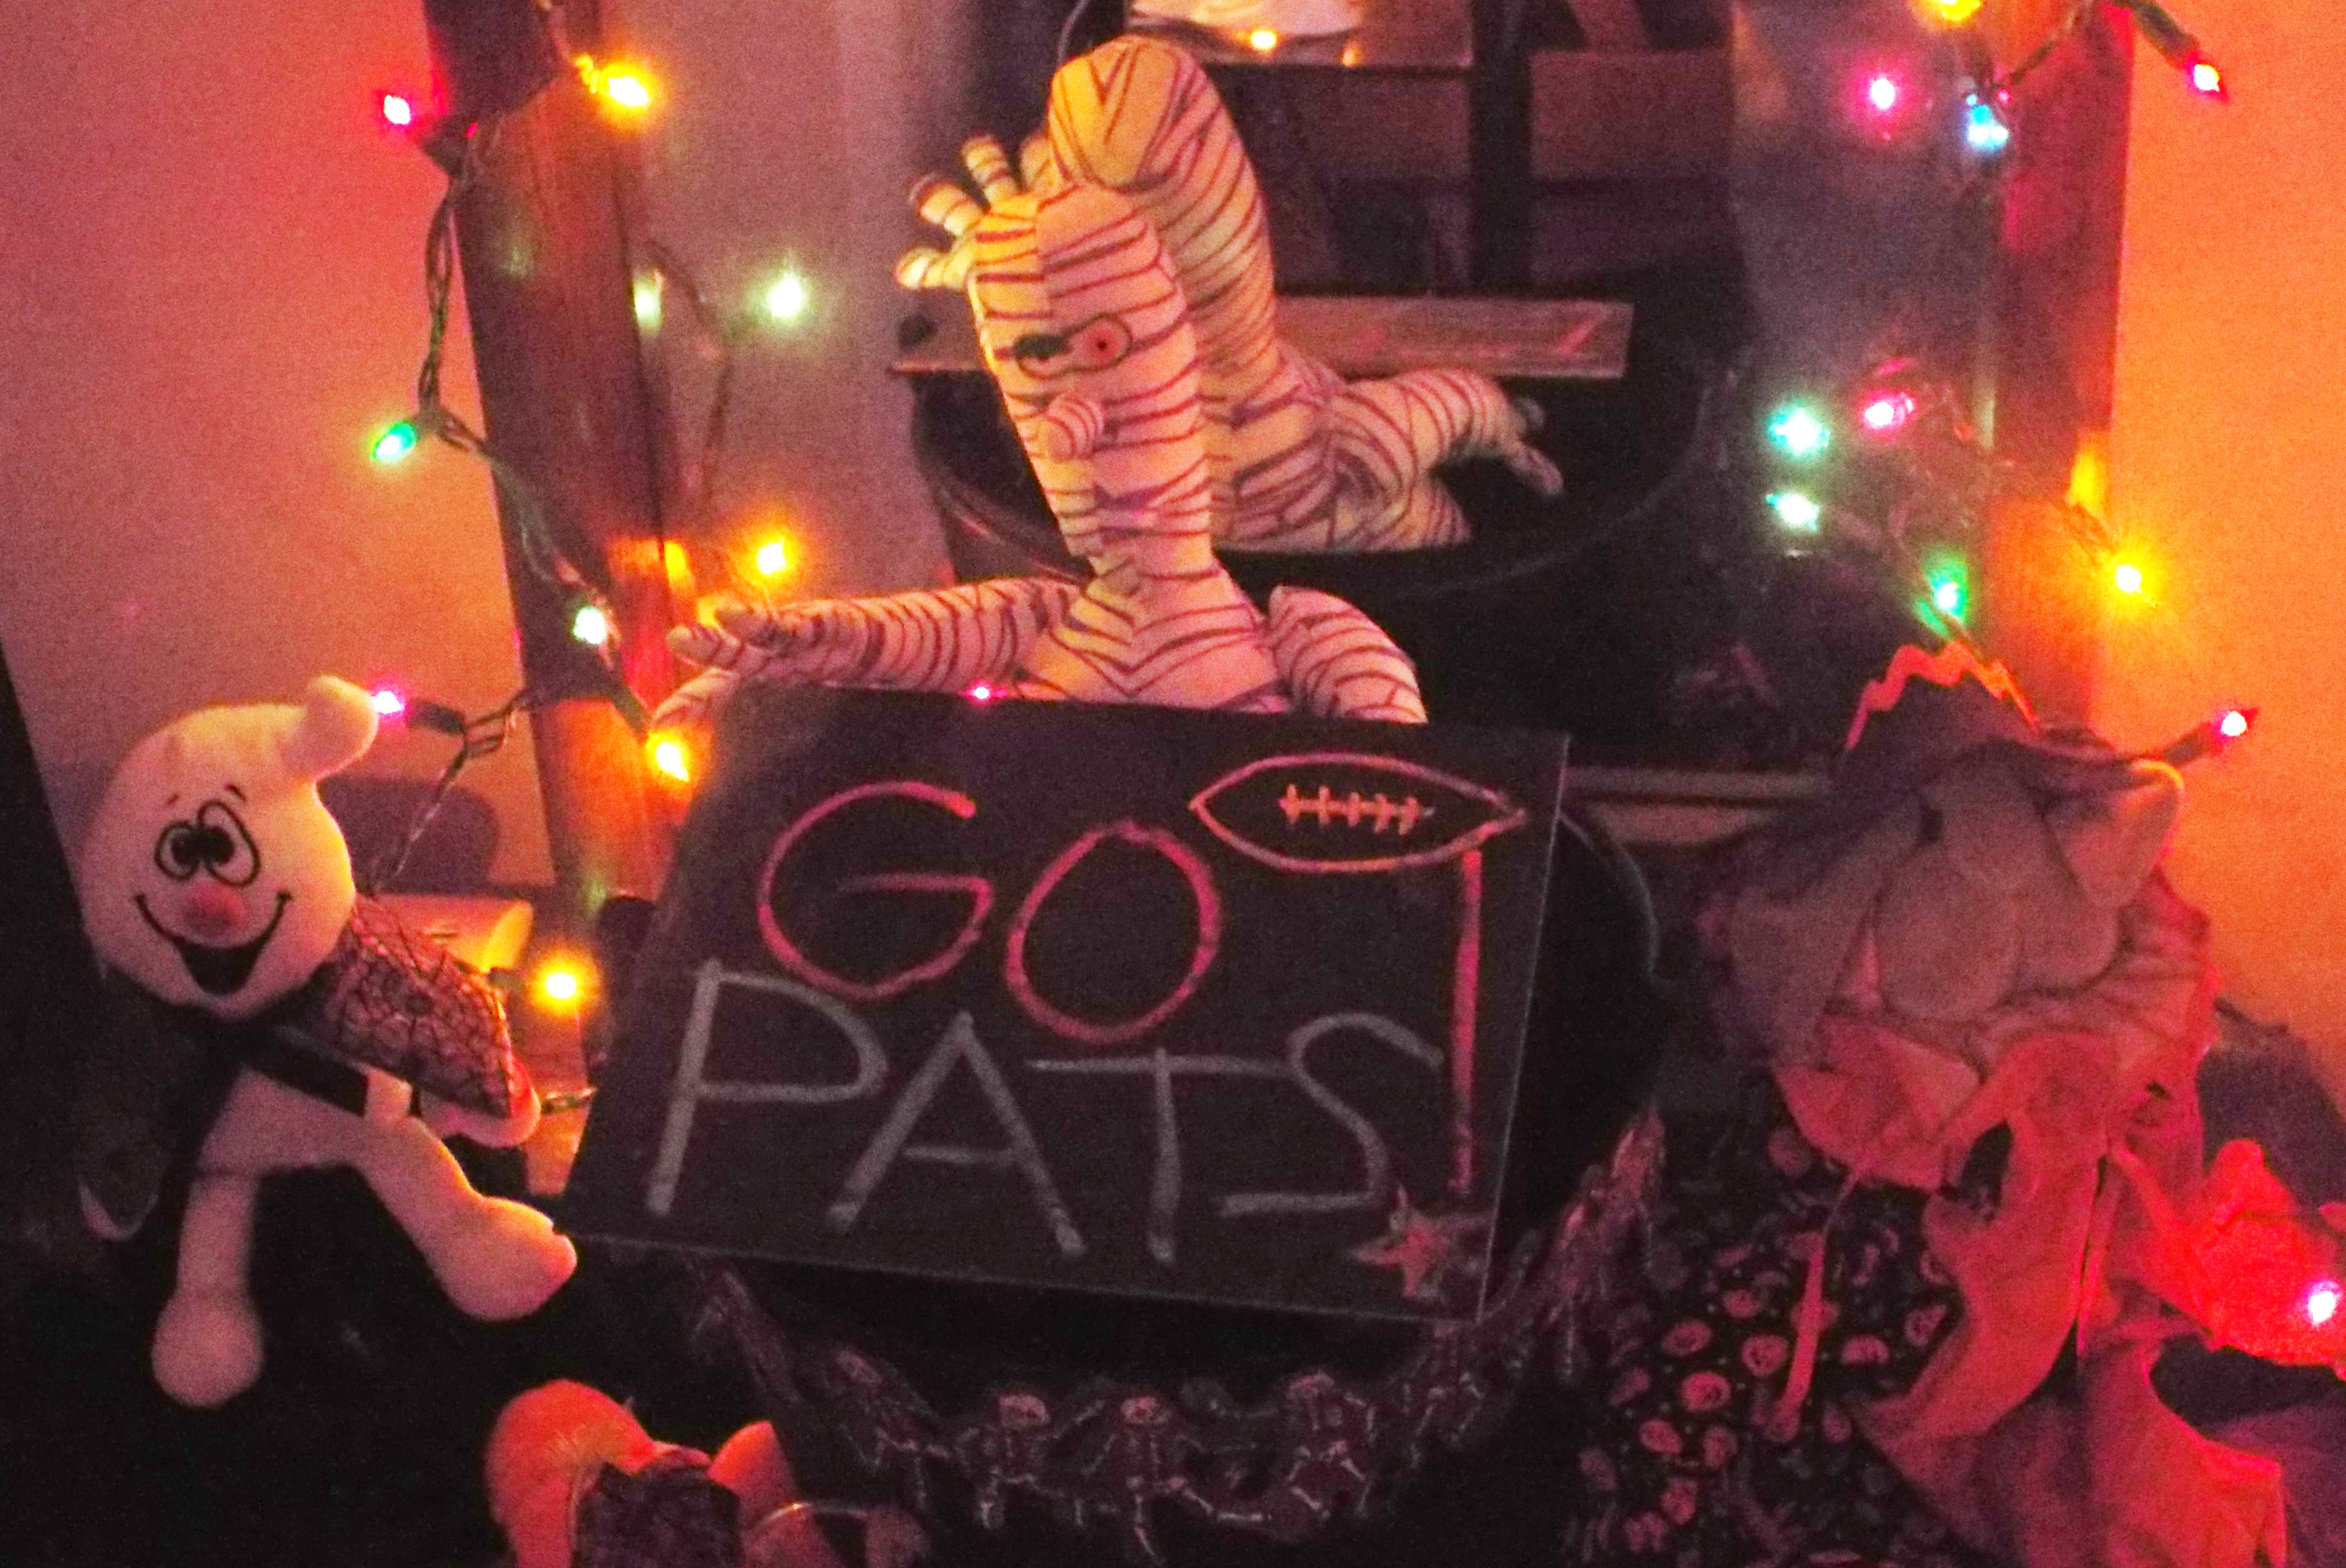
Here’s a small sample of our Halloween decorations.

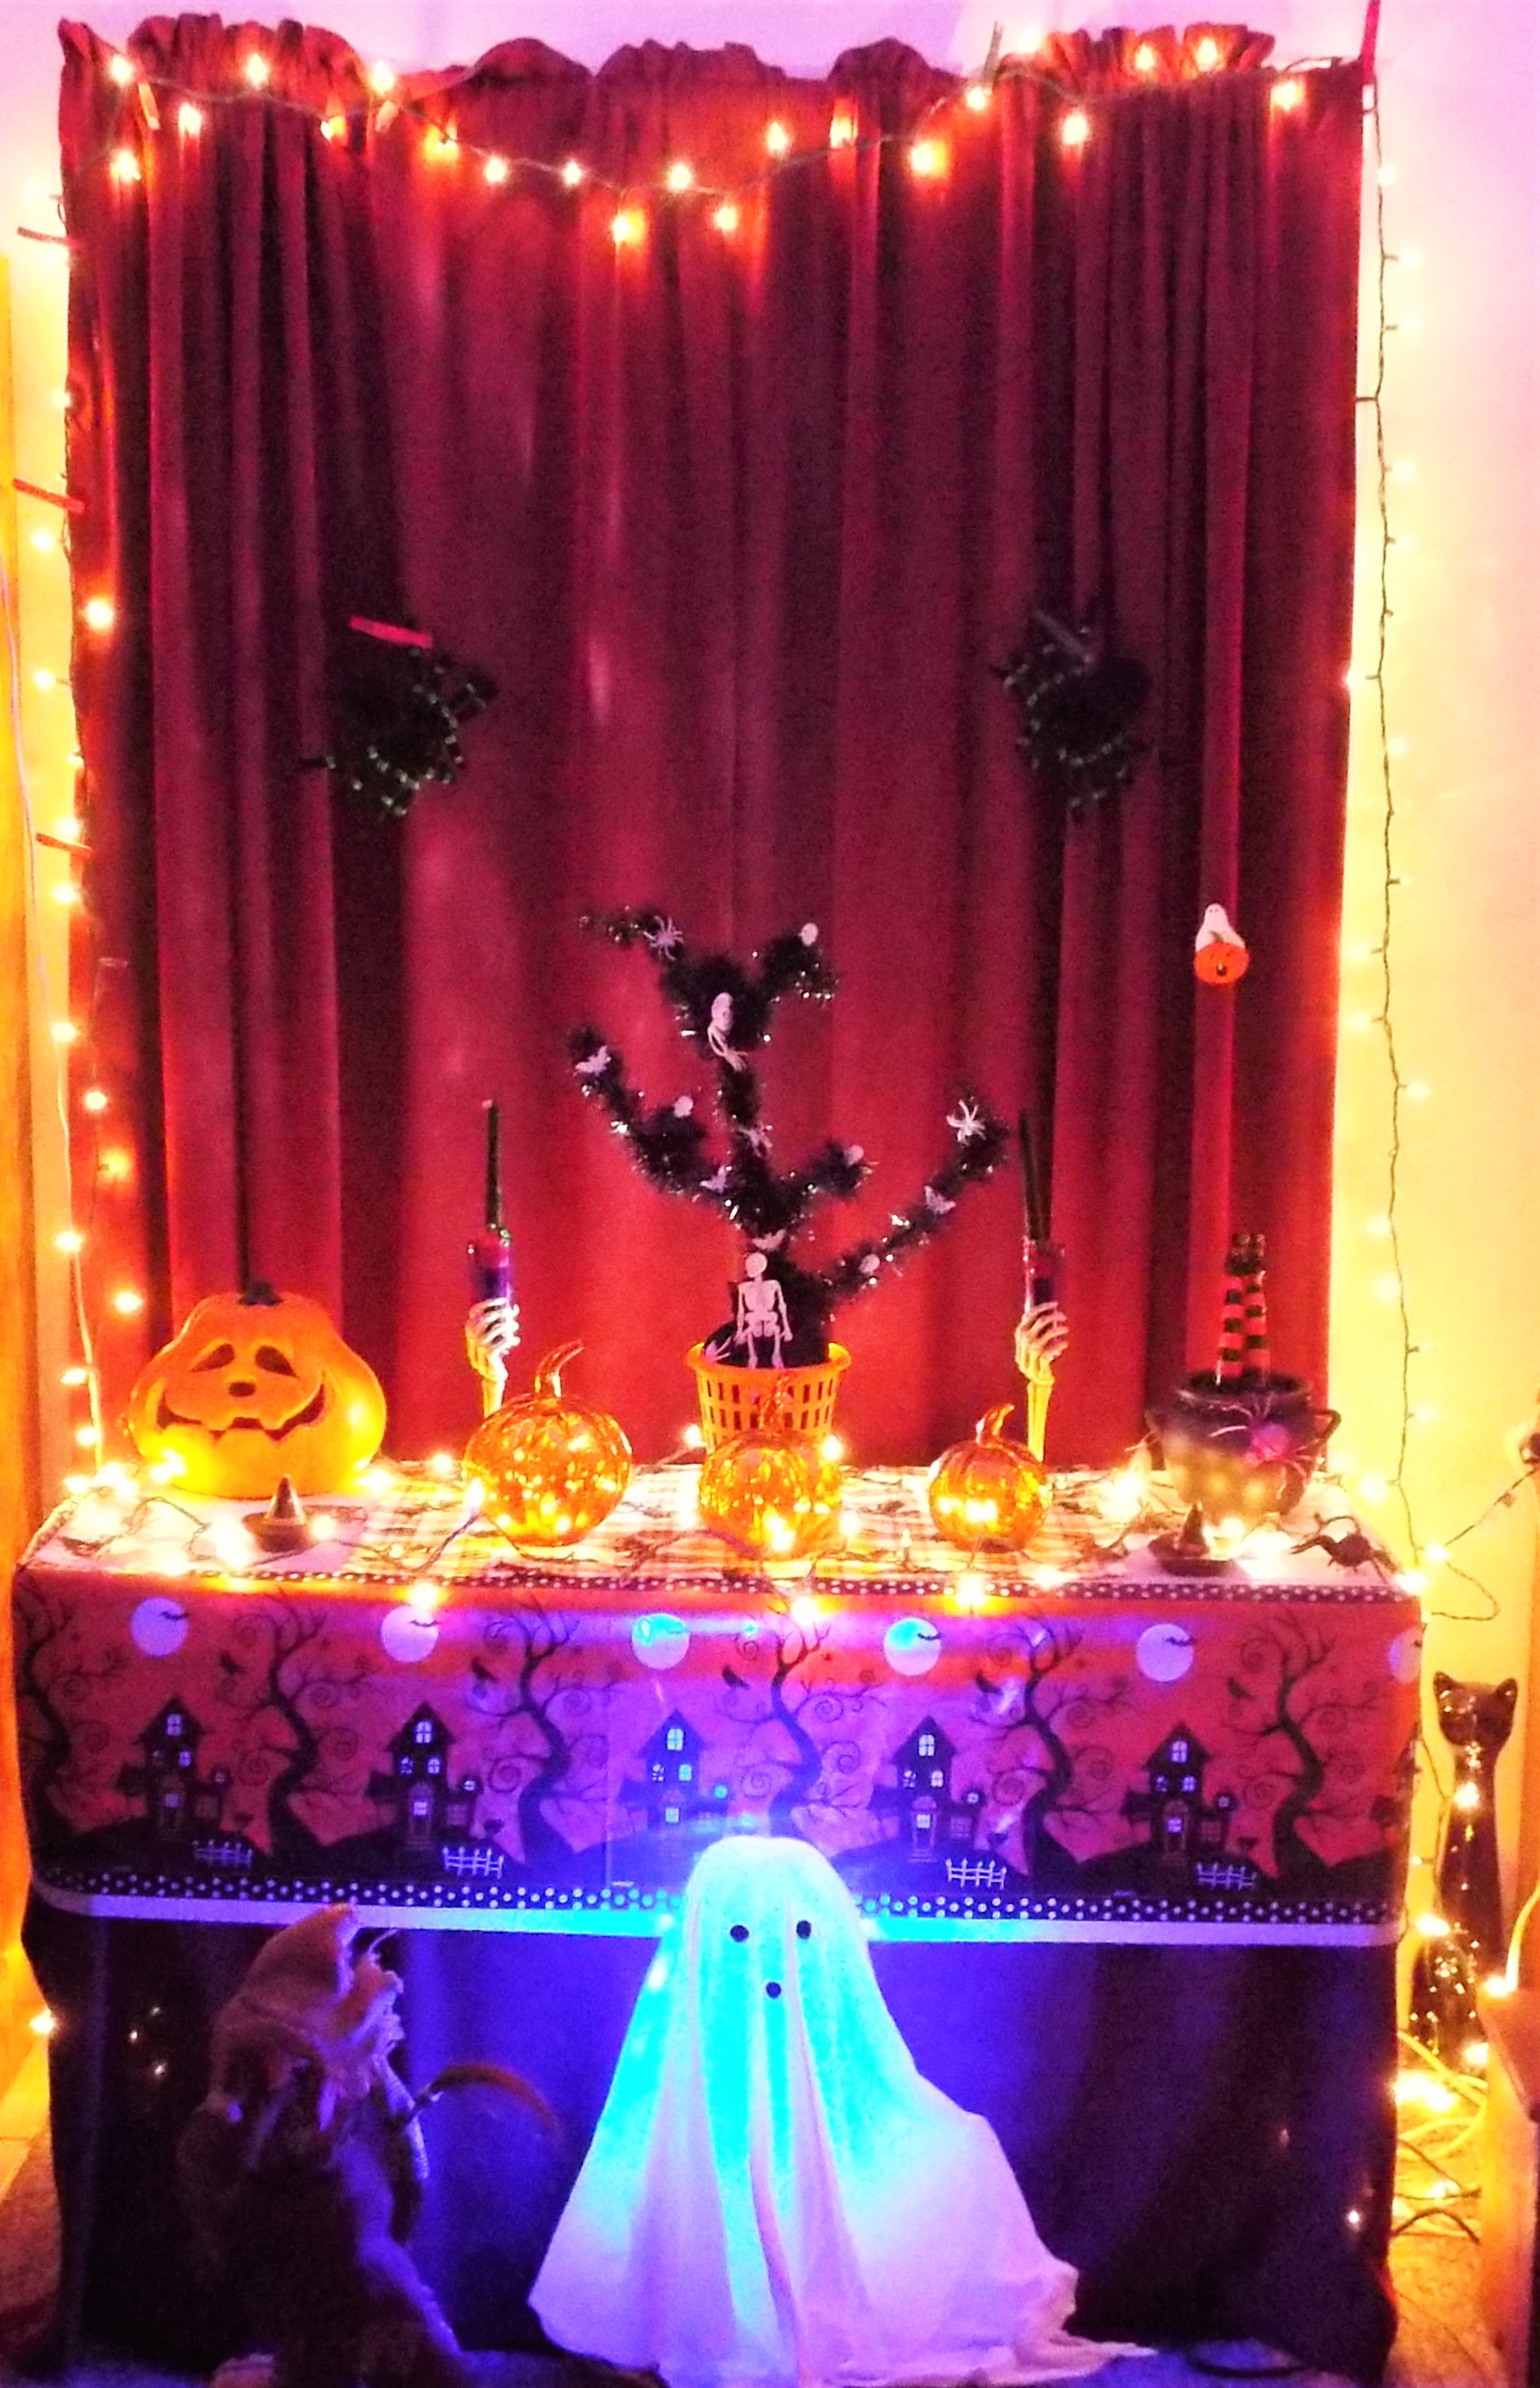

Earlier this year, we bought inexpensive projection lights from QVC. These lights create great effects, including the witches’ shadow on the ceiling, and the creepy glow to our hand-made ghost.
We made the ghost (shown above, left) more than 10 years ago. Here is a version you can make. Our ghost has easy-to-attach felt instead of the googly eyes mentioned in the link. Boo!
BE SAFE!!!
This link has some good ideas about Halloween safety. Have fun! Be careful!
http://www.cdc.gov/family/halloween/
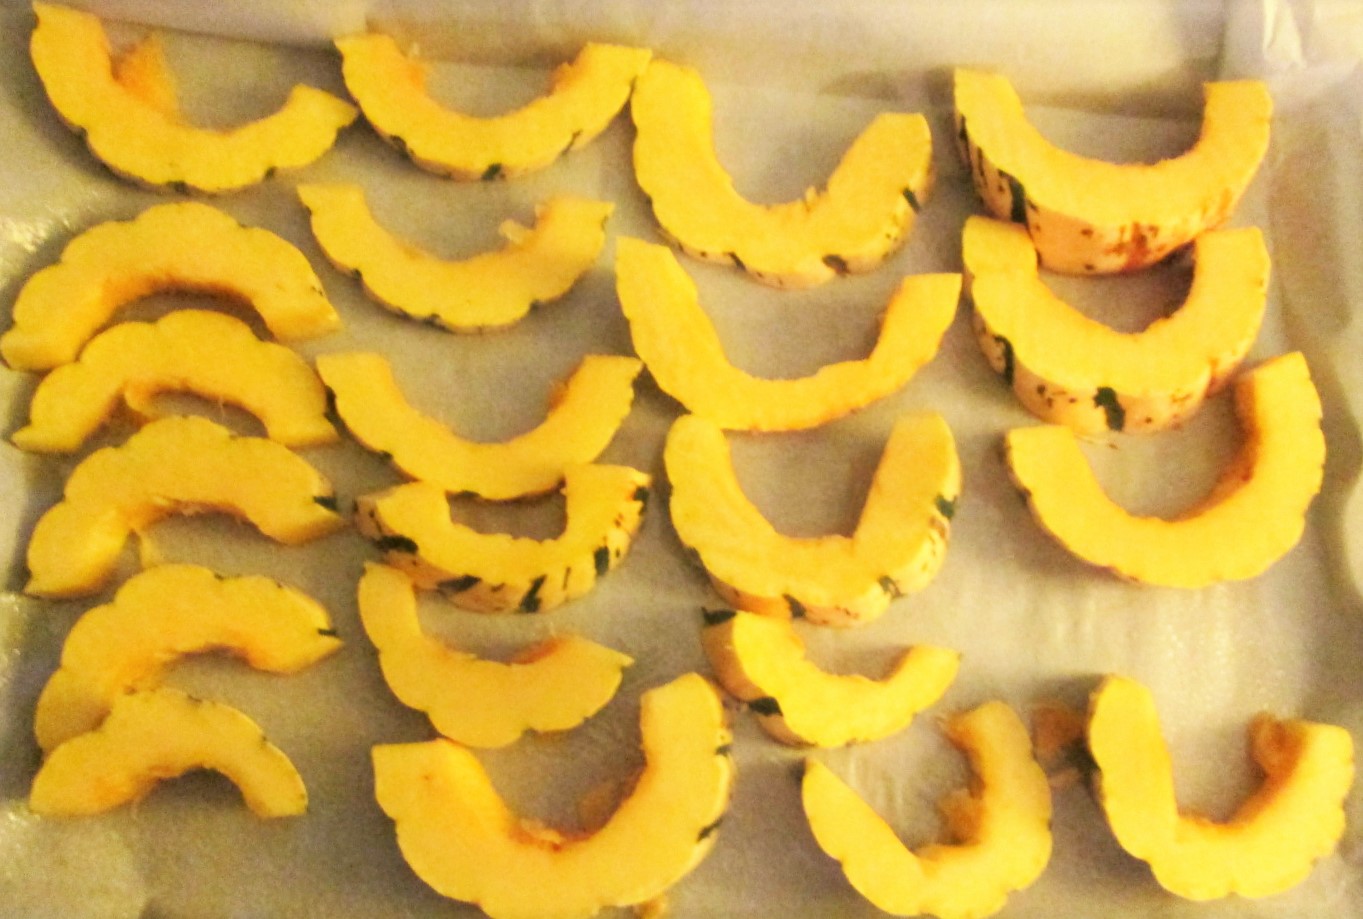
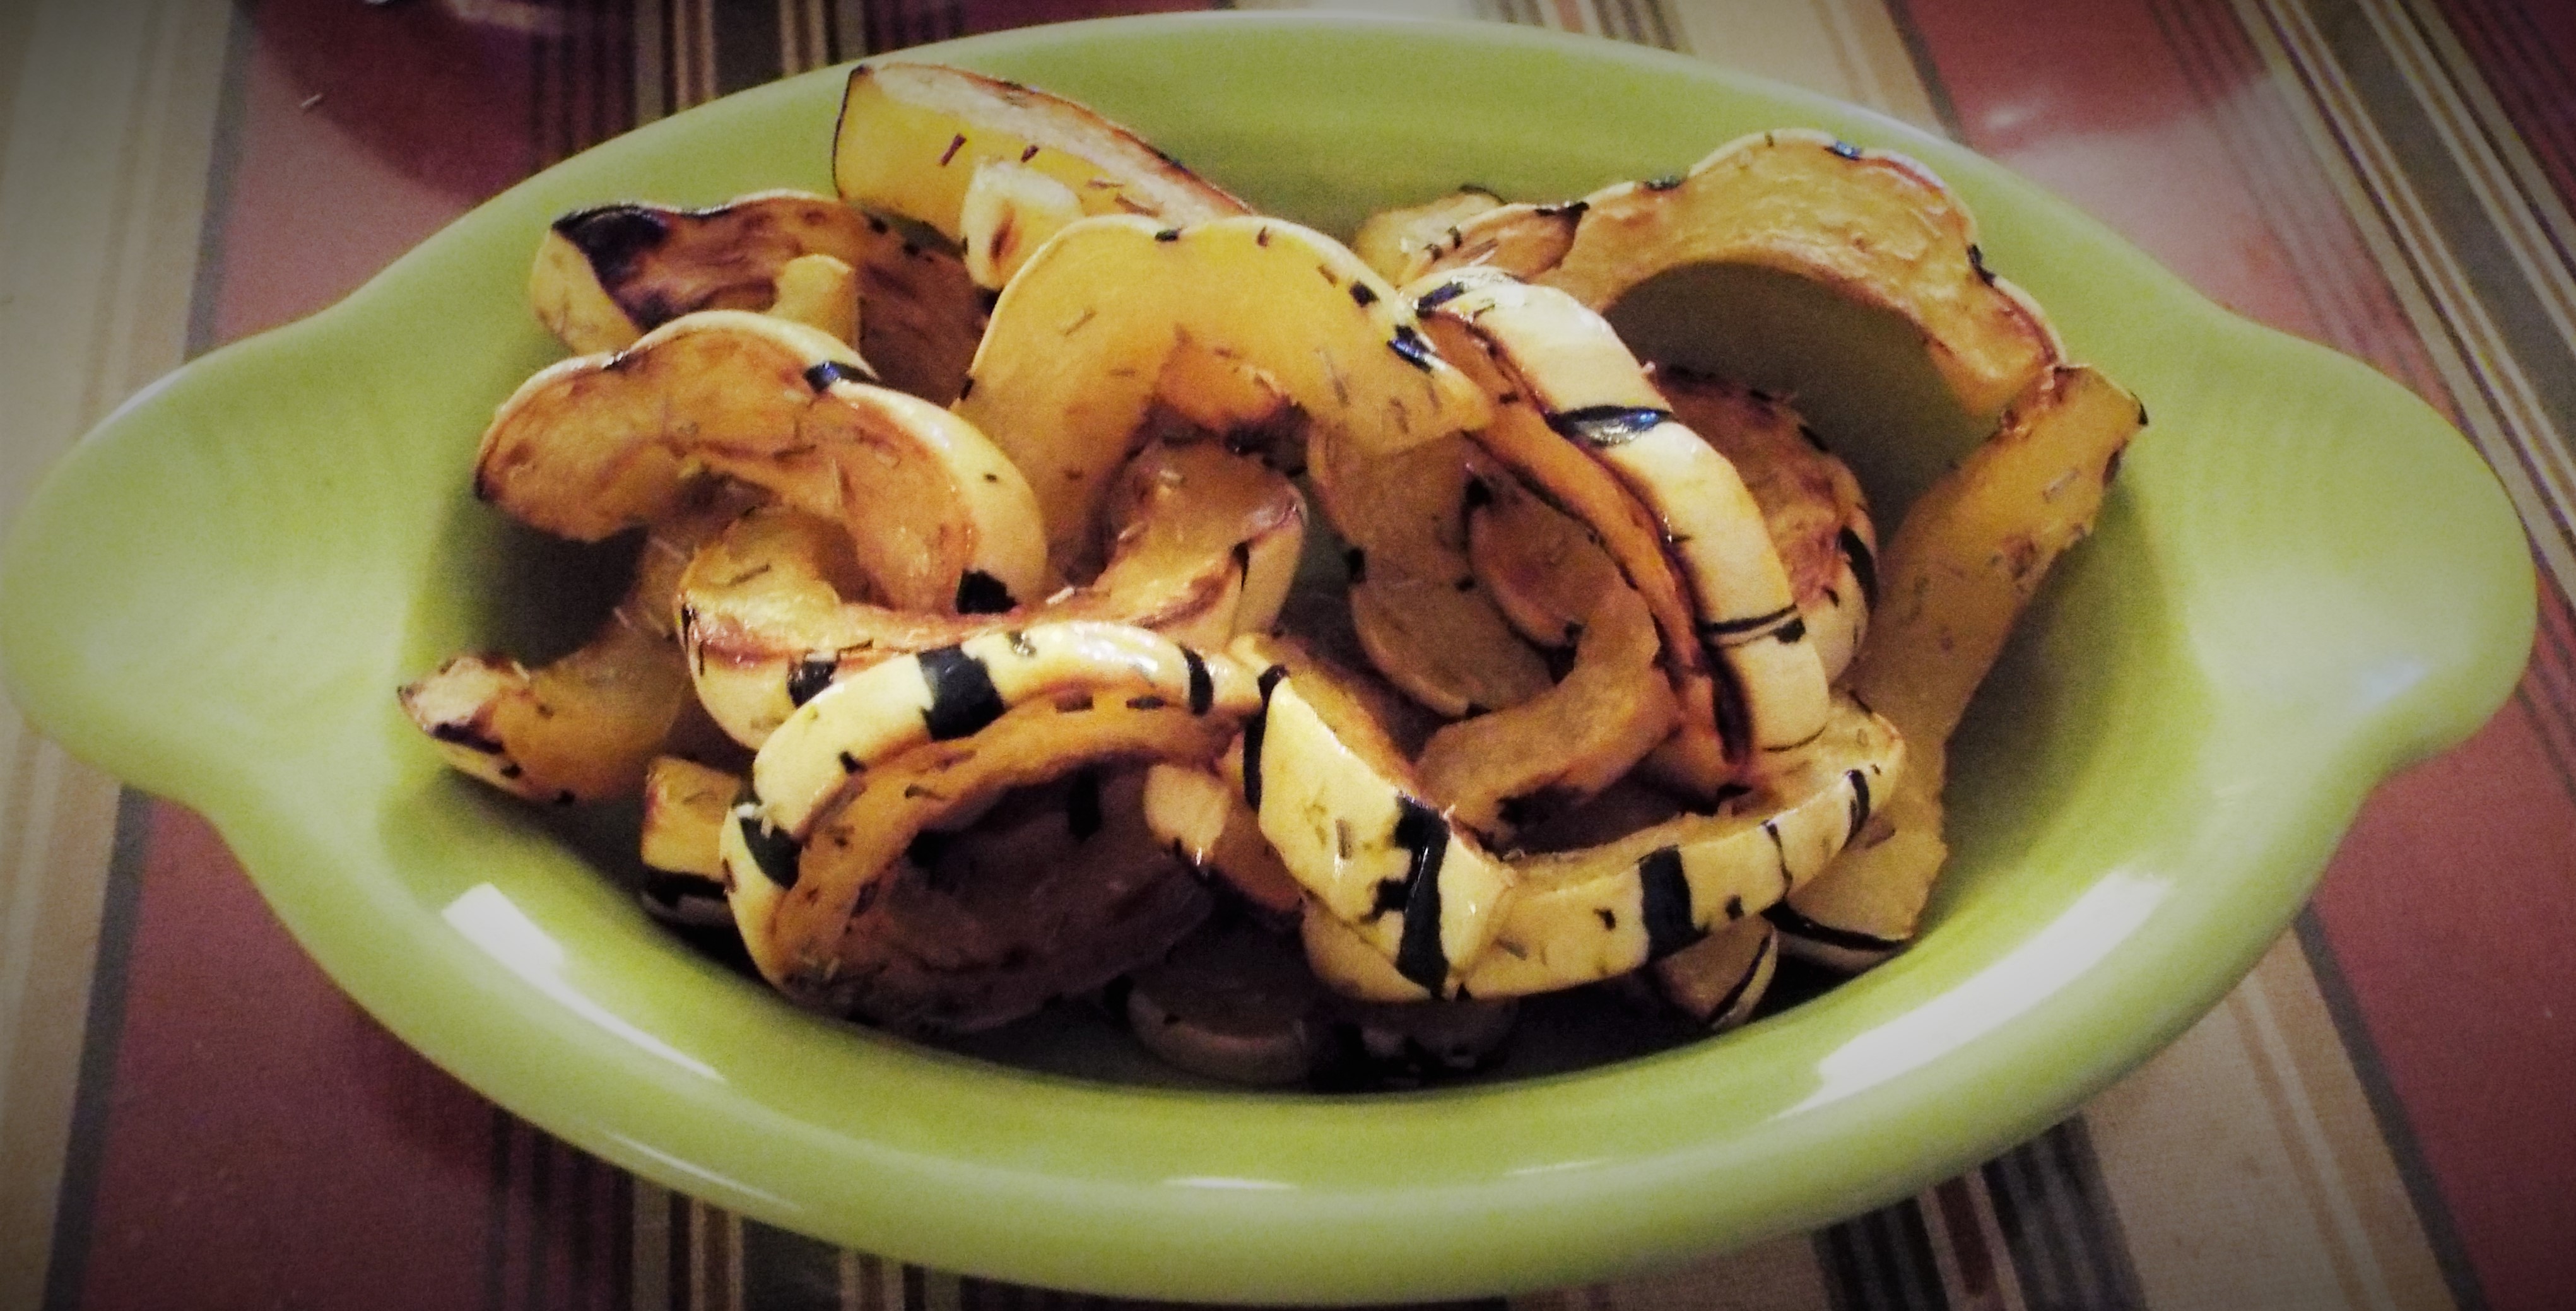
TREATS TO MAKE
Here are some easy, last-minute Halloween treats you can make:
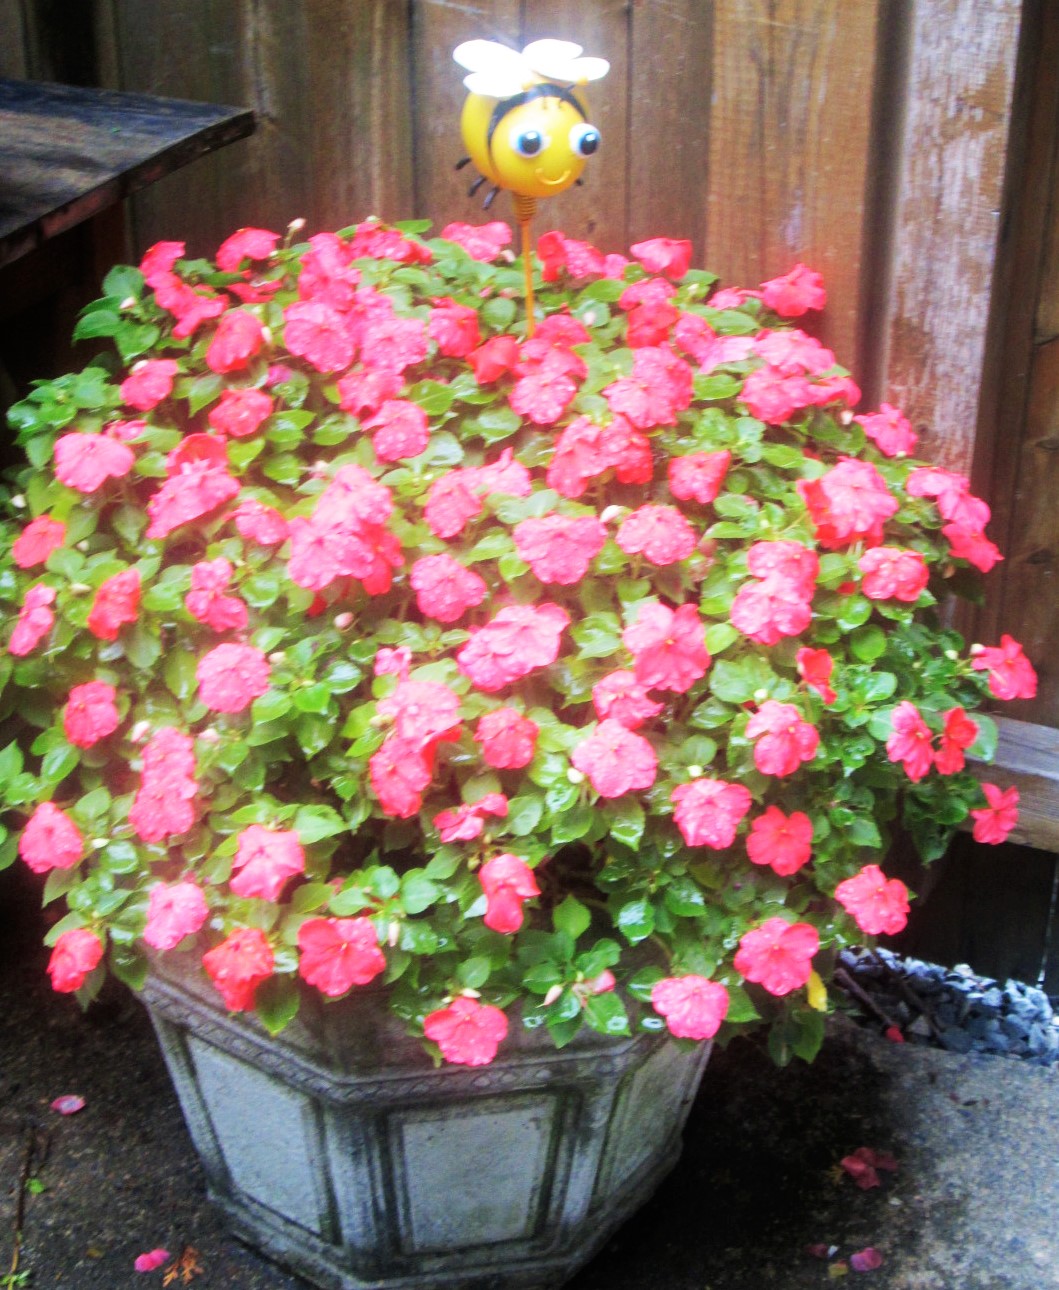
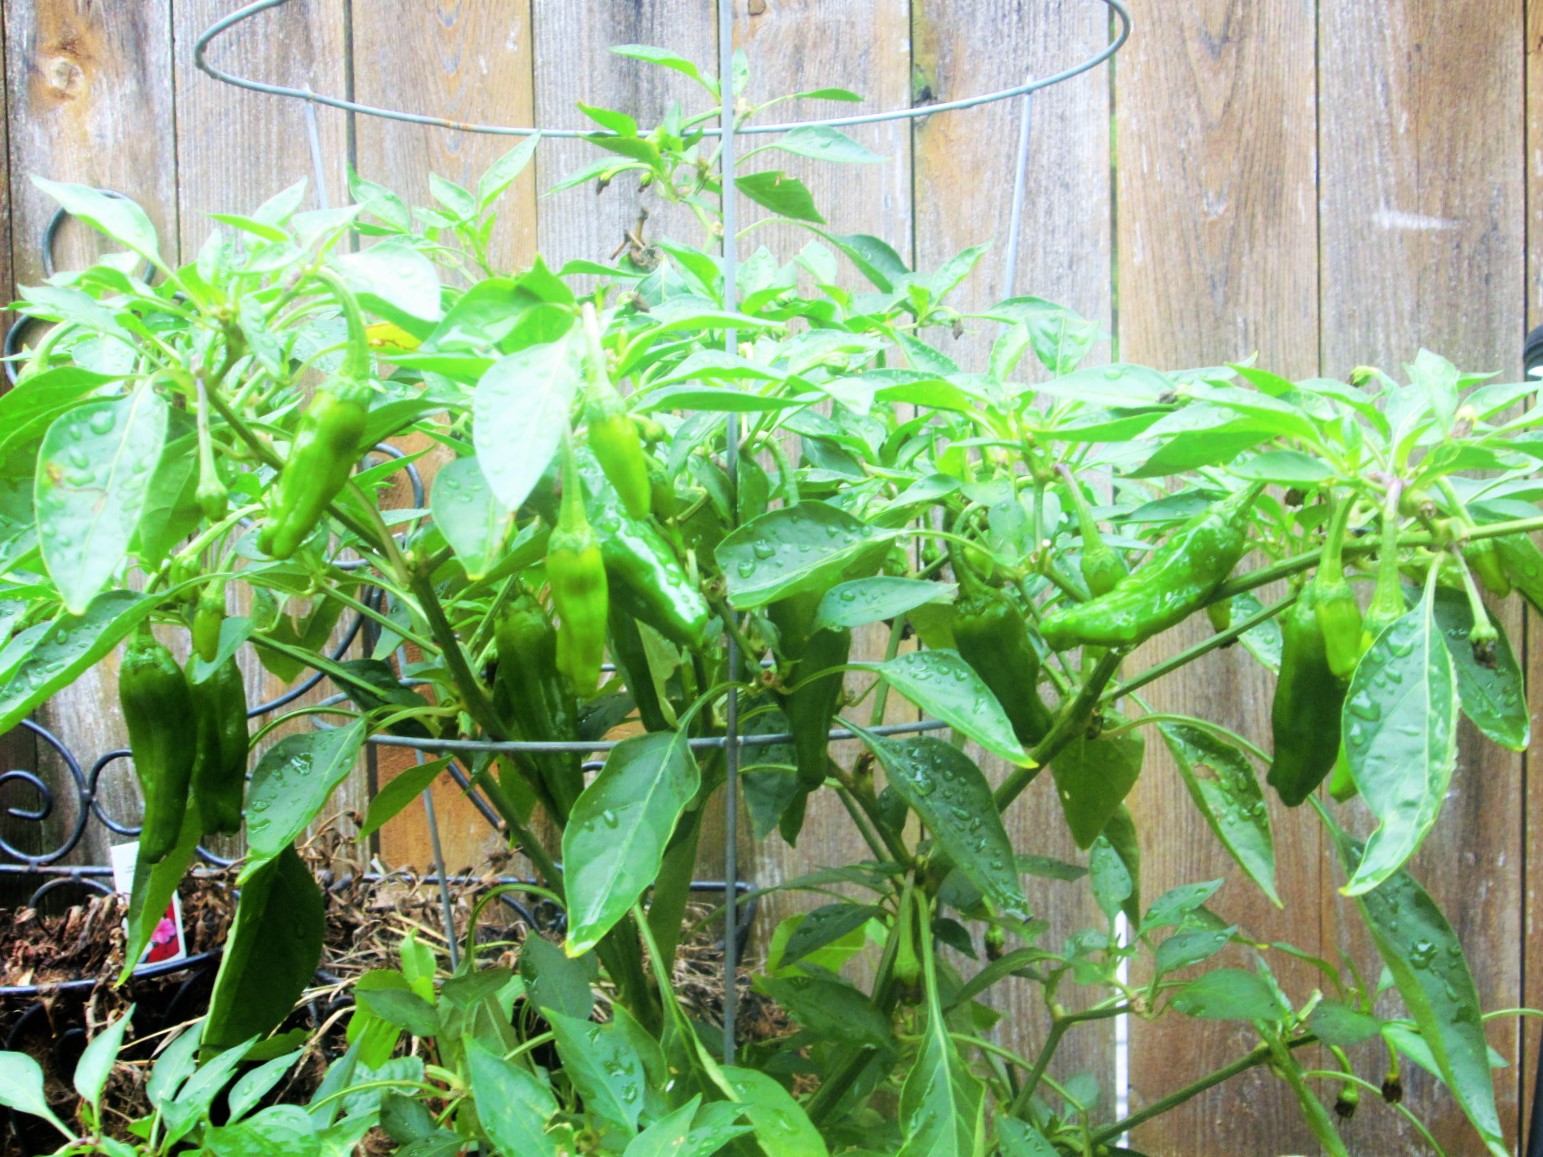
GARDEN
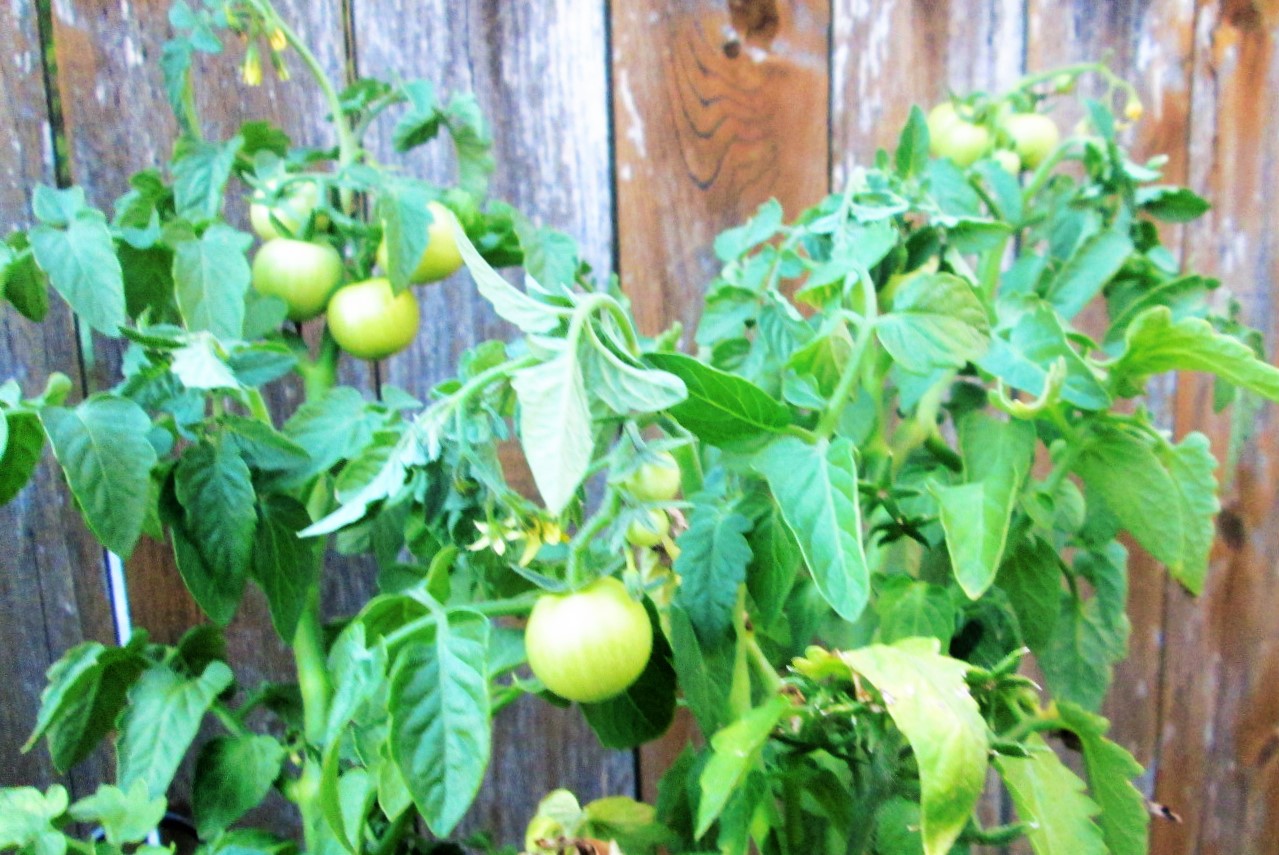
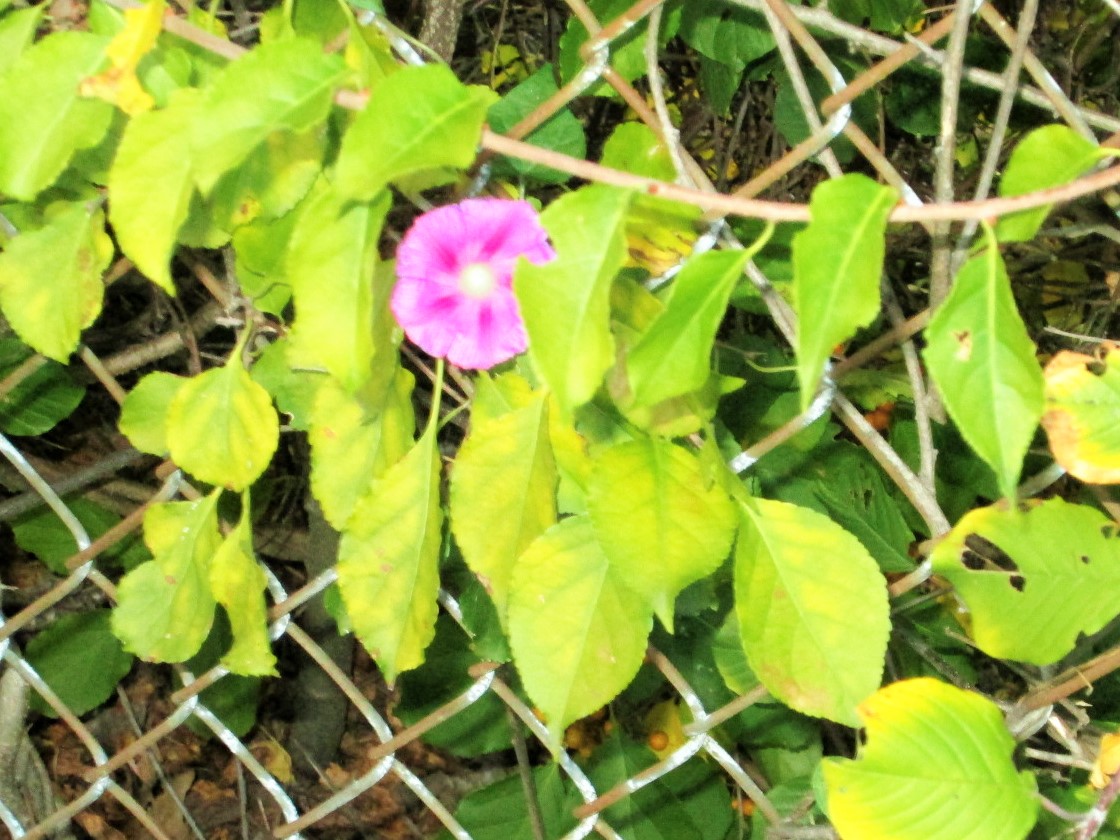
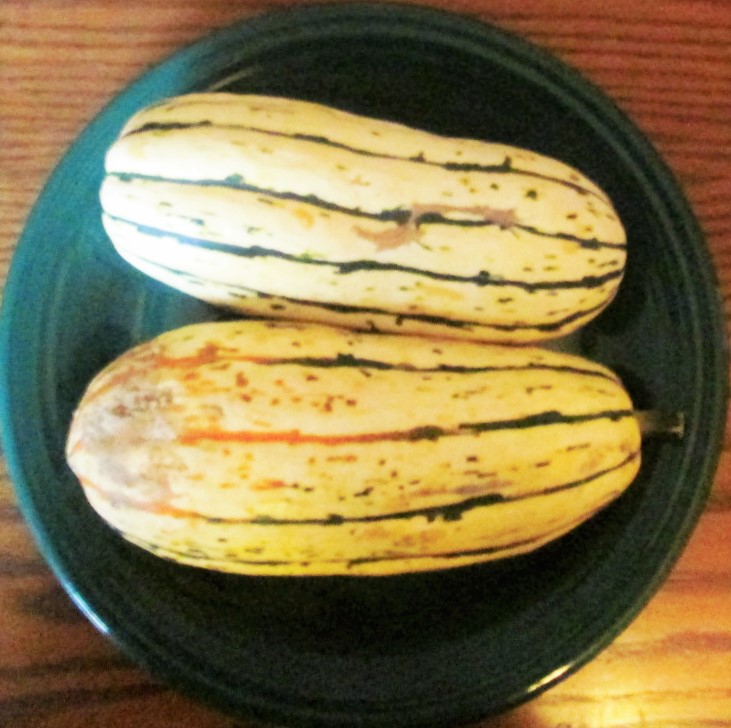
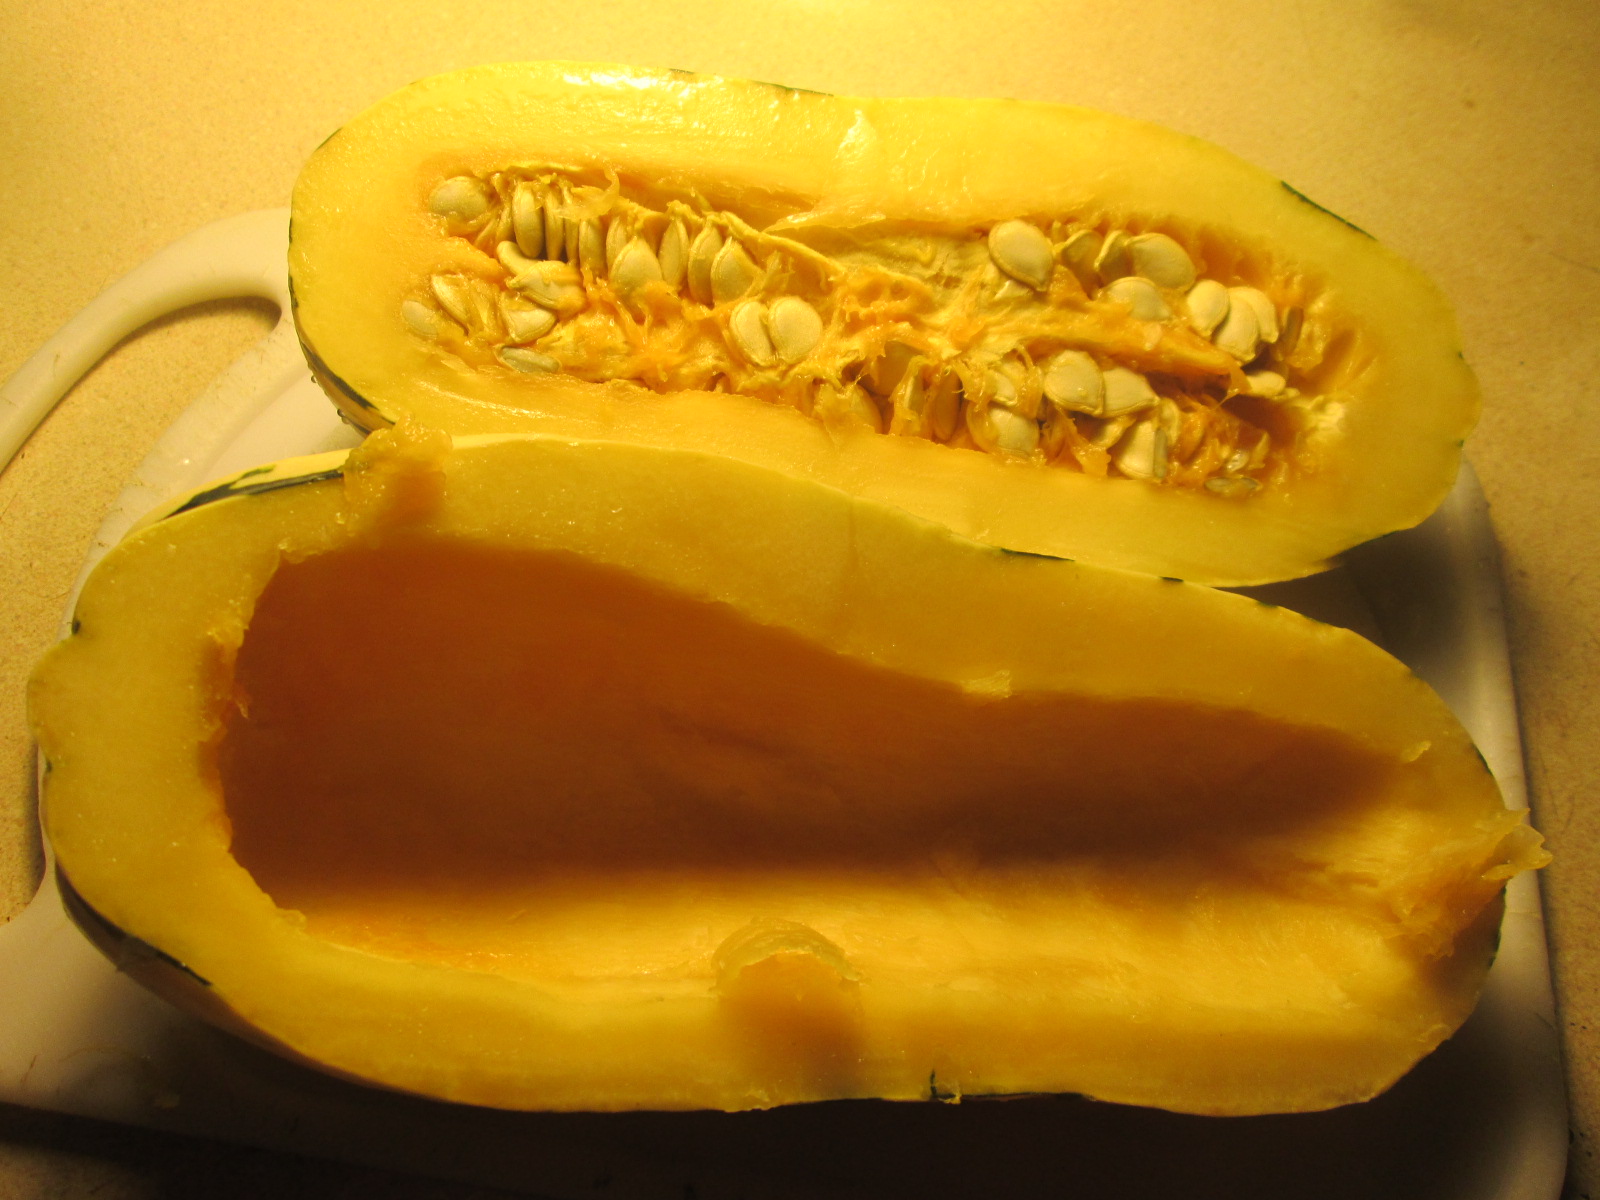
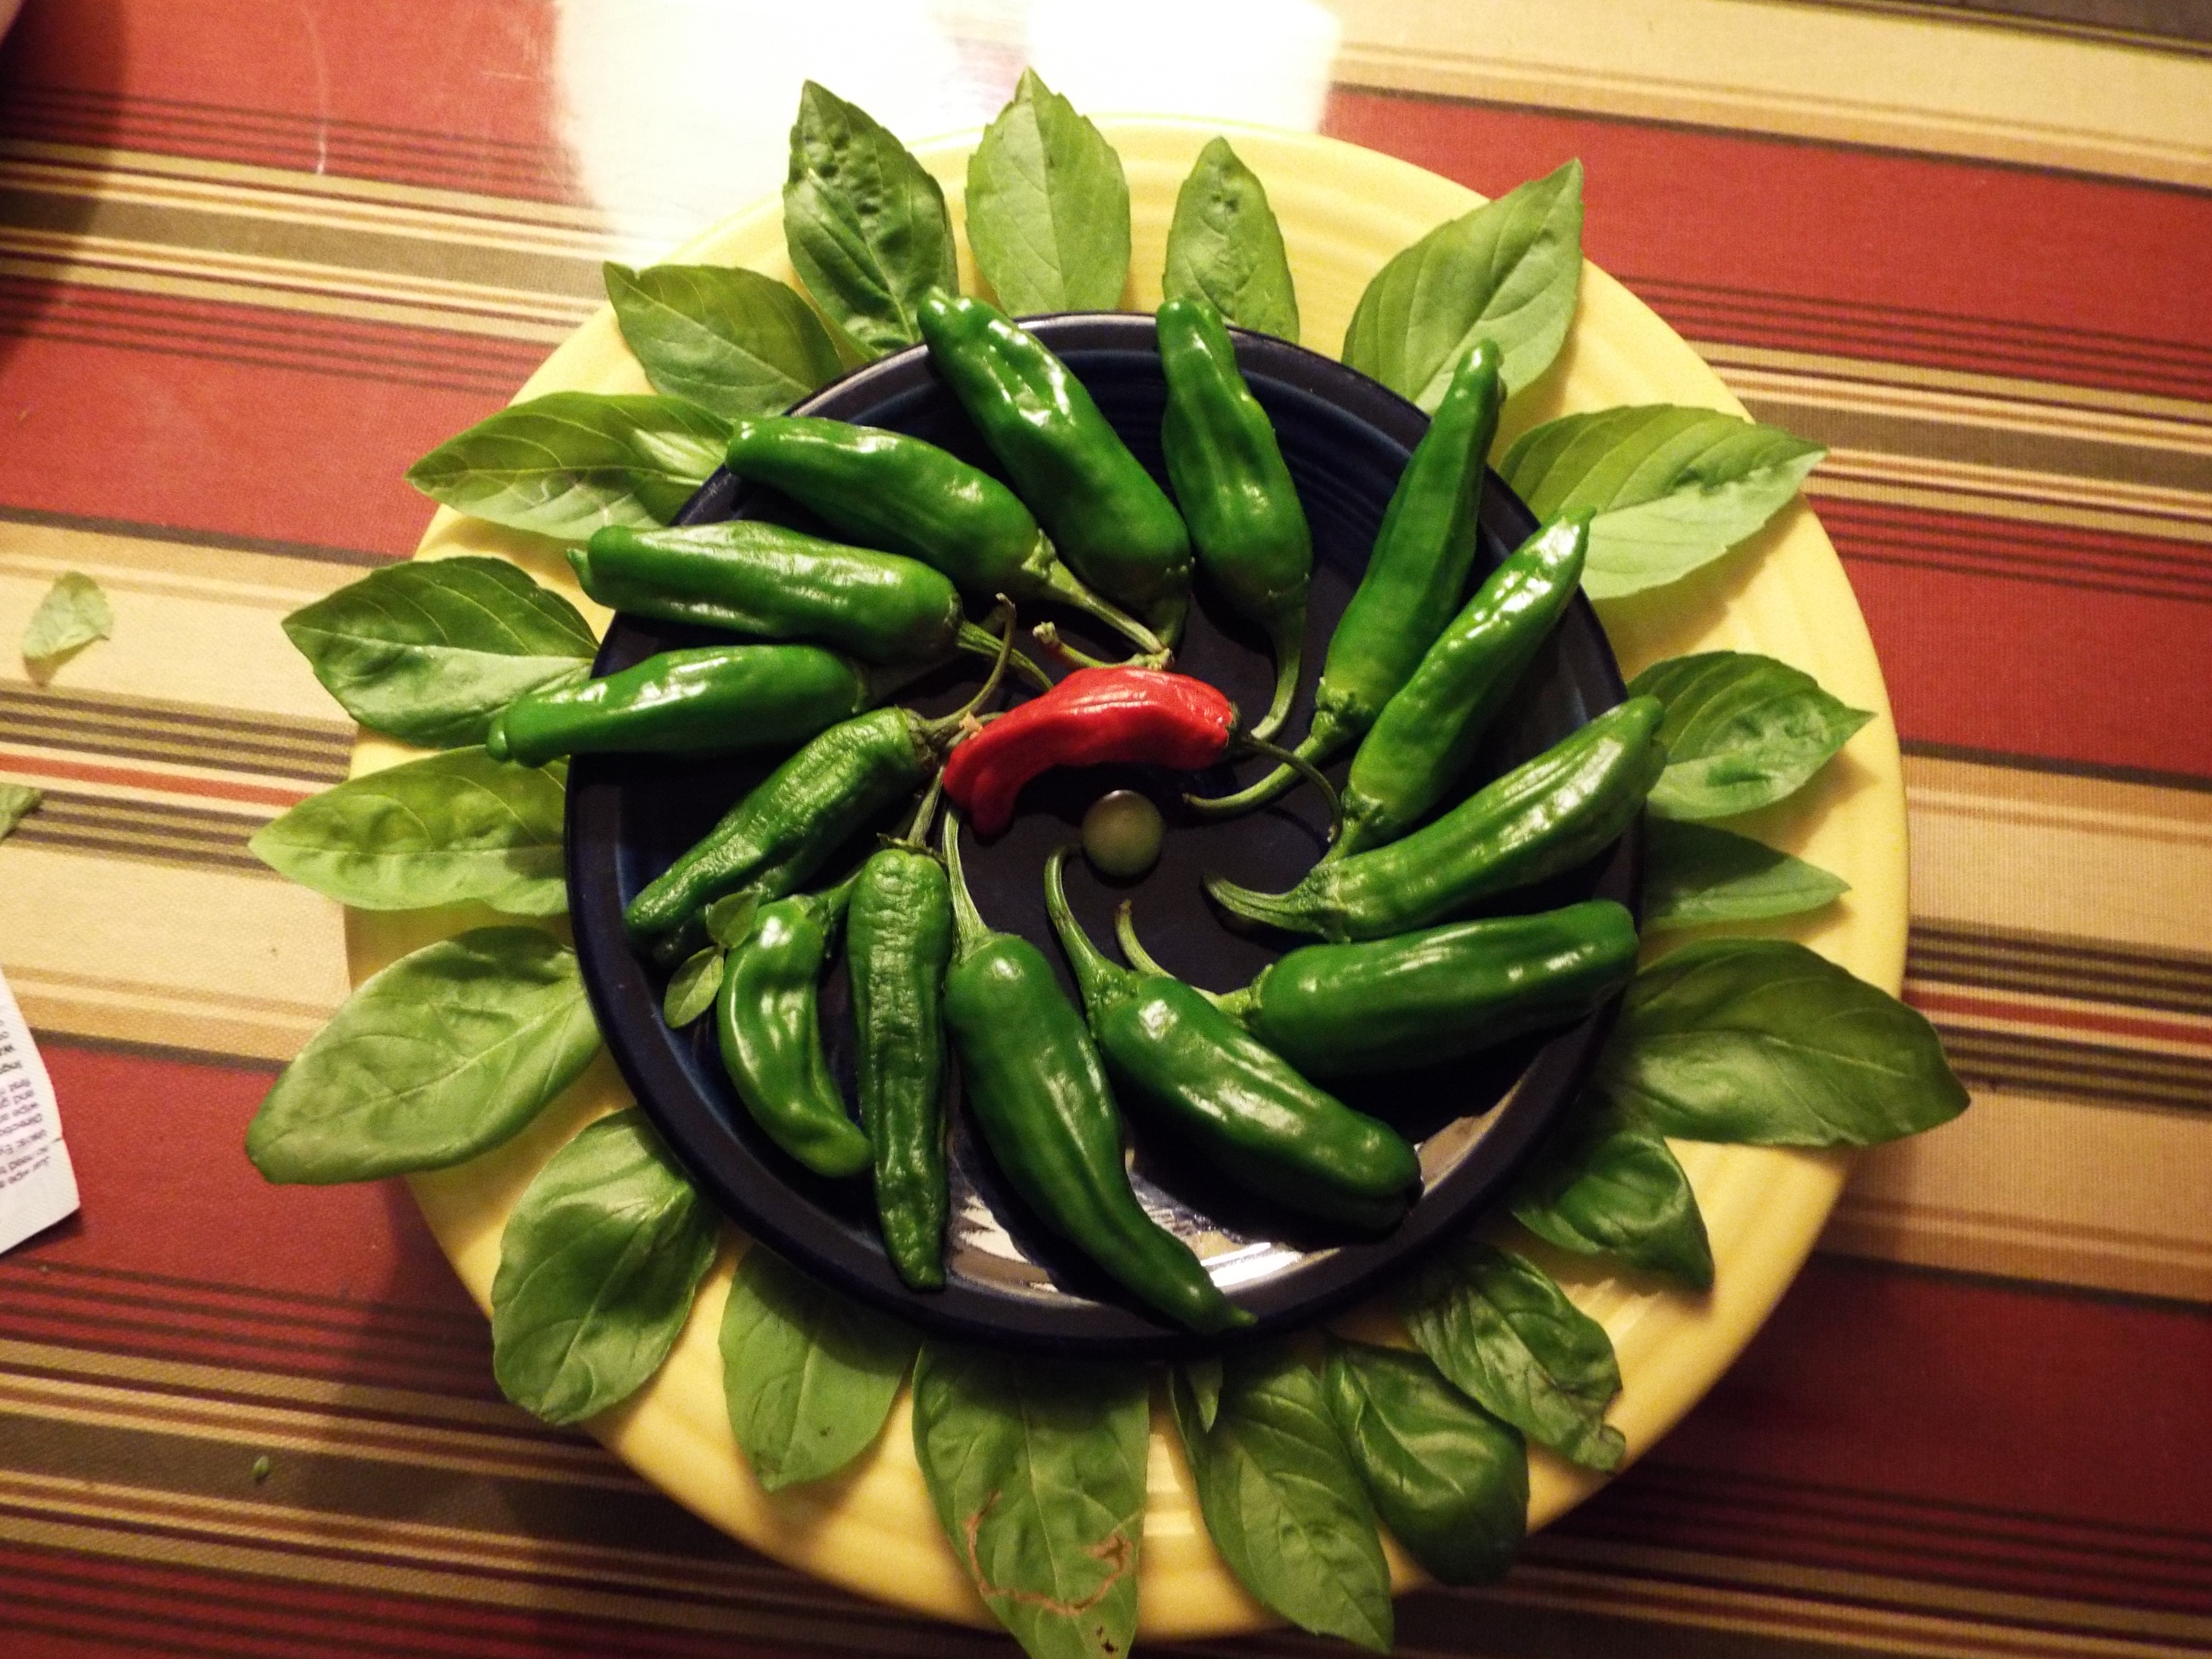
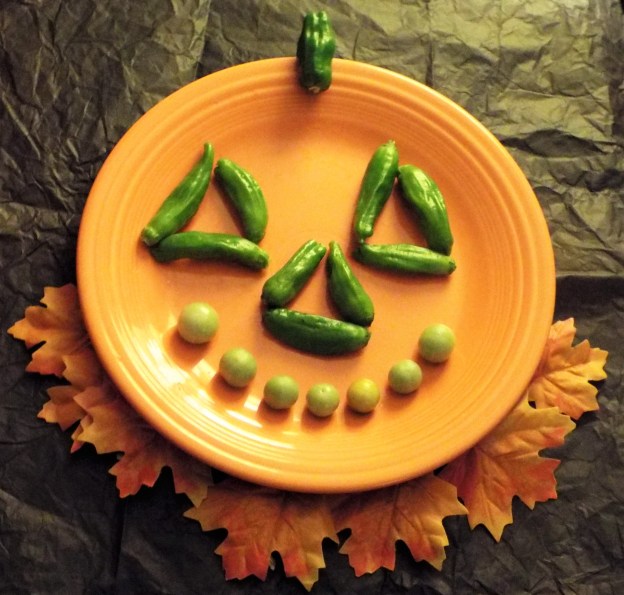
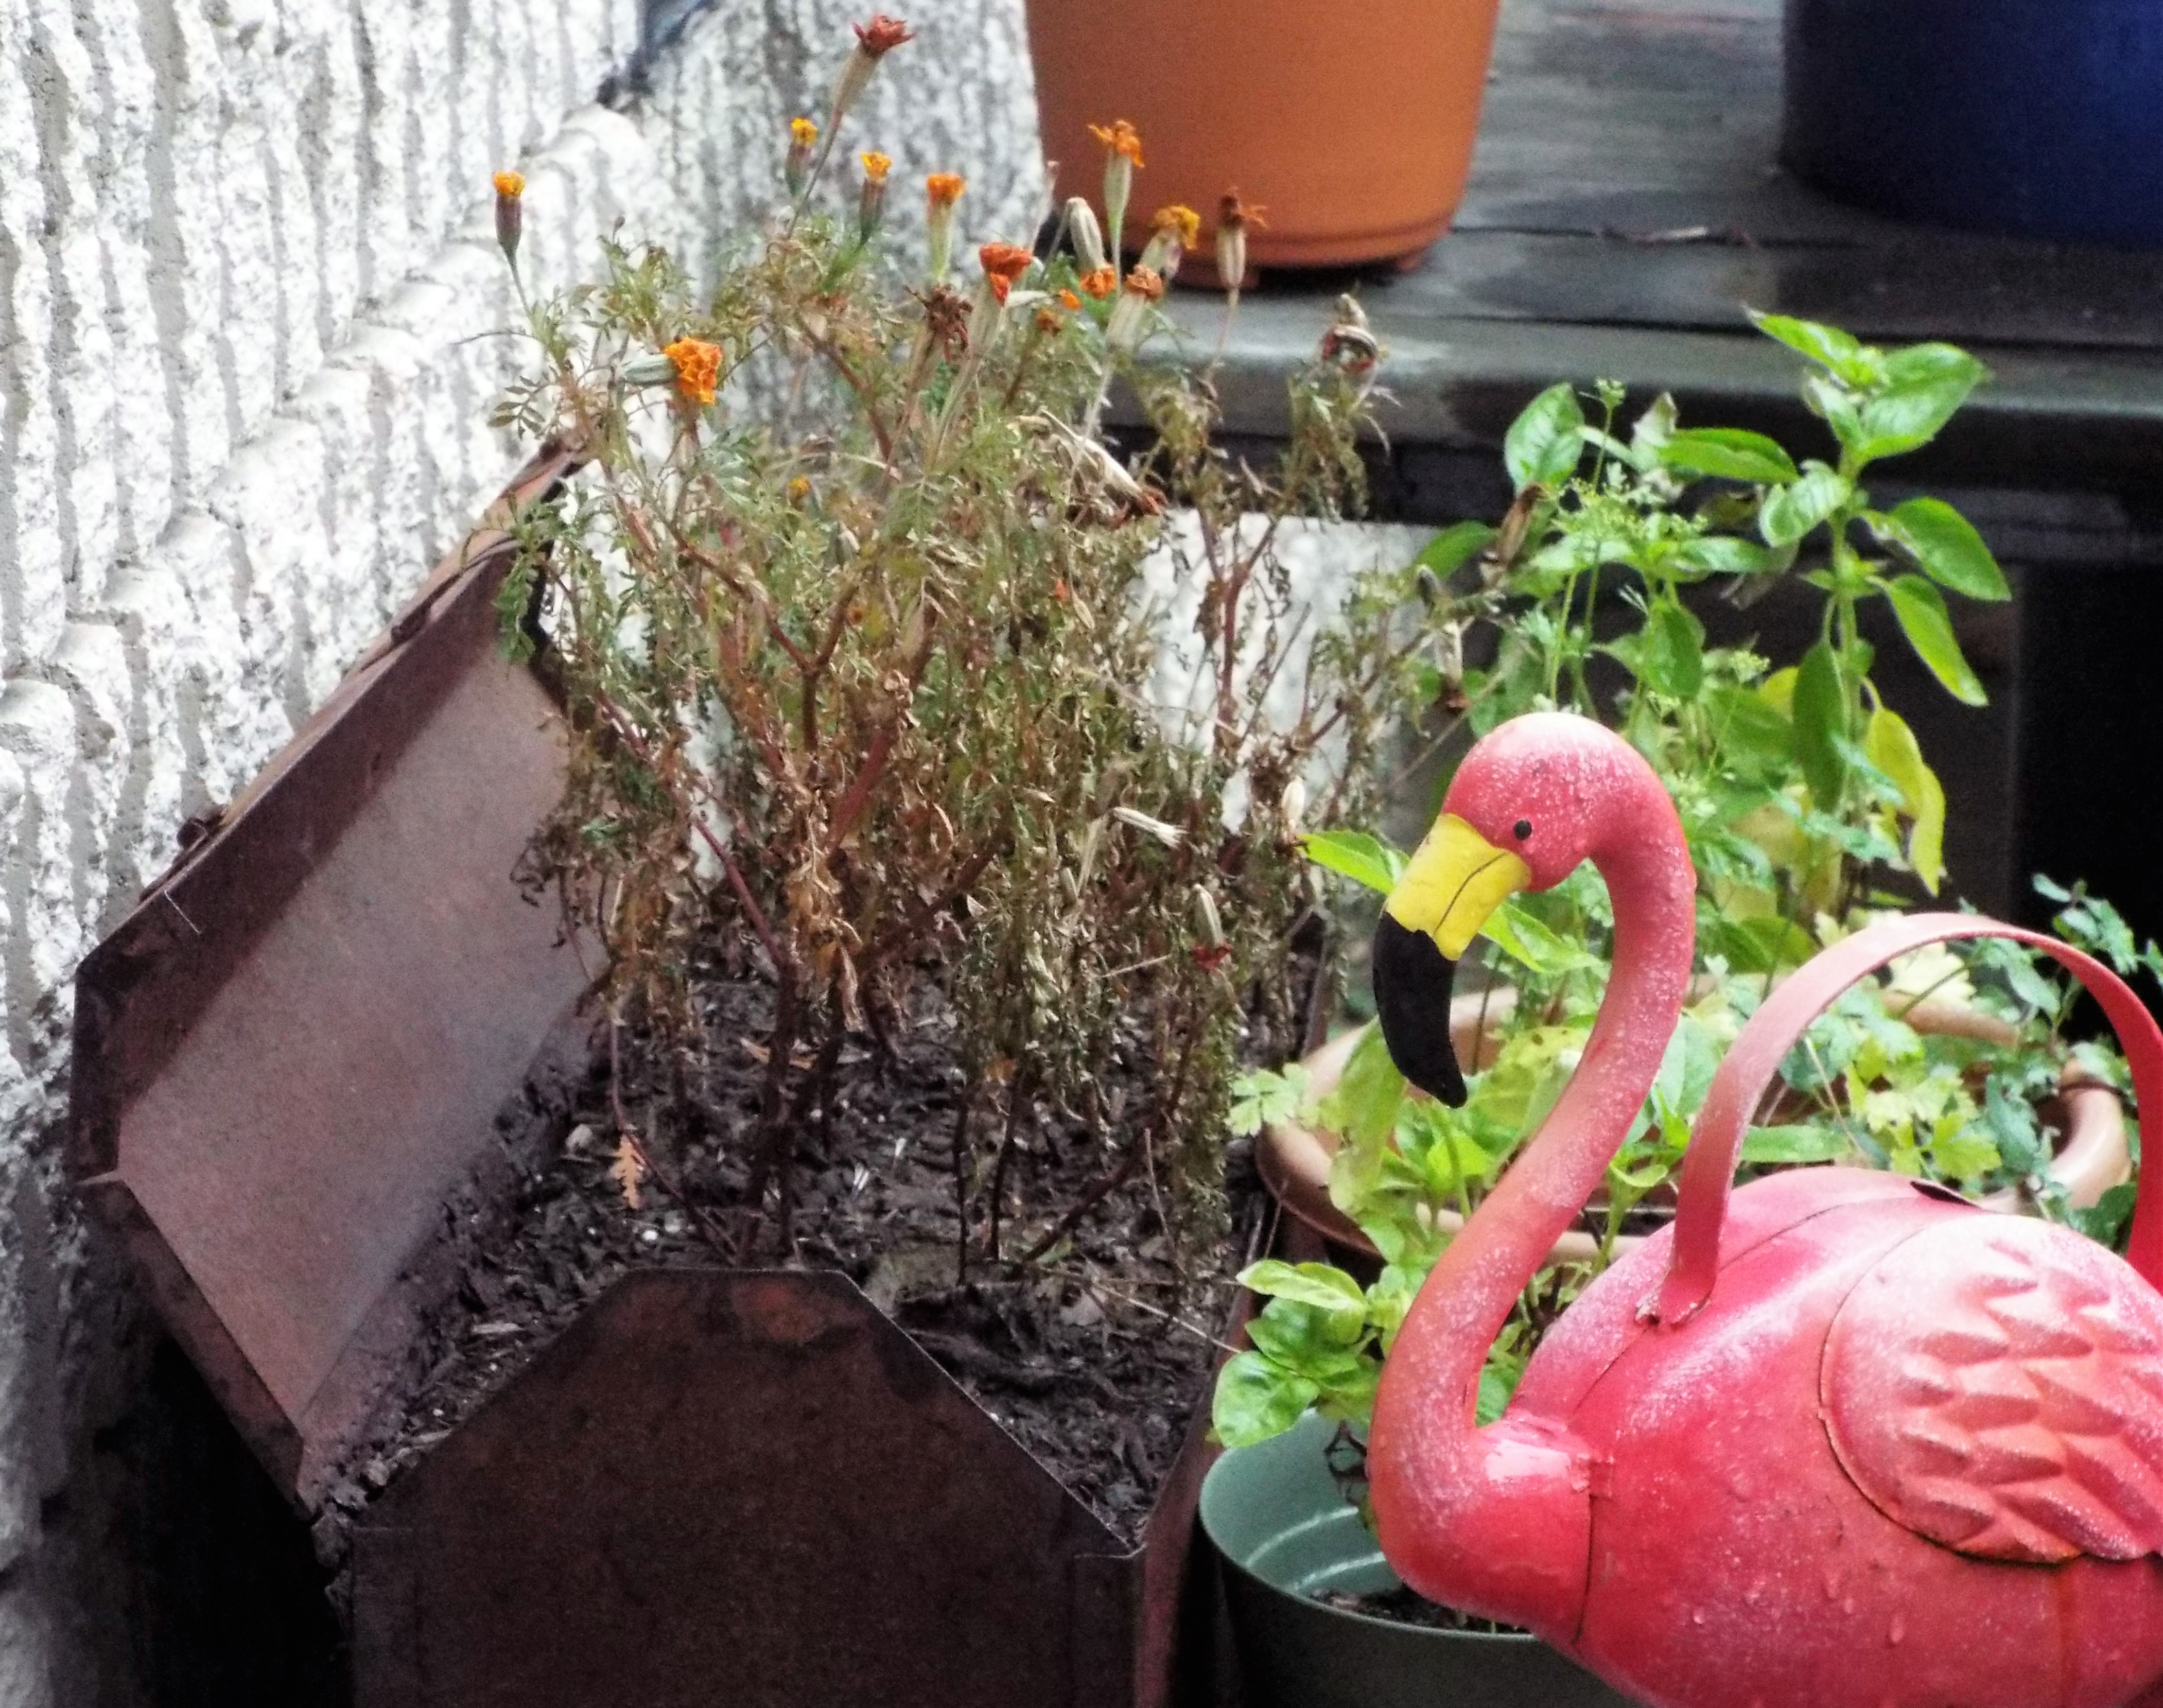
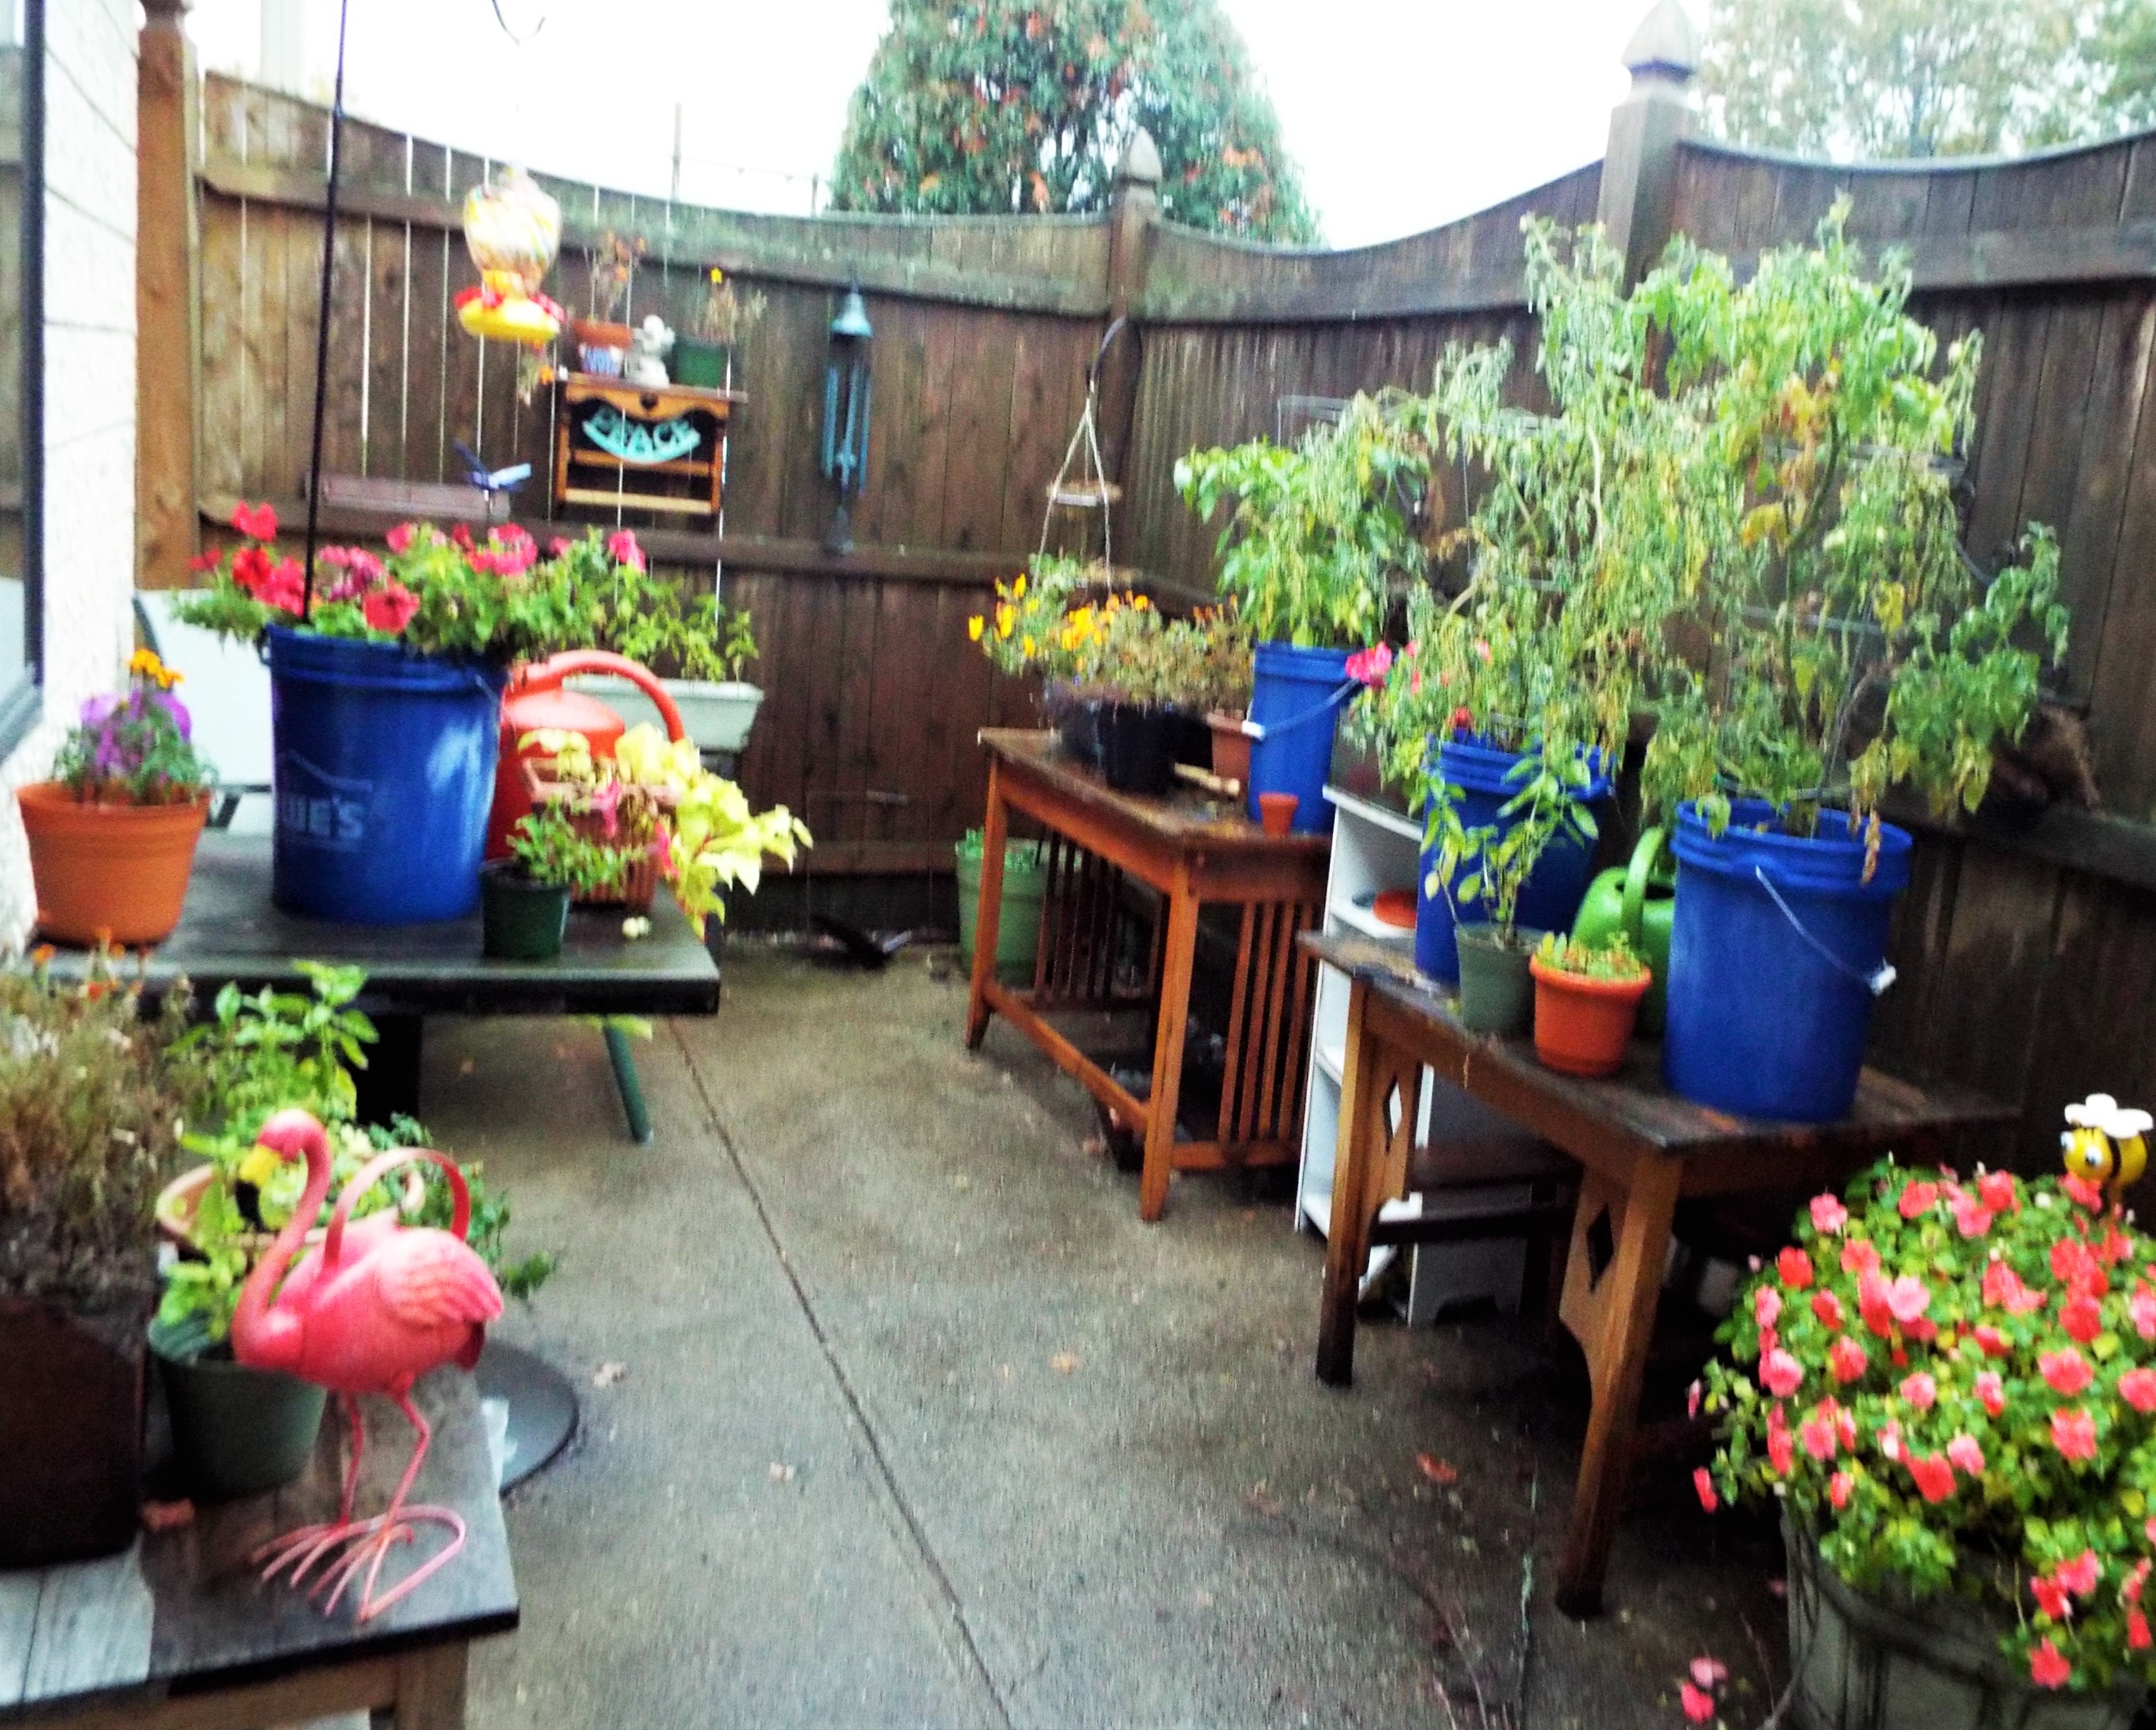
The garden is hanging in there despite some colder weather. The cold has hurt some of our marigolds and the tomato plants are droopy. But we picked 10 peppers this week!
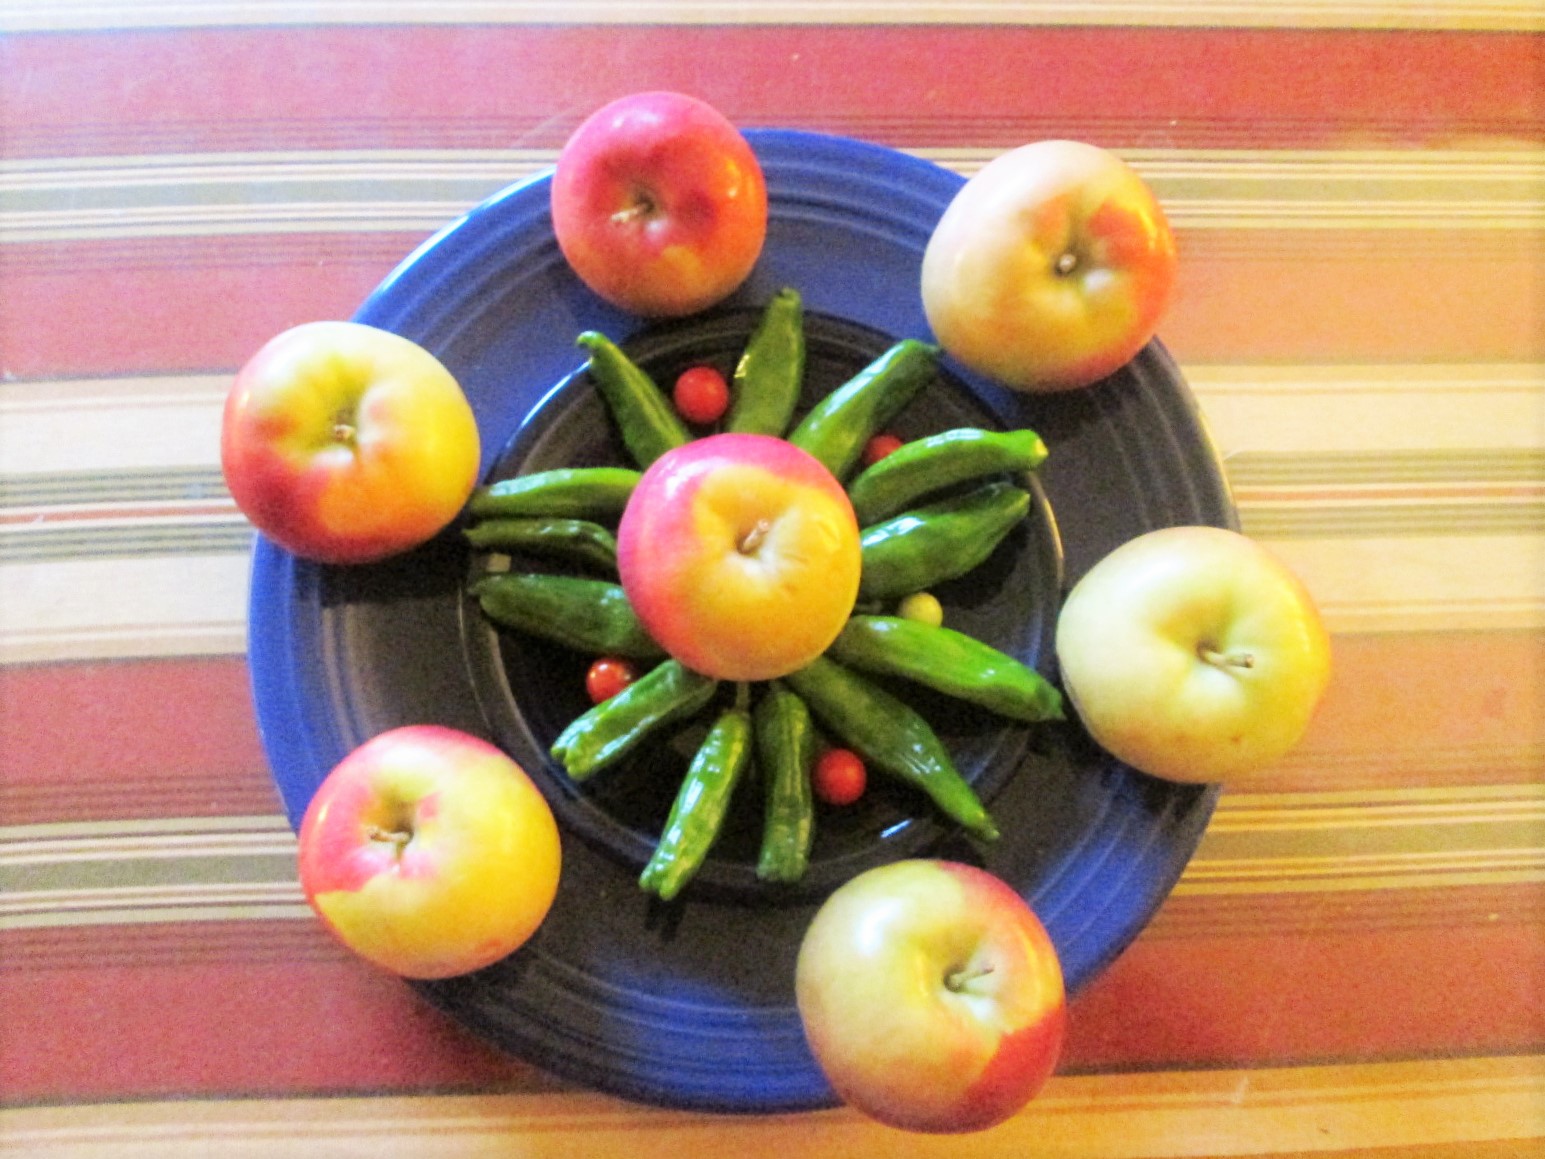
For the first time, this week’s veg art is our featured image, as shown at the top of the blog.
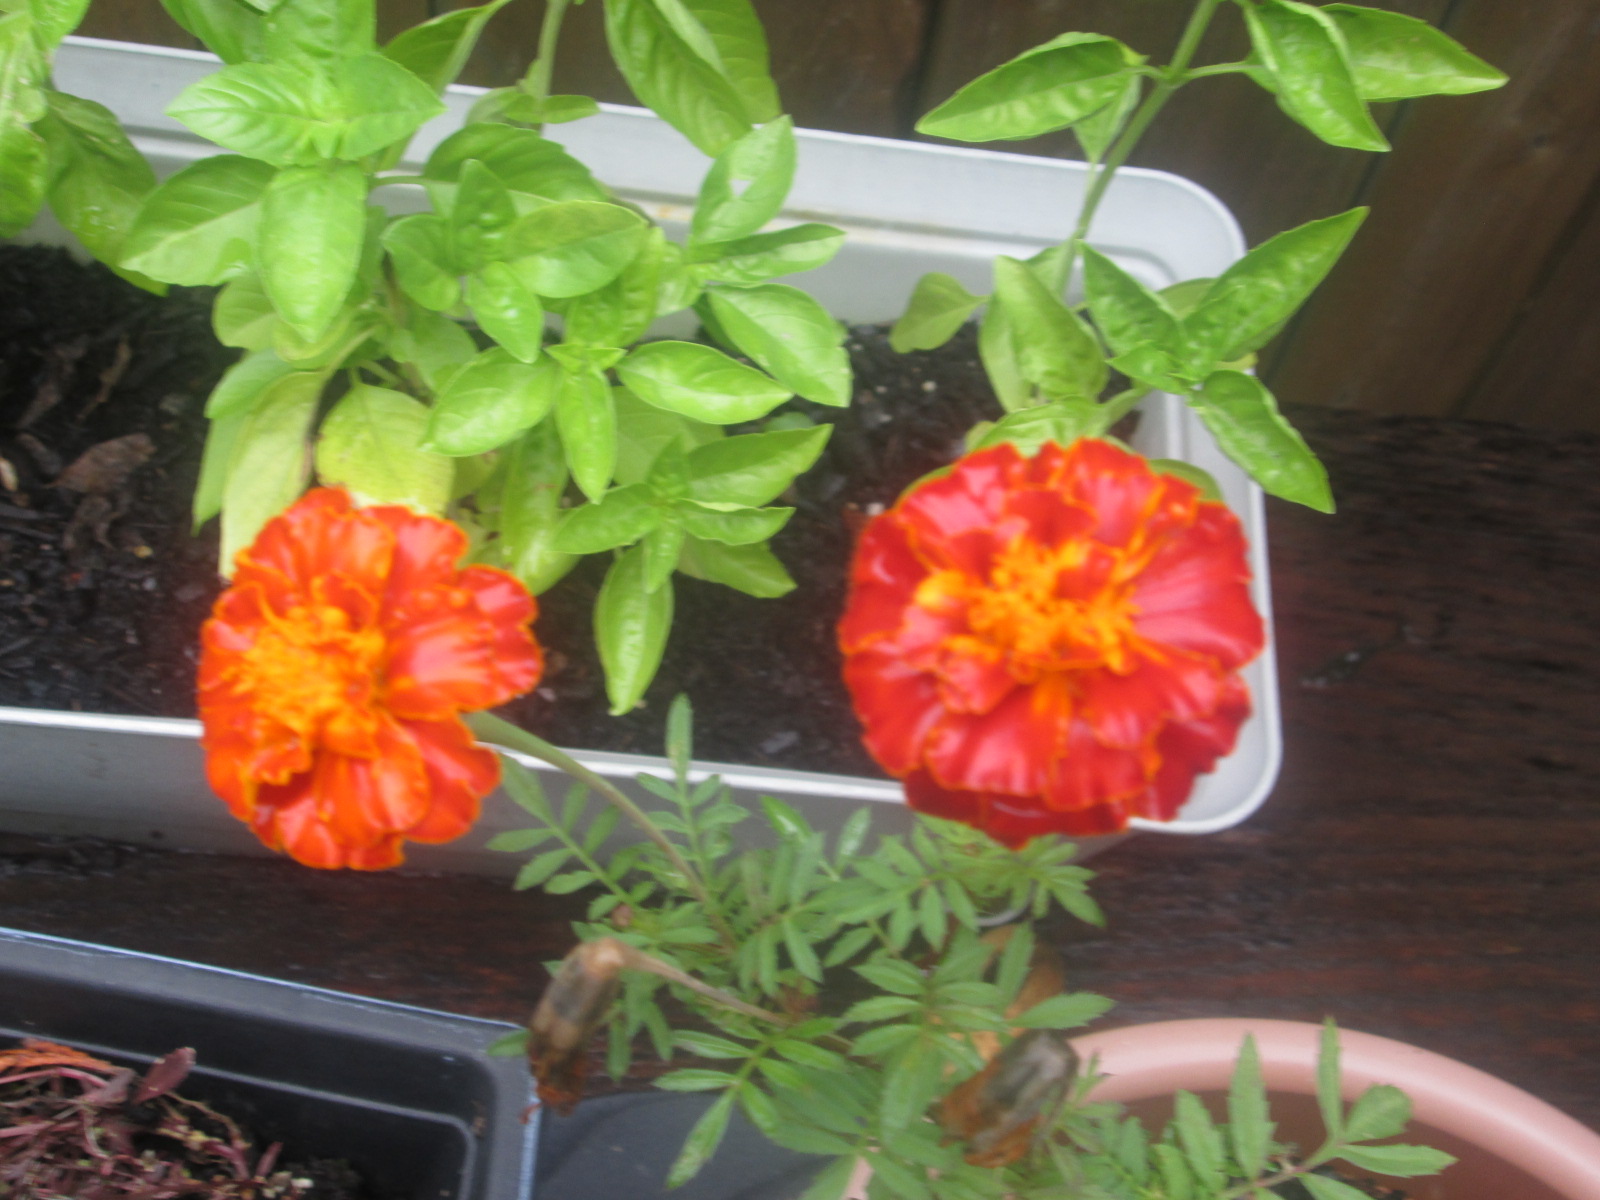
OUR NEW ADDITION
We picked up these fall-colored marigolds today. Inexpensive fresh flowers are a great way to decorate for the holidays. This plant should last through Thanksgiving.

JOKE OF THE WEEK
Do zombies eat popcorn with their fingers? No, they eat their fingers separately!
Source: Psychology Today.
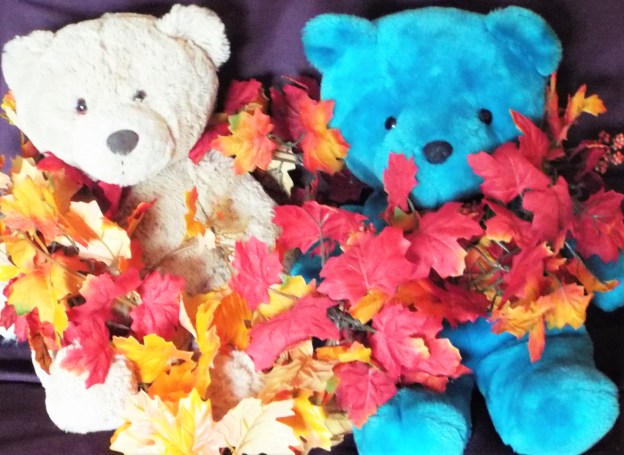
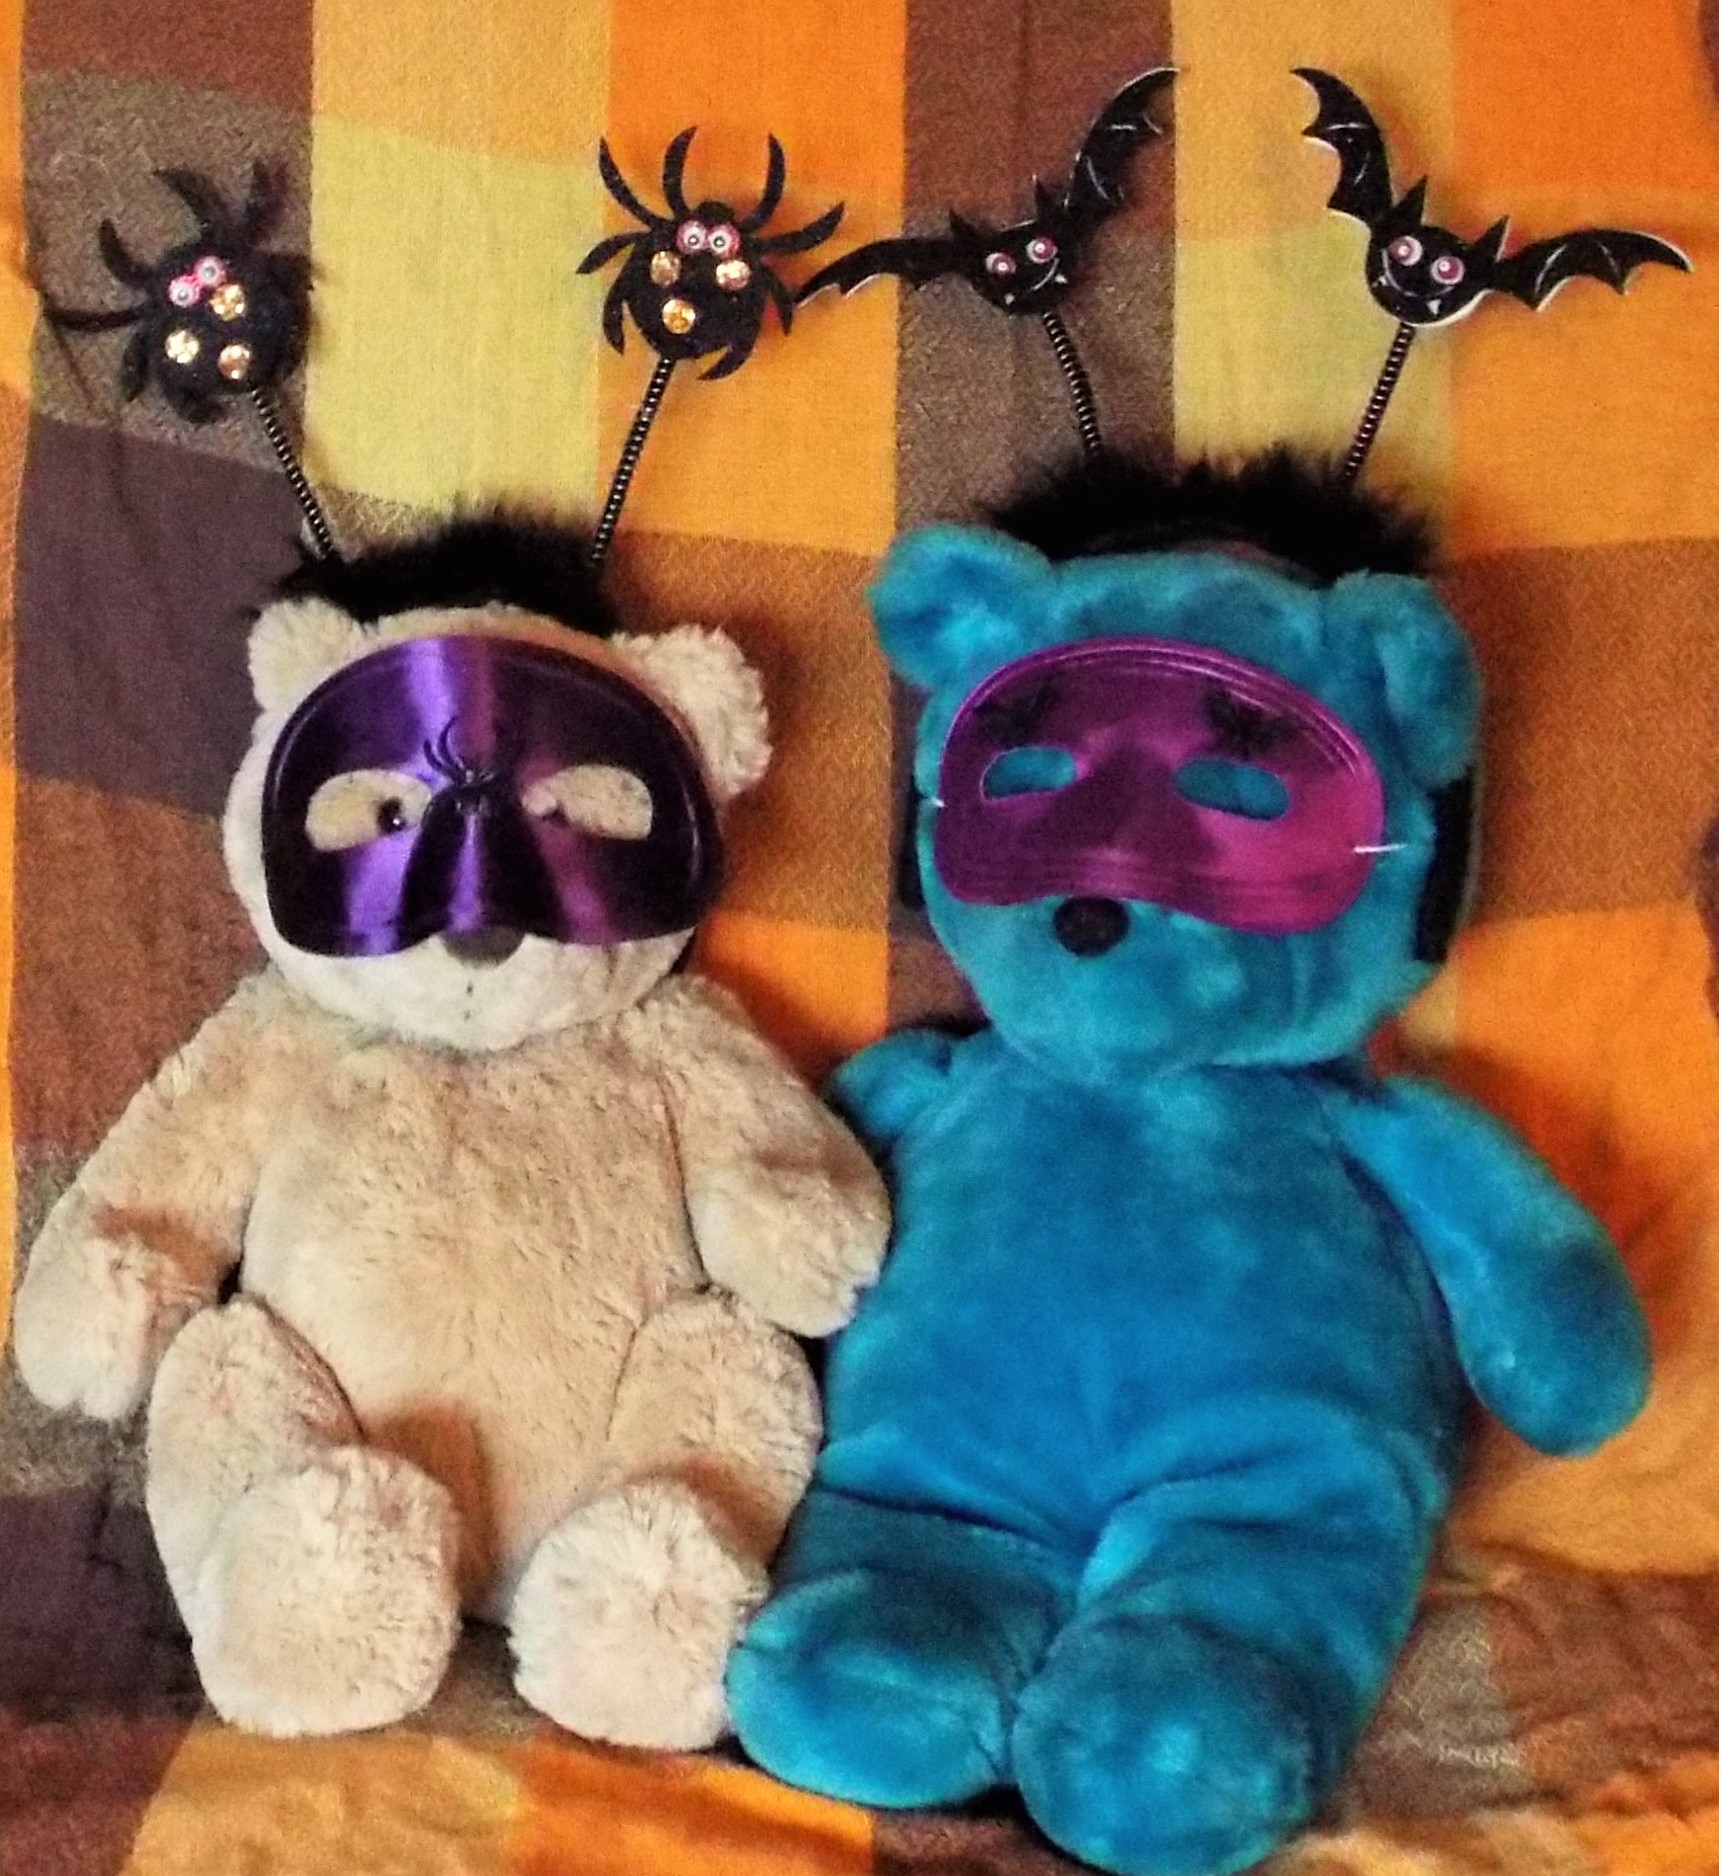
THE BEARS
The bears are ready for trick or treat after adding diddly-bopper headbands to their own portable costumes.
Fall back
Dont forget to set your clocks back an hour this weekend. Looking forward to an extra hour of sleep this Sunday!
Oh and…
Enjoy!
Roy & Kevin
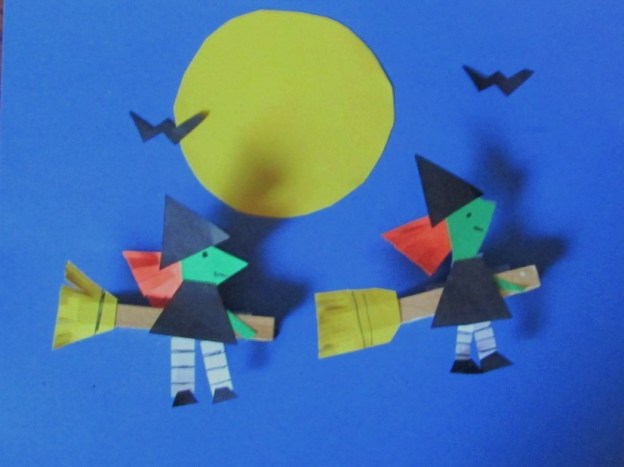
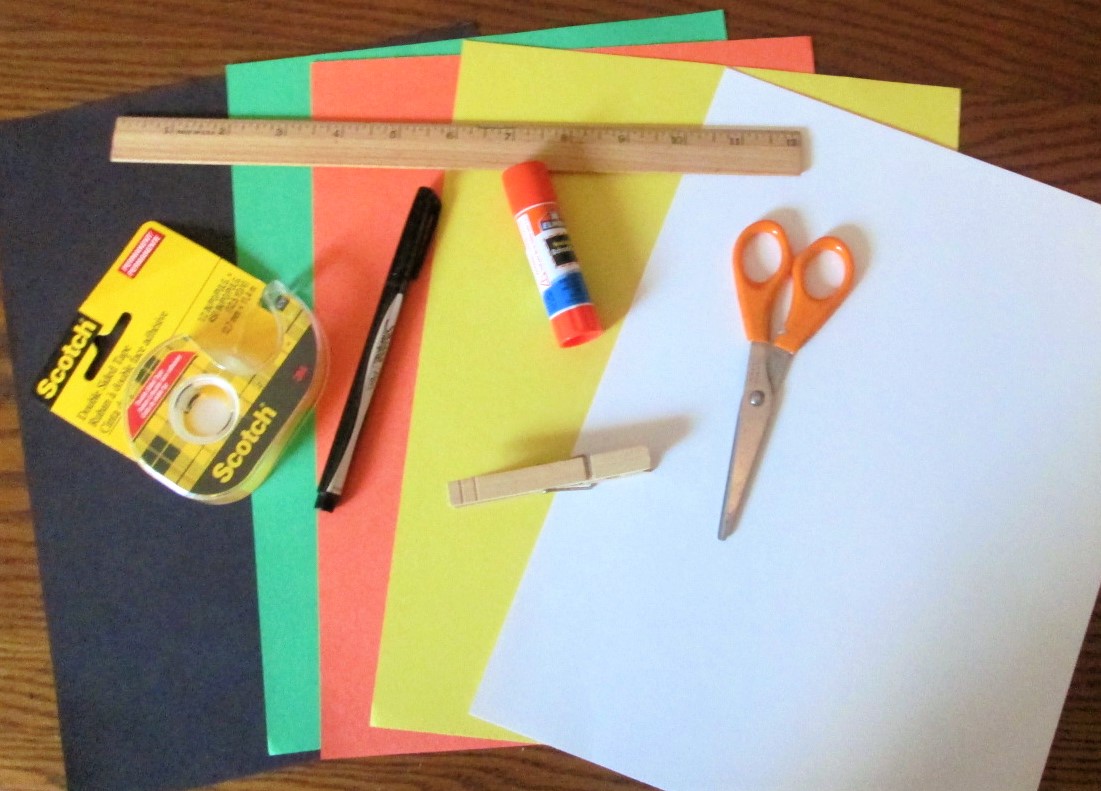
 ilateral triangles: